10 Galley Kitchen Layout Ideas That Make a Narrow Kitchen Actually Work
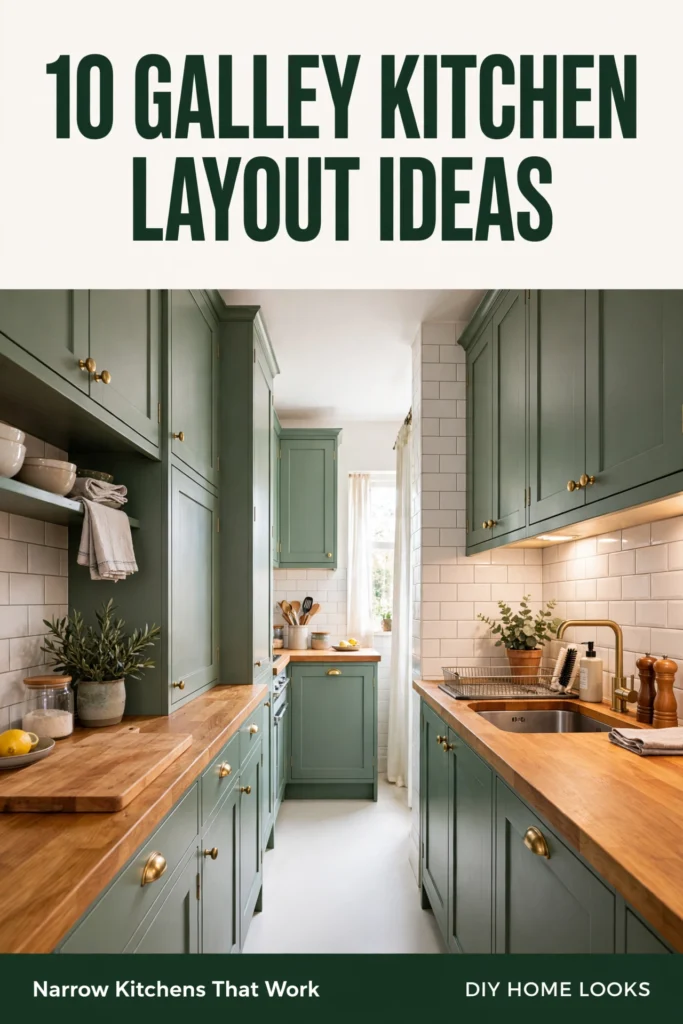
A galley kitchen is two parallel runs of cabinets with a corridor between them, and it is either the most efficient kitchen shape you can own or the most annoying one. The difference is never the cabinets. It is the aisle. These galley kitchen layout ideas start from one real room, an 8 by 12 ft galley (96 sq ft), and the math that decides whether it works: two 24 in runs plus a 42 in aisle need 90 in (7 ft 6 in) wall to wall, and that 42 in aisle eats 42 sq ft, which is 44% of the whole room. Once you see that number, every layout choice below makes sense, because you are not decorating a corridor, you are spending nearly half your kitchen on walking. Prices in this post were checked live in October 2026, so the cost table at the end is real, not a guess.
How wide should a galley kitchen layout be? Start with the aisle, not the cabinets
The National Kitchen and Bath Association (NKBA) sets the work-aisle minimum at 42 in (107 cm) for one cook and 48 in (122 cm) when two people cook at the same time, measured between the counter fronts, not wall to wall. The absolute floor is 36 in (91 cm), and below that you are building a one-person kitchen whether you like it or not. If your room is too narrow for 42 in, you do not squeeze the aisle. You make one run shallower, which is exactly what Layout 2 below does. Here is the picker:
| Your room width (wall to wall) | What fits | Best for |
|---|---|---|
| Under 6 ft 8 in (203 cm) | One full run + one shallow 12 to 15 in run | Very narrow rentals, one cook |
| 6 ft 8 in to 7 ft 6 in (203 to 229 cm) | One full run + one shallow 18 in run, 42 in aisle | One cook, tight but workable |
| 7 ft 6 in to 8 ft 2 in (229 to 249 cm) | Two full 24 in runs, 42 in aisle | The classic double-wall galley |
| 8 ft 2 in and wider (249 cm and up) | Two full runs, 48 in aisle | Two cooks, pass-through traffic |
Measure wall to wall, then subtract the depth of both runs plus the aisle you want. That subtraction is the whole decision. If the numbers do not add up, no amount of pretty tile will fix it. Lily Ann Cabinets publishes a room-width table that matches these numbers, run by run, if you want a second source to check your own room against.
Galley kitchen layout ideas for a 7-foot-wide kitchen: the double-wall classic
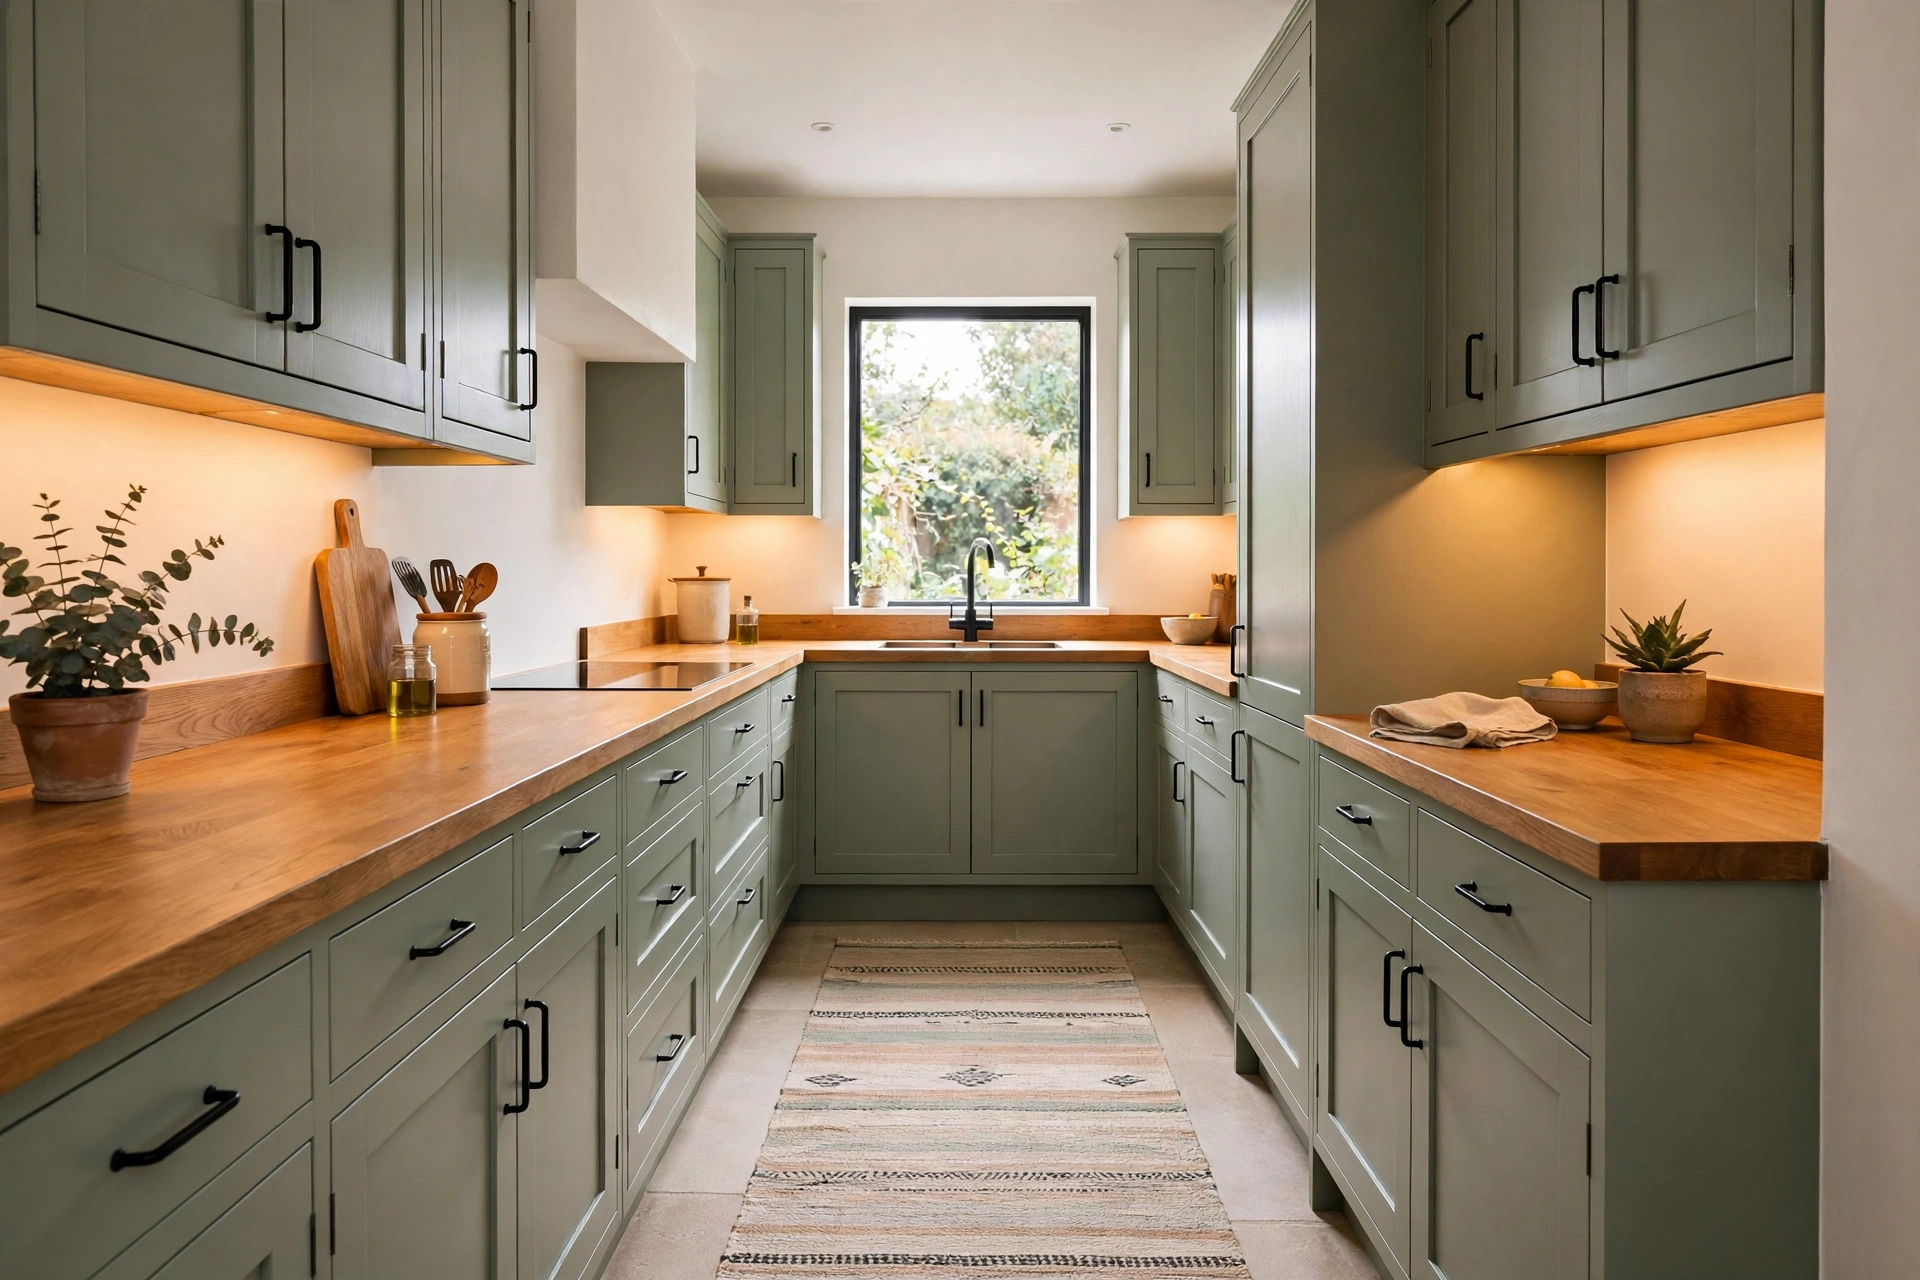
This is the layout most people picture: full-depth cabinets and counters on both walls, sink on one side, cooktop on the other, fridge at one end. In our 8 by 12 ft room it fits with a 42 in aisle and leaves about 10 ft of run on each wall for counters and storage. It works because everything is within one step, and the classic work triangle, sink to cooktop to fridge, stays tight at 13 to 26 ft total.
Best for: owners and long-term renters who cook daily and want maximum storage. Main advantage: the most counter and cabinet space of any galley layout, with the shortest walking distances. Watch out for: two people cannot pass each other, and an oven door dropping into a 42 in aisle leaves about 18 in of standing room, so time the oven around the dishwasher. Verdict: the default choice when the room is wide enough. If your width hits 7 ft 6 in, stop shopping for alternatives and build this one well.
The single-wall galley with a shallow second run
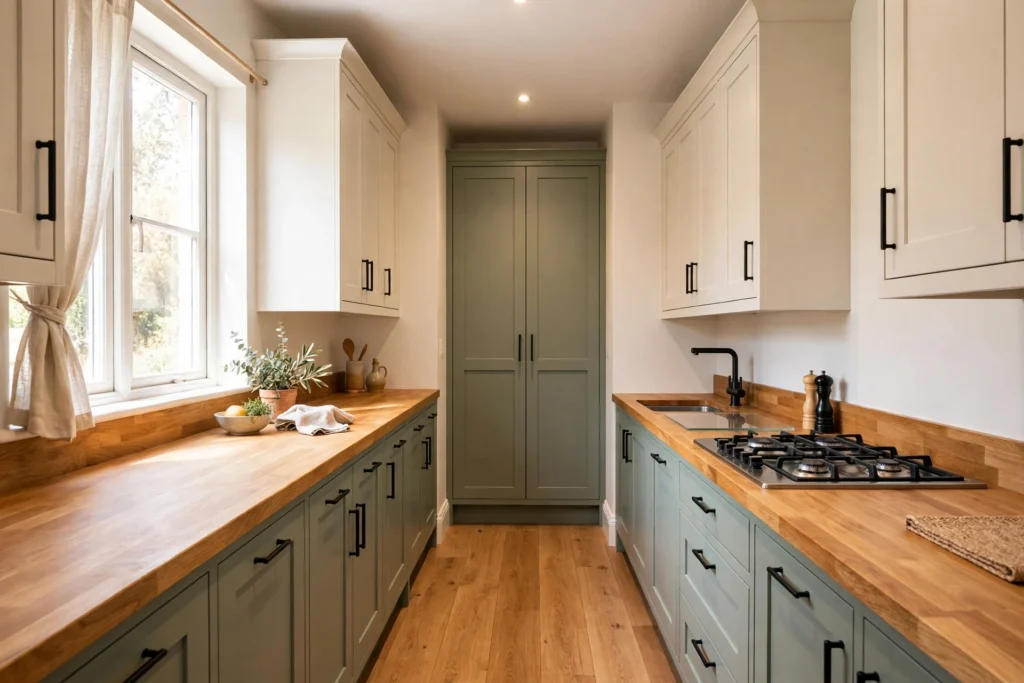
When the room is under 7 ft wide, a second full run is a mistake, so you keep one full 24 in run and add a shallow 12 to 15 in counter on the opposite wall. The shallow side holds the coffee maker, the toaster, and a row of narrow shelves, while all the real work happens on the full-depth wall. You keep a 42 in aisle in a room as narrow as 6 ft 8 in, which a double full-depth layout could never do.
Best for: very narrow galleys, apartments, and anyone whose room measures under 7 ft wall to wall. Main advantage: you keep a real aisle and gain a staging surface without giving up the walkway. Watch out for: the shallow side cannot hold a sink or a cooktop, so all plumbing and cooking stays on one wall, and that wall needs every inch of its 24 to 36 in landing zone between sink and cooktop. Verdict: the smartest fix for a too-narrow room, and far better than squeezing a 36 in aisle between two full runs.
The same-wall sink and cooktop: the linear prep flow
Here is the idea most galley guides get wrong. The old advice puts the sink on one wall and the cooktop on the other so the work triangle looks neat on paper. In a real small galley, that means turning 180 degrees with a hot pan every single time you move from washing to cooking. Put the sink and the cooktop on the same run instead, with 24 to 36 in (61 to 91 cm) of clear counter between them, and you get a straight line: fridge to sink to chopping board to pan, without ever crossing the aisle. The opposite wall becomes storage, a microwave shelf, and a shallow staging counter.
Best for: anyone who cooks real meals daily in a galley under 10 ft long. Main advantage: the fastest, safest prep flow, and the opposite wall stays free for storage instead of splitting your attention across two walls. Watch out for: in a galley longer than 12 ft, the single-wall run gets too long and the walk from fridge to cooktop grows past the 9 ft leg the work triangle allows, so split the stations then. Verdict: my first choice for most small galleys. The triangle is a guideline, not a religion, and a straight line beats a triangle when the room is a corridor.
The pass-through galley: two doors, one rule
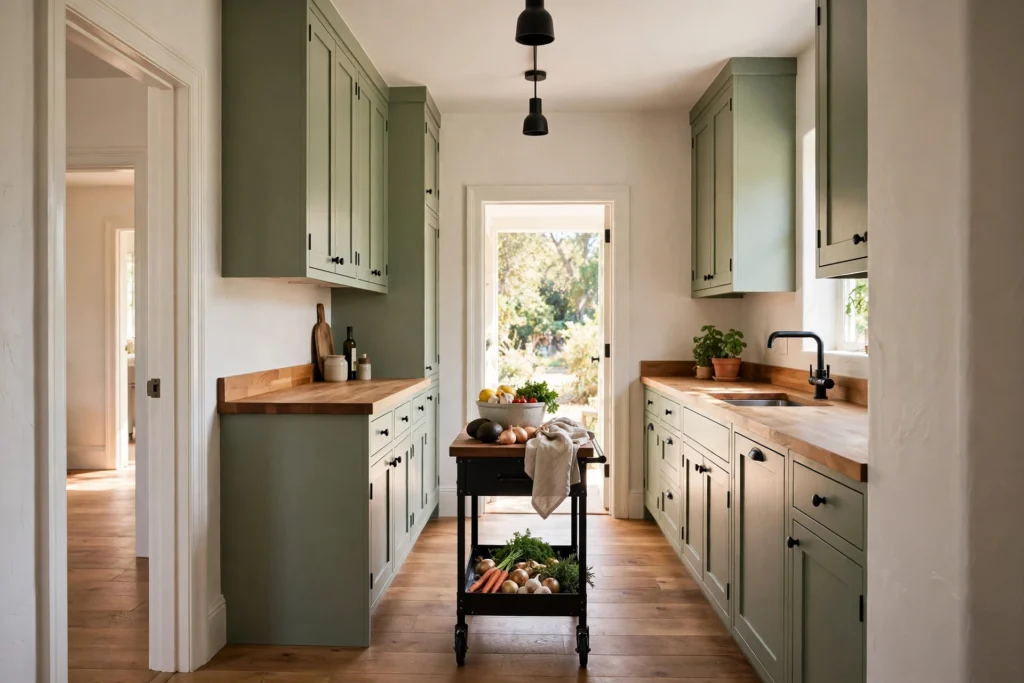
A galley with a doorway at each end is a hallway that happens to have a kitchen in it, and the traffic will interrupt your cooking unless you plan for it. The rule is simple: keep the work zone on one side and let people walk past on the other. Put the sink and cooktop on the same wall, the fridge at the far end, and keep the walking path along the opposite run. If you can block one doorway with a curtain, a pocket door, or a tall cabinet, do it, because a dead-end galley is a better kitchen than a pass-through one. If you cannot, a narrow rolling cart on casters makes a partial barrier that guides foot traffic around your prep zone while leaving a 30 in clear path.
Best for: apartments and older homes where the kitchen connects two rooms. Main advantage: you keep the cooking zone private even while people walk through. Watch out for: a cart used as a barrier must roll away easily, or it becomes the thing everyone trips over, and a fridge door that swings into the walking path will get hit daily. Verdict: workable, but only with the one-side rule. If the sink, cooktop, and fridge are split across both walls in a pass-through galley, every person walking through crosses your work triangle.
The dead-end galley: the closed end is free real estate
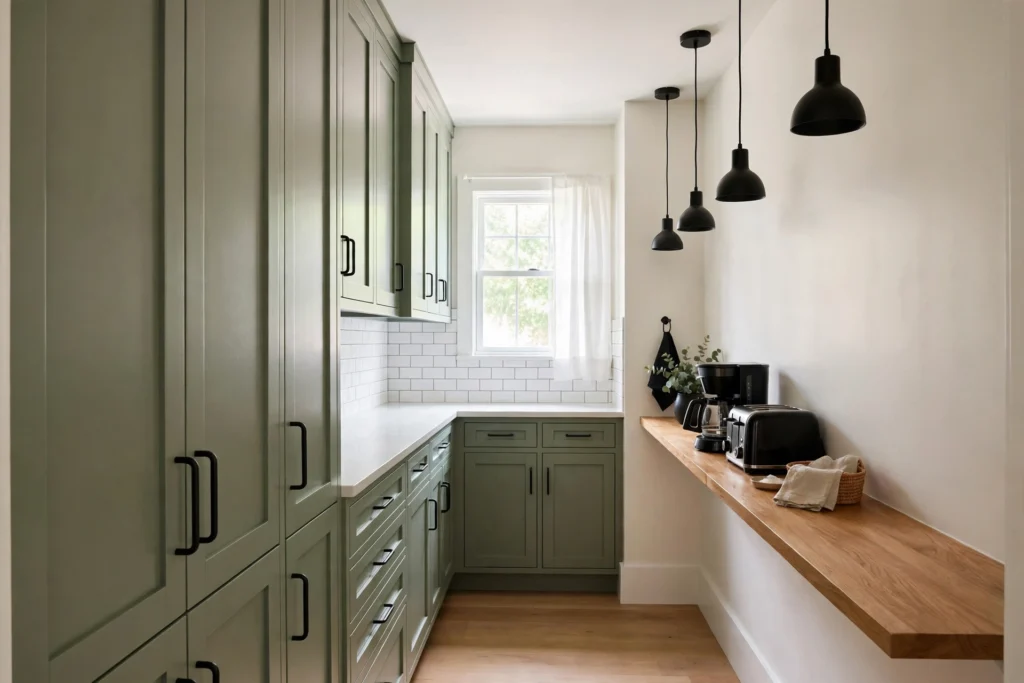
A galley closed at one end is the easiest layout to love, because the end wall is a full wall of storage or a small eating spot that costs you nothing in aisle space. Run tall cabinets to the ceiling on the end wall for the pantry goods and the appliances you use weekly, or fit a shallow breakfast ledge under the window if the end wall has one. A 12 in deep ledge with two stools turns the dead end into a breakfast nook without touching the 42 in aisle.
Best for: homes where the galley does not need to connect two rooms. Main advantage: the end wall adds roughly 15 to 20 sq ft of storage or seating that a pass-through galley simply does not have. Watch out for: tall cabinets at the dead end can make the corridor feel like a tunnel, so keep the upper half open shelving or glass-front doors there. Verdict: the best galley shape to own. If you are choosing between two apartments and one has a dead-end galley, that is a real point in its favor.
The galley with a peninsula at the end
A peninsula is a counter that sticks out from one run at the open end of the galley, and it is the one island-like addition that actually works here. It adds prep space and two seats without eating into the aisle, because it extends the kitchen outward instead of dropping a block into the corridor. Keep it 24 in deep and no longer than 36 to 48 in, and leave at least 36 in of clear floor around its end so people can walk past it.
Best for: open-plan apartments where the galley opens into a living room. Main advantage: extra counter, extra seating, and a clear line between kitchen and living space, all without narrowing the aisle. Watch out for: a peninsula longer than 48 in starts to block the entry, and bar stools tucked under it still need 24 in of knee space each, so measure the stools before you commit. Verdict: the only end-of-galley addition I recommend without hesitation. It gives you 80% of what an island promises at none of the aisle cost.
The galley with a rolling island, not a fixed one
A fixed island in a galley needs 36 in clear on both sides, which means a room at least 11 ft wide once you count the two runs. Almost no real galley is that wide, so the fixed island is the most overrated idea in this whole niche. A rolling cart is the honest version: an IKEA RASKOG runs $39.99 for the full size and $29.99 for the small one as of October 2026, it parks against the wall when you need floor space, and it rolls to the stove when you need a landing spot for a hot pan. The BEKVAM cart, about $129, is the sturdier option if you want a real chopping surface, with a footprint around 23 by 20 in.
Best for: renters and anyone whose galley is under 8 ft wide. Main advantage: you get the extra surface only when you need it, and the aisle stays clear the rest of the time. Watch out for: a cart loaded with heavy pots is tippy, and the small RASKOG is too narrow and too bouncy for real chopping, so use it for staging, not for cutting. Verdict: buy the cart, skip the fixed island. If a designer tells you a fixed island fits your 7 ft galley, ask them to draw the 36 in clearances on both sides and watch the math fail.
Galley kitchen layout ideas for renters: change nothing permanent
Renters get the same layouts with a different toolkit, because nothing here needs a drill or a landlord’s permission. The deposit-risk ratings below run 1 to 5, with 1 meaning it comes off clean and 5 meaning it could cost you. A rolling cart is a 1. Peel-and-stick backsplash tiles are a 2, they come off clean on smooth tile but can lift paint on a rough wall. A tension rod under the sink for spray bottles is a 1. Command strips holding a magnetic knife strip are a 2 if you use the right weight rating and pull the tab slowly at move-out. Over-the-door racks on the pantry door are a 1. A fold-down counter screwed into the wall is a 5, so skip it and use the cart instead. For the full room-by-room renter system, our guide to organizing a small kitchen with no pantry covers the storage side of this same problem, and our under-sink storage ideas solve the cabinet every galley wastes.
Best for: renters in any galley width. Main advantage: every fix here is reversible, and the rolling cart alone solves the two biggest renter complaints, no counter space and nowhere to put the coffee maker. Watch out for: peel-and-stick anything on a textured wall, and Command strips rated below the weight of what you hang. Verdict: the renter’s galley is a cart, a tension rod, and a door rack. That is about $60 of gear and zero landlord emails.
The storage-first galley: tall cabinets and pull-outs
When counter space is the complaint, the answer is usually not more counter, it is fewer things on the counter. Take the cabinets to the ceiling on one wall and fit the inside with pull-outs: tray dividers for baking sheets, a 12 to 18 in pull-out pantry for the gap beside the fridge, a toe-kick drawer under the base cabinets for flat pans, and a roll-out tray under the sink for cleaning supplies. A floor-to-ceiling pantry cabinet only 18 in wide holds more than an entire run of upper cabinets, and it frees the wall above your prep counter for a shallow 12 in shelf instead of a bulky upper cabinet.
Best for: cooks with more gear than counter. Main advantage: every pull-out turns dead cabinet space into reachable storage, and the prep counter stays clear. Watch out for: pull-outs cost more than shelves, and a pantry cabinet at the wrong end of the galley puts your most-used ingredients far from the cooktop. Verdict: spend the money inside the cabinets before you spend it on the outside. A $40 pull-out beats a $400 counter extension that narrows your aisle.
The light-and-color galley: make the corridor feel wider
A galley feels narrow because both walls close in on you, so the fix is to open the sightlines. Light cabinets and counters on both walls, one wall of open shelving instead of upper cabinets, and a single continuous floor running the full length all pull the eye down the room instead of across it. Under-cabinet LED strips matter more here than anywhere else in the house, because upper cabinets on both sides shade both counters. Paint the end wall one shade deeper than the side walls to give the corridor a destination, and hang a runner rug the full length of the aisle to define the walkway. For the color side of this in detail, our small kitchen layout guide covers the palette choices that keep a narrow kitchen bright.
Best for: dark galleys, windowless galleys, and anyone who feels closed in. Main advantage: the cheapest transformation on this list, most of it paint and light rather than construction. Watch out for: open shelving only works if you keep it tidy, and a dark end wall in a windowless galley can feel like a dead end rather than a focal point. Verdict: do the lighting first, the paint second, and the open shelving last. Light is the layout decision most people skip, and it changes the room more than any cabinet swap.
The tape test: prove the layout before you buy anything
Do not trust a floor plan. Tape it. Mark the counter fronts on the floor with painter’s tape, then mark the 42 in aisle between them, and live with the tape for a weekend. Open the oven door and check that it does not trap you against the opposite counter. Drop the dishwasher door and check that you can still stand beside it to load plates; a 24 in dishwasher door needs 24 in of aisle plus your body, which is why a drawer dishwasher that slides out horizontally is worth its price in a 36 in aisle. Swing the fridge door and check it does not block the only entry. Walk the tape with a laundry basket in your hands, because that is how you will actually move through the room. If the tape feels tight, the layout is tight, and no cabinet catalog will change that.
What to skip
Skip the fixed island unless your room is 11 ft wide, because the clearance math does not bend. Skip upper cabinets on both walls down the whole length, because they turn the corridor into a tunnel and shade both counters. Skip splitting the sink and cooktop across opposite walls in a galley under 10 ft, because the 180-degree turn with a hot pan is a daily annoyance, not a design choice. Skip a full-depth second run in a room under 7 ft wide, because a 36 in aisle with an oven door open is a safety problem, not a cozy kitchen. And skip buying storage products before you measure, because a pull-out that does not fit your cabinet is just an expensive box.
What it costs
Prices checked live in October 2026. A renter’s starter kit runs about $104: a full-size RASKOG cart at $39.99, a small one at $29.99 for the gap beside the fridge, and a BEKVAM cart at about $129 if you want the sturdier chopping surface, though most renters can stop at the two RASKOG carts for about $70. The bigger number is the slim dishwasher: a Bosch 18 in 300 Series runs $1,099.98 at P.C. Richard, and the 800 Series 18 in runs $1,449.98, both in stock as of October 2026. That is a lot for a dishwasher, and it is the reason to check the aisle math first: if a 24 in dishwasher door cannot drop in your aisle, the $1,100 slim model is not a luxury, it is the only dishwasher that fits. Add under-cabinet LED strips at roughly $25 to $40 a run and a magnetic knife strip at roughly $20 to $30, and a full galley refresh without construction lands around $150 to $250 for a renter and $1,300 to $1,700 for an owner adding the slim dishwasher.
| Item | Price (Oct 2026) | Who needs it |
|---|---|---|
| IKEA RASKOG cart, full size | $39.99 | Renters, narrow galleys |
| IKEA RASKOG cart, small | $29.99 | Gaps beside the fridge |
| IKEA BEKVAM cart | ~$129 | Sturdy chopping surface |
| Bosch 18 in dishwasher, 300 Series | $1,099.98 | Aisles under 42 in |
| Bosch 18 in dishwasher, 800 Series | $1,449.98 | Quieter, third rack |
| Under-cabinet LED strip, per run | $25 to $40 | Every galley |
| Magnetic knife strip | $20 to $30 | Freeing drawer space |
Frequently Asked Questions
What is the minimum aisle width for a galley kitchen?
The absolute minimum is 36 in (91 cm) between counter fronts, and at that width you are building a one-person kitchen. The NKBA recommends 42 in (107 cm) for one cook and 48 in (122 cm) for two cooks, because a dishwasher or oven door dropping into the aisle needs that space. If your room cannot give you 42 in with two full runs, make one run shallow instead of squeezing the aisle.
Should the sink and cooktop be on the same side in a galley?
Yes, for most small galleys. Putting them on the same run with 24 to 36 in of clear counter between them creates a straight prep line, so you never turn 180 degrees with a hot pan. Split them across opposite walls only in a galley longer than 12 ft, where the single-wall run gets too long and the walk from fridge to cooktop grows past the work-triangle limit.
Can I have a dishwasher in a small galley kitchen?
Yes, but choose an 18 in slim model or a drawer dishwasher that slides out horizontally. Place it next to the sink to share the plumbing, and check the door math first: a standard 24 in dishwasher door needs 24 in of aisle plus room for you to stand beside it. Bosch 18 in models run $1,099.98 for the 300 Series and $1,449.98 for the 800 Series as of October 2026.
Which galley kitchen layout ideas work best in a rental?
The rolling cart, the tension rod under the sink, and over-the-door racks, because all three are fully reversible and cost about $60 to $70 together. Skip anything screwed into the wall, including fold-down counters, and skip peel-and-stick tiles on textured walls. A cart parked against the wall gives you the extra counter a rental galley always lacks, and it rolls away when you need the floor.
The short version
Measure the aisle before you fall in love with a cabinet. In a real 8 by 12 ft galley, two 24 in runs plus a 42 in aisle need 7 ft 6 in wall to wall, and the aisle alone is 44% of the room, so the aisle is the layout. The best galley kitchen layout ideas all protect that aisle: a double-wall classic when the room is wide enough, a shallow second run when it is not, the sink and cooktop on the same wall for a straight prep line, and a rolling cart instead of a fixed island. Tape the layout on the floor, open every door, and let the numbers decide. For the rest of the house, our room-by-room organization system ties every room’s layout together the same way, one measurement at a time.