Renter-Friendly Home Upgrades: The Complete Damage-Free Guide for Every Room
Renting does not mean living in a blank box until your lease ends. The best renter friendly home upgrades change how a place feels without changing the place itself. Everything here peels off, unscrews, unplugs, or walks out the door with you on move-out day.
Here is the original math behind this guide. A standard 8 ft by 10 ft (244 cm by 305 cm) accent wall is 80 sq ft (7.4 sq m). One roll of peel-and-stick wallpaper at 20.5 in by 16.5 ft (52 cm by 5 m) covers about 28 sq ft (2.6 sq m), so that wall needs 3 rolls. At $35 per roll (Target, checked October 2026), the whole wall costs $105, which works out to $4.38 a month over a 24 month lease. That is the renter way of thinking: cost per month, not just sticker price.
What Are Renter Friendly Home Upgrades?
Renter friendly home upgrades are changes you can fully undo. If it needs patching, sanding, caulking, or an electrician to reverse, it is not a renter upgrade. It is a renovation, and your deposit will hear about it.
The rule I use is simple. Ask one question before you buy anything: can I return this room to exactly how I found it in under an hour? Adhesive hooks pass. A peel-and-stick backsplash passes. A drilled shelf does not, no matter how good it looks on the day you put it up.
There is one more rule, and it matters more than any product. Read your lease’s alterations clause before you spend a dollar. Most leases allow small cosmetic changes, but some want written approval for anything stuck, screwed, or swapped. A short message to your landlord with a photo of what you plan beats an argument about your deposit later. Landlords say yes far more often when the plan is clearly reversible.
Two guides worth reading alongside this one are the Bunnings renter-friendly home upgrades guide and the Vinyl Home renter-friendly makeovers guide.
How Do Renter Friendly Home Upgrades Protect Your Deposit?
Your deposit is protected by evidence, not by good intentions, and our lease and deposit guide for renters shows how to build that evidence. Do three things before you change anything, and the move-out inspection gets much easier.
First, photograph everything on move-in day. Walls, baseboards, floors, cabinet fronts, appliances, and window coverings, all with timestamps. A short walk-through video works too. This proves which scuffs were already there.
Second, keep every original. Bulbs, showerheads, cabinet knobs, curtain hardware, and light fittings go into one labeled bag in a closet. You reinstall them before you leave, and the place looks untouched.
Third, pick upgrades by their deposit risk, not just by their looks. Here is my honest rating for the upgrades in this guide, on a scale of 1 (safest) to 5 (riskiest):
| Upgrade | Deposit risk (1-5) | Why |
|---|---|---|
| Area rugs and runners | 1 | Nothing sticks, nothing drills, and rugs protect the floor underneath |
| Freestanding shelves and furniture | 1 | They leave with you and never touch the walls |
| Adhesive hooks and hanging strips | 2 | Safe on smooth paint and tile, risky on flaky or matte paint |
| Plug-in lighting and LED strips | 2 | No wiring changes, but check strip adhesive on painted surfaces first |
| Peel-and-stick backsplash | 2 | Clean on tile and laminate, test one tile in a hidden spot for 48 hours first |
| Peel-and-stick wallpaper | 3 | Beautiful on smooth walls, can lift weak paint on removal |
| Swapped cabinet hardware | 2 | Fully reversible if you keep the originals and do not strip a screw |
| Swapped showerhead or faucet aerator | 2 | Screws back on, but keep the original and do not overtighten |
| Peel-and-stick floor tiles | 3 | Great on vinyl and laminate, avoid them on real hardwood |
| Tension rods | 1 | Pressure only, no marks if the ends are clean |
The pattern is clear. The risk is almost never the product. It is the surface underneath it. Test every adhesive in a hidden spot first, and never stick anything to paint that is flaking, chalky, or less than four weeks old.
Which Renter Friendly Home Upgrades Should You Do First?
Start with the rooms you touch every day, in this order: entryway, bedroom, kitchen, living room, then everything else. A rental feels finished when the first room you walk into and the last room you sleep in both feel like yours. The rest can wait.
Do lighting before decor. Most rentals have one harsh ceiling light per room, and that single light flattens everything. Swap cool bulbs for warm LEDs in the 2700K-3000K range, add one table or floor lamp, and put a plug-in sconce or LED strip where you actually sit. The room changes before you hang a single picture.
Then do the starter kit. These are the cheapest high-impact buys, with prices checked in October 2026:
| Starter-kit item | Price checked October 2026 | What it does |
|---|---|---|
| Command assorted picture hanging strips, 12 pairs | $9.89 at Staples | Hangs a whole gallery wall with zero holes |
| Peel-and-stick wallpaper, one roll (20.5 in by 16.5 ft, 52 cm by 5 m) | $35.00 at Target, in stock | Covers about 28 sq ft (2.6 sq m) of accent wall |
| Tension rod, standard window size | About $10 | Hangs curtains or hides under-sink clutter with no brackets |
| Warm LED bulbs, pack of 4 | About $12 | Fixes the harshest thing in most rentals in ten minutes |
| Large area rug, 5 ft by 7 ft (152 cm by 213 cm) | About $60 and up | Zones a room and hides the floor you did not choose |
A full starter kit lands around $125. Spread over a 12 month lease, that is about $10 a month to stop living in a blank box. And most of it moves with you to the next place, so you only pay once.
One more honest opinion. Peel-and-stick wallpaper is the most overrated renter upgrade and the most underrated one at the same time. It is overrated as a whole-room project, because matching patterns across corners is fiddly work. It is underrated as a single accent wall, because one wall takes an afternoon and changes the whole room. Do one wall, not four.
Renter Friendly Home Upgrades Room by Room: The Complete Hub
This guide is the hub. Each room below has its own full guide on this site, with the detailed steps, product picks, and room-specific tricks. Use this section to pick your next project.
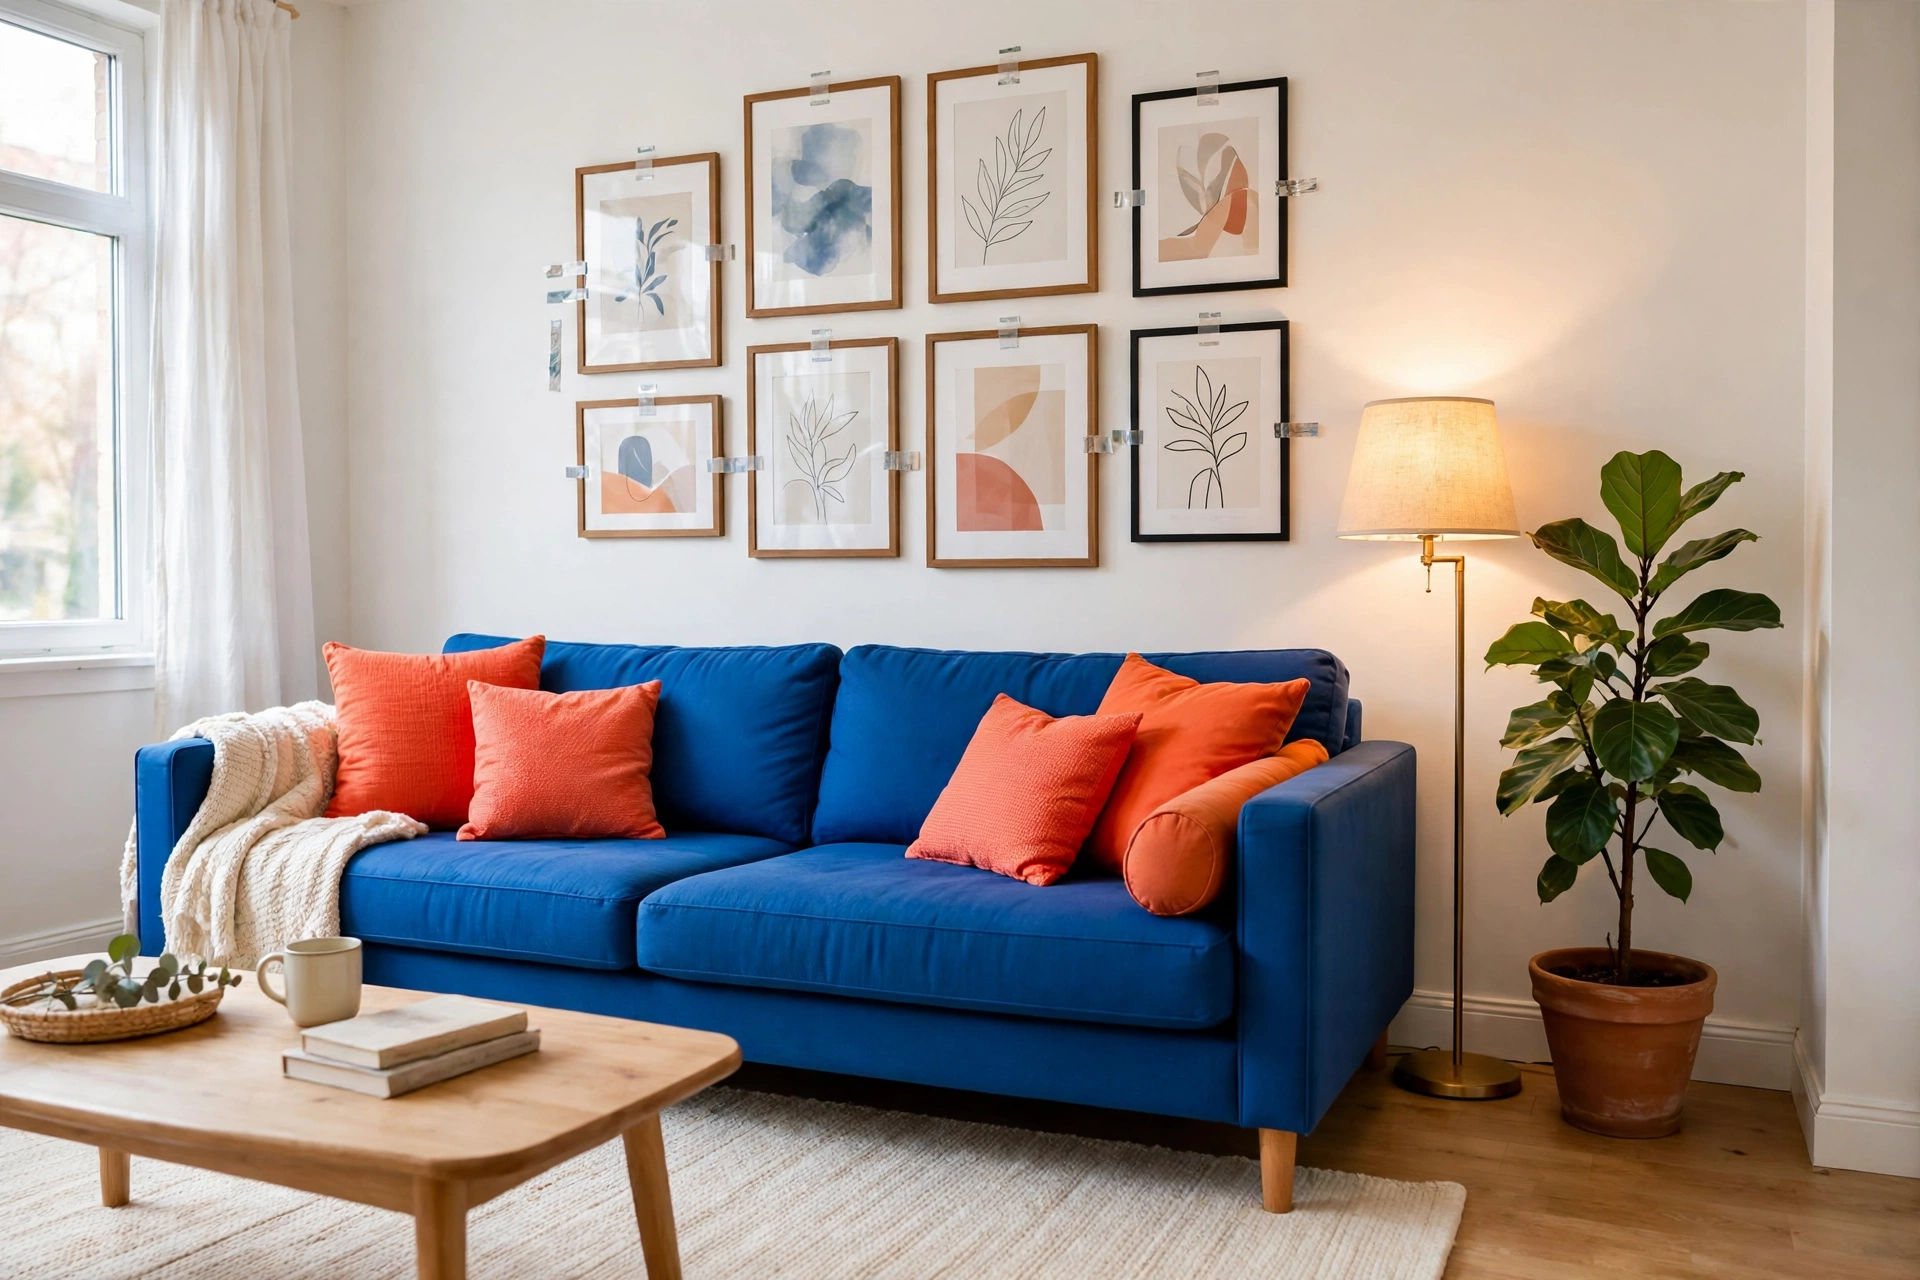
Walls. Start with renter-friendly wall ideas for adhesive hooks, hanging strips, and gallery walls that leave no marks. Walls are the fastest win in any rental.
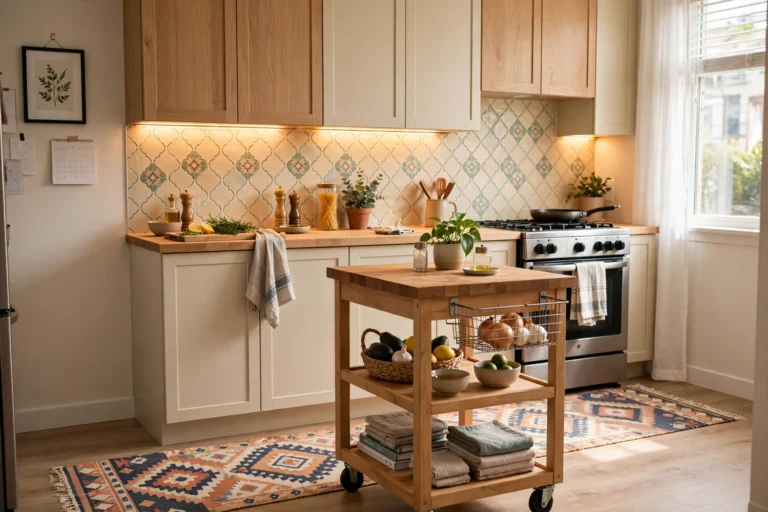
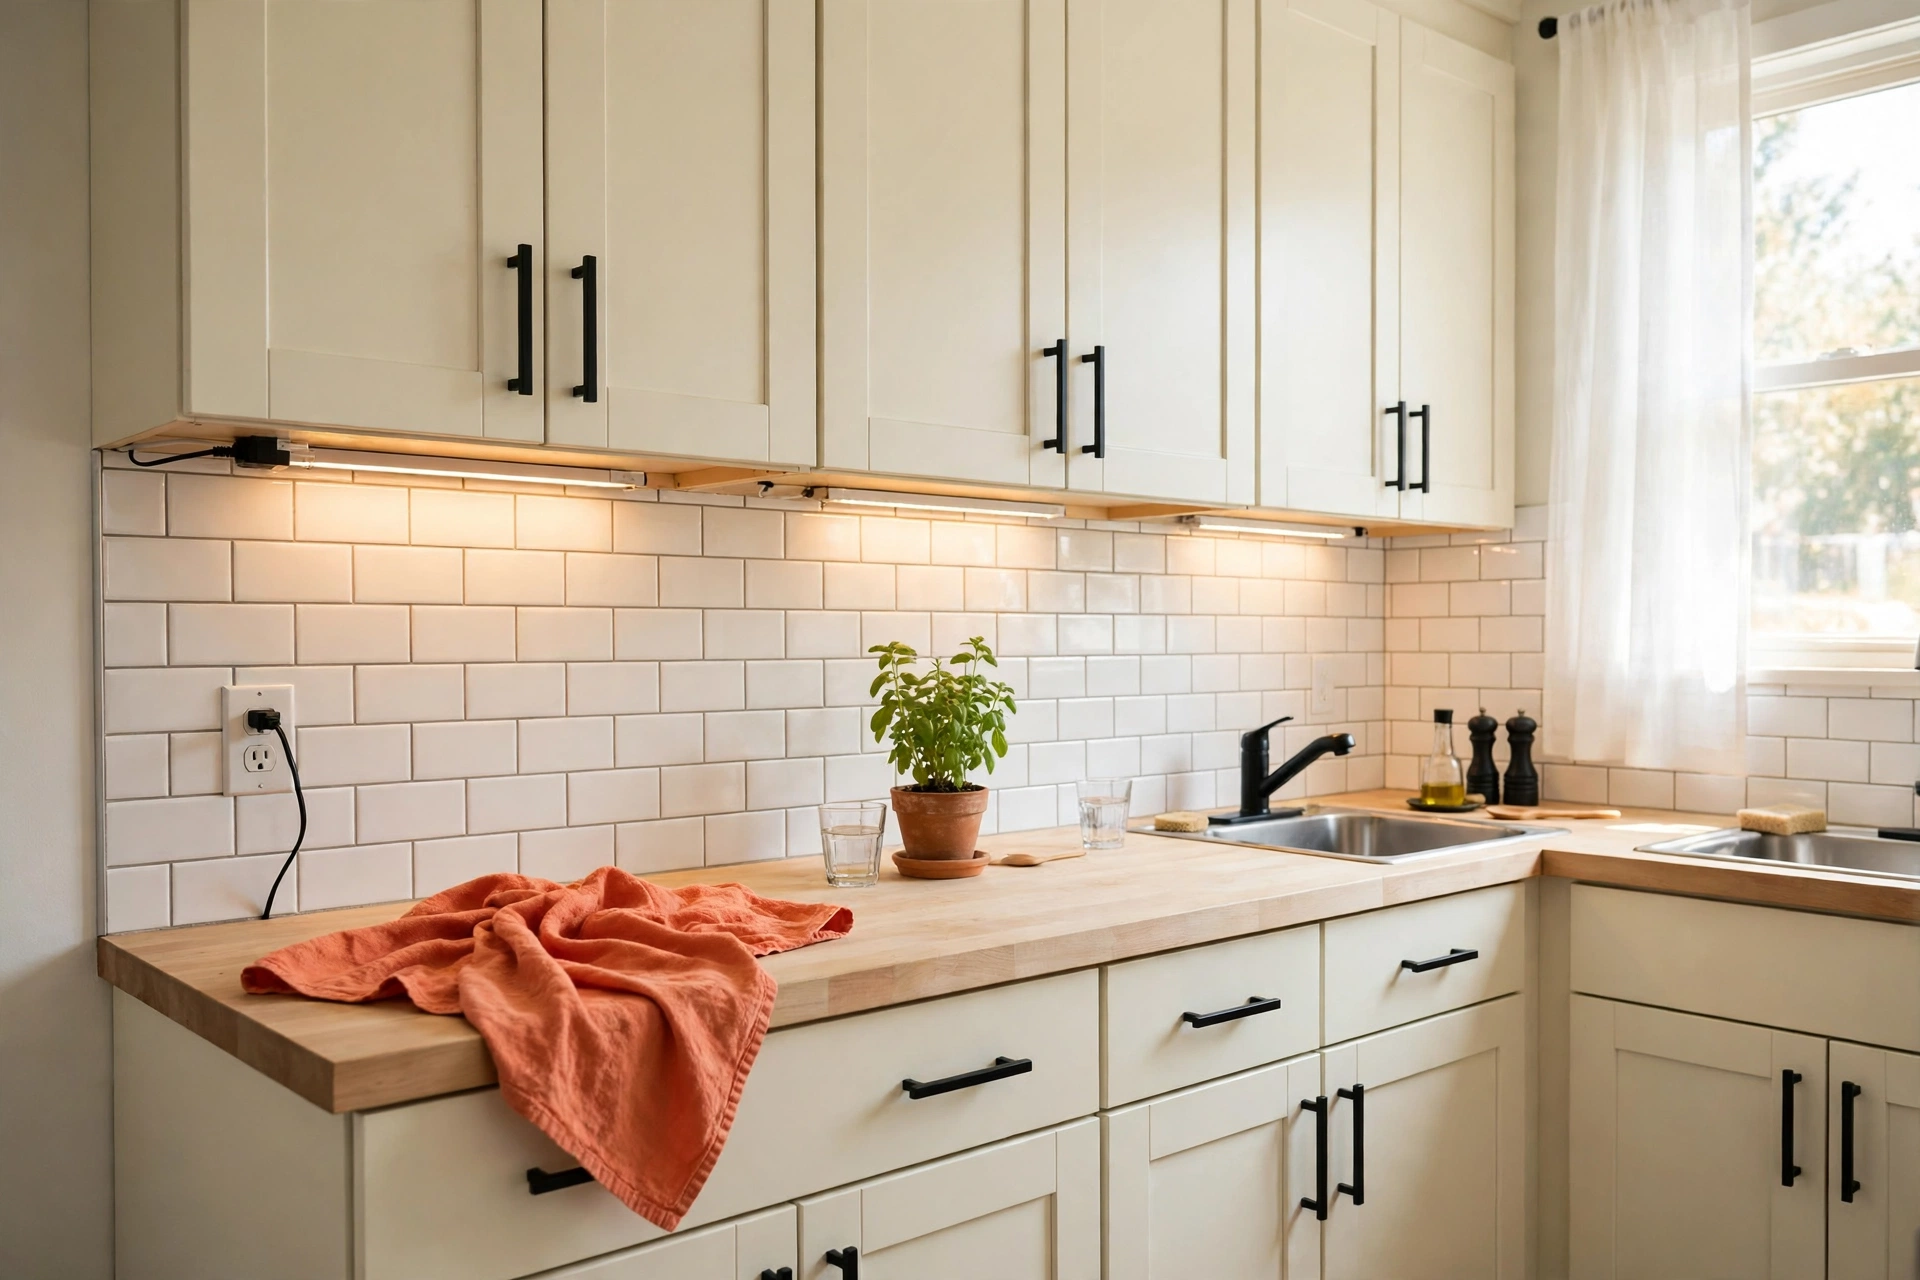
Kitchen. Our renter-friendly kitchen upgrades cover peel-and-stick backsplashes, hardware swaps, and countertop wraps. If money is tight, the renter-friendly kitchen upgrades under $50 list proves how far a small budget goes.
Bathroom. The renter-friendly bathroom upgrades need zero drilling: showerhead swaps, over-door storage, and adhesive organizers that survive humidity.
Floors. Ugly rental floors are fixable without glue. Renter-friendly flooring ideas cover rugs, peel-and-stick tiles, and interlocking tiles that lift cleanly.
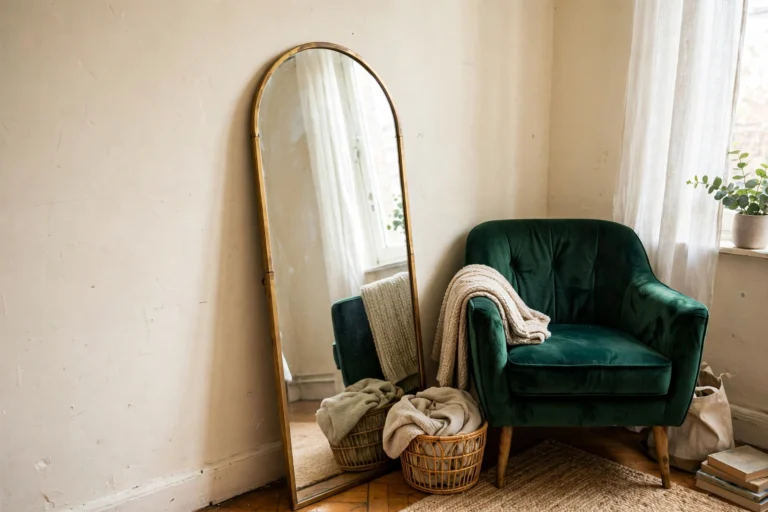
Living room. Renter-friendly living room upgrades show how rugs, lighting layers, and freestanding shelves make a rental feel like home instead of a waiting room.
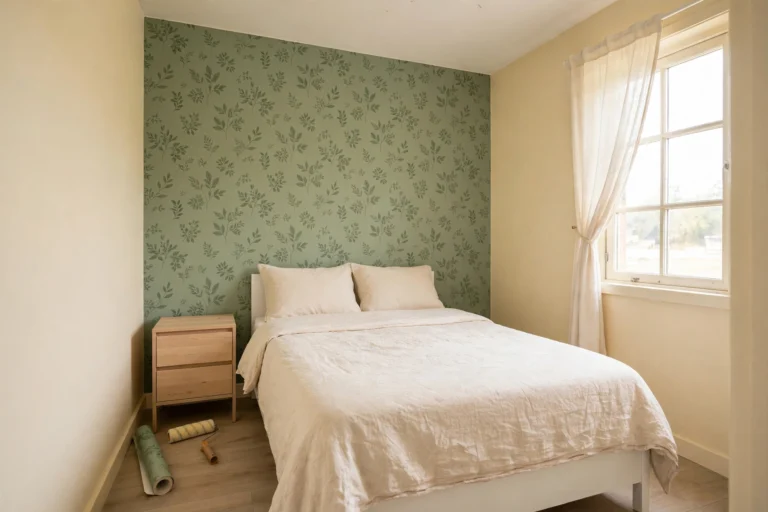
Bedroom. Your bedroom should feel like yours first. Renter-friendly bedroom upgrades cover bedding layers, no-drill headboard tricks, and warm lighting for better sleep.
Lighting. If you only fix one thing, fix the light. Renter-friendly lighting ideas need no electrician: plug-in sconces, LED strips, and bulb swaps only.
Ceilings. Yes, even the ceiling is fixable. Renter-friendly ceiling ideas hide stains and dated textures without paint or drilling.
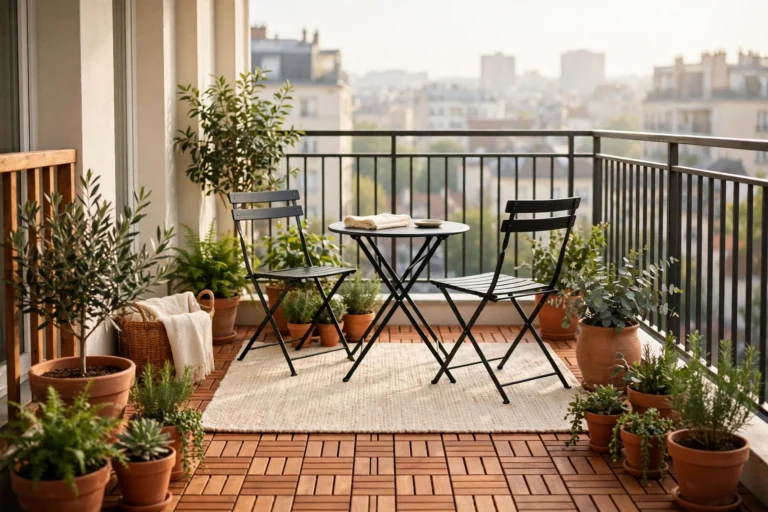
Balcony. A bare balcony is wasted space. Renter-friendly balcony ideas turn it into an extra room with outdoor rugs, freestanding planters, and battery lights.
Entryway. The first thing you see sets the tone. Renter-friendly entryway ideas add hooks, a slim console, and a rug that catches dirt before it reaches the rest of the place.
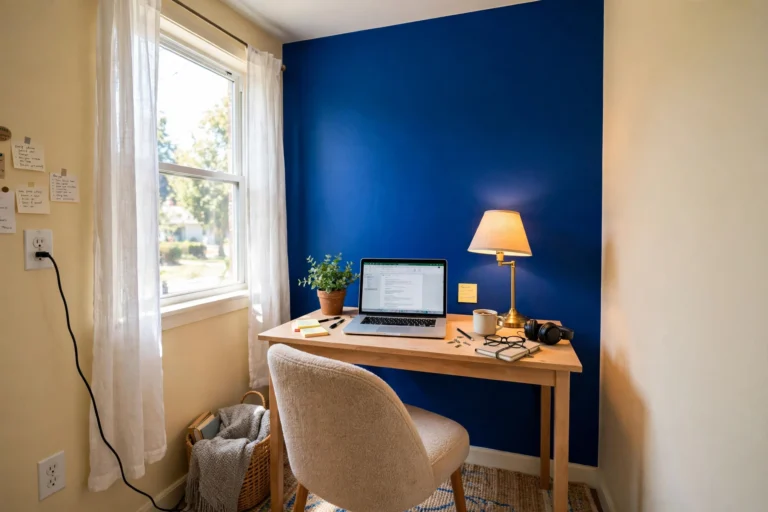
Home office. Working from a rental corner is a real setup, not a compromise. Renter-friendly home office ideas cover no-drill desk zones, cable control, and lighting that looks good on video calls.
Two rooms still have no dedicated renter guide on this site yet: the dining room and the kids’ room. They are next in this silo. Until then, the wall, lighting, and flooring guides above cover most of what those rooms need.

What Should You Skip in a Rental?
Some upgrades look tempting and cost deposits. Skip these, even if a video makes them look easy.
Permanent tile or grout. Real backsplash tile needs adhesive and grout, and removal means chipped walls. Peel-and-stick gives you the same look and peels off. If you are torn between the two, our peel-and-stick vs paint for renters comparison settles which one actually saves your deposit.
Hardwired lighting changes. Swapping a wired fixture is an electrician’s job and a lease violation in most rentals. Plug-in sconces and pendant adapters that use existing sockets give you the same glow with zero wiring.
Paint without written approval. Paint is the classic deposit trap. Even a perfect paint job can cost you if the lease wants the original color back. If your heart is set on color, peel-and-stick wallpaper on one wall is the reversible version.
Heavy wall anchors. Anything that needs a wall anchor needs a drill, and a drill means patching and repainting later. If a piece is too heavy for adhesive strips, it belongs on furniture, not on a rental wall.
Cheap adhesive on weak paint. This is the quiet one. A bargain strip on flaky paint can pull a patch of paint off with it. Test first, buy the right weight rating, and never hang over a bed.

How Do You Reverse Everything on Move-Out Day?
Reversal is a job with an order, and the order saves you time. Work top to bottom and sticky stuff last, so you are not cleaning the same surface twice.
- Take down wall decor. Pull hanging strips slowly straight down toward the floor, at least 12 in (30 cm), exactly as the maker instructs. Never yank outward.
- Peel wallpaper and backsplash with a hairdryer on low heat. Warm adhesive releases cleanly. Cold adhesive tears paint.
- Swap back every original: knobs, showerhead, bulbs, curtain hardware, and light fittings from your labeled bag.
- Roll up rugs and floor tiles. Vacuum and mop the floors underneath so the place looks better than move-in day.
- Wipe every surface where adhesive sat, with warm soapy water or rubbing alcohol on a hidden test spot first.
- Walk the place with your move-in photos open on your phone. Compare room by room, and fix anything that does not match before the inspection.
Do this the weekend before inspection, not the morning of it. Adhesive residue is easy on Saturday and stressful on moving day.
The Short Version
These upgrades work when they follow one rule: everything must be undoable in under an hour. Photograph the place first, keep every original in a labeled bag, test adhesives in a hidden spot, and start with lighting and one accent wall. Do the rooms you live in first, skip anything that needs a drill or an electrician, and reverse it all in order on move-out weekend. Your deposit stays yours, and the place feels like home while you live there.

Frequently Asked Questions
What are some renter-friendly ways to upgrade a home?
The easiest renter-friendly upgrades are adhesive hooks and picture hanging strips, peel-and-stick wallpaper or backsplash tiles, plug-in sconces and LED strips, swapped cabinet handles, tension-rod curtains, and large area rugs. Choose updates you can remove or take with you when you move, and keep every original fixture in a labeled bag.
Can renters use peel-and-stick tiles and adhesive vinyl?
Yes, peel-and-stick tiles, vinyl wraps, and films give a non-permanent way to update backsplashes, benchtops, floors, and cabinetry. They work best on smooth surfaces like ceramic tile, glass, laminate, and metal. Always check with your landlord first, and test one piece in a hidden spot for 48 hours, because some adhesives can lift weak or matte paint during removal.
How can I improve the lighting in a rental without drilling?
Swap harsh bulbs for warm LEDs in the 2700K-3000K range, add table and floor lamps for a second layer of light, and use plug-in sconces or battery puck lights for accent light. Pendant adapters that use existing sockets can replace a dated ceiling light without touching any wiring. Keep the old fittings so you can swap them back when you move.
Can I change cabinet handles in a rental property?
Yes, replacing cabinet handles or drawer pulls refreshes kitchens, wardrobes, and bathroom drawers without changing the cabinetry itself. It is one of the lowest-risk upgrades, as long as you keep the original hardware in a safe place, use the right screwdriver size so you do not strip a screw, and check with your landlord before making changes.