Small Fridge Organization Ideas: 10 Systems That Fit a Tiny Fridge
Small fridge organization ideas work best when you organize by temperature zone first and by container second. Put ready-to-eat food on the top shelf, dairy on the middle shelf, raw meat sealed on the bottom shelf, condiments in the door, and produce in the crisper. Keep the fridge at or below 40 F (4 C), the FDA limit. The original element in this post is a computed shelf-fit table: on a 24 in (61 cm) wide shelf, three 7 in (18 cm) wide produce bins use 21 in (53 cm) and leave 3 in (8 cm), while an 11 in (28 cm) turntable plus one bin uses 18 in (46 cm) and leaves 6 in (15 cm). Everything else in this post follows from those two facts, the zone map and the fit math.
Quick answer box:
Best pick: The Brightroom 4-piece bin set, $26.00, plus the rectangular lazy susan, $12.00. Together they fix the two biggest small-fridge problems, loose items and the dead back row, for $38.00.
Budget pick: Two 2-packs of small produce bins with lids, $13.00 each, for $26.00 total. They stop berries and greens from getting lost and crushed.
Skip: A full matching bin set for every shelf before you have drawn the zone map. Bins without zones just move the mess into prettier boxes.
A small fridge is not a small problem. It is the same food, the same weekly shop, and the same family, squeezed into half the cold space. Most advice about it talks about dorm fridges instead of the best mini fridge for small apartment living. That is a different fridge. This post is about the regular small fridge in a small kitchen, the top-freezer kind that is about 28 in (71 cm) wide, with two or three shelves, one crisper drawer, and a door that holds more than it should. If your kitchen has no pantry at all, start with the no-pantry kitchen system first, because the fridge cannot carry what a pantry should hold. A small pantry takes the dry goods, so the fridge only holds what must stay cold. Once the dry goods have a home, these 10 systems make the cold part work.
Small Fridge Organization Ideas: The Zone Map That Comes First
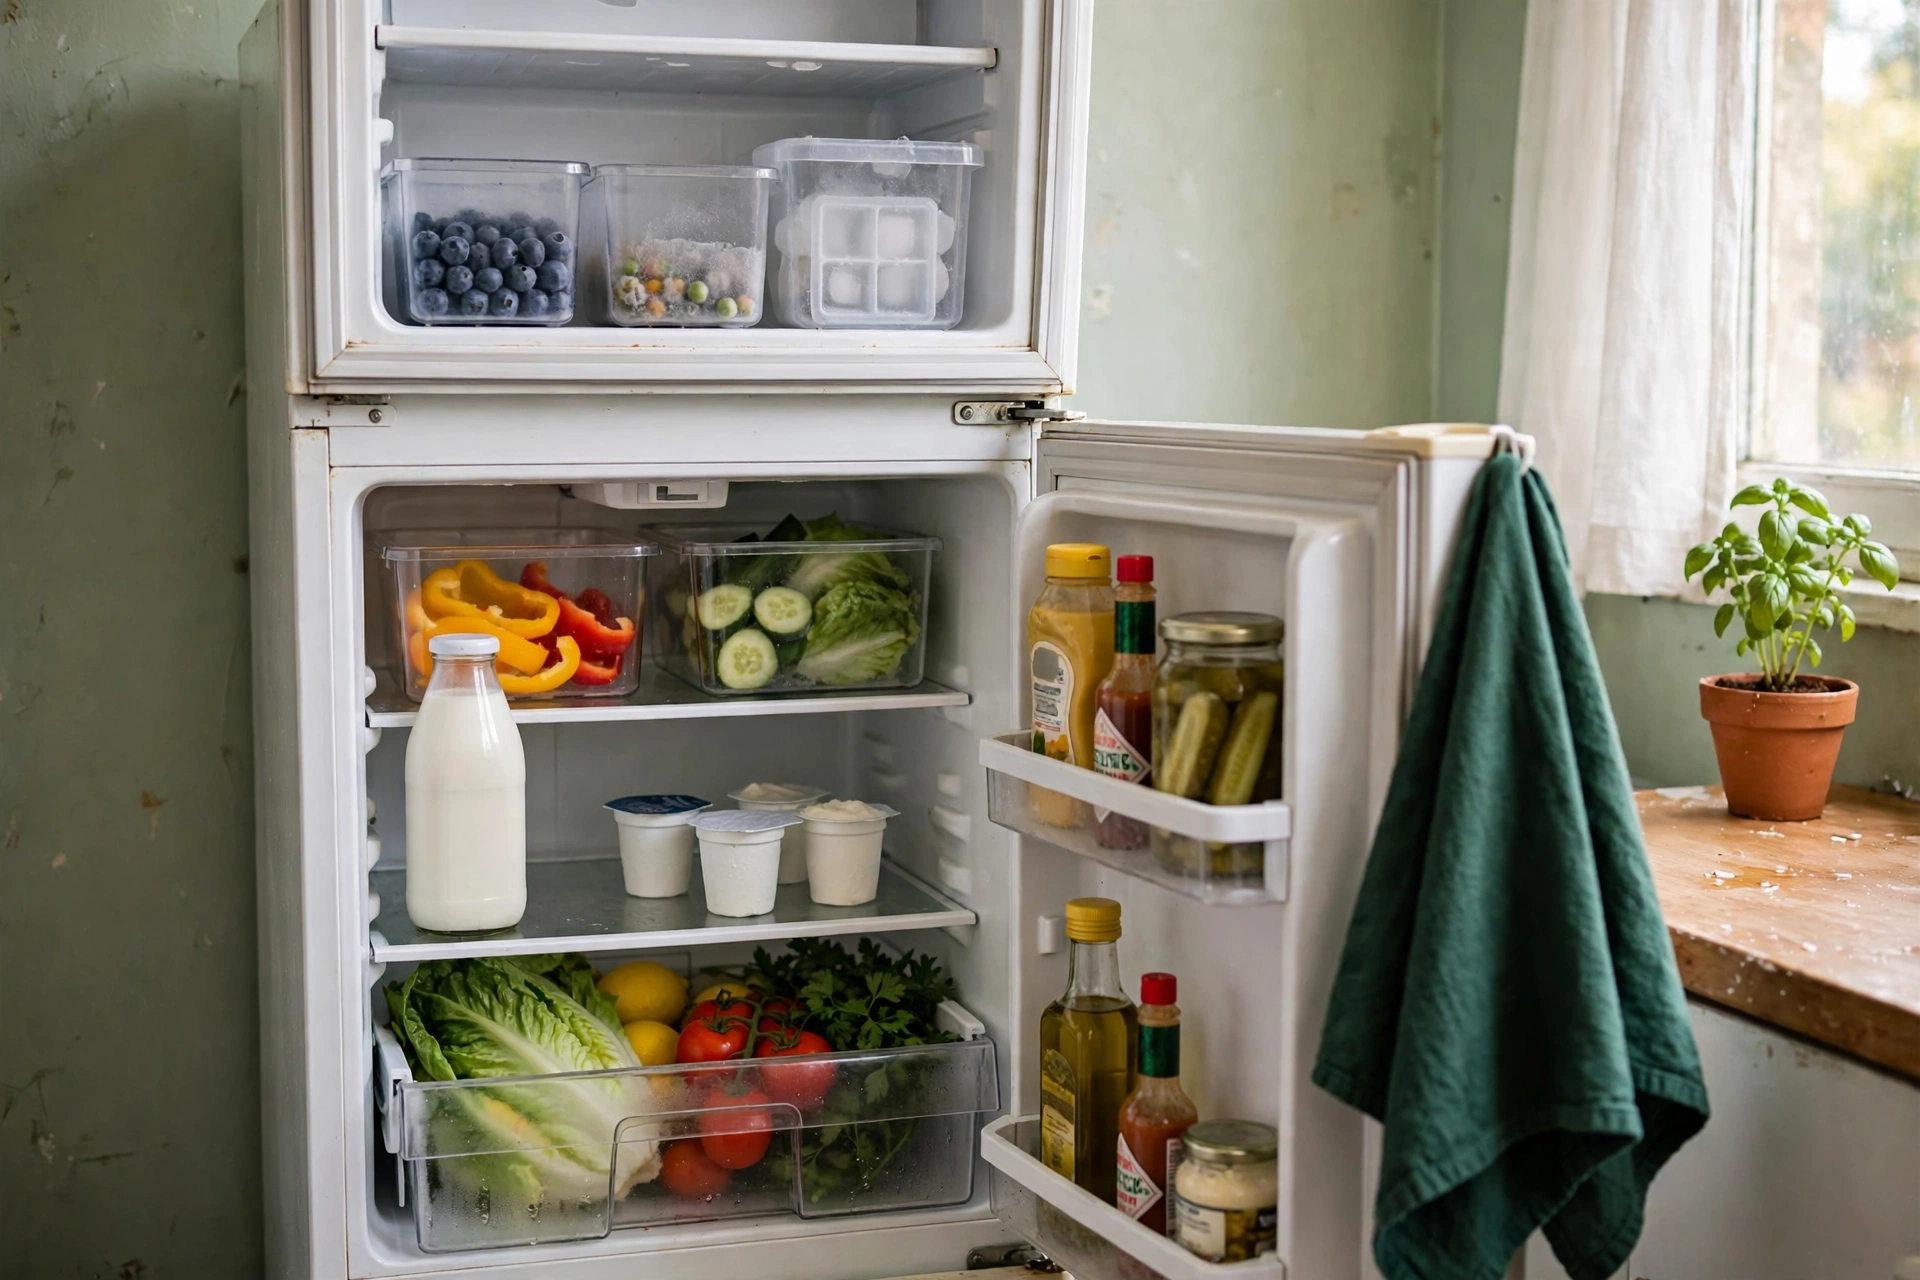
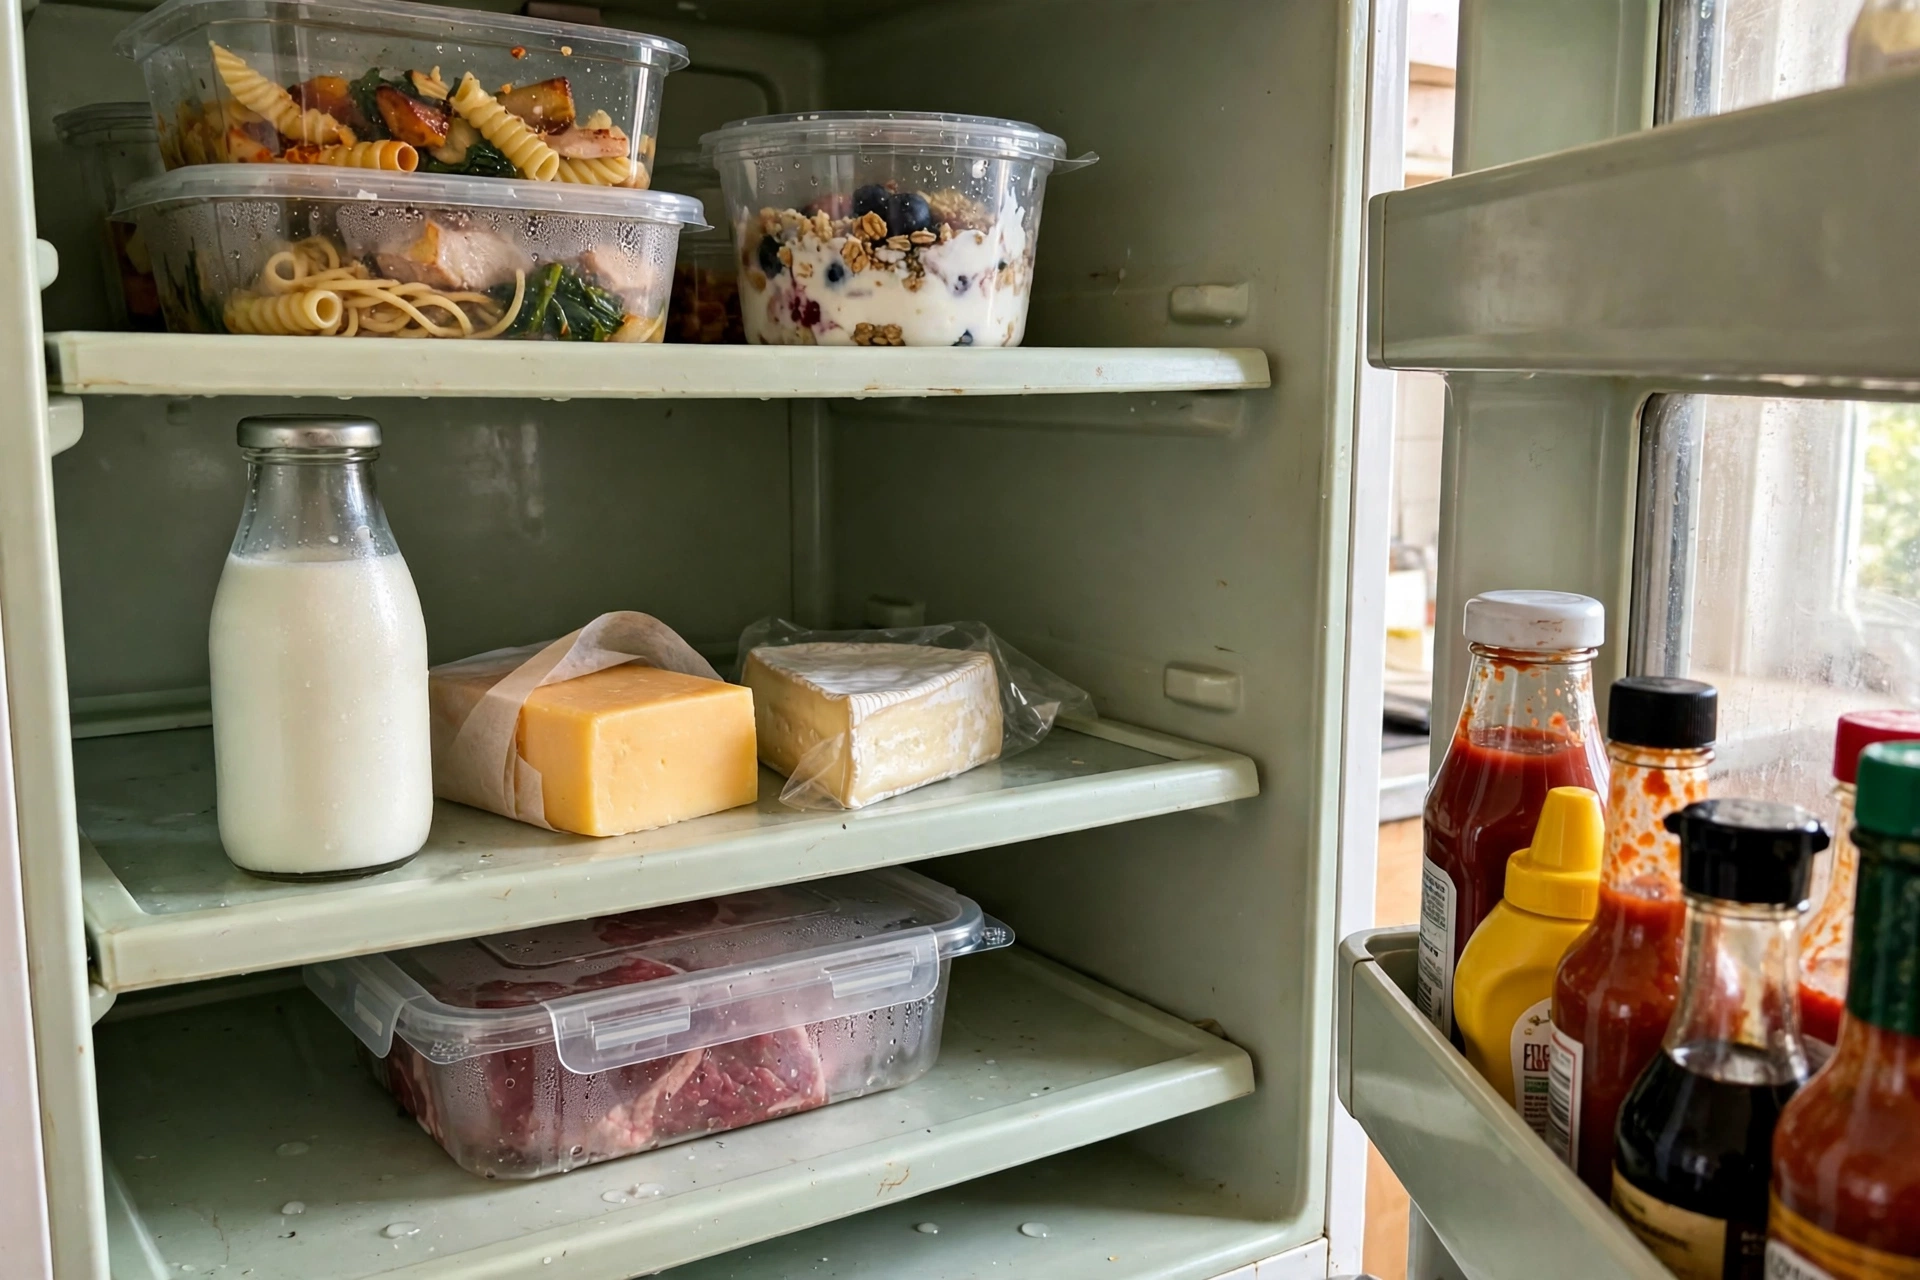
A fridge is not one cold box. It is 5 zones, and each zone runs at a different temperature. The top shelf is the most steady, so ready-to-eat food goes there. The middle shelf holds dairy. The bottom shelf is the coldest, so raw meat goes there, sealed, where drips cannot fall on anything below it. The door is the warmest spot, often several degrees warmer than the shelves, so only condiments and drinks belong there. The crisper drawer holds produce at controlled humidity. That is the whole system in 5 lines, and every idea below assumes it.
Why does the order matter? Because a small fridge punishes mistakes faster than a big one. In a big fridge, milk in the door still stays cold enough most days. In a small fridge, the door swings through a bigger temperature change every time it opens, and milk stored there can spend hours above 40 F (4 C). The FDA limit is 40 F (4 C) or below for a fridge, and the UK Food Standards Agency says 5 C or below. One cheap fridge thermometer, about $5, tells you the truth about your own fridge in 24 hours. Buy the thermometer before you buy any bins. That is the cheapest fix in this whole post.
10 Small Fridge Organization Ideas That Fit a Tiny Fridge
1. Draw the zone map on paper first
Best for: Every small fridge, before you buy anything.
Main advantage: You stop moving food around by guesswork. Each item gets one zone, and the zone never changes.
Watch out for: Do not copy a zone map from a big French-door fridge. A small top-freezer fridge has no deli drawer and no middle drawer, so the map is simpler, and that is fine.
Verdict: Do this first. It costs $0 and 10 minutes, and it makes every other idea work.
Not for: Nobody. If you skip this step, the bins in idea 2 will hold the wrong food in the wrong place.
Write the 5 zones on a sticky note and put it on the fridge door for 2 weeks. Top shelf: leftovers, cooked food, yogurt, hummus. Middle shelf: milk, cheese, eggs in their carton. Bottom shelf: raw meat and fish, sealed. Door: ketchup, mustard, sauces, juice. Crisper: fruit and vegetables. After 2 weeks you will know the map by heart, and you can take the note down.
2. One shallow bin per loose category
Best for: Small items that roll, slide, or get buried, like yogurt pots, cheese sticks, and sauce packets.
Main advantage: You pull out one bin instead of moving 12 items to reach the one at the back. A shallow bin, about 4 in (10 cm) tall, lets you see everything inside it at a glance.
Watch out for: Deep bins hide food. If the bin is taller than 6 in (15 cm), you cannot see the bottom layer, and the bottom layer goes bad.
Verdict: The single best purchase in this post. Two or three bins fix more mess than a full matching set.
Not for: Big items that already have a shape, like a milk jug or a whole chicken. Those do not need a bin.
The rule is one bin per category, not one bin per item. Snacks in one bin, dairy singles in another, sauces in a third. Stackable bins work in the fridge the same way they work on a shelf, but only if the bin is freezer-safe and food-safe, so check the label before you buy. The Brightroom 4-piece set costs $26.00 and gives you 4 bins in mixed sizes, which is enough for most small fridges. The Sorbus 8-piece set costs $46.99, but 8 bins is too many for a 24 in (61 cm) wide shelf, and the extras end up in a cupboard.
3. Add a shelf riser for a second level
Best for: Short items on a tall shelf, like yogurt pots, small jars, and butter dishes.
Main advantage: A riser turns one shelf into two levels. A 6 in (15 cm) tall riser under a 12 in (30 cm) shelf gap gives you a full extra row.
Watch out for: Measure the gap first. If your shelf gap is only 8 in (20 cm), a 6 in (15 cm) riser leaves 2 in (5 cm) above it, and nothing fits on top.
Verdict: Worth it on exactly one shelf, the one with the shortest items. Do not riser every shelf.
Not for: Tall bottles, milk jugs, and anything over 10 in (25 cm) tall. Those need the full shelf height.
A wire riser costs about $10 to $15 and needs no tools. Put it on the middle shelf, where the short dairy items live. Yogurt pots go on top of the riser, butter and cheese go underneath. That one move can free about 12 in (30 cm) of shelf width for something else.
4. A turntable on the deep shelf
Best for: Deep shelves where jars and bottles get lost at the back.
Main advantage: One spin brings the back row to the front. No more moving 6 jars to reach the mustard.
Watch out for: A round turntable wastes the corners. On a 24 in (61 cm) wide shelf, an 11 in (28 cm) round turntable leaves the two back corners dead. A rectangular turntable wastes less space.
Verdict: The best fix for the dead back row. Buy the rectangular one if you can find it.
Not for: The top shelf, where tall items block the spin, or a shelf narrower than 12 in (30 cm), where the turntable cannot turn.
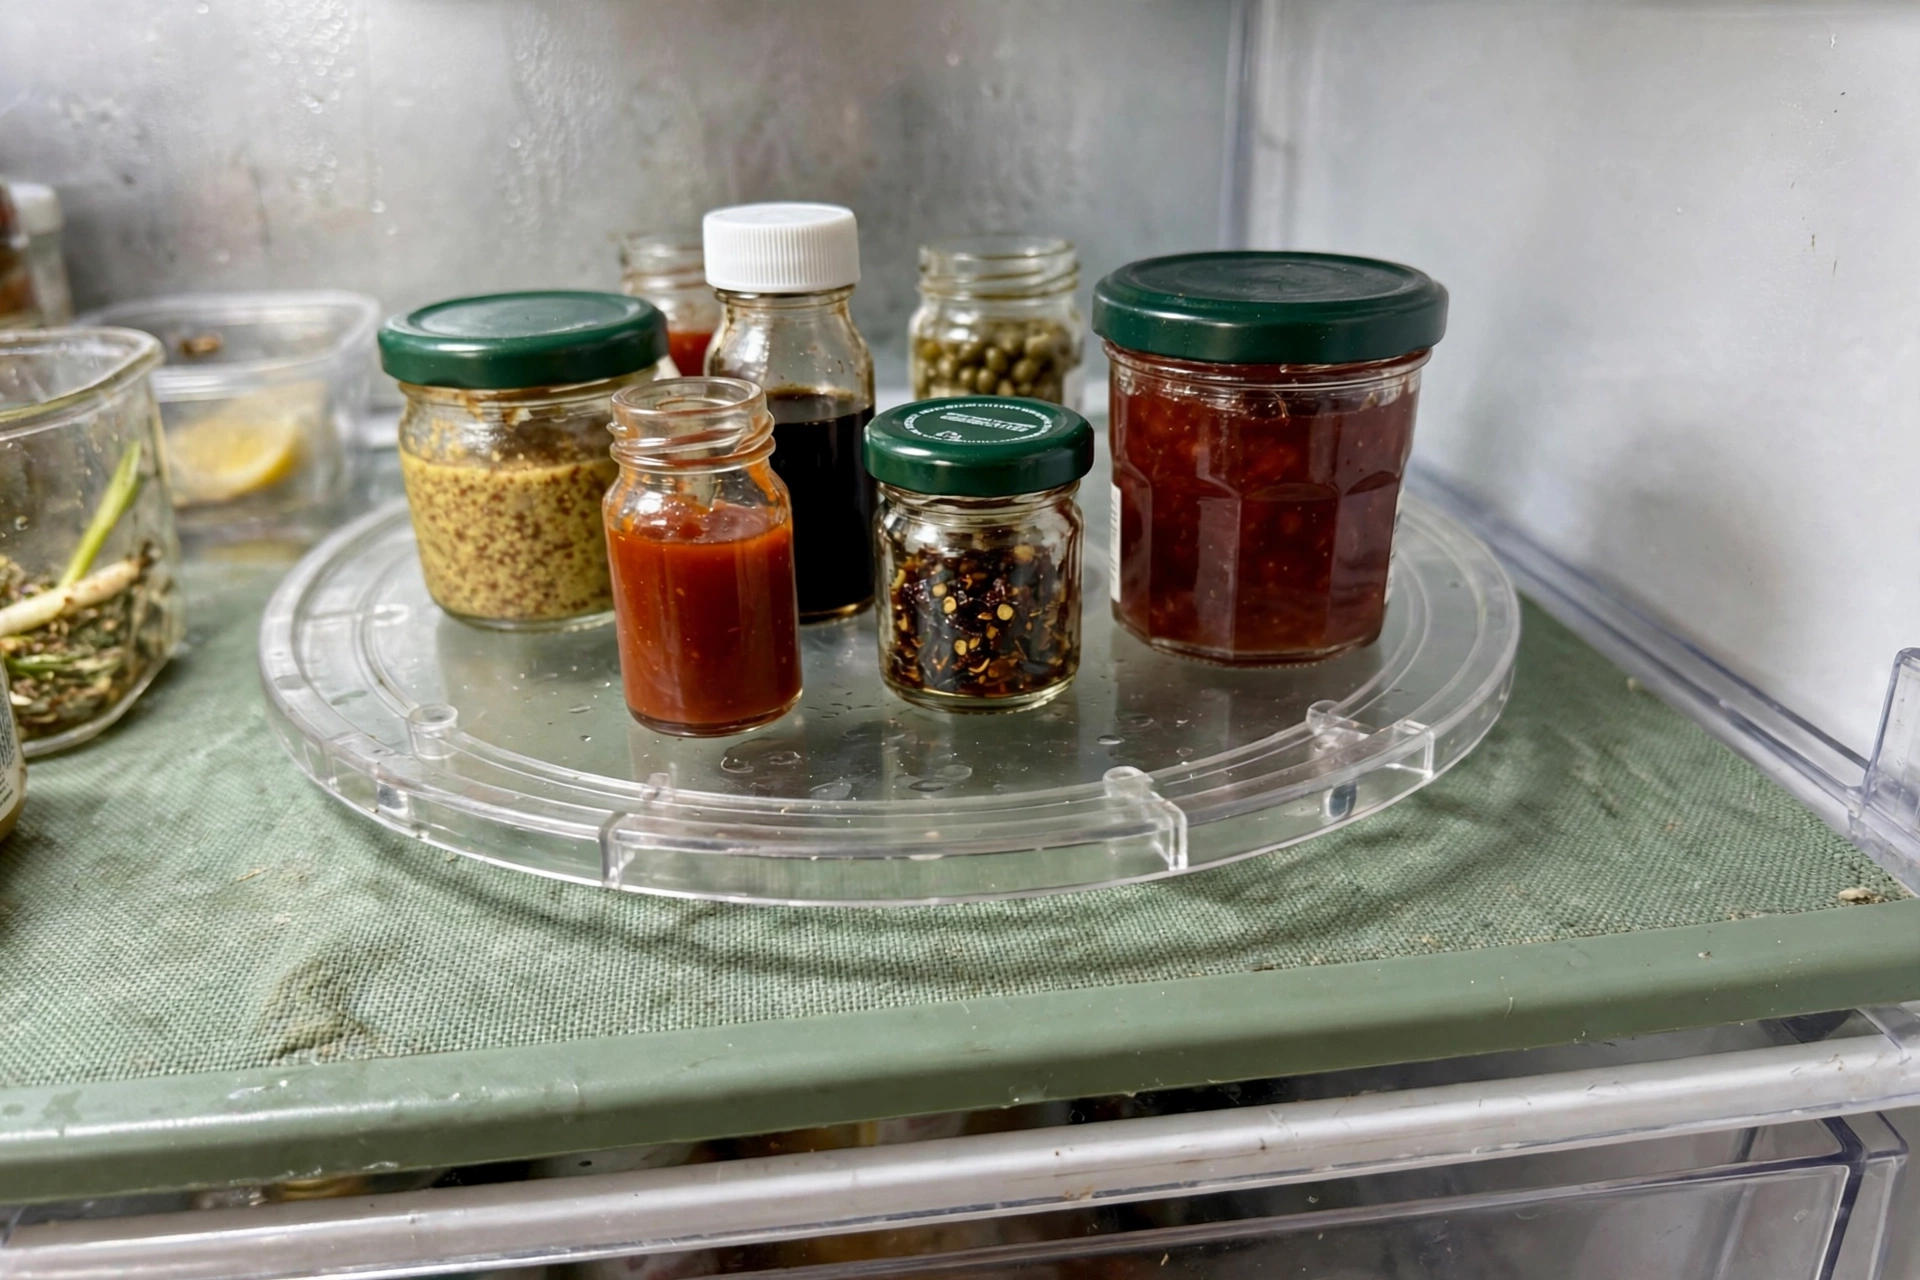
The Brightroom rectangular lazy susan costs $12.00 and fits a standard small-fridge shelf. The round 11 in (28 cm) version costs $16.00. The rectangular one is cheaper and wastes less space, so it wins on both counts. Put condiments on it, not milk. Condiments tolerate the temperature swings of a spinning shelf better than dairy does.
5. Move the milk out of the door
Best for: Anyone who keeps milk, cream, or eggs in the door because it feels convenient.
Main advantage: Milk on the middle shelf stays at or below 40 F (4 C) all day. Milk in the door does not, because the door is the warmest zone and it opens 20 to 30 times a day.
Watch out for: This feels wrong at first. The door has a perfect milk-shaped slot. Ignore the slot. The slot was designed for the door, not for the milk.
Verdict: Free, instant, and the single biggest food-safety win in this post.
Not for: Nobody. There is no fridge where milk belongs in the door.
This is the idea most people resist, and it is the one that matters most. Put the milk on the middle shelf, in the front, where you can grab it in 2 seconds. Put juice and water in the door instead. They tolerate temperature swings without any risk. If your household opens the fridge more than 30 times a day, which most families with kids do, the door is the worst place in the whole fridge for anything perishable.
6. Use the crisper the right way
Best for: Produce that goes limp or rots in 3 days.
Main advantage: The crisper drawer controls humidity. High humidity keeps leafy greens crisp for 5 to 7 days. Low humidity keeps fruit from going soft.
Watch out for: Ethylene gas. Apples, bananas, and tomatoes give off ethylene, and it speeds up ripening in everything nearby. Keep ethylene producers away from leafy greens and herbs.
Verdict: The drawer you already own is the best produce tool you have. Use it properly before buying produce bins.
Not for: Root vegetables that prefer a cool dark cupboard, like onions and potatoes. Those do not belong in the crisper at all.
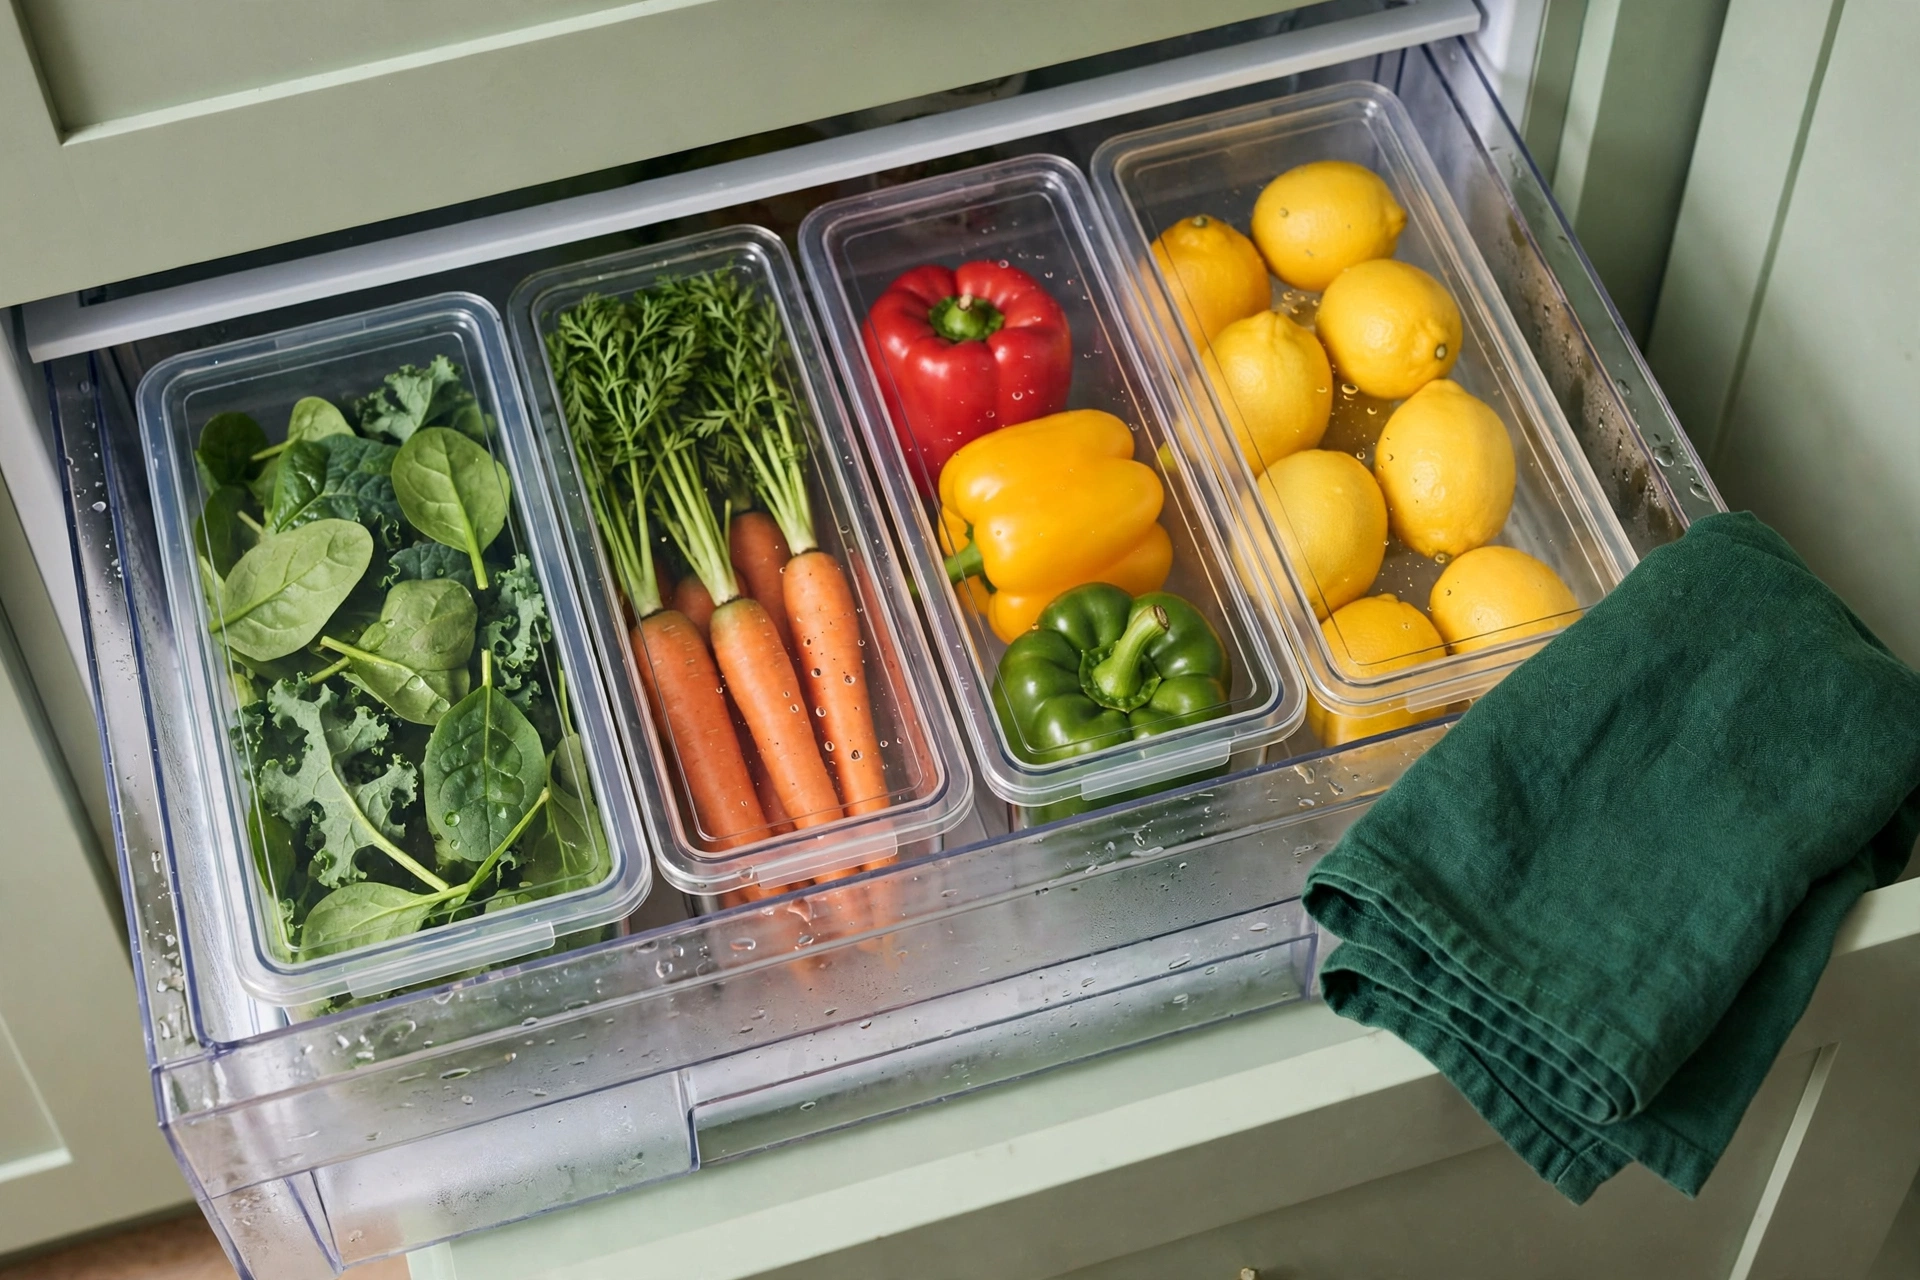
If your crisper has a humidity slider, set one side high and one side low. If it has no slider, use the drawer as the high-humidity side and a shallow bin on the bottom shelf as the low-humidity side. Wrap leafy greens in a dry paper towel inside a lidded bin. The towel absorbs moisture, and the lid slows wilting. Greens stored this way last 5 to 7 days instead of 2 to 3.
7. Vented produce bins with lids for berries and greens
Best for: Berries, cut fruit, and salad greens that get crushed or forgotten.
Main advantage: A lidded bin protects soft fruit from weight above it, and the lid slows moisture loss. Berries in a lidded bin last 4 to 5 days. Berries loose in the crisper last 2 to 3 days.
Watch out for: Wash berries only when you eat them, not when you store them. Washed berries mold faster. Store them dry and wash them at serving time.
Verdict: Worth it for berries and greens. Skip it for hard fruit like apples, which do fine loose.
Not for: Anything you eat within 24 hours. If it is gone tomorrow, it does not need a bin.
The Brightroom produce bin with a lid costs $14.00, and the 2-pack of small produce bins with lids costs $13.00. One lidded bin holds about 2 pints of berries, which is one standard supermarket punnet twice over. That is the right size for a small fridge. Bigger bins waste space and tempt you to buy more berries than you will eat.
8. A can dispenser for drinks
Best for: Households that keep 6 or more cans in the fridge.
Main advantage: A dispenser holds cans in a single row that rolls forward. You always grab the oldest can first, and the cans never roll around and bruise the fruit.
Watch out for: A dispenser uses a fixed footprint, about 14 in (36 cm) deep, so measure your shelf depth before you buy. A small fridge shelf is about 15 in (38 cm) deep, so most dispensers just fit.
Verdict: Worth it if you drink canned drinks daily. Skip it if cans are a once-a-week thing.
Not for: Bottles. A can dispenser does nothing for bottles, and bottles belong upright in the door anyway.
The Brightroom soda organizer costs $15.00 and holds a single row of cans. It is a small purchase, but it ends the daily can avalanche, which is a real problem when 12 cans share a shelf with a milk jug. Spices do not belong in the fridge door, and the spice systems that keep them in a drawer free up the door for condiments and drinks instead.
9. Keep eggs in their carton on the middle shelf
Best for: Anyone who stores eggs in the door or loose on a shelf.
Main advantage: The carton protects eggs from cracks and from absorbing smells, and the middle shelf holds a steady temperature. Eggs kept at a steady 40 F (4 C) stay fresh for 3 to 5 weeks from purchase.
Watch out for: Do not wash eggs before storing them. Washing removes the natural coating that keeps bacteria out. Store them unwashed, in the carton, pointy end down.
Verdict: Free and correct. The carton is already the perfect egg organizer.
Not for: Nobody. Egg trays look tidy, but the carton does the same job for $0.
Egg trays and egg holders are sold everywhere, and they are a fine purchase if you like the look. But they solve a problem the carton already solved. Spend the money on bins instead. If you do buy an egg tray, keep it on the middle shelf, never in the door, for the same temperature reason as the milk.
10. The 10-minute weekly purge and FIFO rotation
Best for: Every small fridge, every week, without exception.
Main advantage: A small fridge has no spare space for forgotten food. A 10-minute purge once a week removes the 2 or 3 items that would otherwise rot and smell up the whole fridge.
Watch out for: Do not purge by throwing things away silently. Note what you threw away. If you throw away the same item 3 weeks in a row, stop buying it.
Verdict: The cheapest habit in this post, and the one that saves the most money. Food waste is the hidden cost of a disorganized fridge.
Not for: Nobody. Even a perfectly organized fridge needs a weekly check.
FIFO means first in, first out. New groceries go behind old groceries, every time, without exception. Leftovers go in a clear container with the date on masking tape. The FDA 2-hour rule says perishable food should not sit at room temperature for more than 2 hours, so leftovers go into the fridge within 2 hours of cooking, not the next morning. Set a phone reminder for the same time every week, and do the purge before the weekly shop, not after it.
How Much Does Small Fridge Organization Cost?
Prices checked live at Target in November 2026. Prices change, so treat these as a guide, not a quote, and check the current price before you buy.
| Item | Price (Nov 2026) | Size | Best for | Watch out for |
|---|---|---|---|---|
| Brightroom 4-piece fridge and pantry bin set | $26.00 | 4 mixed bins | Loose items, snacks, dairy singles | 4 bins may be more than one shelf needs |
| Brightroom rectangular lazy susan turntable | $12.00 | Fits a standard shelf | Condiments on a deep shelf | No suction cups, so it can slide on a smooth shelf |
| Brightroom 2-pack small produce bins with lids | $13.00 | 2 small bins | Berries and cut fruit | Small, so one pack holds about 2 pints |
| Brightroom produce bin with lid | $14.00 | 4 x 7 x 10 in (10 x 18 x 25 cm) | Greens and berries | One bin only, buy 2 for a family |
| Brightroom soda organizer | $15.00 | Single can row, about 14 in (36 cm) deep | Canned drinks | Needs a full 15 in (38 cm) of shelf depth |
| Brightroom medium narrow bin | $12.00 | 14.5 in (37 cm) deep | Tall narrow gaps | Narrow, so it holds only one row |
| Sorbus 8-piece clear bin set | $46.99 | 4 large 11 x 8 x 6 in, 4 medium 10 x 6 x 3 in | A full fridge reset | 8 bins is too many for a small fridge |
| iDESIGN Kitchen Binz deep stackable bin | $14.99 | 14.5 in (37 cm) deep | Deep shelves | One bin only at this price |
Starter kit, $38.00: Brightroom 4-piece bin set $26.00 plus rectangular lazy susan $12.00. Sum check: 26.00 plus 12.00 equals 38.00. This fixes the two biggest problems, loose items and the dead back row, in about 30 minutes.
Full kit, $80.00: Starter kit $38.00 plus 2-pack produce bins $13.00 plus produce bin with lid $14.00 plus soda organizer $15.00. Sum check: 38.00 plus 13.00 equals 51.00, plus 14.00 equals 65.00, plus 15.00 equals 80.00. This covers every idea in this post that needs a purchase. Ideas 1, 5, 9, and 10 cost $0.
Time estimate: 1 hour for the full setup, including the empty-and-clean reset. The weekly purge takes 10 minutes. Difficulty: easy, no tools needed.
One Worked Example: A 28 in Fridge, Measured Out
Say your fridge is a small top-freezer, 28 in (71 cm) wide, with a usable shelf width of 24 in (61 cm) and a shelf depth of 15 in (38 cm). Those are standard small-fridge dimensions, and this example uses only product sizes from the table above.
Three 7 in (18 cm) wide produce bins use 21 in (53 cm) of the 24 in shelf and leave 3 in (8 cm) for a tall bottle. Swap one bin for an 11 in (28 cm) turntable and the turntable plus one 7 in bin use 18 in (46 cm), leaving 6 in (15 cm) for a milk jug. One 8 in (20 cm) wide Sorbus large bin plus the 11 in turntable use 19 in (48 cm), leaving 5 in (13 cm). The point is simple: measure the shelf first, then buy bins that add up to the shelf width. Bins bought without measuring leave gaps that waste the scarcest thing in a small fridge, which is width.
The 7-Step Setup: Organize Your Small Fridge in One Hour
Materials: 4-piece bin set, rectangular lazy susan, 2-pack produce bins with lids, masking tape and a marker, a fridge thermometer, paper towels, a bin bag, a clean cloth.
- Empty the fridge completely onto the counter, all 3 shelves, the door, and the crisper, in about 10 minutes.
- Throw away anything expired, anything you cannot identify, and anything open for more than 7 days. Check dates as you go.
- Wipe every shelf and the crisper with a damp cloth, then dry them. This takes about 10 minutes.
- Put the fridge thermometer on the middle shelf and set the dial so the fridge holds 40 F (4 C) or below. Check it after 24 hours.
- Put the zone map in place: ready-to-eat food on the top shelf, dairy on the middle shelf, raw meat sealed on the bottom shelf, condiments in the door, produce in the crisper.
- Place the bins and the turntable: one bin per loose category, the turntable on the deep shelf with condiments, produce bins with lids in the crisper.
- Label each bin with masking tape and the date on every leftover container, then set a weekly 10-minute purge reminder on your phone.
Mistakes to Avoid With a Small Fridge
Buying bins before drawing the zone map. Bins without zones hold the wrong food in the wrong place. Draw the map first, then buy bins that fit the map.
Putting milk in the door. The door is the warmest zone. Milk there spends hours above 40 F (4 C). Move it to the middle shelf and put juice in the door instead.
Overfilling the fridge. Cold air needs to move. A fridge packed solid runs warmer in the middle, even though the dial says 40 F (4 C). Leave about 20 percent of each shelf empty so air can circulate.
Storing onions and potatoes in the fridge. They prefer a cool dark cupboard. In the fridge they go soft and sprout faster, and onions make everything nearby taste like onion.
Forgetting the 2-hour rule. Leftovers left out for more than 2 hours should be thrown away, not refrigerated. The fridge does not undo the hours at room temperature.
What to Skip
Matching bin sets for every shelf. Four bins fix a small fridge. Eight bins, at $46.99, just move the clutter into matching boxes and waste $21 more than the $26.00 set.
Fridge deodorizers and baking soda boxes. They mask smells. The weekly purge removes the cause. A clean fridge does not smell, and a smelly fridge needs cleaning, not a product.
Egg trays and egg holders. The carton already protects eggs, costs $0, and carries the date. Spend the money on bins.
Magnetic fridge gadgets. Magnetic hooks and strips look clever, but they hold almost nothing, they slide off when the door slams, and they use wall space that does not help inside the fridge.
A second mini fridge for overflow. If the main fridge overflows every week, the problem is the weekly shop, not the fridge. Fix the shop list before buying another appliance.
A Renter’s Note: When the Fridge Belongs to Your Landlord
In many rentals the fridge belongs to the landlord, not to you. That changes two things. First, check your lease before you change anything fixed, like removing a shelf or drilling a hook inside the door. Bins, turntables, and risers are all removable, so they are safe, but a removed shelf that gets lost will cost you part of your deposit. Second, if the fridge cannot hold 40 F (4 C) even on the coldest setting, that is a repair, not an organization problem. Tell your landlord in writing, with the thermometer reading and the date. A fridge that runs warm is a health problem, and it is the landlord’s appliance to fix. Keep the thermometer photo as your record.
Frequently Asked Questions
Where should milk go in a small fridge?
Milk goes on the middle shelf, in the front, where the temperature holds at or below 40 F (4 C). Never put milk in the door, which is the warmest zone and swings several degrees with every opening. A 1-gallon jug is about 10 in (25 cm) tall, so it needs a shelf gap of at least 11 in (28 cm). If your middle shelf gap is shorter, move a shelf, not the milk.
How cold should a small fridge be?
A small fridge should hold 40 F (4 C) or below, the FDA limit, or 5 C or below under UK guidance. Put a fridge thermometer on the middle shelf and check it after 24 hours. If it reads above 40 F (4 C), turn the dial one step colder and check again in another 24 hours. A fridge that cannot reach 40 F (4 C) on its coldest setting needs a repair.
How do you organize a small fridge with no drawers?
Use one shallow bin per loose category on the bottom shelf, plus a turntable for condiments, and treat the bottom shelf as your crisper. One 11 in (28 cm) turntable plus two 7 in (18 cm) wide bins use 25 in (64 cm) of width, so on a 24 in (61 cm) shelf use the turntable plus one bin and leave 6 in (15 cm) for a bottle. Keep leafy greens in a lidded bin with a dry paper towel, which keeps them crisp for 5 to 7 days.
How often should you clean out a small fridge?
Do a 10-minute purge every week, before the weekly shop, and a full empty-and-wipe clean once a month, which takes about 60 minutes. Throw away leftovers older than 4 days and anything open for more than 7 days. A weekly purge removes 2 or 3 items on average, and it stops the small fridge from turning into a science experiment.
Your Action Checklist
- Measure your shelf width and depth in inches and cm, and write the numbers down.
- Buy a fridge thermometer for about $5 and check the middle shelf after 24 hours.
- Move the milk from the door to the middle shelf today, and put juice in the door instead.
- Buy the $38.00 starter kit, the 4-piece bin set plus the rectangular lazy susan, not the $46.99 8-piece set.
- Draw the 5-zone map on a sticky note and leave it on the fridge for 2 weeks.
- Set a weekly 10-minute purge reminder on your phone for the same time every week.
How This Was Made: This post was written from the top 5 search results for small fridge organization ideas, the FDA 40 F (4 C) food-safety limit, and live-checked Target prices from November 2026. The shelf-fit numbers are arithmetic on published product dimensions, not measurements from a real fridge. No products were tested and no fridge was photographed for this post.