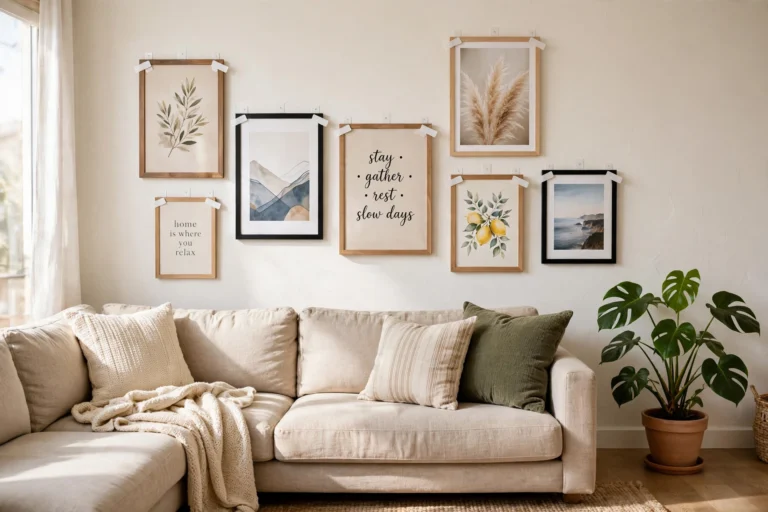

How to Hang Things on Textured Walls Without Drilling: 6 Renter-Safe Methods
Direct answer: To hang things on textured walls without drilling, first name the texture, then halve the adhesive rating, then pick a method that fits. Light orange peel texture can hold light frames on foam adhesive strips if you derate the rating and wait a full day before loading. Heavy knockdown, skip trowel, and popcorn textures give adhesive too little contact to trust, so lean the piece, use a tension rod, or go freestanding instead. The original planning rule in this guide is simple: on light texture, plan for half the printed rating, so a 16 lb strip set carries an 8 lb planning load, and on heavy texture the adhesive budget is zero.
Texture is the whole problem. Adhesive works by contact, and a textured wall only touches the strip on the high points. The maker of Command strips says its strips are not recommended for heavily textured surfaces because the adhesive may not make full contact. That one fact decides almost every choice below, and it is why the drywall method does not transfer straight across. If your wall is smooth drywall instead, hanging things on drywall without drilling uses the full rating method.
What kind of textured wall do you have?
Direct answer: Run your palm lightly over the wall and look at it in side light. Fine, even dimples mean orange peel. Broad, flattened plateaus mean knockdown. Long, hand-troweled arcs mean skip trowel. A heavy, bumpy, popcorn-like coat, usually on a ceiling, means popcorn texture, and that one gets special care below, unlike smooth tile, where hang things on tile without drilling follows a different, full-contact method.
| Texture | How it looks | Adhesive contact | Renter-safe plan |
|---|---|---|---|
| Orange peel | Fine, even dimples like an orange skin | Fair on the peaks | Light frames on foam strips, derated |
| Knockdown | Flattened, irregular plateaus | Poor, gaps between plateaus | Lean, tension, or freestanding |
| Skip trowel | Hand-troweled arcs and ridges | Poor | Lean, tension, or freestanding |
| Slap brush | Stamped, fan-like pattern | Poor | Lean, tension, or freestanding |
| Popcorn | Heavy granular coat | Very poor, and fragile | Do not stick, sand, or scrape it |
Popcorn deserves a warning of its own. Popcorn texture applied before 1978 may contain asbestos, and scraping or sanding it can release fibers. Never sand a popcorn surface to flatten it for a strip, and if you do not know its age, leave it alone and use a bypass method. This guide never recommends flattening texture with sandpaper, because the deposit you save is not worth the surface damage or the health risk on an old ceiling.
How much weight can adhesive hold on textured walls?
Direct answer: Less than the package says, and the gap grows with the texture. On a smooth wall a large picture strip set is rated to 16 lb for a frame up to 24 by 36 in (61 by 91 cm). On light orange peel texture, plan for about half that rating, because the strip only grips the peaks. On knockdown or heavier texture, plan for zero adhesive load and switch methods.
| Item | Loaded weight | Method that fits | Planning limit |
|---|---|---|---|
| Poster, unframed print | Under 1 lb | Mounting putty | Under 1 lb |
| Small framed print, no glass | 2 to 4 lb | Foam picture strips, light texture only | Half the printed rating |
| Framed print with glass, up to 18 by 24 in (46 by 61 cm) | 4 to 6 lb | Two strip sets, light texture only | 8 lb planning load from a 16 lb set |
| Mirror, clock, or shelf | Over 8 lb | Lean, tension, or freestanding | No adhesive load |
| Anything breakable or above a bed | Any weight | Lean or freestanding only | Never adhesive over a bed |
Weigh the piece loaded, frame plus glass plus backing, on a bathroom scale before you buy anything. A rating is a laboratory number on a smooth surface, not a promise on your wall. If the piece weighs close to the planning limit, step up a size, add a second strip set, or change methods. That is the habit that keeps frames off the floor, and it matters more on texture than anywhere else, because a textured failure gives little warning.

Method 1: Foam picture strips on light texture only
Direct answer: Foam picture strips are the best adhesive option for textured walls, but only on light orange peel texture and only for light frames. The foam compresses into the small dimples better than a thin, flat strip, which is why it earns the one adhesive slot in this guide.
Best for: Small to medium framed prints on light orange peel walls. Main advantage: They remove cleanly with the stretch-release tab when the paint is cured and the tab is pulled slowly straight down. Watch out for: Standard thin strips, wallpaper, fresh paint under 7 days old, and any texture heavier than orange peel all break this method. Verdict: Use it, derated, on light texture. Skip it everywhere else. Deposit risk: 2 out of 5 on light texture, 4 out of 5 on heavy texture where paint can lift with the strip.
Method 2: Adhesive hooks, used the same cautious way
Direct answer: Adhesive hooks follow the same rule as strips: light texture, light load, thick foam pad, and a full cure before you hang anything. A hook rated for 5 lb on a smooth wall is a 2 to 3 lb hook on orange peel texture in planning terms.
Best for: Keys, a light wreath, a small calendar, or a single hand towel. Main advantage: Hooks move easily at move-out and leave no holes. Watch out for: Hooks fail by peeling from the top edge, so anything that pulls outward, like a bag hung on a hook, fails sooner than a flat frame. Keep the load close to the wall. Verdict: Fine for light, flat-against-the-wall items on light texture. Deposit risk: 2 out of 5.
Method 3: Mounting putty for posters and paper only
Direct answer: Mounting putty, the reusable tack sold for posters, is the lightest-duty option here, and it is honest about it. It grips only the peaks of the texture, so it suits paper, not frames.
Best for: Posters, unframed prints, kids art, and party decor. Main advantage: It costs little, moves in seconds, and leaves no holes. Watch out for: Heat softens putty, so keep it away from sunny windows and radiators, and never trust it with glass or anything breakable. Verdict: The right tool for paper, the wrong tool for everything else. Deposit risk: 1 out of 5.
Method 4: Lean it against the wall
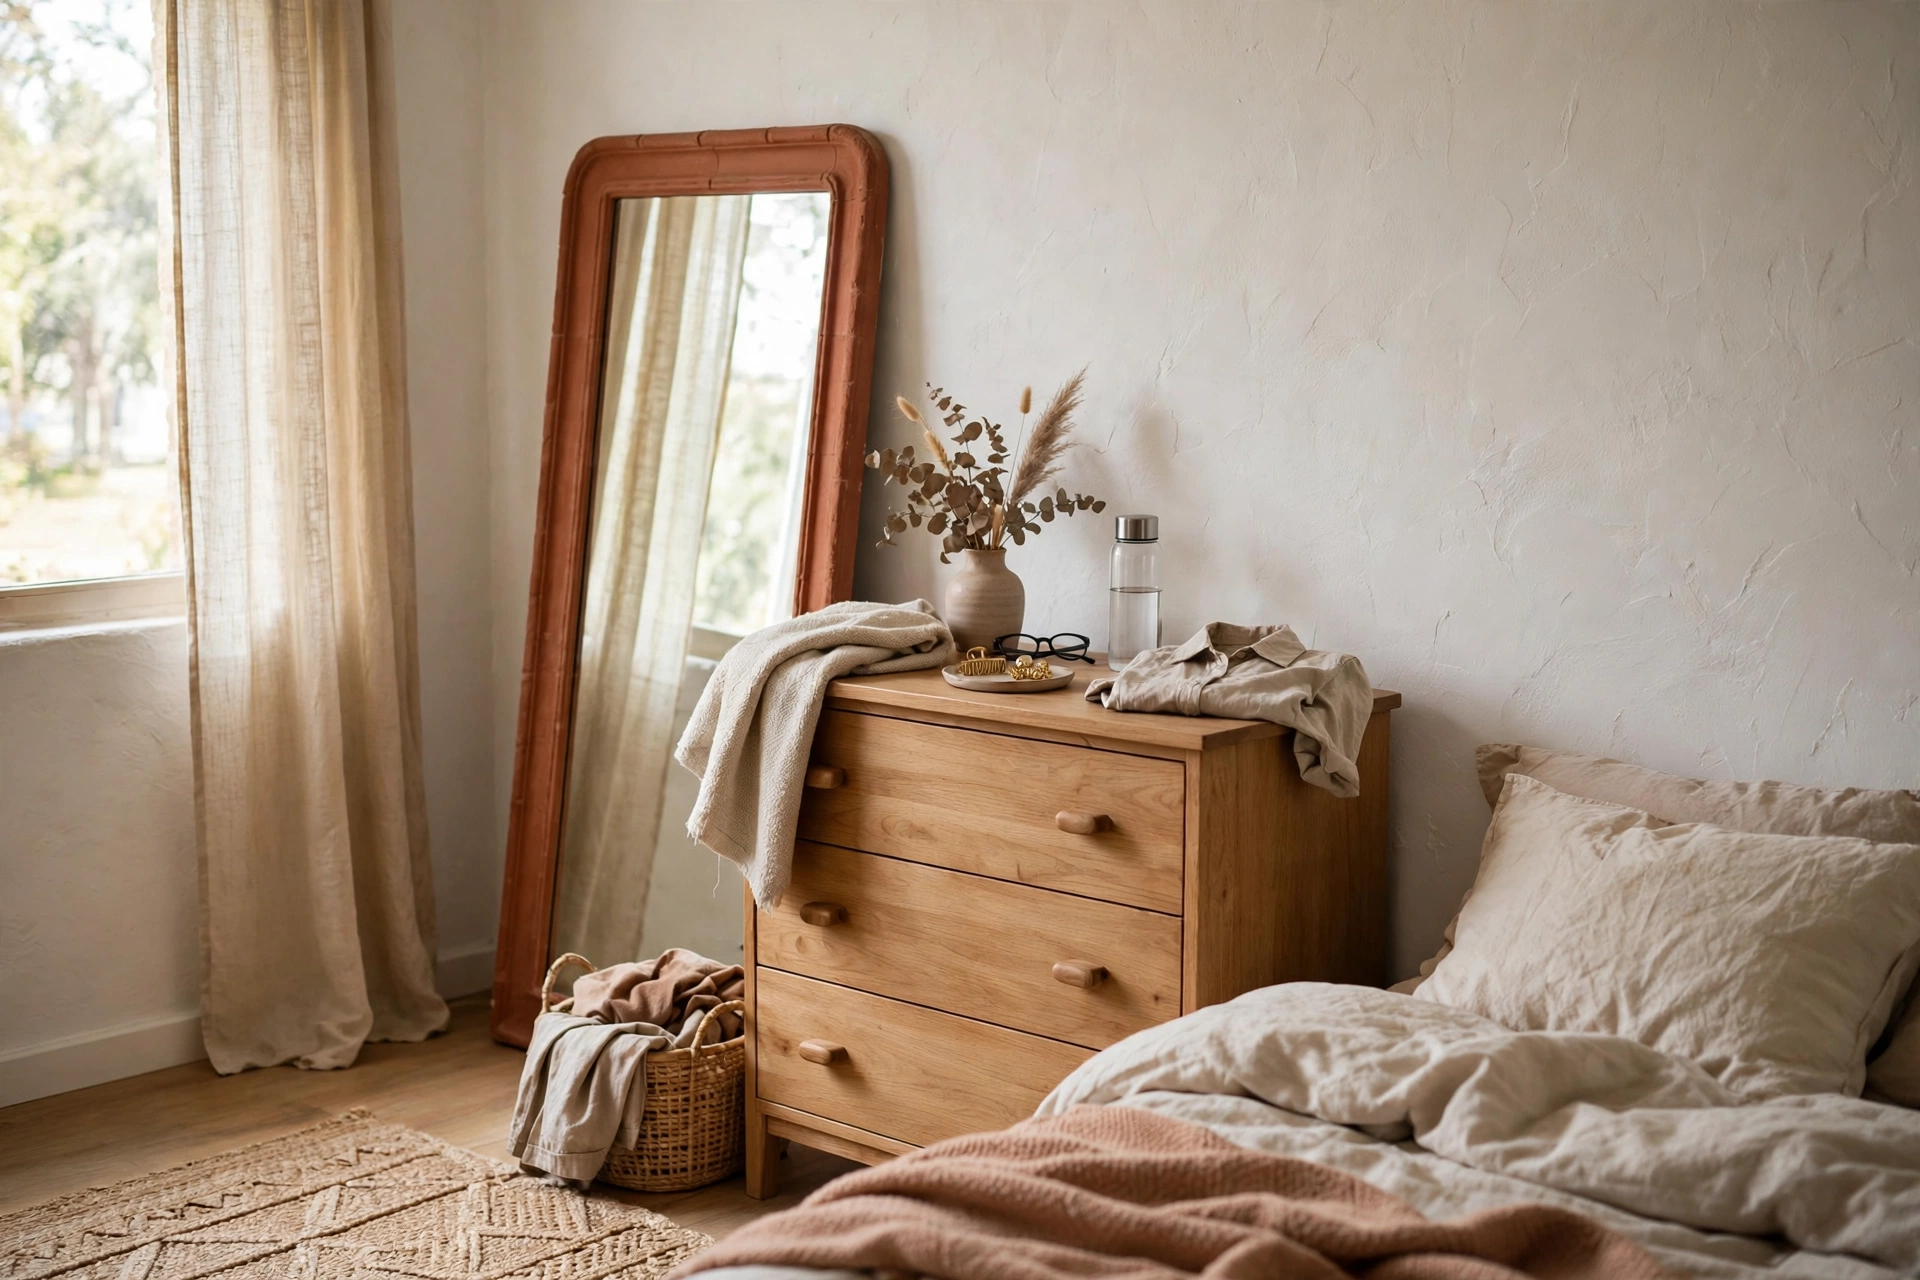
Direct answer: Leaning is the most underrated no-drill method for textured walls, because it ignores the texture completely. A mirror or a large framed print leans on furniture or the floor, and the wall only steadies it.
Best for: Full-length mirrors, large art, and anything over 8 lb; see how to hang a mirror without drilling for the mirror version of this method. Main advantage: Zero wall contact means zero adhesive failure and zero deposit risk from the wall. Watch out for: A leaning piece still needs a secure foot. Keep it on a stable floor, angle it slightly back, and keep it out of door swing paths and earthquake-prone shelves. In a home with small children, anchor the top to furniture, not to the textured wall. Verdict: The best answer for heavy pieces in a rental. Deposit risk: 1 out of 5.
Method 5: Tension rods and tension poles
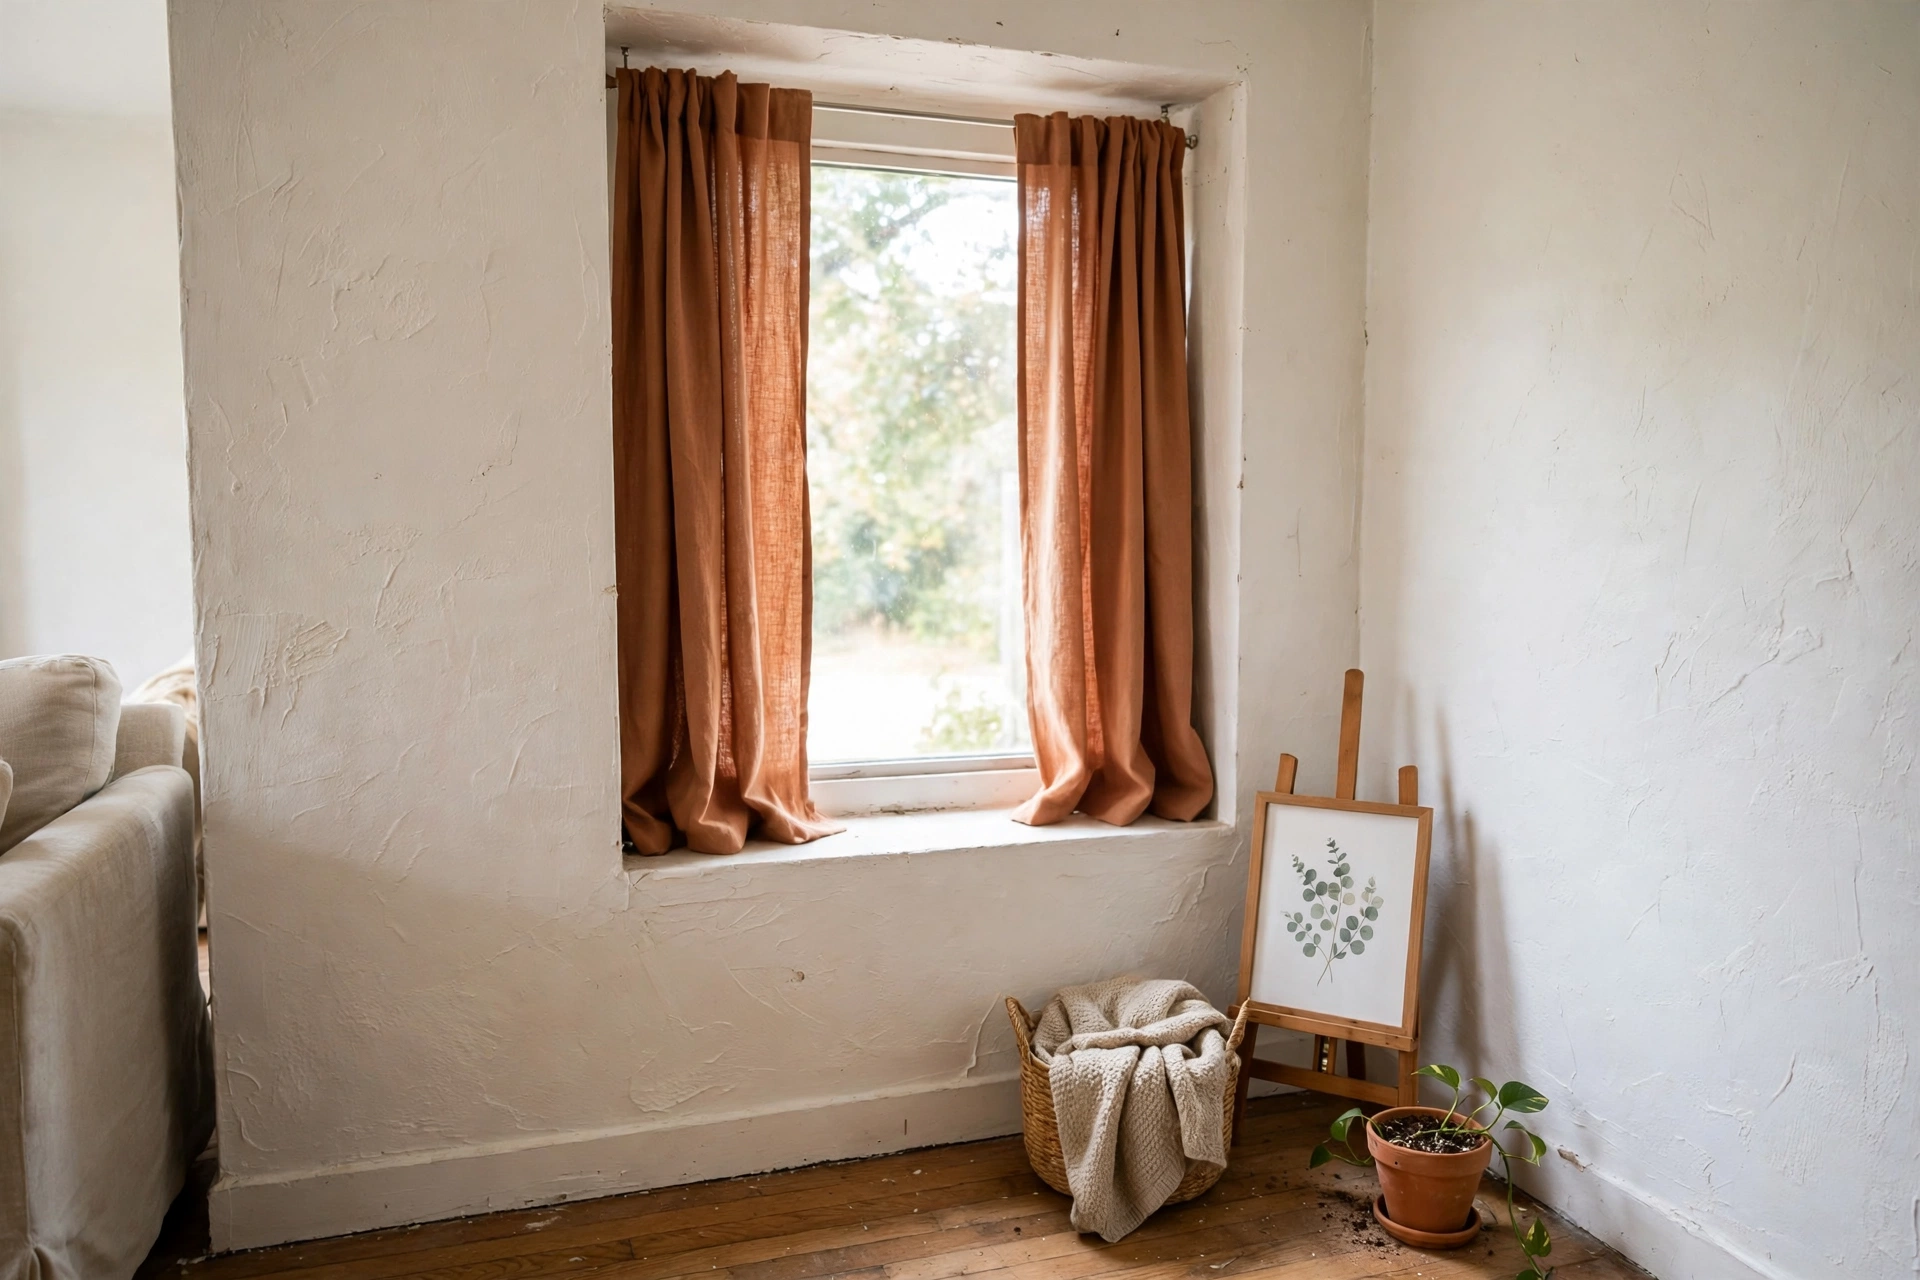
Direct answer: Tension rods hold by pressure between two solid surfaces, so the wall texture never enters the equation. A rod in a window recess carries curtains, and a floor-to-ceiling tension pole carries shelves, plants, or a mirror in a corner.
Best for: Curtains in a window alcove, a shower curtain, and light tension-pole shelving. Main advantage: No adhesive, no holes, and the whole thing comes down in a minute at move-out. Watch out for: A tension rod needs two firm, parallel surfaces and a snug fit. On a wide opening it will sag or slip, so measure the recess first and check the fit weekly for the first month. Verdict: The cleanest curtain answer for textured walls, and how to hang curtains without drilling is the full curtain guide. Deposit risk: 1 out of 5.
Method 6: Go freestanding or over the door
Direct answer: When the wall will not cooperate, stop asking the wall. A freestanding easel, a picture ledge unit that stands on furniture, a coat rack, or an over-the-door hook set holds the same items with no wall contact at all.
Best for: Gallery walls on heavy texture, entryway storage, and bathroom towels. Main advantage: You can build a whole display without touching the texture, and it moves with you to the next rental. Watch out for: Over-the-door hooks can mark the top of a door if the fit is tight, so add felt pads at the contact points. Verdict: The honest fallback that saves more deposits than any adhesive trick. Deposit risk: 1 out of 5.
How do you hang things on textured walls without drilling, step by step?
Direct answer: Follow this sequence for any adhesive attempt on light texture. If any step fails, stop and switch to a bypass method instead of pushing the adhesive harder.
Materials list
- Foam picture hanging strips, rated at least double the piece weight
- Rubbing alcohol and a clean cloth
- Painter tape and a pencil
- Bathroom scale
- Level, or a phone level app
Steps
- Identify the texture using the table above. If it is knockdown or heavier, skip to Method 4, 5, or 6.
- Weigh the framed piece, glass included, and check it against the halved planning limit.
- Clean the spot with rubbing alcohol, not a household cleaner, and let it dry fully.
- Mark the position with painter tape and check it with a level before any strip touches the wall.
- Press each strip firmly for a full 30 seconds, pushing the foam into the texture.
- Wait 24 hours before hanging anything. The package says one hour for smooth walls, and texture needs the longer cure.
- Hang the piece, step back, and check it again after a day. If an edge has lifted, take it down and switch methods.
Step 1
Identify the texture using the table above. If it is knockdown or heavier, skip to Method 4, 5, or 6.
Step 2
Weigh the framed piece, glass included, and check it against the halved planning limit.
Step 3
Clean the spot with rubbing alcohol, not a household cleaner, and let it dry fully.
Step 4
Mark the position with painter tape and check it with a level before any strip touches the wall.
Step 5
Press each strip firmly for a full 30 seconds, pushing the foam into the texture.
Step 6
Wait 24 hours before hanging anything. The package says one hour for smooth walls, and texture needs the longer cure.
Step 7
Hang the piece, step back, and check it again after a day. If an edge has lifted, take it down and switch methods.
What it costs, as of November 2026
Direct answer: A starter kit for one light-texture wall costs about $25 to $45, and the strips are the only part worth buying in a large pack, because you will use the spares for testing.
| Item | Checked or typical price | Notes |
|---|---|---|
| Large picture strips, 14 pairs, 16 lb rating | $12.50 | Retailer listing checked November 2026, list price $13.99 |
| Medium picture strips, 4 pairs, 12 lb rating | $6.90 | Retailer listing checked November 2026 |
| Adhesive hooks, multipack | $8 to $12 | Typical US retail range |
| Mounting putty, one pack | $5 to $8 | Typical US retail range |
| Tension rod, 28 to 48 in (71 to 122 cm) | $10 to $18 | Typical US retail range |
| Starter kit total | $25 to $45 | One wall, light texture, plus one test strip set |
Prices move with the retailer, so check the listing before you buy, and buy one extra strip set for a hidden-spot test. The test costs a few dollars and answers the only question that matters: does this exact texture hold this exact strip?
Mistakes to avoid
Direct answer: Most textured-wall failures come from skipping the test, not from buying the wrong brand. Test first, cure fully, and respect the halved limit. These mistakes are the ones that turn an attempt to hang things on textured walls without drilling into a repair bill.
- Sticking a strip on a dusty wall. Texture traps dust in its valleys, so wipe with alcohol and let it dry, or the strip bonds to dust, not paint.
- Loading the strip after one hour. Smooth-wall cure times do not apply here. Wait 24 hours on texture.
- Hanging glass or a heavy mirror on adhesive over a bed, a sofa, or a walkway. If it falls, it should fall onto a floor, not onto a person.
- Pulling a strip outward at removal. Stretch the tab slowly straight down, as the removal guide explains, or paint can lift with it.
- Sanding texture flat to make a strip stick. On popcorn texture this is a health risk, and on any texture it is damage you will pay for at move-out.
What to skip
Direct answer: Skip anything that asks adhesive to do a job it was never rated for. Suction cups on texture cannot seal, so they fail without warning. Thin, flat tape strips have no foam to compress into dimples. Construction adhesive is permanent, so it is the opposite of renter-safe, and it will cost you at move-out. A single strip set carrying a frame near its printed rating on knockdown texture is not brave, it is a fall waiting for a warm day. The safest way to hang things on textured walls without drilling is the method that matches the texture, not the one with the biggest rating on the package.
Renter caveat: check the lease before you hang anything
Direct answer: Check three lease points before you start: whether adhesive hanging is allowed, what counts as damage at move-out, and how your deposit is itemized. Most leases allow adhesive hooks and strips, but a few ban all wall attachments, and a ban covers putty too. Photograph the wall before you hang anything and again after removal, keep the strip packaging with its rating, and if a landlord asks, show the photos and the removal steps. The lease and deposit guide walks through the permission conversation and the move-in photos that protect a deposit, and it is worth reading before a big gallery wall. If your lease bans adhesive entirely, Methods 4, 5, and 6 in this guide still work, because none of them attach to the wall.

Do Command strips work on textured walls?
They work only on light texture, like orange peel, and only for light items. The maker says its strips are not recommended for heavily textured surfaces, because the adhesive cannot make full contact. On light texture, use a foam strip rated at least double the piece weight, press for 30 seconds, and wait 24 hours before loading.
Can you hang pictures on knockdown walls without drilling?
Yes, but not with adhesive. Knockdown plateaus leave gaps under a strip, so the reliable no-drill answers are leaning the piece, a tension rod or pole, a freestanding easel, or an over-the-door hook. Those methods ignore the texture instead of fighting it.
How do you remove adhesive from textured walls without damage?
Stretch the tab slowly straight down, never outward, and support the frame as the strip releases. If a strip tears, roll the remainder down slowly rather than pulling it off the paint. Removing adhesive hooks without damage is covered step by step in the companion guide, including what to do when a strip breaks mid-pull.
What is the best way to hang heavy things on textured walls without drilling?
Lean them, or put them on freestanding furniture. A heavy mirror leans safely against a wall, a heavy frame sits on a picture ledge unit that stands on a dresser, and a shelf becomes a freestanding bookcase. Adhesive is not the tool for heavy pieces on texture, and asking a landlord for written permission for one small stud anchor is a better conversation than repairing a fallen mirror and a damaged wall.
How this was made
This guide was written from the adhesive maker’s own surface guidance and live-checked November 2026 retailer prices, with the halved-rating planning rule computed from the printed 16 lb rating. No product was presented as personally tested.
By Wasim, DIY Home Looks. Last updated November 2026.