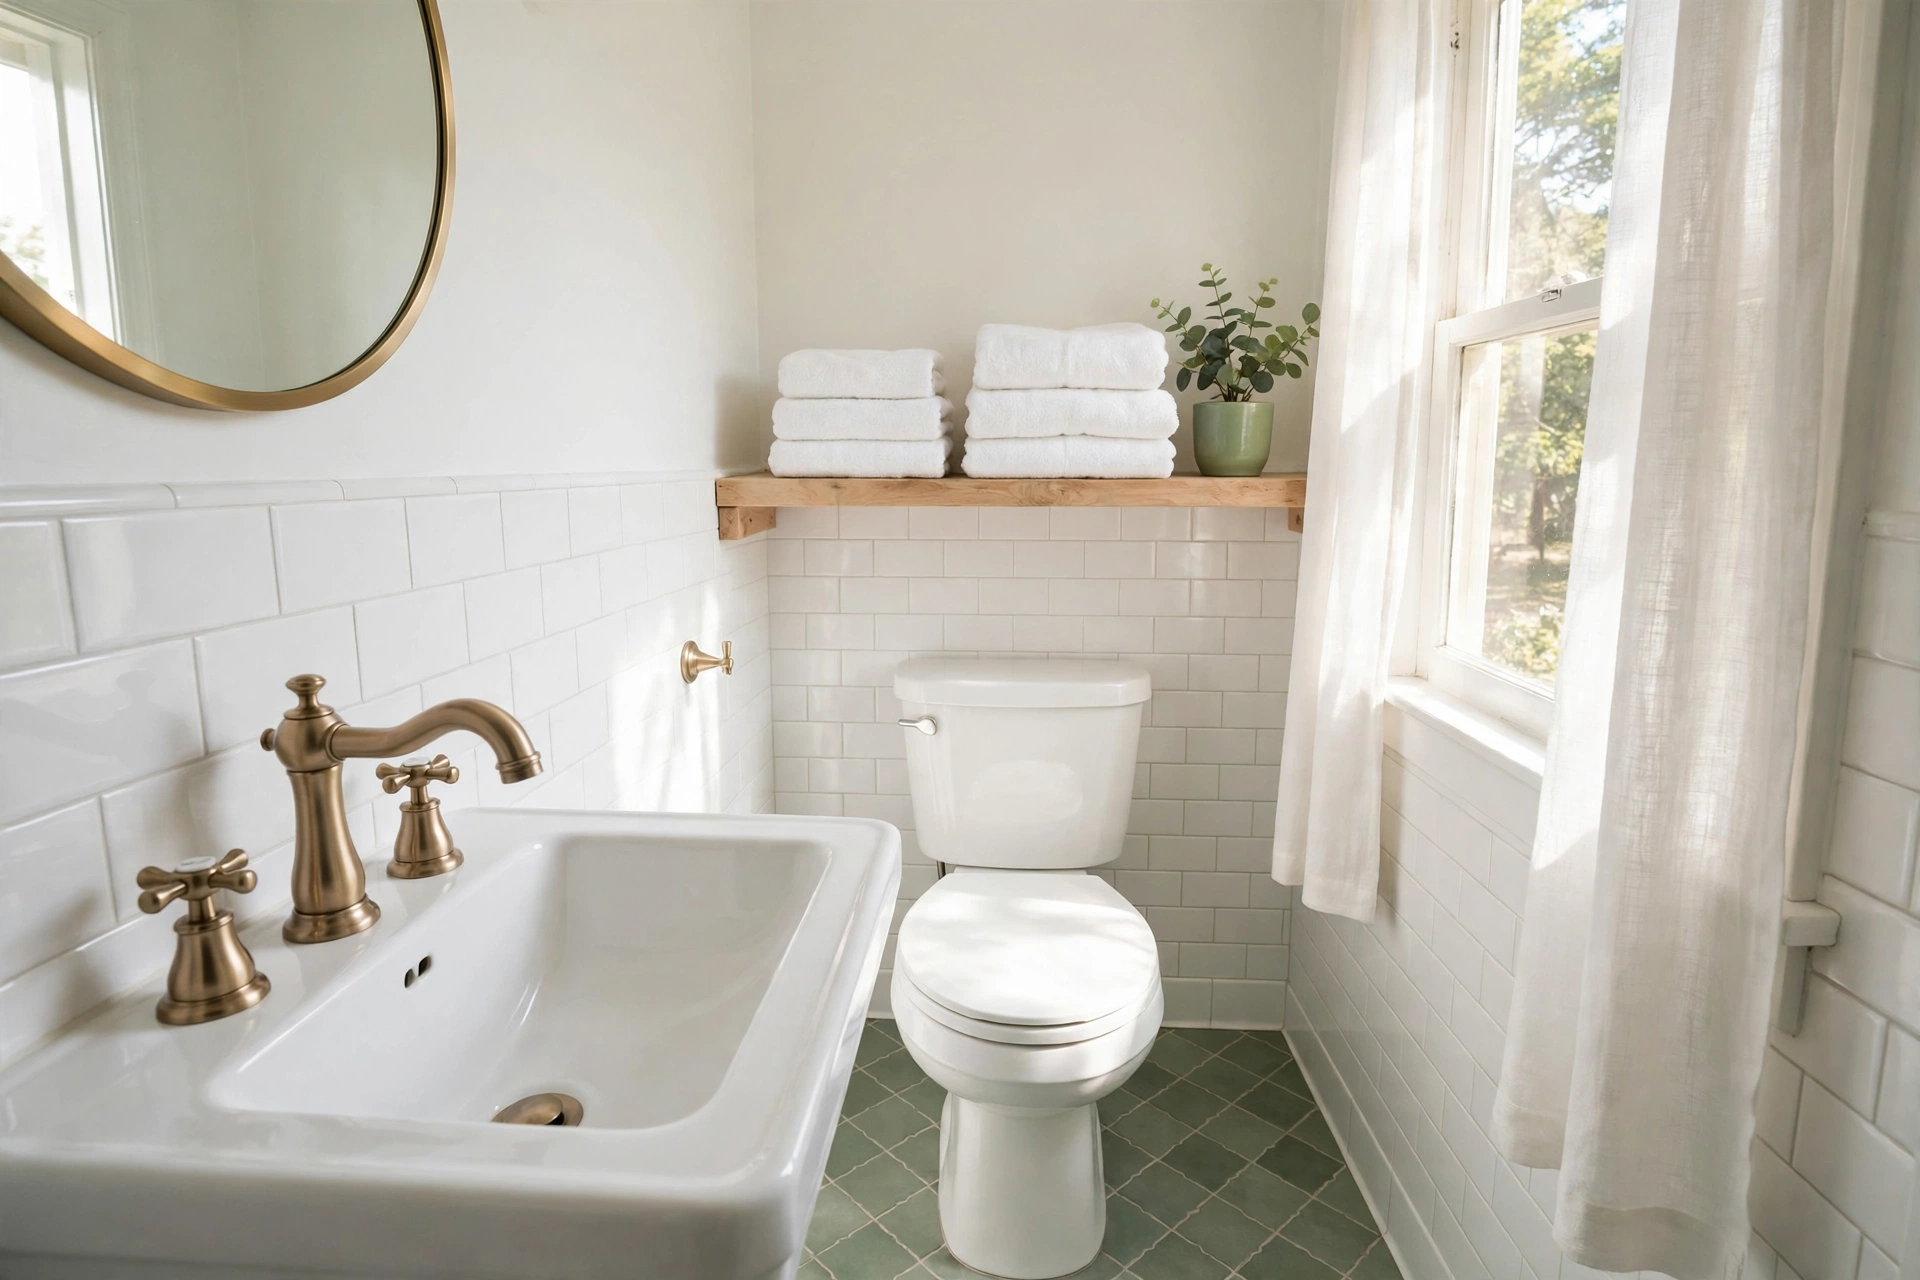
10 Renter-Friendly Bathroom Upgrades That Need Zero Drilling (Deposit Safe)
Rental bathrooms are where beige goes to retire: builder-grade mirror, mystery-stained vinyl, a showerhead last seen in a 1998 motel. The good news is that a bathroom is the easiest room in the house to transform without touching a drill — almost everything in it is small, flat or freestanding. These ten upgrades change how the room looks and works, and every single one reverses on moving day. If you’ve already given the kitchen the same treatment with our damage-free kitchen upgrades, think of this as the bathroom edition.
1. Peel-and-stick floor tiles over the sad vinyl
Cost: roughly $30–$60 for a small bathroom floor.
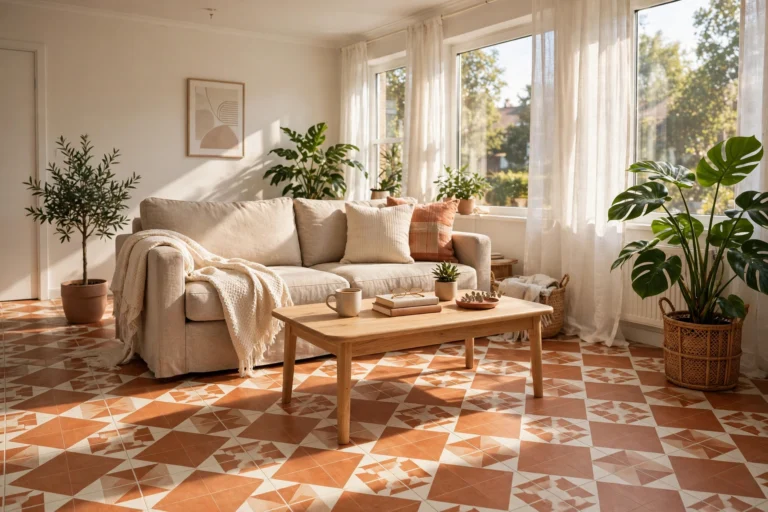
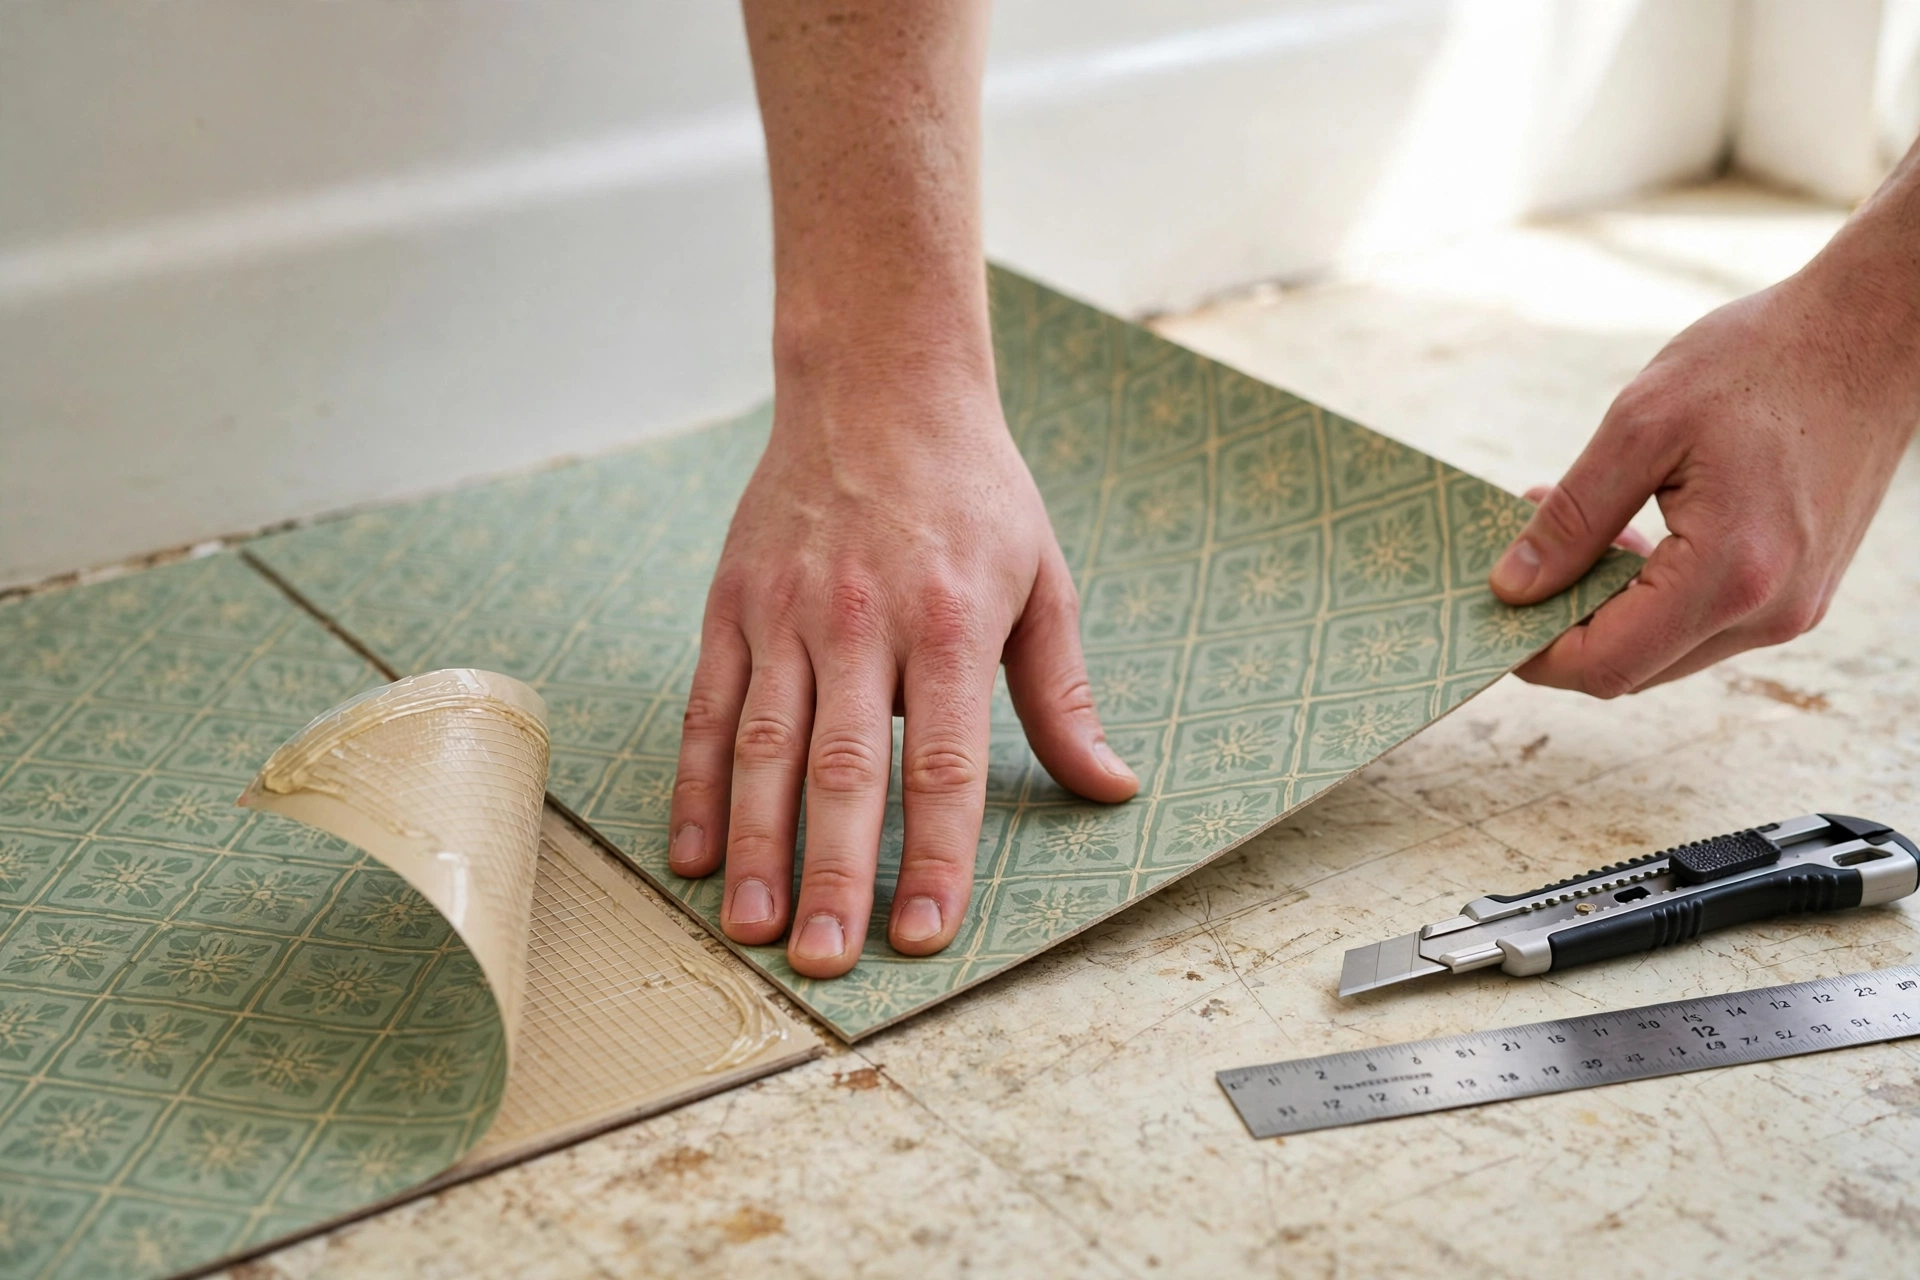
The floor sets the tone for the whole room, and rental vinyl is usually the worst offender. Peel-and-stick vinyl tiles — most are 12 inch (30 cm) squares — go straight over a clean, dry existing floor and read as real tile from standing height, and it’s just one of the ten renter-friendly flooring ideas that work in every room, not only the bathroom. A typical rental bathroom needs only 15–25 tiles. Sweep, degrease, dry-fit the pattern first, and start from the center so cut edges hide along the tub and vanity. On moving day they lift with a hairdryer’s warmth and a slow pull.
2. A peel-and-stick “tile” splash zone behind the sink
Cost: roughly $15–$40.
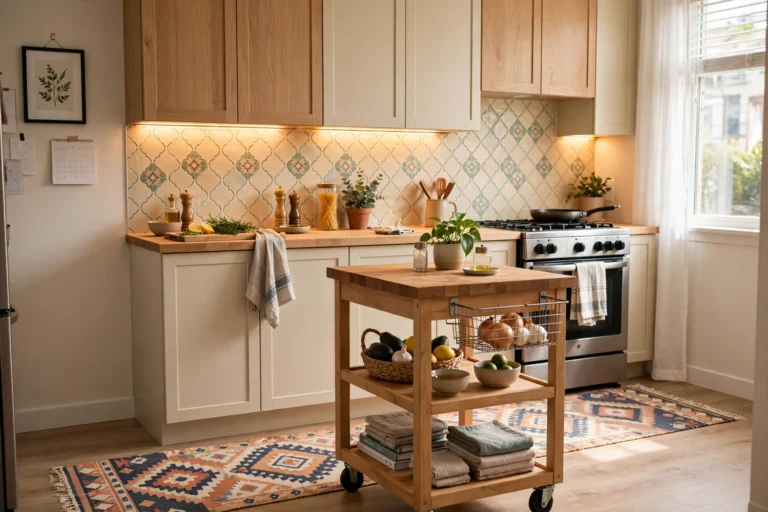
The wall strip behind the faucet takes every splash and usually shows it. A row or two of peel-and-stick tile sheets gives you a wipeable, deliberate-looking backsplash where there was painted drywall. The application is the same peel-and-stick tile method we used in the kitchen — clean surface, measure twice, press from the middle out. Keep it to the splash zone and it looks like design, not disguise.
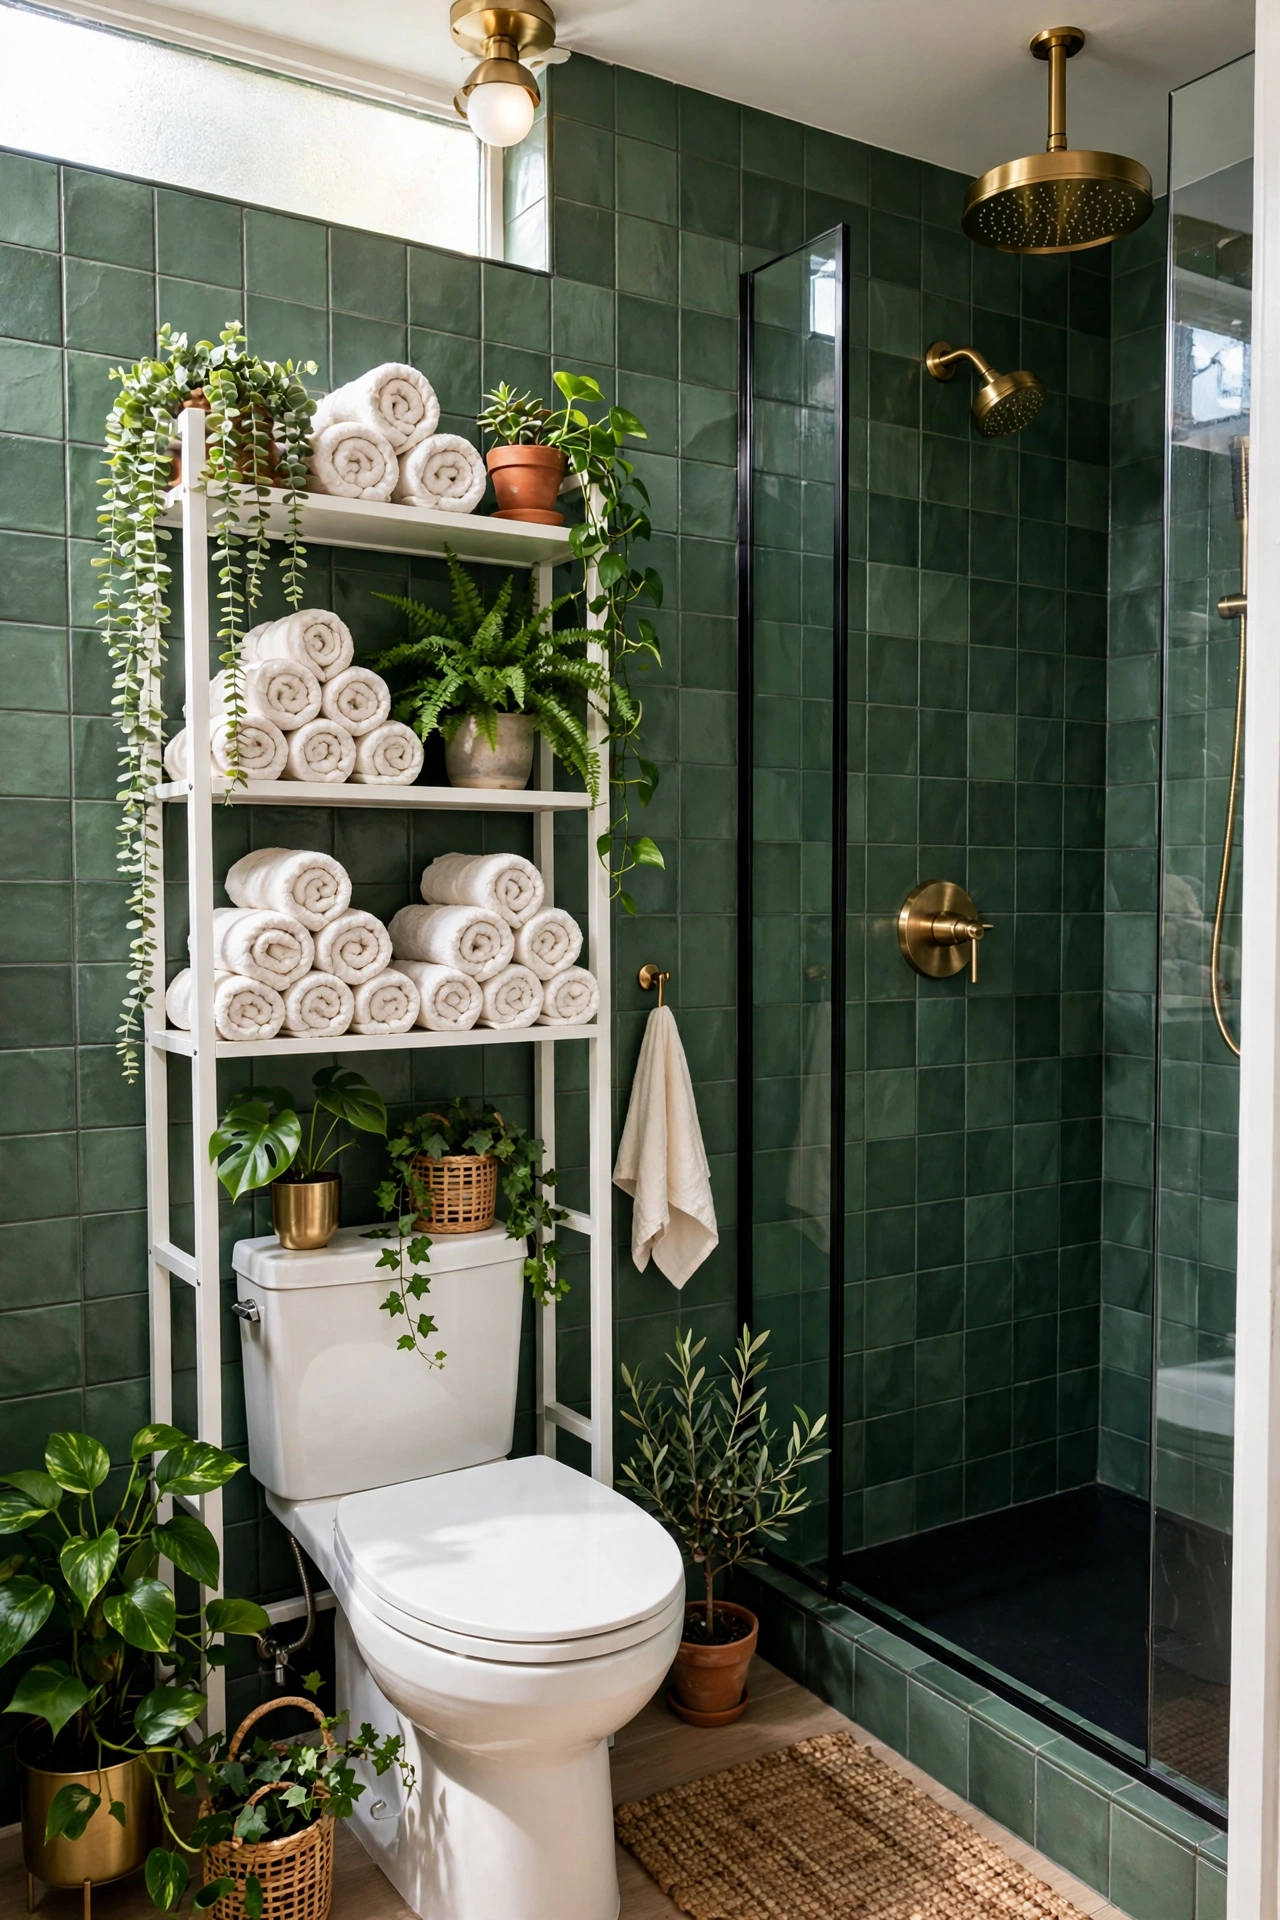
3. A freestanding over-toilet shelf unit
Cost: roughly $35–$80.
The space above the tank is the biggest blank in the room — usually 33–37 inches (84–94 cm) of vertical clearance going to waste. A freestanding unit stands on the floor and straddles the tank, adding two or three shelves for towels, baskets and the spare rolls. Measure the height from the floor to where the shelves start, because tank levers and fill valves vary. It stores like built-in shelving and walks out the door with you, which is why it’s the anchor piece in most of our small bathroom organization ideas too.
4. A tension-pole shower caddy
Cost: roughly $25–$45.
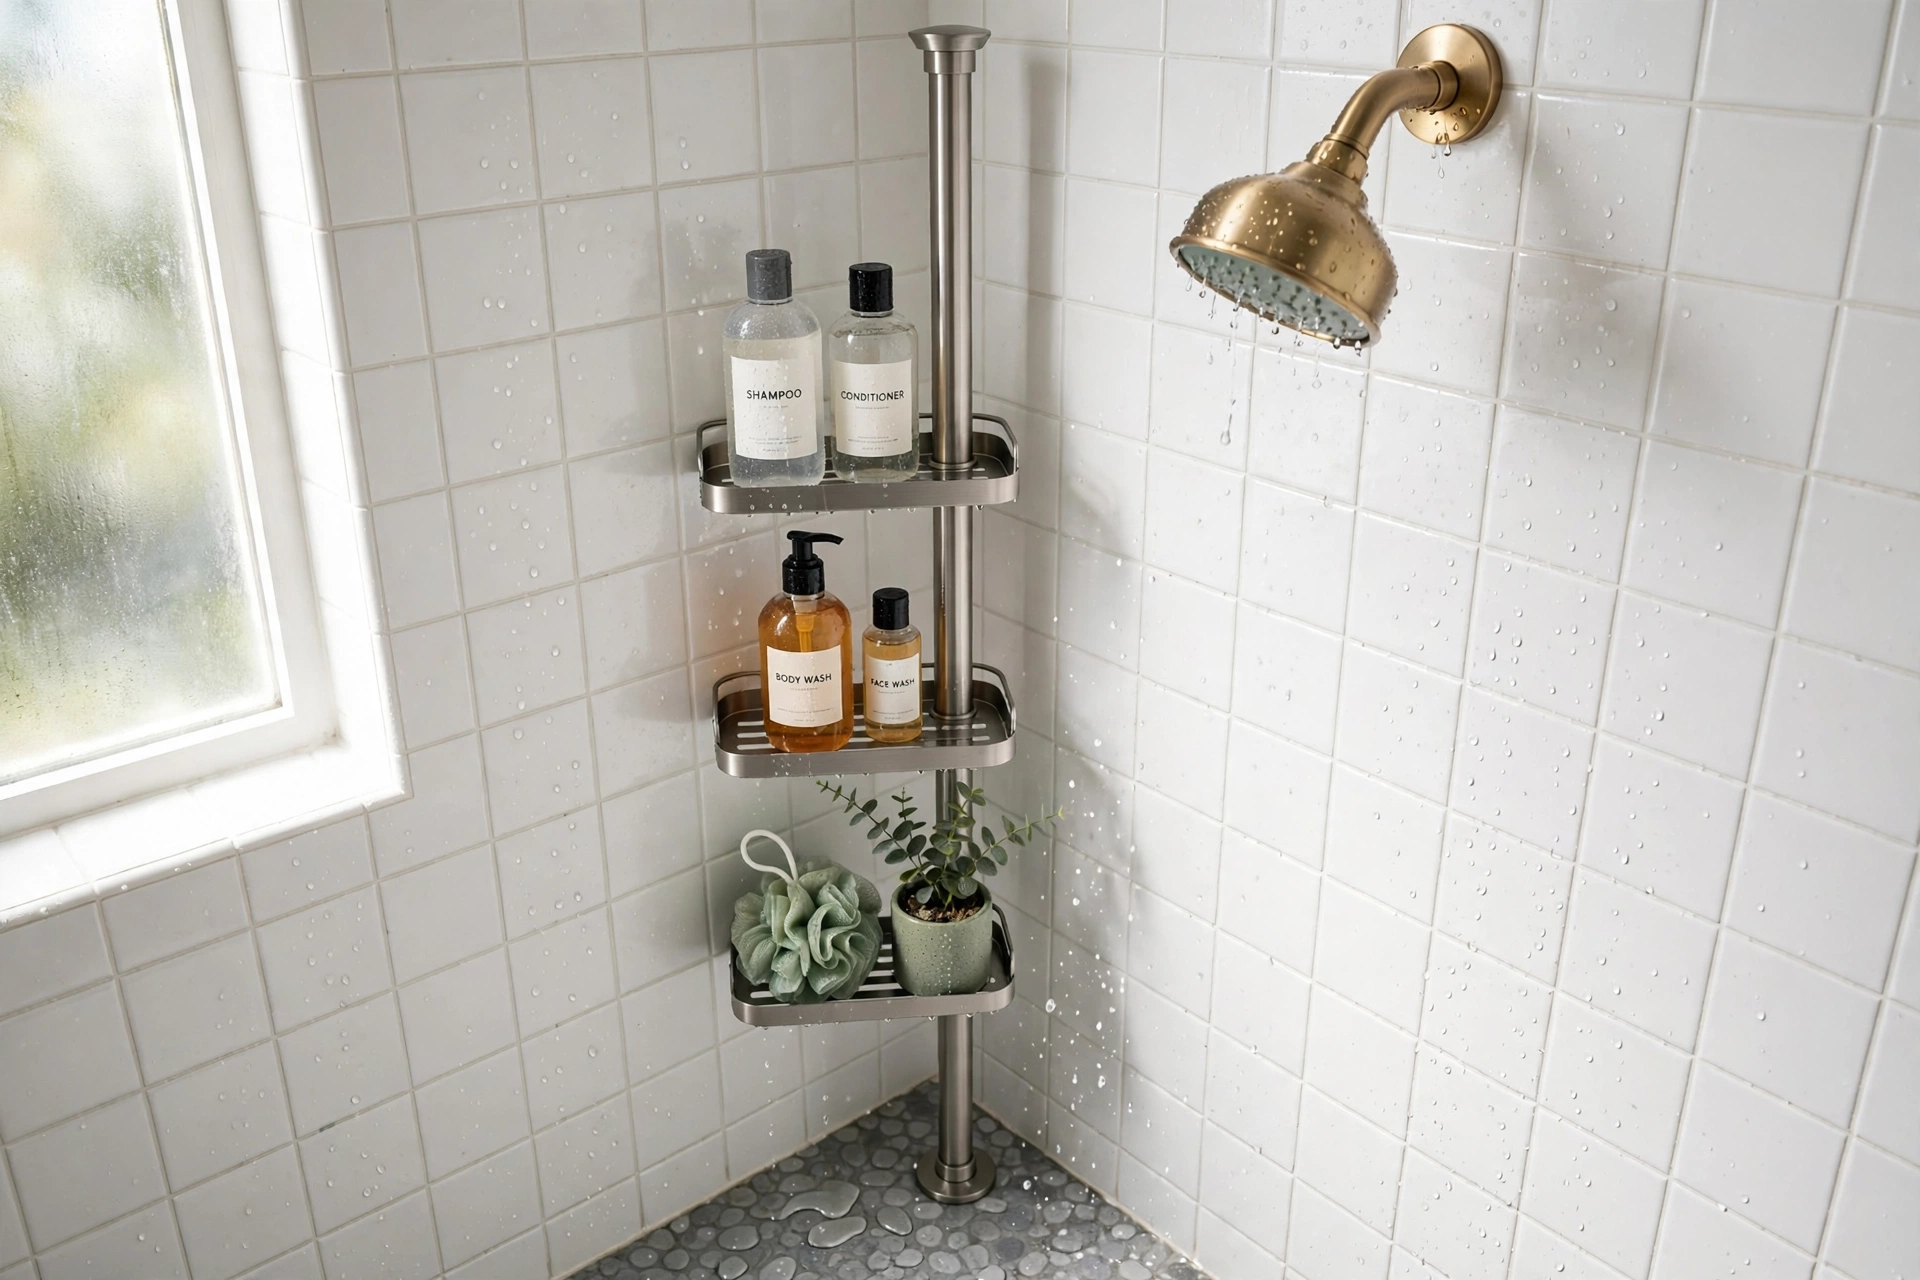
Suction cups fail at 3 a.m.; tension doesn’t. A spring-loaded pole runs floor to ceiling — most adjust from about 5 to 9 feet (1.5–2.7 m) — in the shower corner and holds every bottle in the household on real shelves. Choose stainless or coated metal over chrome-look plastic, because shower corners are the harshest spot in the home. No screws, no adhesive, and it leaves zero trace when it comes down.
5. Adhesive shelves and hooks — the wet-rated kind
Cost: roughly $10–$25 for a set.
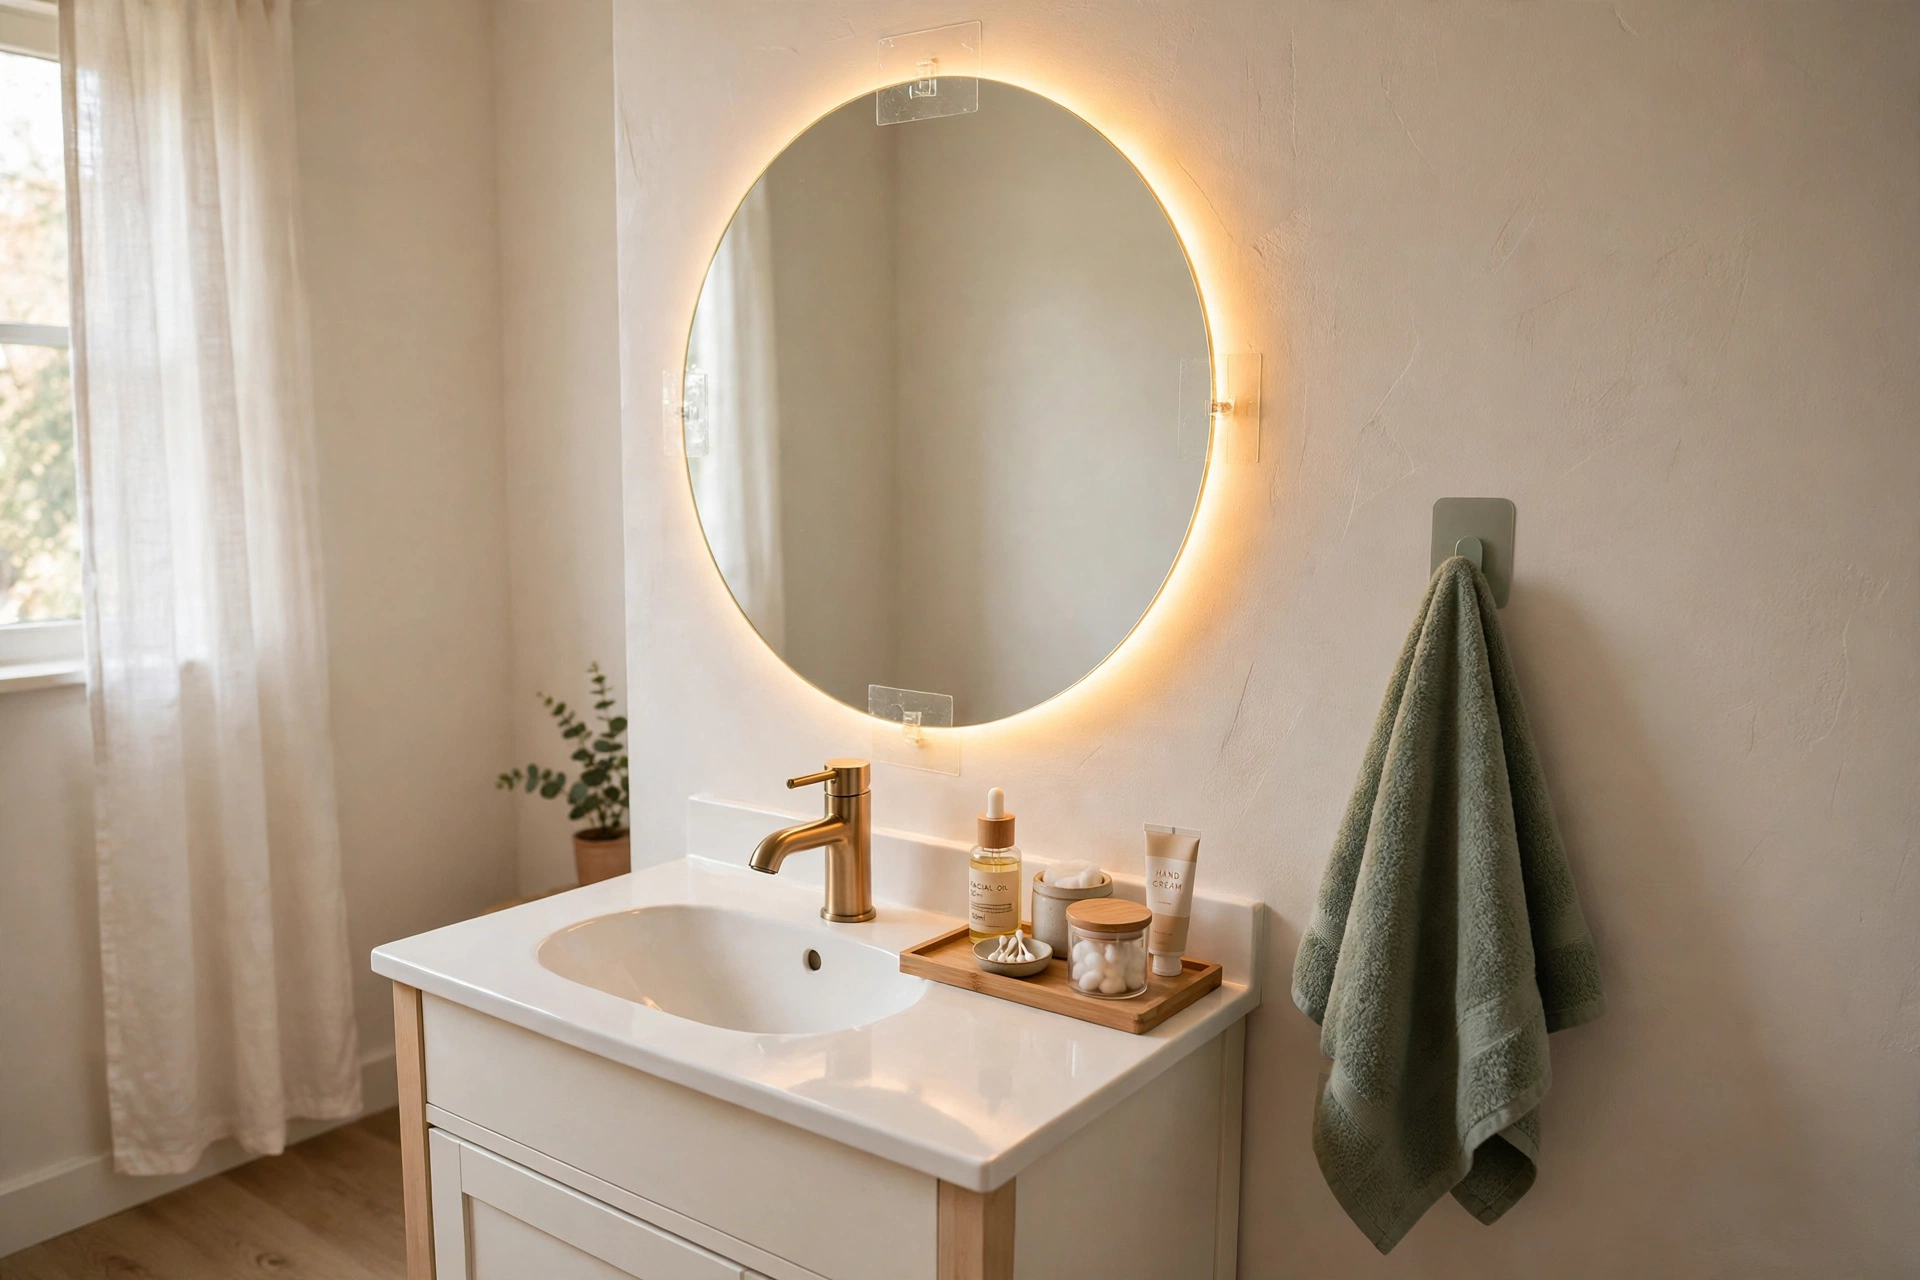
Adhesive storage has a deservedly mixed reputation, and the difference is the rating: use only waterproof, bathroom-rated adhesive pads, apply them to clean dry tile, and wait the full 24 hours before loading them. Done right, an adhesive shelf beside the mirror holds daily skincare, and a pair of hooks takes towels and robes without a single hole in the door. Done wrong — cheap pads on dusty paint — it’s a midnight crash and a lost deposit argument.
6. Removable wallpaper on one wall
Cost: roughly $30–$50 a roll.
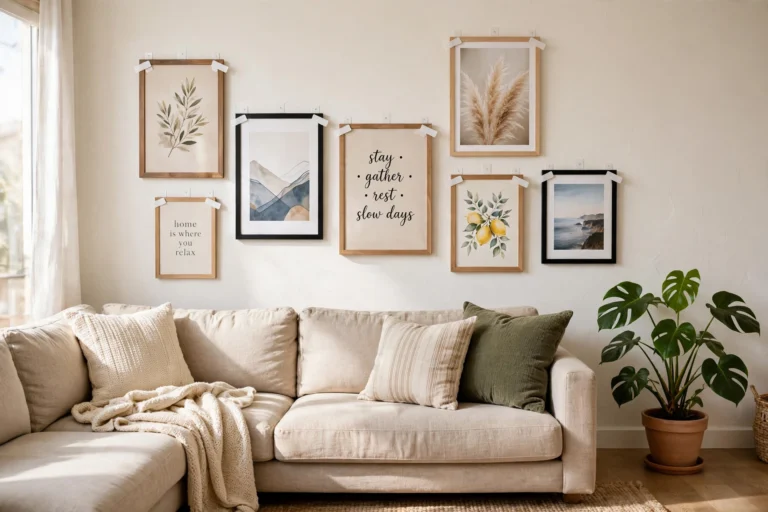
One wall is enough. The wall behind the toilet or the one facing the mirror takes a bold peel-and-stick pattern and turns a white box into a room with a point of view. This follows the same principle as our renter-friendly wall ideas everywhere else in the home: if it peels off cleanly, it’s decoration, not alteration. Keep wallpaper out of the shower’s direct splash zone — humidity at the edges is what eventually lifts it in any bathroom, rental or not.
7. Swap the showerhead (and keep the old one)
Cost: roughly $20–$40.
Most showerheads unscrew by hand or with one adjustable wrench and a wrap of PTFE tape on the threads. A rainfall or handheld replacement changes the shower more than any other single item on this list. The renter protocol is simple: the original head goes into a labeled bag under the sink the day the new one goes on, and it goes back on before you hand back the keys. Ten minutes each way, and nobody can tell it ever happened.
8. A bigger mirror, mounted without holes
Cost: roughly $15–$35.
Rental mirrors are small, frameless and lit like interrogation rooms. Two fixes, neither involving a drill: heavy-duty adhesive mirror strips rated for the mirror’s weight, or a decorative frame kit that sticks onto the existing mirror’s edges and makes it look intentional. Either way the room reads twice as finished. Check the weight rating honestly — mirrors are the one adhesive job where ‘close enough’ is not a plan.
9. Lighting that doesn’t need an electrician
Cost: roughly $12–$30.
Half of ‘dated bathroom’ is just bad light. Swap the bulbs for warm-white LEDs in the 2700–3000K range and the same room looks calmer instantly. Then add a rechargeable LED strip or bar above or beside the mirror — adhesive or magnetic mount, USB charging, motion-sensor versions switch on as you walk in. No wiring, no landlord conversation, and the mirror selfies upgrade themselves.
10. A slip-on tub spout and aerator refresh
Cost: roughly $10–$25.
The finishing touches nobody notices until they’re wrong: a fresh aerator (unscrews by hand, costs a few dollars) makes the water flow look and feel new, and a slip-over spout cover in a brushed finish hides a pitted, dated tub spout without touching plumbing. Like the showerhead, anything original goes in the labeled bag. Small metal, big difference in how ‘kept’ the room feels.
Moving-day reversal order (about 30 minutes)
- Warm and peel the wallpaper and floor tiles, slowest first
- Pull adhesive strips by their tabs, parallel to the wall
- Refit the original showerhead and aerator from their labeled bag
- Lift out the over-toilet unit and tension caddy
- Photograph everything — your “after” photos should match your move-in photos
Frequently asked questions
Will these upgrades actually protect my security deposit?
Deposits are judged on the condition you leave behind, not on what the room looked like in between. Everything here peels, lifts, unscrews by hand or walks out — so if you reverse it properly and leave the room as you found it, there is nothing to deduct for. Move-in and move-out photos are your proof; take both sets in daylight.
How do I remove peel-and-stick tiles and adhesive strips without damaging paint or tile?
Heat is the whole trick. Warm tiles with a hairdryer for 20–30 seconds and peel slowly at a low angle; warm adhesive releases instead of tearing paint. Pull removable strips by their tab, stretched flat along the wall — never yanked outward. Any sticky residue left behind usually lifts with warm soapy water or a dab of rubbing alcohol (spot-test alcohol on paint first).
Do peel-and-stick products hold up in a steamy bathroom?
Yes, within their zones. Floor tiles handle bathroom moisture well if the floor was clean and dry at install and the seams are pressed tight. Adhesive shelves need bathroom-rated pads and a full 24-hour cure before loading. Wallpaper is the one to place carefully: fine on ordinary walls, risky inside the shower splash zone, where constant steam eventually lifts the edges.
Should I tell my landlord before making these changes?
For genuinely reversible, no-hole changes, most renters don’t need permission — but a quick message costs nothing and creates goodwill plus a paper trail. Anything that touches fixtures (the showerhead swap) is still fully reversible, yet it’s the one worth a casual heads-up if your landlord is particular. If your lease explicitly bans adhesive products, follow the lease and lean on the freestanding and tension options instead.