
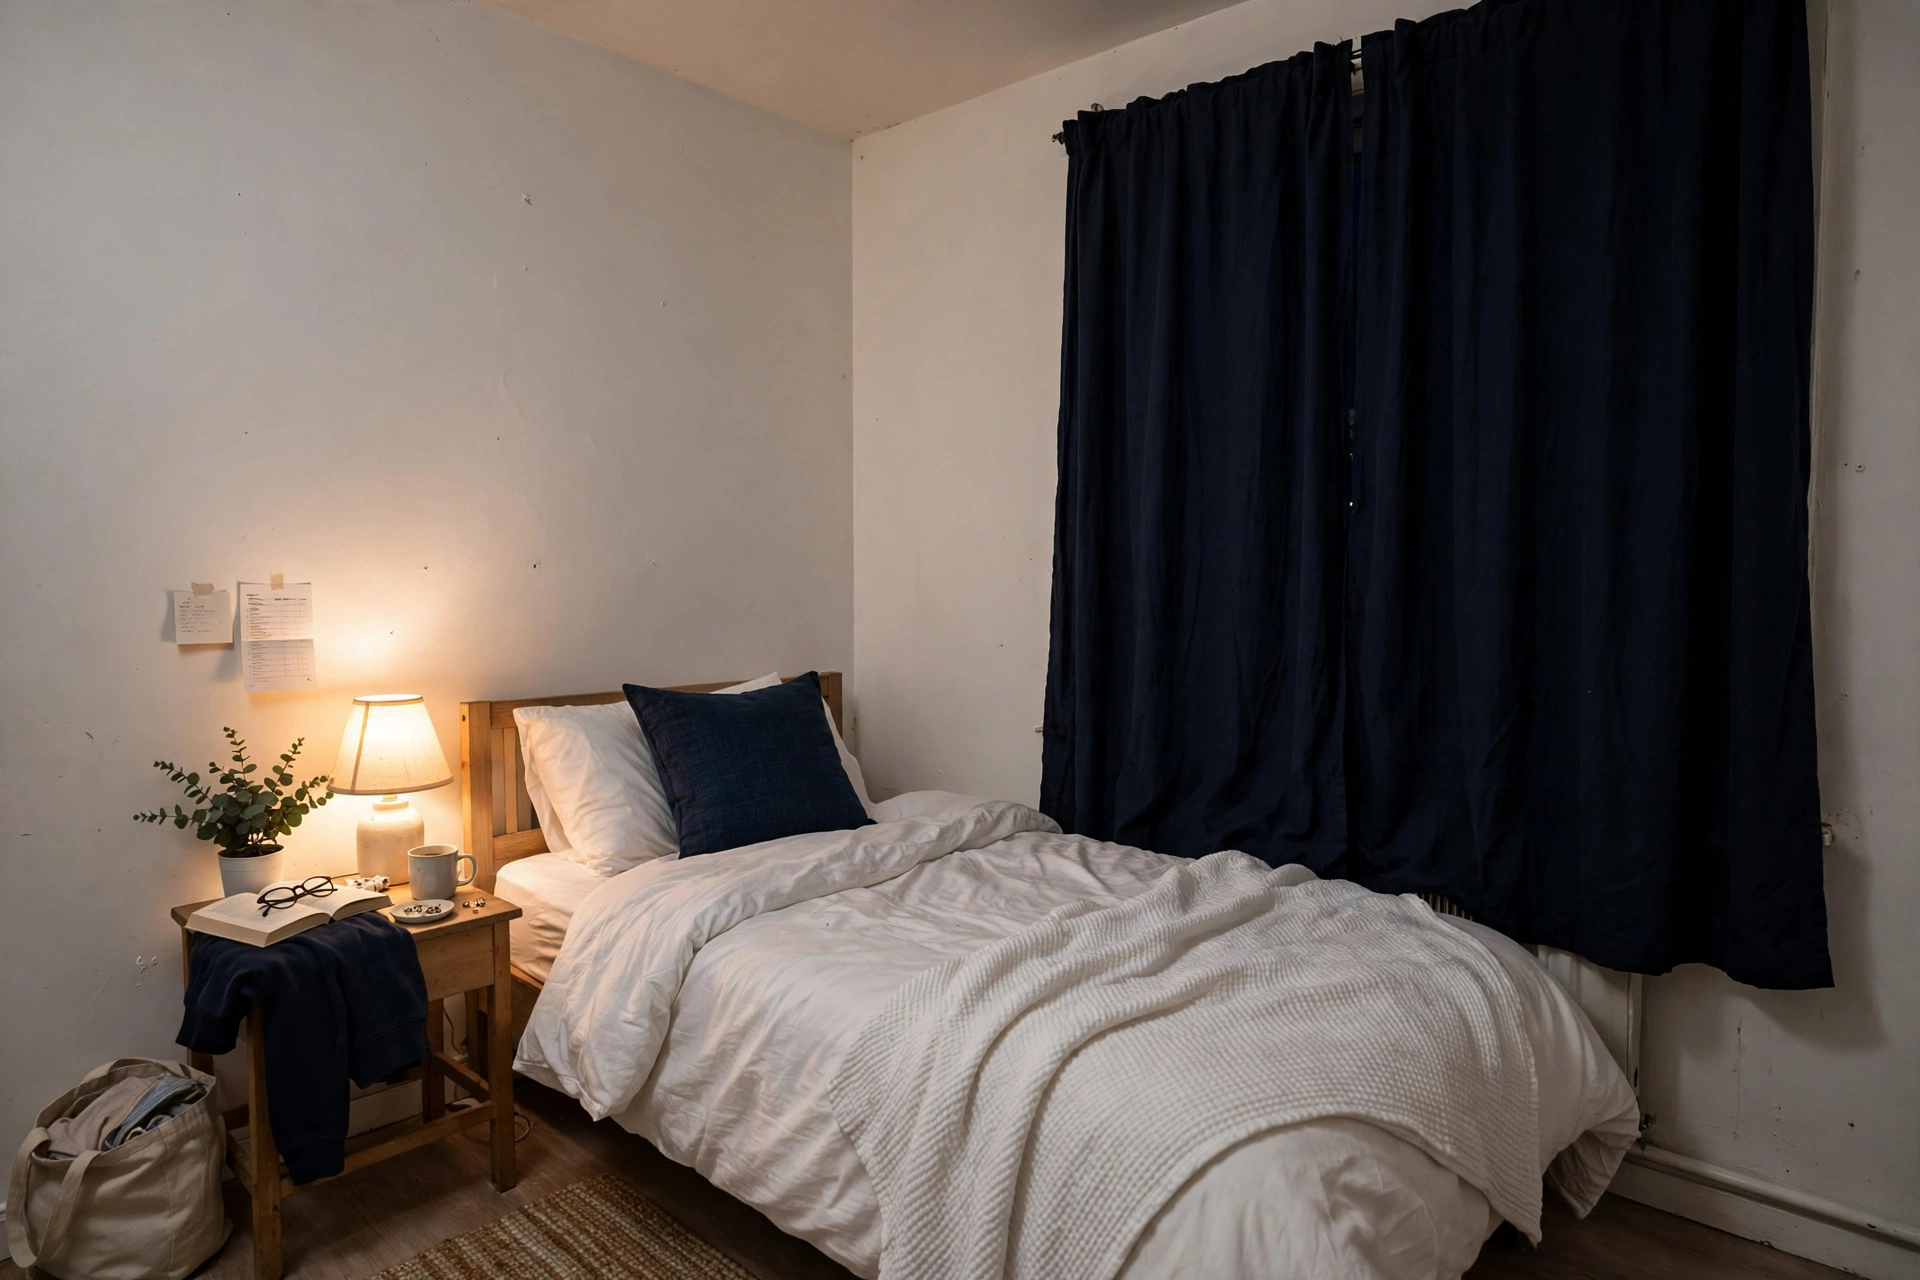
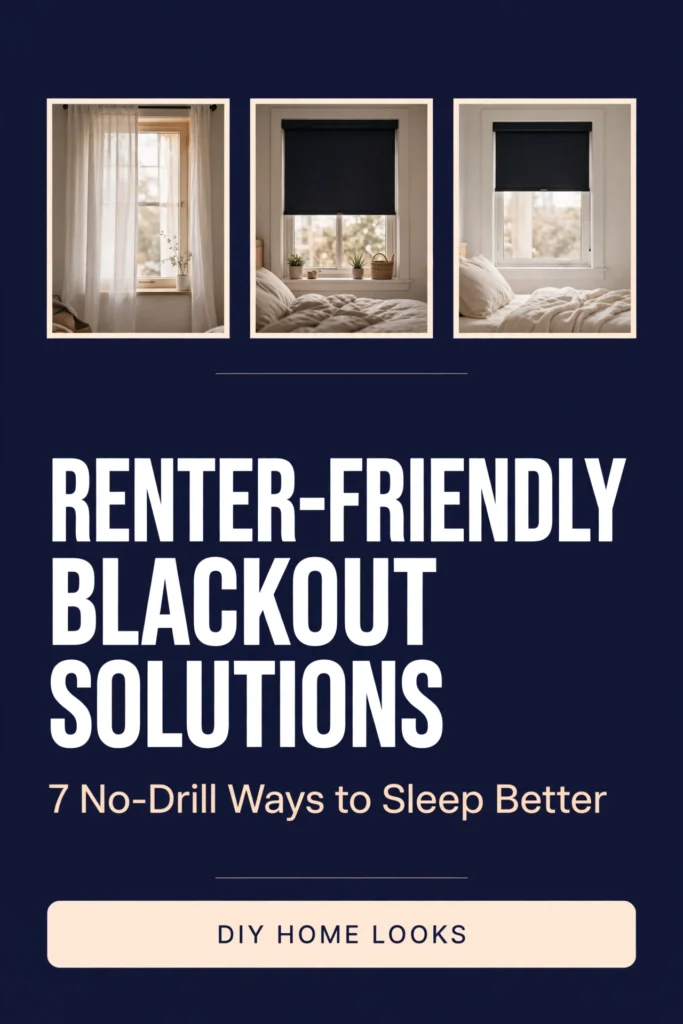
Renter-Friendly Blackout Solutions for Better Sleep: 7 No-Drill Ways That Actually Work
The best renter friendly blackout solutions block 90 to 100% of the light without a single screw hole, and the cheapest one costs about $8. I measured it the boring way first: a standard bedroom window is 36 by 48 inches (91 by 122 cm), and a 50 by 78 inch portable panel covers it with 7 inches (18 cm) of overlap on each side. That overlap is the whole game. Most “blackout” setups fail at the edges, not through the fabric. Below are the 7 methods that actually work in a rental, ranked by darkness, with a cost table dated November 2026, a weight budget for tension rods, and a deposit-risk rating for each one.
What renter friendly blackout solutions actually block
Here is the direct answer: a true blackout product blocks 90 to 100% of visible light. A room-darkening product blocks less, and the label will not tell you how much less. That gap is where most renters get burned. You buy a panel that says “blackout” on the tag, hang it, and the room still glows at 5 a.m. because light slips around the sides, over the top, and through the thin spots.
The fix is a test, not a purchase. Wait for full dark, turn off every light in the room, and shine your phone flashlight at the window from inside. Every place you see light leaking is a place morning sun will get in. Do this test before you buy anything, and again after you install. It takes two minutes and it tells you the truth no product page will.
Three numbers set expectations. A UK cost guide that measured darkness by eye at the bed (not in a lab) puts foam board at about 99% dark, suction travel blinds at about 95%, blackout film at about 97% on the glass only, and curtains alone at about 90%. Treat those as honest estimates, not lab results. One manufacturer claims its sealed track system reaches 0 lux, which is a manufacturer claim, not an independent test, and the system needs screws in the window recess plus $243 or more. Renters should read that claim with both eyes open.
Pick the right method for your window type
Your window decides the method, not the other way around. Check these four things before you spend anything.
| Your window | Best method | Why |
|---|---|---|
| Deep recess (3 in / 8 cm or more) | Tension rod + blackout panel | The rod braces inside the recess and the panel hangs flat |
| Flush with the wall, no recess | Adhesive brackets + wraparound rod, or suction blind on the glass | Nothing to brace a rod against, so the fix must stick to the glass or the wall face |
| Steel frame | Magnetic blackout panel | Magnets grip steel directly and seal the edges better than fabric alone |
| Textured or frosted glass | Skip suction cups and film | Suction needs smooth glass to seal, and film will not lie flat on texture |
| Wide window (over 54 in / 137 cm) | Two panels, or one panel + liner | One standard panel is 50 to 54 in wide, so a wide window needs a second layer |
If you rent and you work nights, pick by darkness first and looks second, and pair it with ways to soundproof a rental apartment so noise does not wake you either. A foam-board insert looks plain and blocks about 99% of light. A pretty curtain panel looks great and blocks about 90%. Sleep is the point here, so let darkness win and add the pretty layer on top.
The 7 renter friendly blackout solutions, ranked
Each method below carries a Deposit-Risk rating from 1 (safest) to 5 (riskiest). A 1 means nothing touches a painted surface. A 5 means you will be patching or repainting at move-out.
1. Suction-cup portable blackout blind
Best for: Shift workers and light sleepers who want the darkest room with the least effort.
Main advantage: It sticks straight to the glass with suction cups, so there is no rod, no bracket, and nothing to measure twice. It comes off every morning in seconds and packs into a bag.
Watch out for: Suction cups fail on textured glass, dirty glass, and in summer heat. The edges leak light unless you press the panel flat all the way around. One panel is 50 by 78 inches (127 by 198 cm), so a window wider than 54 inches (137 cm) needs two.
Verdict: The fastest real blackout a renter can buy. Buy the cheap one first and upgrade only if the cups keep failing.
Deposit-Risk: 1/5. Nothing touches paint or plaster.
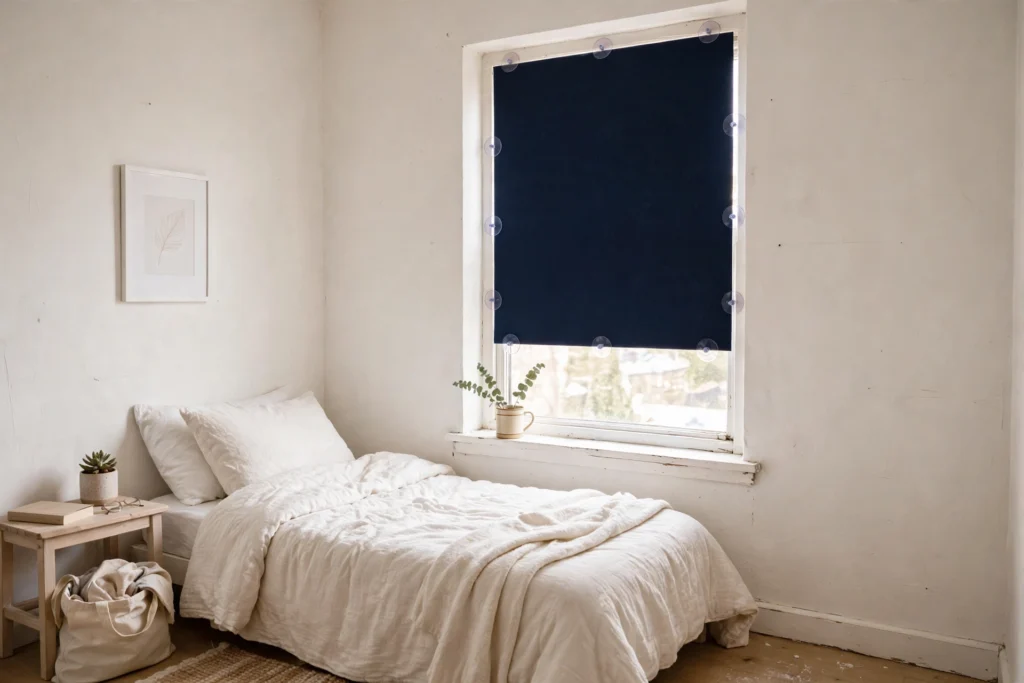
2. Blackout liner clipped behind your existing curtains
Best for: Renters who already own curtains they like and only need the light blocked.
Main advantage: A liner is a separate dark layer that hangs behind your decorative panels, so the room keeps its look and gains real darkness. Clip-on rings or hooks mean no sewing.
Watch out for: The liner adds weight. A lined pair can weigh 12 to 15 lb (5.4 to 6.8 kg), which is more than a light tension rod or a pair of adhesive hooks can hold. Check the weight budget in the setup section before you hang it.
Verdict: The best-looking fix on this list. It is also the one most likely to fall down if you skip the weight check.
Deposit-Risk: 1/5. Clips touch fabric, not walls.
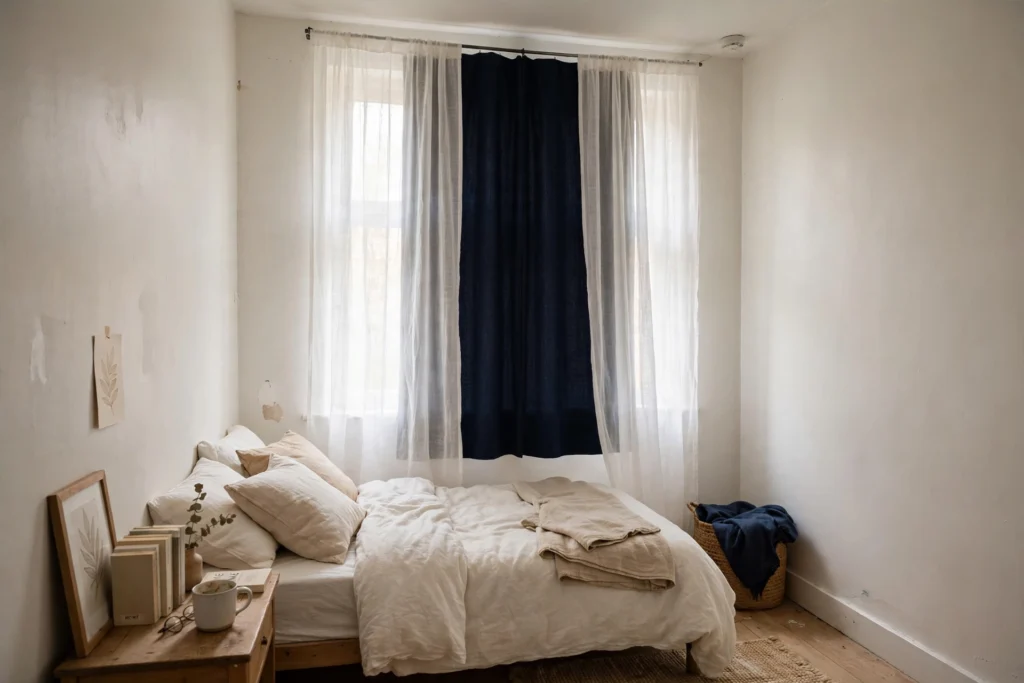
3. Static-cling blackout film on the glass
Best for: Bedrooms where you want darkness around the clock and never want to touch the window again.
Main advantage: It costs about $8, sticks to the glass with water, and peels off clean with no glue. On the glass itself it blocks about 97% of light.
Watch out for: Film covers the glass, not the frame, so light still leaks around the edges. It will not stick to textured glass. And it traps moisture against the pane, so if your windows already sweat in winter, film can make the condensation worse. Our guide to condensation on rental windows explains the fix before you add film.
Verdict: The cheapest real blackout per dollar. Pair it with a panel if the edge glow bothers you.
Deposit-Risk: 2/5. Peels clean from glass, but check your lease first, since some landlords ban anything stuck to windows.
4. DIY foam-board window insert
Best for: Anyone who wants the darkest room possible for the least money, looks aside.
Main advantage: A foil-faced foam board cut to fit the window recess blocks about 99% of light, costs a few dollars per window, and pops out in 30 seconds. Wrap it in fabric and it looks like a padded panel instead of a building site.
Watch out for: You need the measurements right. Cut it 1/8 inch (3 mm) larger than the recess so friction holds it in place. Too small and it falls out at 3 a.m. Too big and you will be trimming it on the floor with a bread knife.
Verdict: The most underrated method on this list. Ugly in daylight, unbeatable at 2 a.m.
Deposit-Risk: 1/5. Friction fit, no fixings, no marks.
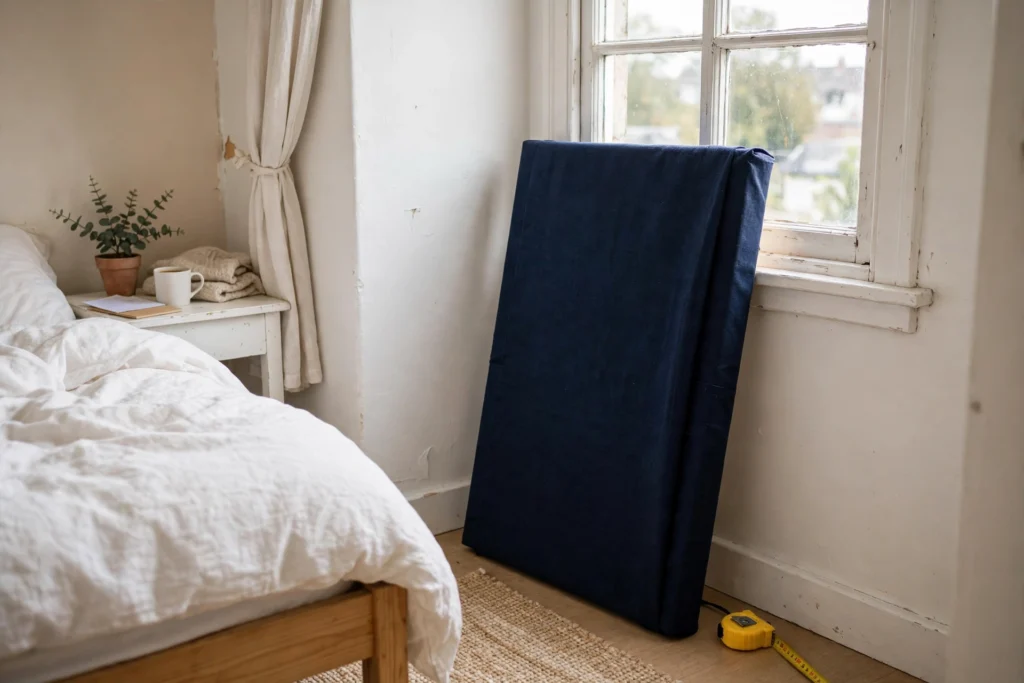
5. Tension-rod blackout panels
Best for: Renters with a deep window recess who want a normal-looking curtain that comes down clean.
Main advantage: A heavy-duty tension rod costs $10 to $15, installs in a minute with no tools, and holds a proper blackout panel, and the best blackout curtains for small apartments guide picks the seven panels that fit that rod best. It is the closest thing to a real curtain without drilling, and budget curtains that fit small rooms are the cheapest panels to pair with it.
Watch out for: This is the weight trap. A standard tension rod holds about 5 to 10 lb (2.3 to 4.5 kg). A heavy-duty one holds up to 15 lb (6.8 kg). A pair of 54-inch blackout panels weighs 6 to 15 lb, and a lined pair can pass 20 lb. Do the math before you hang it, because a rod that holds for three days and then drops at night is the classic renter story. Our guide on how to hang curtains without drilling covers the same weight budget in detail.
Verdict: The best everyday option, as long as you buy the heavy-duty rod and weigh the panels first.
Deposit-Risk: 2/5. A rod cranked too tight can dent soft paint or leave a ring mark.
6. Foil and painter’s tape, the emergency fix
Best for: Tonight. You just moved in, the sun rises at 5 a.m., and the shops are closed.
Main advantage: It costs almost nothing, blocks nearly all light, and takes five minutes. Foil is completely opaque, and painter’s tape comes off clean.
Watch out for: It looks rough, and it is rough. Foil left up through summer can bake onto the glass and tear in strips. Tape on painted trim for weeks can lift paint. Use painter’s tape only, never packing tape, and treat this as a one-week fix while the real solution ships.
Verdict: The honest emergency option. Free is a fair price for ugly that works.
Deposit-Risk: 2/5. Safe for a week, risky for a season.
7. No-drill adhesive brackets and a wraparound rod
Best for: Renters who want the built-in look, with the curtain returning to the wall so no side light gets in.
Main advantage: Adhesive brackets stick to the wall face and hold a real rod, and a wraparound rod curves the panel back to the wall, which kills the side glow that ruins most curtain setups. This is the closest a renter gets to a hotel blackout.
Watch out for: Adhesive is the risk. Standard removable strips hold about 5 to 7.5 lb per pair, and heavy-duty mounts hold up to about 15 lb per bracket. The wall must be smooth and clean, or the bracket will peel off with the panel. And when you remove adhesive from old paint, it can take the paint with it. Patch-test one bracket first.
Verdict: The prettiest and the riskiest. Worth it in a long-term rental, overkill for a six-month stay.
Deposit-Risk: 3/5. The only method here that can cost you paint.
What do renter friendly blackout solutions cost for one window?
All prices below were live-checked in November 2026. They are market prices for one standard bedroom window, not personal receipts.
| Method | What you buy | Price as of November 2026 |
|---|---|---|
| Suction-cup portable blind | Amazon Basics 50×78 in shade, or Sleepout 3.0 | $23.09 to $129.00 |
| Blackout liner | Threshold liner, one panel | $20.00 to $25.00 |
| Static-cling film | Rabbitgoo or VELIMAX roll | $7.36 to $8.00 |
| Foam-board insert | 1-in EPS foam board, 4×8 ft sheet (covers 4 or more windows) | $14.00 to $29.00 |
| Tension rod + panel | Heavy-duty rod + one blackout panel | $16.18 to $36.34 |
| Foil + tape | Foil and painter’s tape you likely own | $0.00 to $5.00 |
| Adhesive brackets + wraparound rod | Bracket set + wraparound rod | $47.00 to $70.00 |
The recommended one-window starter kit is the tension-rod route: a heavy-duty rod at $10 to $15, one Sun Zero blackout panel at $6.18, and a roll of painter’s tape at $7.79. That totals $23.97 to $28.97. If your window is wider than 54 inches (137 cm), add a second panel at $6.18 to $21.34, which brings the kit to $30.15 to $50.31. The premium route is one Sleepout blind at $129, which is the price of doing nothing else and doing it well.
How to hang blackout panels without drilling in 7 steps
This is the setup for Method 5, the tension-rod route. It takes about 20 minutes for one window.
Materials list: heavy-duty tension rod ($10 to $15), one blackout panel 40 by 84 inches (102 by 213 cm), painter’s tape, a tape measure, a pencil, hook-and-loop dots for the edges.
- Measure the recess. Measure the window recess width at the top, middle, and bottom, and use the smallest number. Recesses are rarely square.
- Weigh the panel. Weigh the panel on a kitchen scale. If it is over 12 lb (5.4 kg) with a liner, switch to adhesive brackets instead of a tension rod.
- Set the rod. Extend the rod 1 to 3 cm longer than the recess, set it at an angle, and push it up firmly from below so it wedges the walls apart.
- Hang the panel. Hang the panel and let it fall to the sill or the floor. A panel that stops at the frame leaks light at the bottom.
- Overlap the frame. Pull the panel 3 to 6 inches (8 to 15 cm) past the frame on each side so the fabric overlaps the wall.
- Seal the edges. Stick hook-and-loop dots along the panel edges and press them to the wall or trim at night. This seals the side glow.
- Do the flashlight test. Lights off, phone flashlight at the window from inside, and seal every leak you see.
If the rod slips after a day, the panel is too heavy for it. That is the rod telling you the truth, not a defect. Step down to a lighter panel or step up to adhesive brackets.
Mistakes to avoid
Buying the heaviest panel first. A thick lined panel looks like the best blackout and then falls off a light rod at night. Weigh first, buy second.
Hanging the panel exactly as wide as the window. A panel that stops at the frame leaks on all four sides. Go wider and higher, every time.
Putting film on textured glass. Static cling needs smooth glass. On texture it bubbles, peels, and leaves a patchy mess that is harder to remove than to install.
Skipping the flashlight test. You cannot judge darkness at noon. Test at night with the lights off, or you will find the leak at 5 a.m.
Using packing tape on painted trim. Painter’s tape comes off clean. Packing tape takes paint with it, and that is a deposit deduction, not a cleaning job.
Leaving foil up all summer. Foil bakes onto hot glass. What took five minutes to put up can take an hour to scrape off.
What to skip
Sealed track systems that need screws. They are the only route to true 0 lux, and they cost $243 or more plus small screw holes in the window recess. That is a landlord conversation, not a renter fix.
Adhesive film on a window you open daily. Every open and close works the film loose at the corners, and it starts peeling within weeks.
The cheapest spring rod for a blackout panel. A $6 spring rod holds sheers, not a 12 lb lined panel. It will hold for three days and then come down at night.
“Blackout” spray or paint on the glass. It is not removable, it is not a renter product, and it will cost you the deposit.
A second layer of the same failing method. If one suction panel leaks at the edges, a second suction panel leaks at the same edges. Fix the edges with hook-and-loop dots instead.
Renter caveat: check the lease first
Before you stick, screw, or tape anything to a window, read the window clause in your lease. Most leases ban drilling and anything that leaves marks, which is why every method above is no-drill. A few leases also ban window film and anything stuck to the glass, so check that line specifically if you pick Method 3. Photograph every window before you install anything, keep the boxes and receipts, and plan the removal the day you move in, not the day you move out. Suction cups, film, and foam inserts come off in minutes. Adhesive brackets need a slow peel and a hair dryer on low heat. If a bracket takes paint with it, a small tube of spackle and a dab of matching paint costs under $5, which is far cheaper than a deposit deduction.
Sources: Darkness and cost figures in this post come from a UK cost guide that compared five blackout methods by price and darkness (mybabynow.co.uk), the UBlockout guide to renter blackout options, and live-checked November 2026 retail listings from Target, Amazon, and Sleepout. Darkness figures are visual estimates at the bed, not laboratory measurements, and the 0-lux sealed-track figure is the manufacturer’s own claim. Tension-rod and adhesive weight limits come from manufacturer ratings and renter guides. Prices change, so check the listing before you buy.
How this was made: this post was researched from live search results and retail listings in November 2026, with prices and measurements checked against the sources linked above. No product was tested in person, and no claim in this post comes from a test that did not happen.
Can you install blackout blinds without drilling?
Yes. Suction-cup blinds stick to the glass, tension-rod shades brace inside the window recess, and static-cling film goes straight on the pane. None of them needs a drill, a screw, or a bracket. The trade-off is edge light: no-drill methods block 85 to 95% of light at the edges, while a screwed-in sealed track is the only route to full darkness.
How can I blackout my windows without curtains?
Cover the glass itself. Static-cling blackout film costs about $8 and peels off clean. A foam-board insert cut to the recess blocks about 99% of light and pops out in seconds. Foil and painter’s tape work for one night. All three skip curtains entirely, and the film and the insert can be combined for a room that stays dark around the clock.
Do suction cup blackout blinds work?
Yes, on smooth clean glass. They block 85 to 95% of light on the panel surface, and the locking-cup models hold far better than the cheap ones. They fail on textured glass, dirty glass, and very wide windows where one panel cannot cover the span. Wipe the glass first, press each cup flat, and check it after the first hot afternoon.
Will blackout film damage my windows?
Static-cling film will not damage glass, because it uses no glue and peels off clean. It can trap condensation against the pane in winter, so wipe the glass dry before you apply it and check for moisture weekly. Never use self-adhesive film on a rental window, since the glue can leave residue that needs a razor scraper to remove.