How to Dry Clothes Indoors in a Small Apartment Without a Dryer: 7 Ways That Actually Work
Yes, you can dry a full load indoors without a dryer, and your clothes can come out fresh instead of stiff and sour. The short answer to how to dry clothes indoors in a small apartment without a dryer is this: spin the load as dry as the washer allows, hang every item with space around it, keep air moving across the rack, and keep the room’s humidity under 60 percent. Get those four right and most loads dry overnight. Get them wrong and you get damp jeans, a musty smell, and a fogged window.
Here is the number that changes how you think about it. One load of laundry releases about 2 litres of water into your room as it dries. That is the figure the UK Energy Saving Trust uses, and it is the reason indoor drying is a humidity problem, not just a space problem. A small 12 sq m bedroom (about 130 sq ft) with a 2.4 m ceiling holds roughly 29 cubic metres of air, and at 20 C that air can hold only about 500 grams of water even at full saturation. Your load carries four times that. The water has to go somewhere, so it goes into the air, onto cold walls, and onto your windows. This post is built around that math, with drying times, prices checked in November 2026, and a deposit-risk rating for every method.
The water math: one load, about 2 litres, nowhere to go
Before you buy anything, understand what you are fighting. Wet clothes do not dry because of heat alone. They dry because the water in the fabric moves into the air around them, and that only keeps happening while the air can still take more water. Three things stop it: clothes packed too tightly, still air, and a room that is already humid. Fix those three and drying gets fast. Ignore them and a load can sit damp for two days.
The 2-litre figure also explains the 24-hour rule that runs through this whole post. The US EPA says to dry wet materials within 24 to 48 hours to prevent mould growth, and its indoor humidity guidance is simple: keep relative humidity below 60 percent, ideally between 30 and 50 percent. Clothes that are still damp after a full day are a warning, not a delay. They are telling you the room is too humid, the air is too still, or the rack is too crowded. A small digital hygrometer costs about $10 to $50, per the EPA guide, and it is the cheapest tool in this whole post. Put it next to the rack and check it when you hang the load. If it reads over 60 percent, open a window a crack or run a fan. If it stays over 60 percent for hours, you need the dehumidifier step below, not a bigger rack.
How to dry clothes indoors in a small apartment without a dryer: 7 ways that work
Every method below carries a deposit-risk rating from 1 to 5, where 1 means nothing is drilled, stuck, or changed, and 5 means you should get written permission first. All seven are renter-friendly at 3 or below.
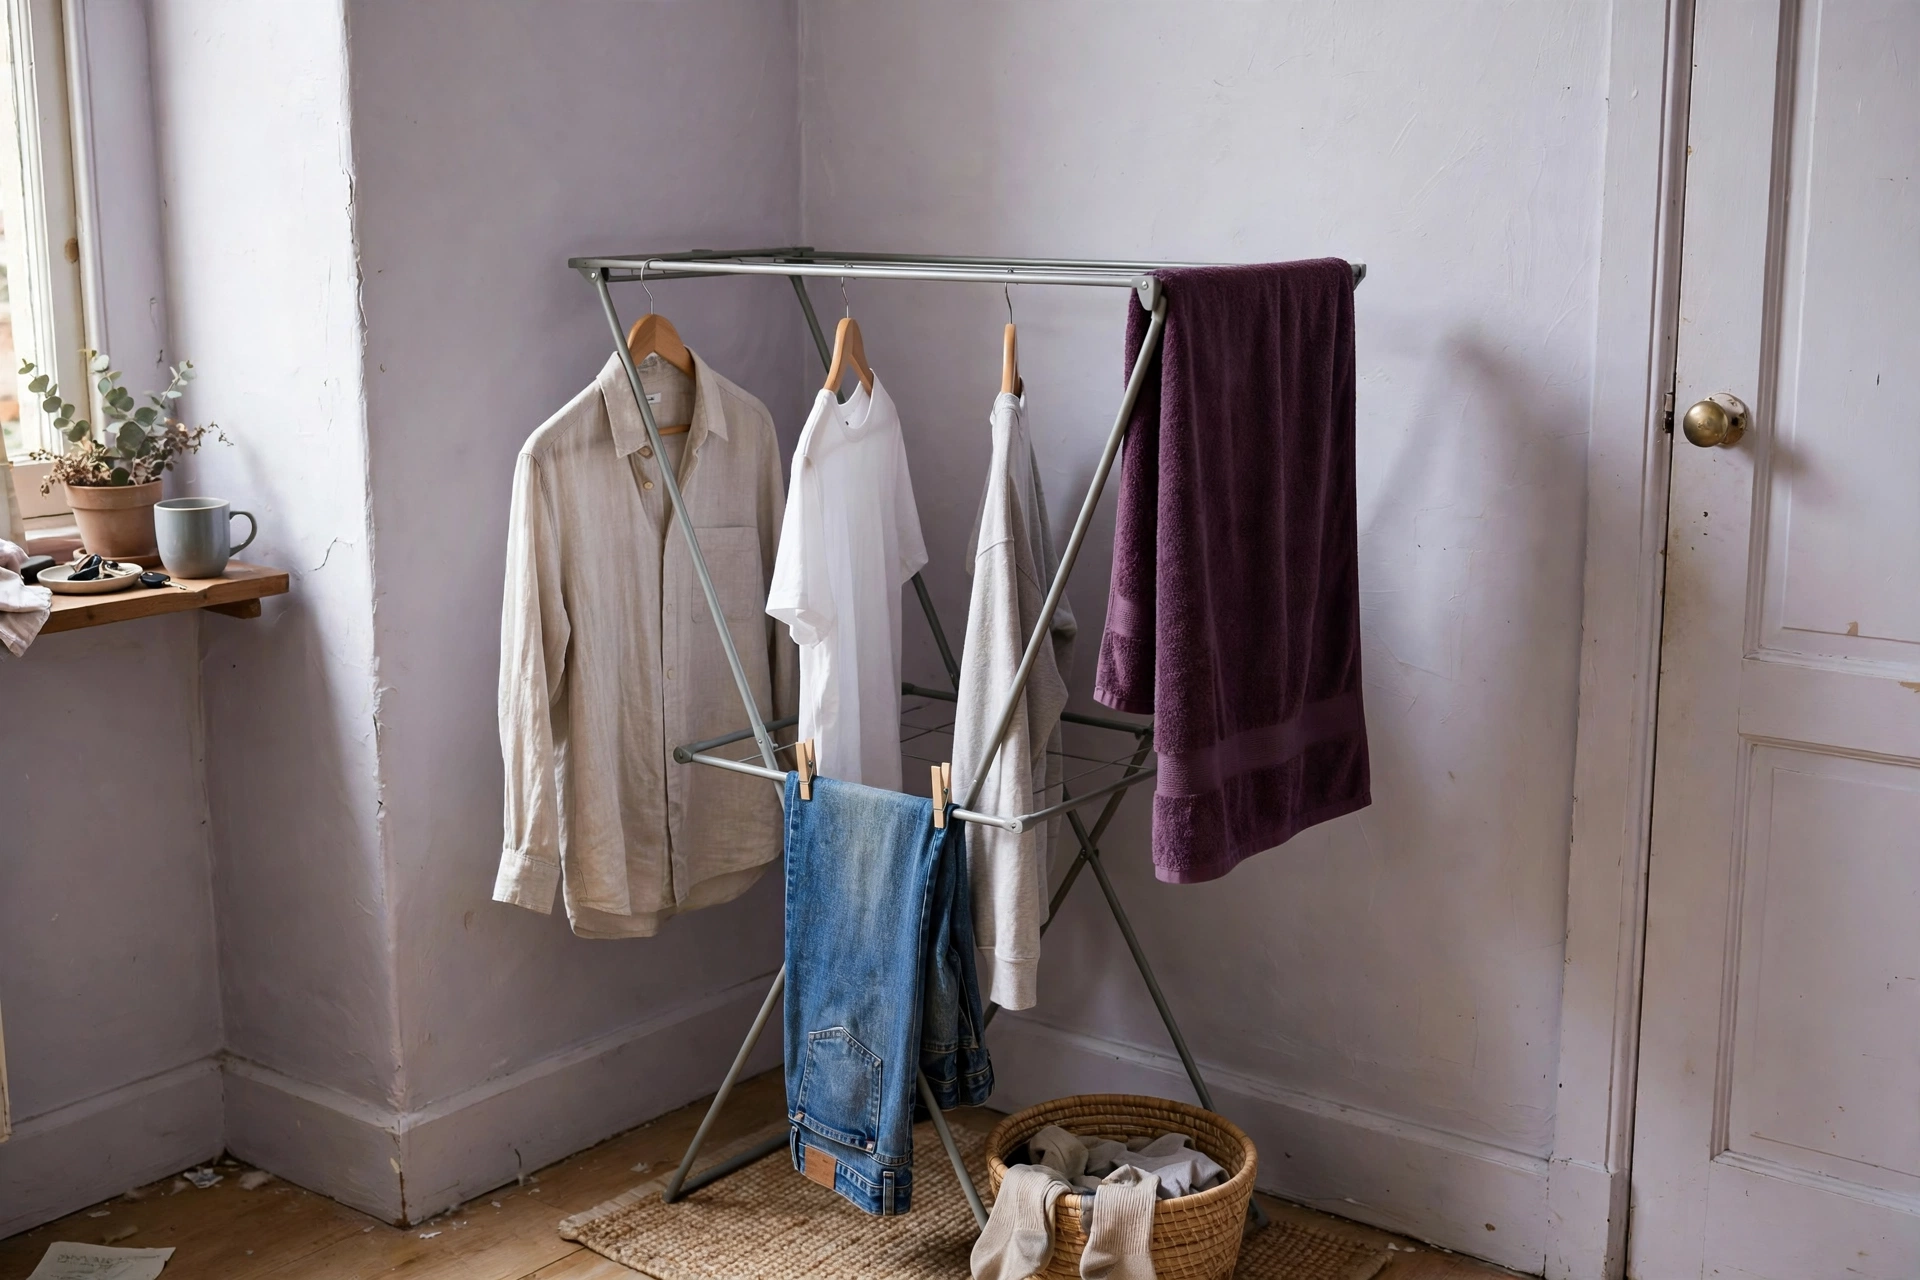
1. The folding drying rack, the default that earns its floor space
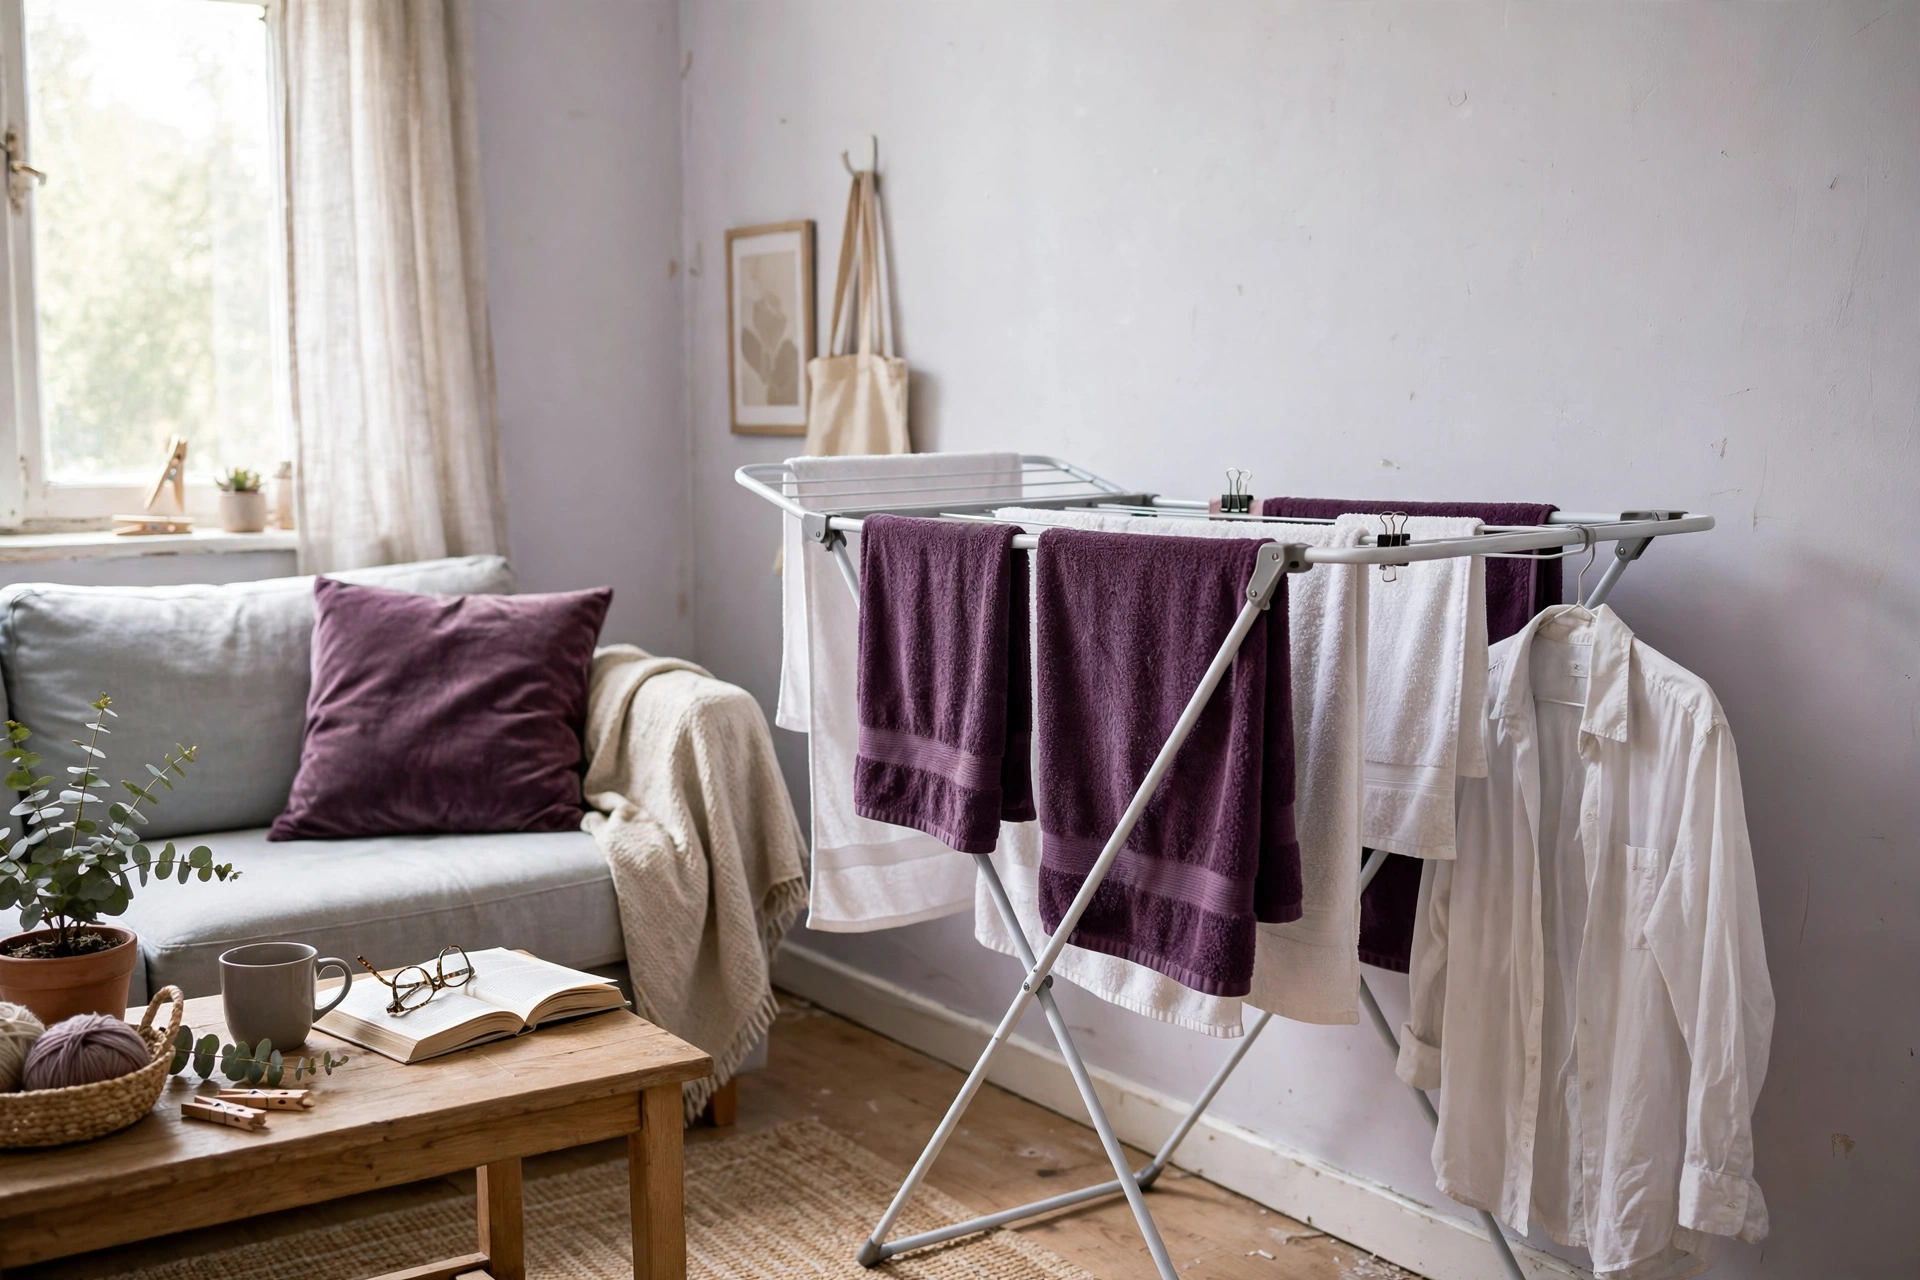
Best for: everyday loads in any room. Main advantage: it holds a full load, folds flat behind a door when empty, and costs about $19 for a basic single rack. Watch out for: it eats about 4 sq ft of floor while it is up, and a cheap rack sags under wet jeans. Verdict: start here. Deposit risk: 1/5.
This is the workhorse, and the mistake most people make with it is overloading it. Hang one item per bar, leave a finger-width gap between pieces, and put heavy things low so the rack cannot tip. Put the rack where air already moves, near a window or a doorway, never flat against a wall. Leave a hand-width gap behind it so damp air can escape instead of condensing on the wall. A single foldable rack checked at about $19.36 on Amazon in November 2026 is enough for one person’s load; a couple sharing a flat will want a second rack or a second method from this list.
2. The over-door rack, the most underrated buy in this post
Best for: renters who cannot drill anything. Main advantage: it hooks over a standard door, holds a row of damp clothes, and folds flat when you are done. Watch out for: it holds less than a floor rack, and a door that slams can drop hangers. Verdict: the best second drying spot in a small flat. Deposit risk: 1/5.
A two-pack of folding over-door racks was $14 on Amazon in October 2026, and a sturdier two-pack was $21. Hang it on the bathroom door or a bedroom door, and use it for the shirts and light items that dry fastest. It keeps the floor clear, which matters in a studio where the rack is also the furniture. Check the door first: the hook needs a standard interior door, and the rack should sit flat against the door so it does not rattle.
3. The retractable clothesline, the disappearing act
Best for: bathrooms and narrow hallways. Main advantage: it pulls out when you need it and vanishes when you do not, and one line holds a surprising amount. Watch out for: most models screw into the wall, so renters need the adhesive-hook or tension-rod version, or written permission. Verdict: brilliant for small loads, but check the mounting first. Deposit risk: 2/5.
A 15.6 ft stainless retractable line with a 44 lb capacity was $16.95 on Amazon in November 2026. String it across the bathroom, above the bath if you have one, so drips land where they belong. Hang shirts on hangers clipped to the line rather than draped over it, because hangers keep the fabric open and dry faster. If your lease bans drilling, look for a line that mounts with heavy-duty adhesive hooks rated for the weight, and never mount into unsupported drywall.
4. The shower rod and hangers, the zero-cost method
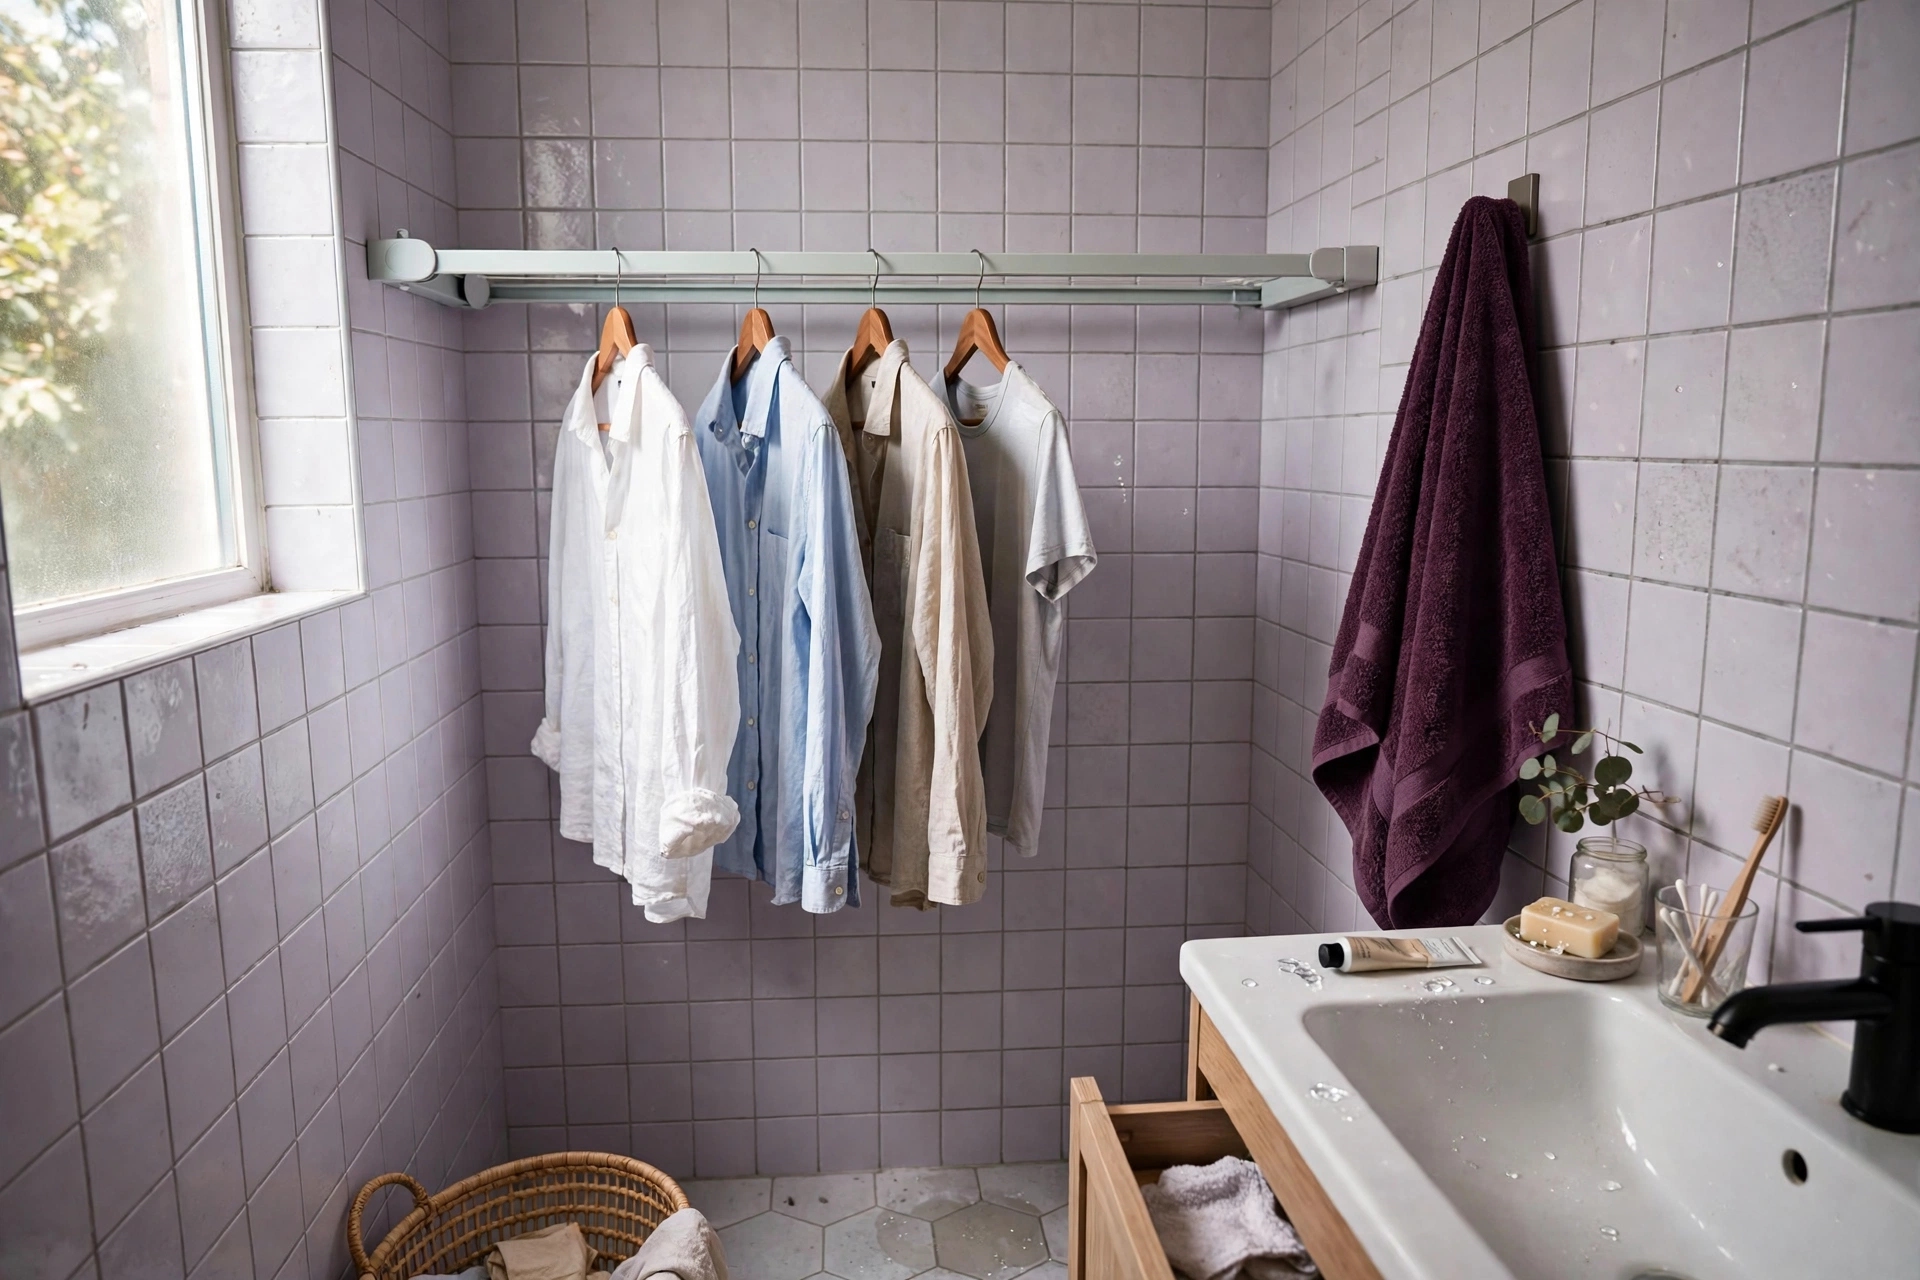
Best for: shirts, dresses, and anything on a hanger. Main advantage: it costs nothing and uses space that is already wet-proof. Watch out for: the bathroom is the most humid room in the flat, so this is the slowest spot unless the extractor fan runs. Verdict: free and useful, but run the fan. Deposit risk: 1/5.
Hang clothes on the shower rod with space between hangers, and leave the bathroom extractor fan running for at least 30 minutes after you hang the load. If your bathroom has no fan, crack the door and put a small fan in the doorway. This method shines for the two or three items you need tomorrow, not for a whole load. And never drape wet clothes over a radiator. It warps the fabric, wastes heat, and traps damp behind the radiator where mould loves it.
5. The ceiling pulley airer, the warm-air trick
Best for: flats with high ceilings and a free patch of ceiling over the bath or hallway. Main advantage: warm air rises, so clothes hung near the ceiling dry faster than clothes at floor level, and the floor stays completely clear. Watch out for: it needs ceiling hooks, which means drilling and a permission conversation with your landlord. Verdict: the fastest passive method, if your lease allows the hooks. Deposit risk: 3/5.
Pulley airers are common in British flats for exactly this reason. The load rises out of the way, the warmest air in the room does the work, and you lower it to load and unload. Measure first: you need about 5 ft of clear drop below the airer and a ceiling that can take the fixings. If drilling is out, skip this one. The floor rack plus a fan gets you most of the way there without touching the ceiling.
6. The heated airer, the most overrated buy for renters
Best for: cold flats where nothing dries in winter. Main advantage: gentle heat cuts drying time to roughly 2 to 6 hours for most items, per BBC and Guardian reporting. Watch out for: it uses electricity to heat a room you are already paying to heat, and without ventilation it still pushes all that moisture into the room. Verdict: helpful in a cold flat, but it is a heater, not a solution to humidity. Deposit risk: 1/5.
I would not buy one first. A fan and a rack cost less, use less power, and solve the actual problem, which is moving damp air away from the clothes. If you do buy a heated airer, run it with a window cracked or a fan going, and never cover it with a sheet to “trap the heat”. That traps the moisture too, and damp, warm, still air is exactly how musty smells start.
7. The fan and dehumidifier system, the speed method
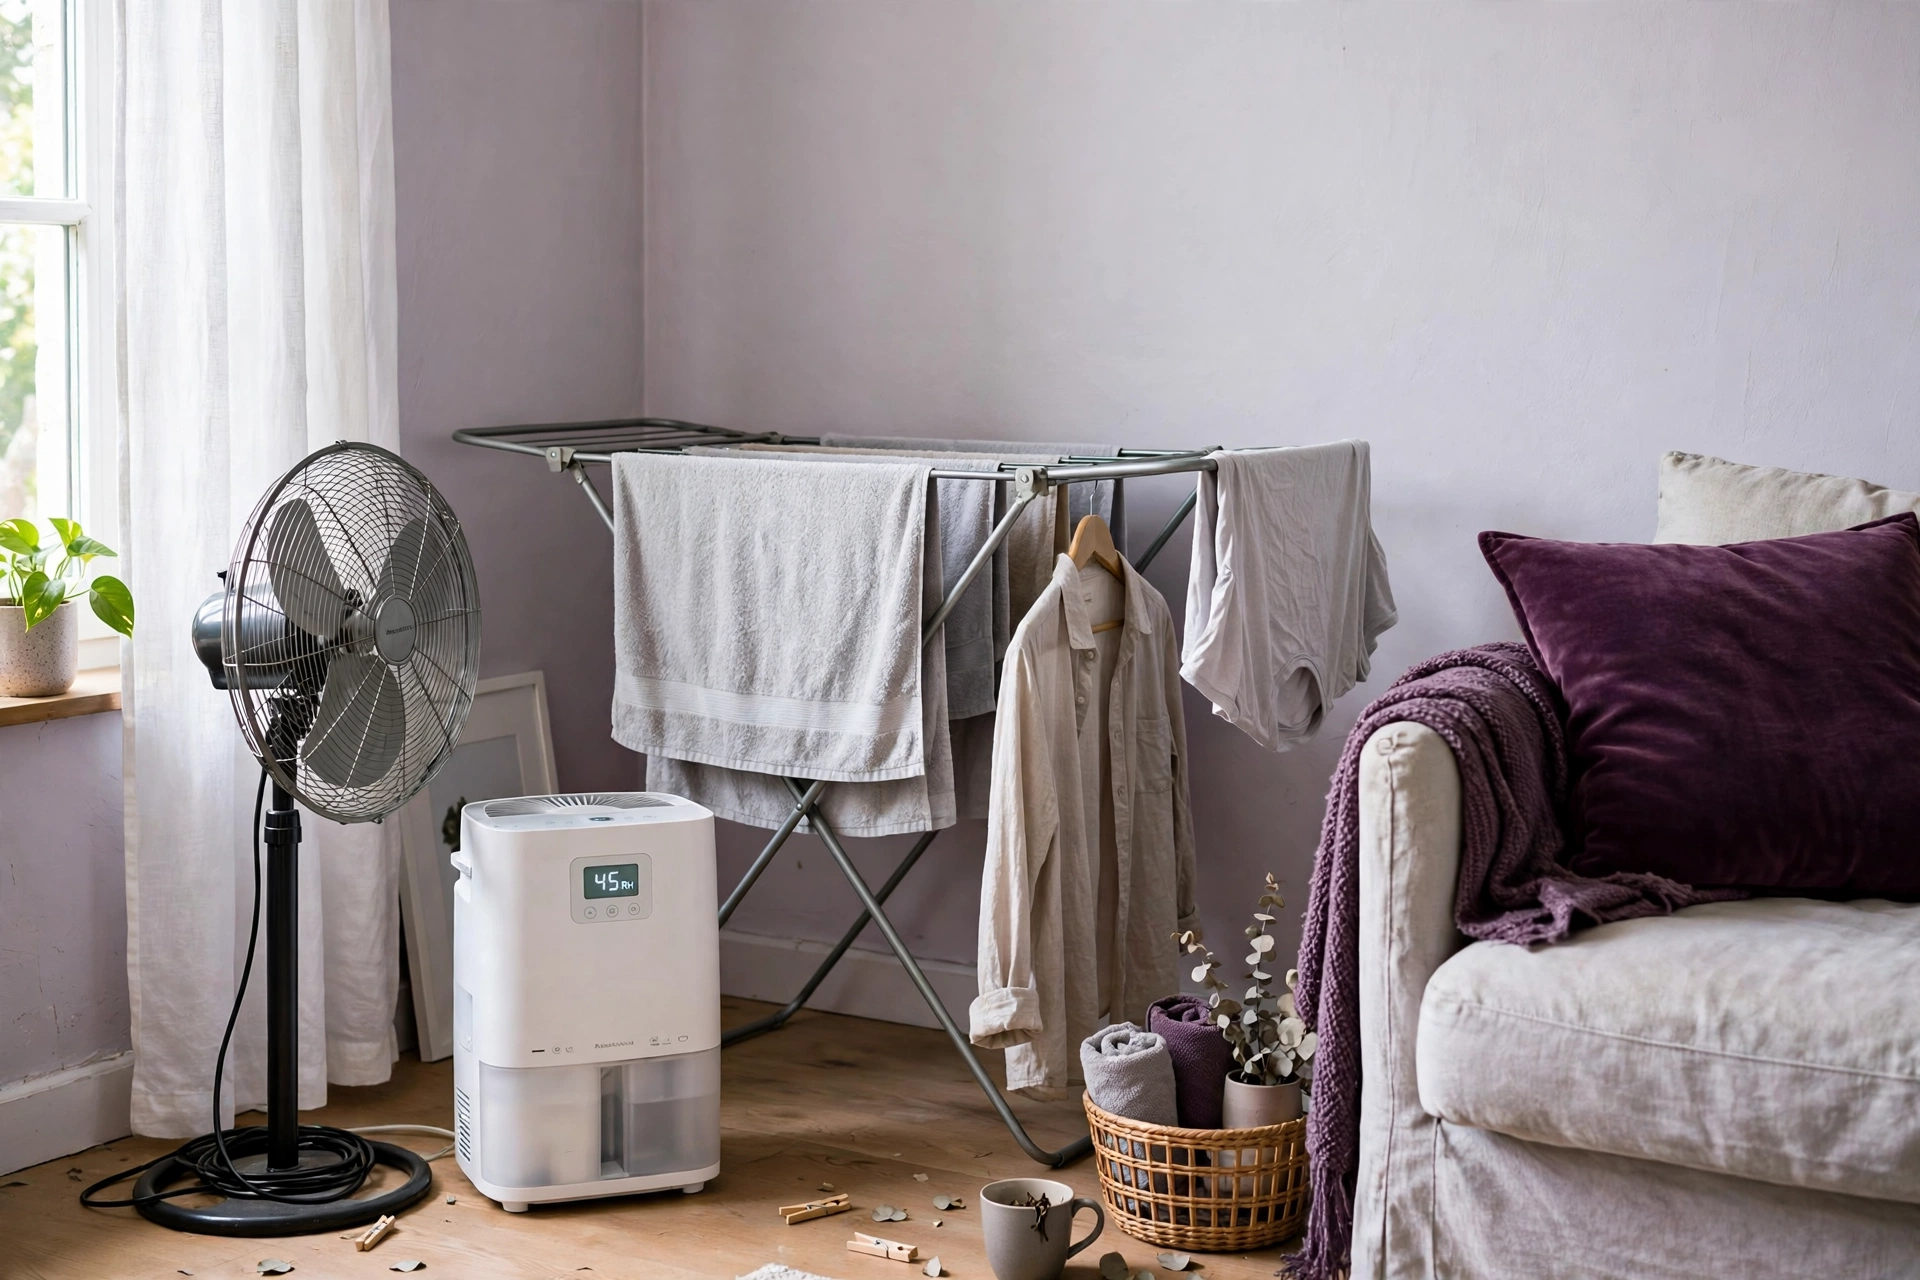
Best for: humid flats, winter drying, and anyone whose clothes keep smelling musty. Main advantage: it is the only method here that removes water from the room instead of just moving it around. Watch out for: a dehumidifier costs more than any rack, and a tiny 500 ml unit will not keep up with a full load. Verdict: if one buy fixes your drying, this is it. Deposit risk: 1/5.
Point a pedestal or box fan across the rack, not at one garment, so air flows over every item. Put the rack in the smallest room you can spare, close the door, and run a small dehumidifier in the same room. In a controlled test by the dehumidifier maker Meaco, a load that took 20 hours to dry on its own dried in about 2 hours with a dehumidifier and a fan, at a running cost of roughly 14p per cycle. A mini dehumidifier like the SEAVON was $42.99 on Amazon in October 2026, and our guide to the best small dehumidifier for a bedroom covers which size fits which room. That guide is the product companion to this post. This post owns the drying problem itself.
How long do clothes take to dry indoors?
It depends on the fabric, the room, and how well the clothes were spun, but published drying guides agree on useful ranges. Light items like T-shirts and thin synthetics take about 4 to 8 hours on a rack in still air. Medium items like cotton shirts and dresses take about 8 to 12 hours. Heavy items like jeans, towels, and sweatshirts take 12 to 24 hours or more. If anything is still damp after a full day, the problem is usually humidity, airflow, or crowding, not the fabric.
| Item | Rack alone, still air | With a fan | With fan + dehumidifier |
|---|---|---|---|
| T-shirt, light top | 6 to 8 hours | 3 to 4 hours | 2 to 3 hours |
| Cotton shirt, dress | 8 to 12 hours | 5 to 7 hours | 3 to 5 hours |
| Jeans, towel, hoodie | 12 to 24+ hours | 8 to 12 hours | 4 to 6 hours |
The T-shirt row comes from a published method comparison. The other rows apply the same pattern to the fabric ranges above: moving air roughly halves the time, and pulling moisture out of the room with a dehumidifier cuts it further. The fastest honest shortcut is not a gadget. It is the spin cycle. Run the highest spin your washer offers, because every gram of water the washer removes is a gram your room never has to absorb. The towel-roll trick helps too: lay a heavy item flat on a dry bath towel, roll them together, and press. It pulls out surprising amounts of water before the item even reaches the rack.
How to dry clothes fast indoors
Speed comes from four levers, in order of impact. First, spin high and towel-roll the heavy pieces. Second, space everything out, because two shirts touching dry slower than either one alone. Third, aim a fan across the whole rack so air moves over every garment. Fourth, dry in the least humid room you have, and avoid the kitchen and bathroom, where cooking steam and showers add moisture. Dry one load at a time. Two loads on one rack is not twice the drying, it is a damp pile that stays wet for two days.
If you need one thing dry fast, take it off the rack and hang it alone near the fan with air on both sides. A single shirt with moving air can be wearable in a couple of hours. A crowded rack cannot do that for anything on it. Put together, those four levers are the whole answer to how to dry clothes indoors in a small apartment without a dryer when you are in a hurry.
Keep the room safe: humidity, mould and the 24-hour rule
Drying clothes indoors is safe when the moisture has somewhere to go, and it is a mould risk when it does not. Keep the room under 60 percent relative humidity, ideally 30 to 50 percent, which is the EPA’s guidance. Check the hygrometer when you hang the load and again before bed. If the windows start fogging on the inside, that is your room telling you the air is full. Crack a window, run the fan, or move the rack to a room with better air. Our guide to condensation on the windows explains the inside-pane versus between-panes check, which matters here too: wet windows from drying are a ventilation problem you can fix, while water between the panes is your landlord’s problem.
Three habits keep the room safe. Dry in the room with the best airflow, not the room with the most floor space. Never dry a load in a closed room with no ventilation and no dehumidifier. And never fold clothes away while they still feel cool or damp. Cool means wet, and folded damp fabric is where musty smells and mildew start. If clothes already smell musty, rewash them and dry them again with proper airflow. Leaving them on the rack longer will not fix the smell.
What does it cost? Prices checked in November 2026
| Item | Price checked | Where |
|---|---|---|
| Folding drying rack, single | $19.36 | Amazon, Nov 2026 |
| Over-door drying rack, 2-pack | $14.00 | Amazon via DealNews, Oct 19, 2026 |
| Retractable clothesline, 15.6 ft, 44 lb | $16.95 | Amazon, Nov 2026 |
| Digital hygrometer | about $15 | EPA guide range $10 to $50 |
| Mini dehumidifier, SEAVON 500 ml | $42.99 | Amazon, checked Oct 12, 2026 |
Two honest routes. The starter kit is the retractable line plus the over-door rack, $30.95 (16.95 + 14.00). It dries a small load with zero drilling and zero floor space. The full kit is the folding rack, the mini dehumidifier, and a hygrometer, $77.35 (19.36 + 42.99 + 15.00). That is the setup for winter, humid flats, and anyone drying most loads indoors. A load dried at home costs a few cents of fan electricity against a laundromat dryer, so either kit pays for itself in a few weeks. Prices change often, so check the current price before you buy.
The one-load routine: 7 steps from washer to wardrobe
Materials: a folding rack or over-door rack, hangers, a fan, a hygrometer, a dry bath towel for the towel-roll trick, and a dehumidifier if the room reads over 60 percent.
- Run the highest spin cycle your washer offers, and add a second spin for towels and jeans.
- Shake each item once as it comes out, to open the fabric and release creases.
- Towel-roll the heavy items: lay flat on a dry towel, roll, and press.
- Hang every item with a finger-width gap, heavy items low on the rack, shirts on hangers.
- Place the rack with a hand-width gap behind it, near a window or doorway, never flat against a wall.
- Aim a fan across the whole rack and check the hygrometer. Over 60 percent means crack a window or run the dehumidifier.
- Fold only when fabric feels warm and fully dry, never cool or damp. If anything is still damp after 24 hours, rewash it and dry it again with more airflow.
A full load takes about 10 minutes to hang properly. That is the whole time budget. The rest is waiting, and waiting works when the air can move. It is the practical side of how to dry clothes indoors in a small apartment without a dryer: small steps, done in order, every load.
Mistakes to avoid
- Crowding the rack. Two shirts touching dry slower than either one alone, and the middle of the pile stays damp for days.
- Drying against a cold wall. Damp air condenses on the cold surface behind the rack, and that is where mould starts, not on the clothes.
- Ignoring the hygrometer. If the room reads over 60 percent for hours, the load will not dry properly no matter how good the rack is.
- Folding damp clothes away. Cool fabric means wet fabric. Folded damp clothes go musty in the drawer within days.
- Drying on the radiator. It damages fibres, wastes heat, and traps damp behind the radiator.
What to skip
- A second rack before a fan. A fan costs less than a rack and does more for drying speed than extra hanging space.
- A heated airer as a first buy. It is a heater, not a humidity solution, and it still needs ventilation.
- Scented sprays on damp clothes. They mask the musty smell for an hour and do nothing about the damp that causes it.
- Drying two loads at once on one rack. One load dried properly beats two loads dried badly, every time.
A note for renters: check the lease first
Most drying methods in this post need no permission at all, because nothing is fixed to the walls. Before you drill for a retractable line or a ceiling airer, check what your lease actually says about alterations, and ask your landlord in writing. A ceiling hook is a small hole, but it is still a hole, and a deposit deduction for an unapproved fixing costs far more than the airer saved. Photograph the walls and ceiling when you move in, keep the permission email, and remove the fixings and fill the holes before you move out. Our lease and deposit guide for renters covers the permission conversation and the move-out checklist in full.

How long do clothes take to dry indoors?
Most clothes dry indoors within 6 to 24 hours, depending on fabric, room temperature, humidity, and airflow. Light items take about 4 to 8 hours, medium items 8 to 12 hours, and heavy items like jeans and towels 12 to 24 hours or more. A fan roughly halves those times, and a fan plus a dehumidifier cuts them further. If clothes are still damp after 24 hours, the room is too humid or the rack is too crowded.
Can drying clothes indoors cause mould?
It can, if the moisture has nowhere to go. A load releases about 2 litres of water into the room, and in a small, closed room that pushes humidity over 60 percent, where mould can grow. Keep humidity below 60 percent, ideally 30 to 50 percent, ventilate or run a fan, and dry wet items within 24 to 48 hours. Those are the EPA’s numbers, and they work.
Why do my clothes smell musty when drying indoors?
The smell comes from bacteria and mildew growing in damp fabric when evaporation is too slow. It is not dirt, it is biology. Clothes that stay damp for more than a day start to smell, and the fix is faster drying, not more detergent. Space items out, add a fan, lower the humidity, and rewash anything that already smells, then dry it again with proper airflow.
Is it safe to dry clothes indoors in a rental apartment?
Yes, when you manage the moisture. Use a rack or over-door hanger that needs no drilling, keep the room ventilated, watch the hygrometer, and never dry loads in a sealed room with no airflow. The deposit risk comes from damp damage to walls and windows, not from the drying itself, so the humidity check is the part that protects your deposit.
Sources
Drying-time ranges and the fan and dehumidifier method comparison come from published indoor-drying guides (Purecise, Kentdo Healthy Beauty, Habitatista, Apartment Guide). The Meaco 20-hour to 2-hour test is reported by Woman and Home. Humidity and mould guidance comes from the US EPA’s Brief Guide to Mold, Moisture and Your Home (epa.gov/mold/brief-guide-mold-moisture-and-your-home), which sets the below-60-percent, ideally 30-to-50-percent range and the dry-within-24-to-48-hours rule. Prices were checked on Amazon and DealNews in October and November 2026, as dated in the cost table.
How this was made: this guide was written from live search results, the EPA’s published mould guidance, and prices checked on Amazon in October and November 2026. No products were tested hands-on, and no drying times were measured in our own home.