How to Remove Peel and Stick Floor Tiles Without Damaging the Floor
The short answer
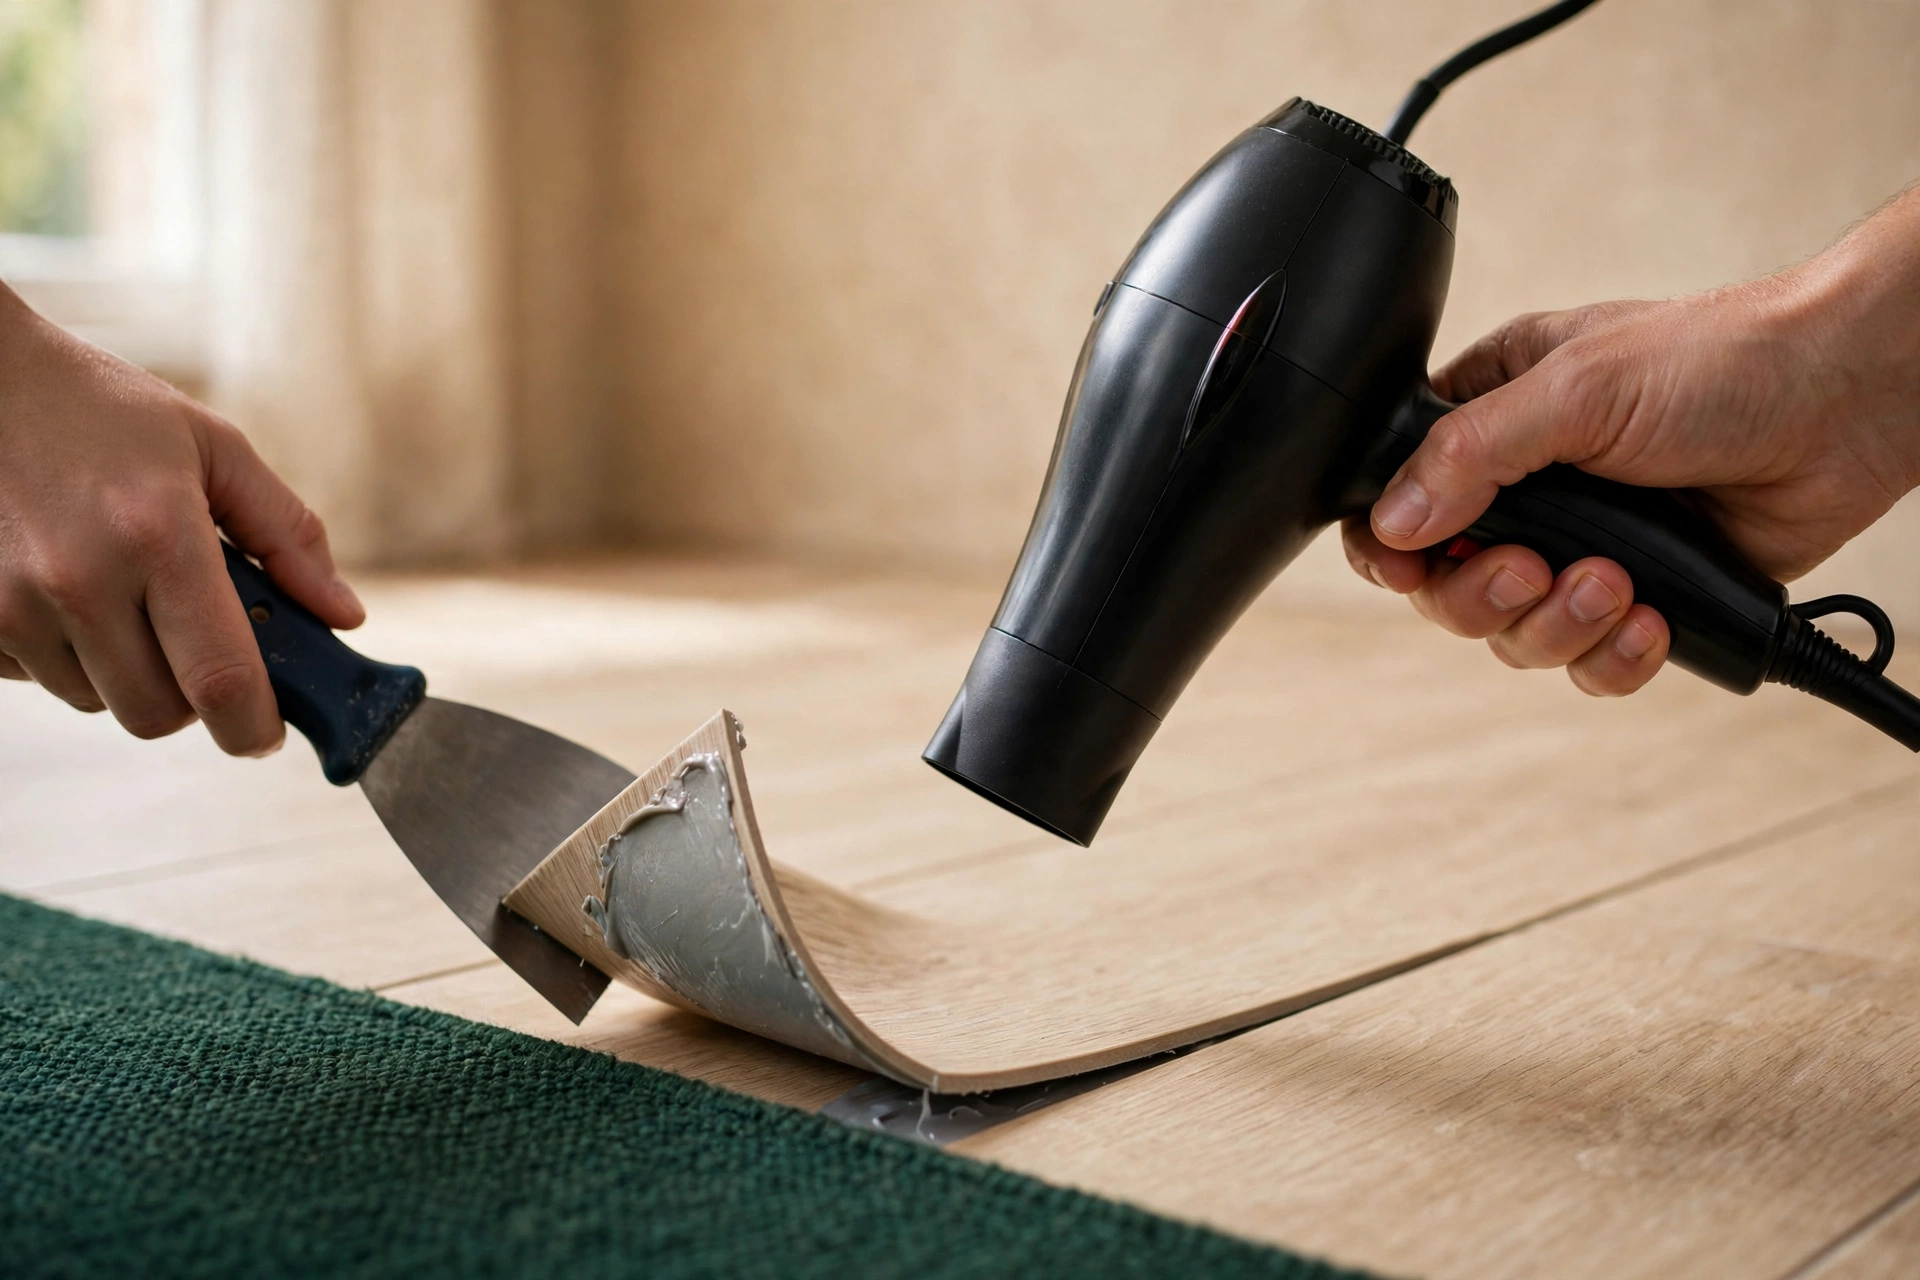
Yes, you can learn how to remove peel and stick floor tiles without wrecking the floor underneath, but the trick is not force. It is heat, patience, and knowing what kind of floor you are standing on. Heat each tile for 30 to 60 seconds, lift it from a corner at a low angle, and scrape the leftover glue while it is still warm. Most of the damage I see in removal guides comes from rushing, not from the adhesive itself.
Here is the original part of this guide: a floor-by-floor risk table with deposit-risk ratings, a timed plan for a real 10 ft by 10 ft room (100 sq ft, 100 tiles at 12 by 12 in, or 30 by 30 cm), and a two-total cost table checked in November 2026. No competitor guide I read put those three things together.
Before you start: pick a test tile
Best for: every floor, no exceptions. Main advantage: one tile tells you how the whole room will behave. Watch out for: skipping this step and finding out too late that your tiles snap instead of peel.
Pick the least visible tile, usually one under the fridge or beside a door. Heat it for 60 seconds with a hairdryer on high, held 1 to 2 in (2.5 to 5 cm) from the surface. Slide a plastic putty knife under the corner and pull slowly at a low angle.
Pass: the tile lifts in one piece, or two at most, and the subfloor looks unchanged. Go ahead with the same method across the room. That one test tile tells you more about how to remove peel and stick floor tiles in your room than any generic guide can. Fail: the tile snaps into crumbs, or the scraper digs into the floor. Stop. Switch to a heat gun on low, work smaller areas, and use a plastic scraper instead of metal. If the floor under the tile is crumbling or soft, stop entirely and read the floor-by-floor table below before you go further.
What you need
You do not need a big toolkit. A hairdryer you already own handles fresh tiles fine, and a cheap heat gun is the upgrade for old ones.
- Hairdryer, or a heat gun for tiles older than about 5 years
- Plastic putty knife and a wide floor scraper
- Pry bar with a wide flat blade, for stubborn corners only
- Rubber mallet, for tapping the scraper under a stuck edge
- Adhesive remover, citrus-based for most floors
- Dish soap, rags, a bucket, and work gloves
- Baking soda, for the de-tack trick at the end
- Trash bags, because lifted tiles pile up fast
How to remove peel and stick floor tiles from a whole room, step by step
Step 1: Clear the room and find your starting corner. Move everything off the floor, including the fridge if you can. Start at a doorway or a loose corner, and work in rows so you always know where you have been.
Step 2: Heat one tile at a time. Hold the hairdryer or heat gun 1 to 2 in (2.5 to 5 cm) from the tile and keep it moving for 30 to 60 seconds. Do not park a heat gun in one spot. That is how vinyl melts and wood scorches.
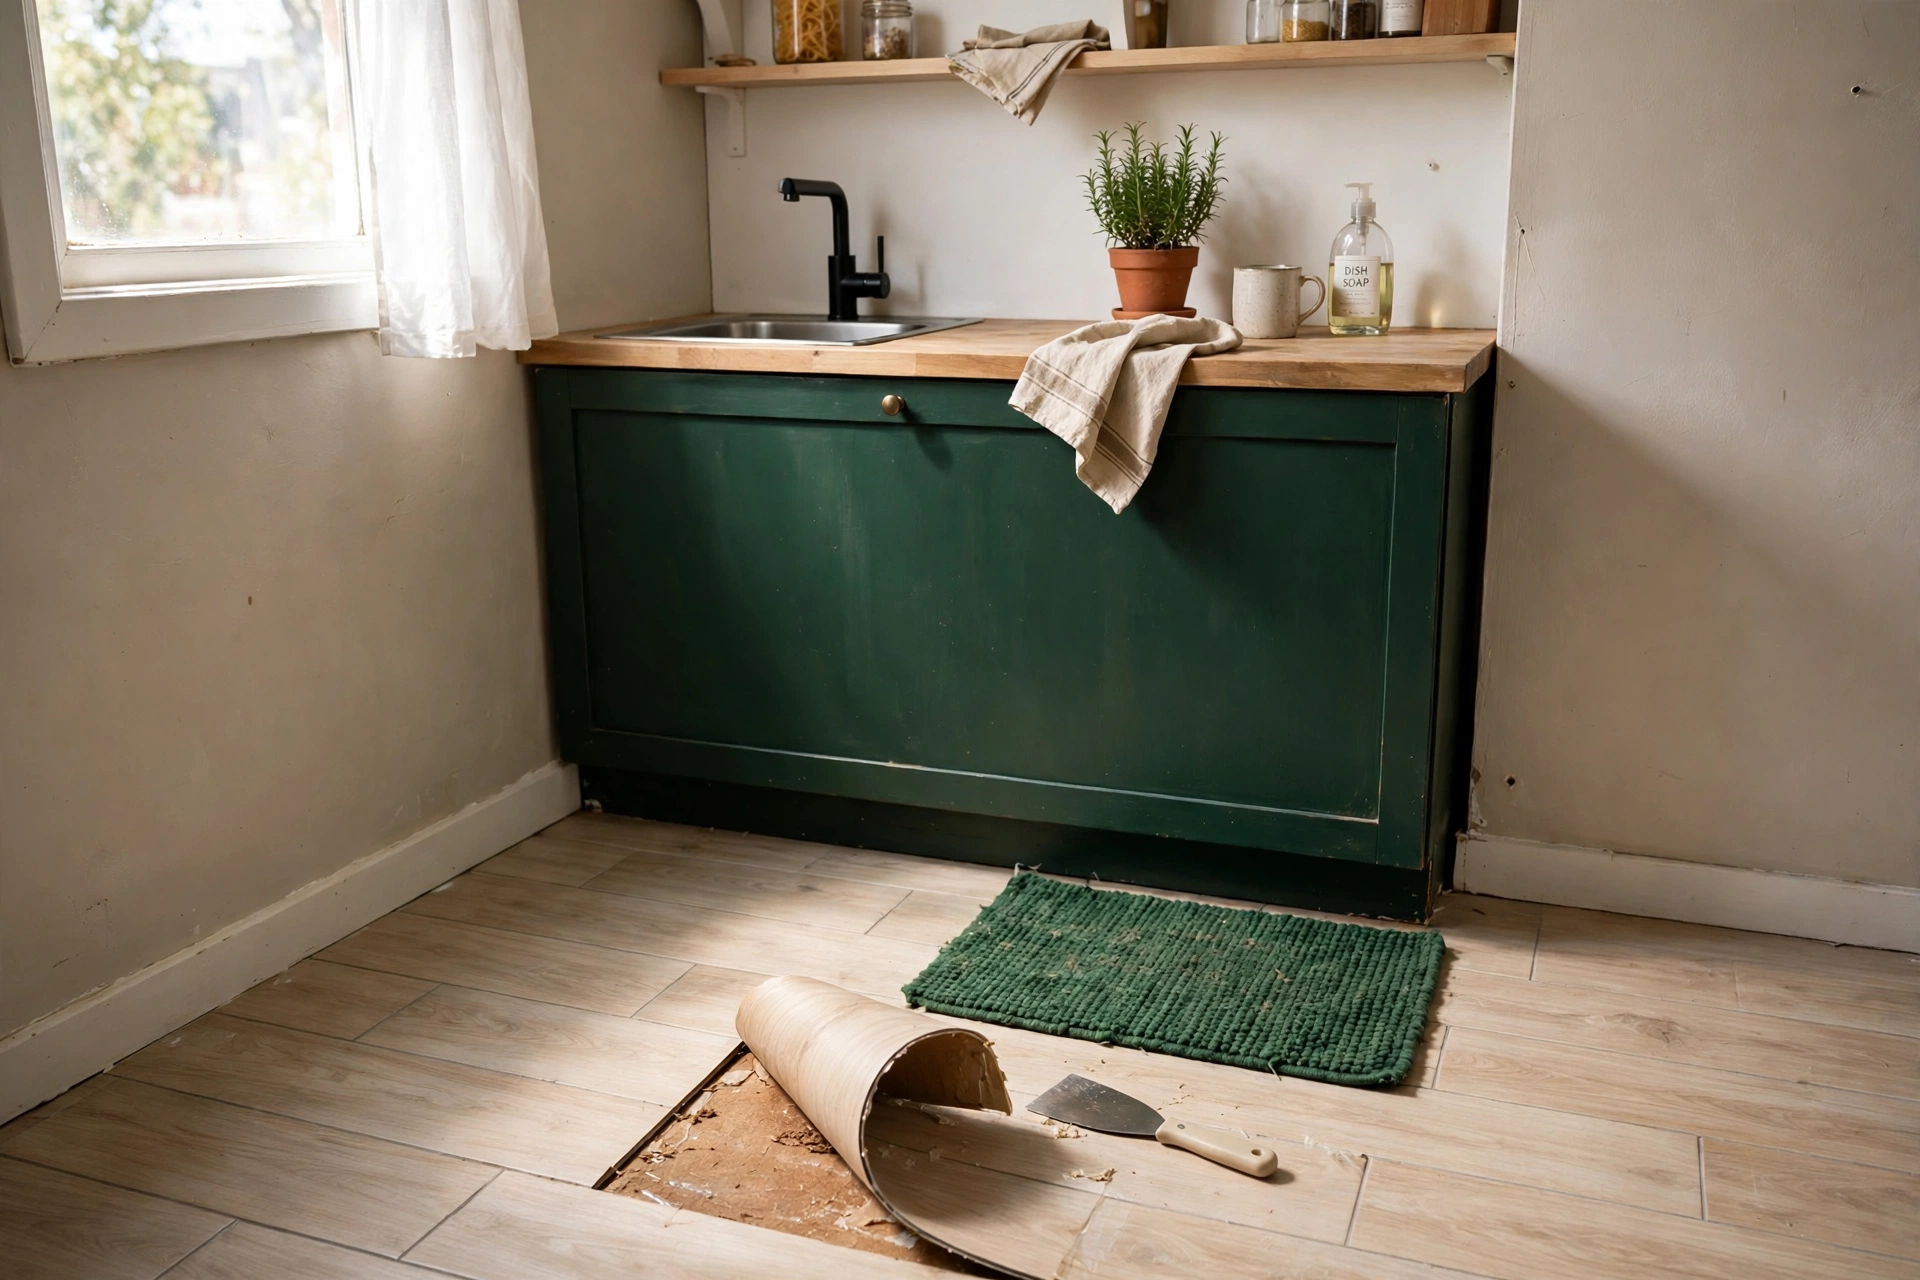
Step 3: Lift from the corner at a low angle. Slide the putty knife under the heated corner and peel slowly, pulling back toward yourself at roughly 30 degrees. If the tile fights you, reheat it for another 30 seconds instead of yanking harder.
Step 4: Keep whole tiles whole. Aim for one piece per tile, two at most. Tiny fragments are what turn a 3-hour job into an all-day job, so slow down on brittle old tiles. Bag each tile as you go.
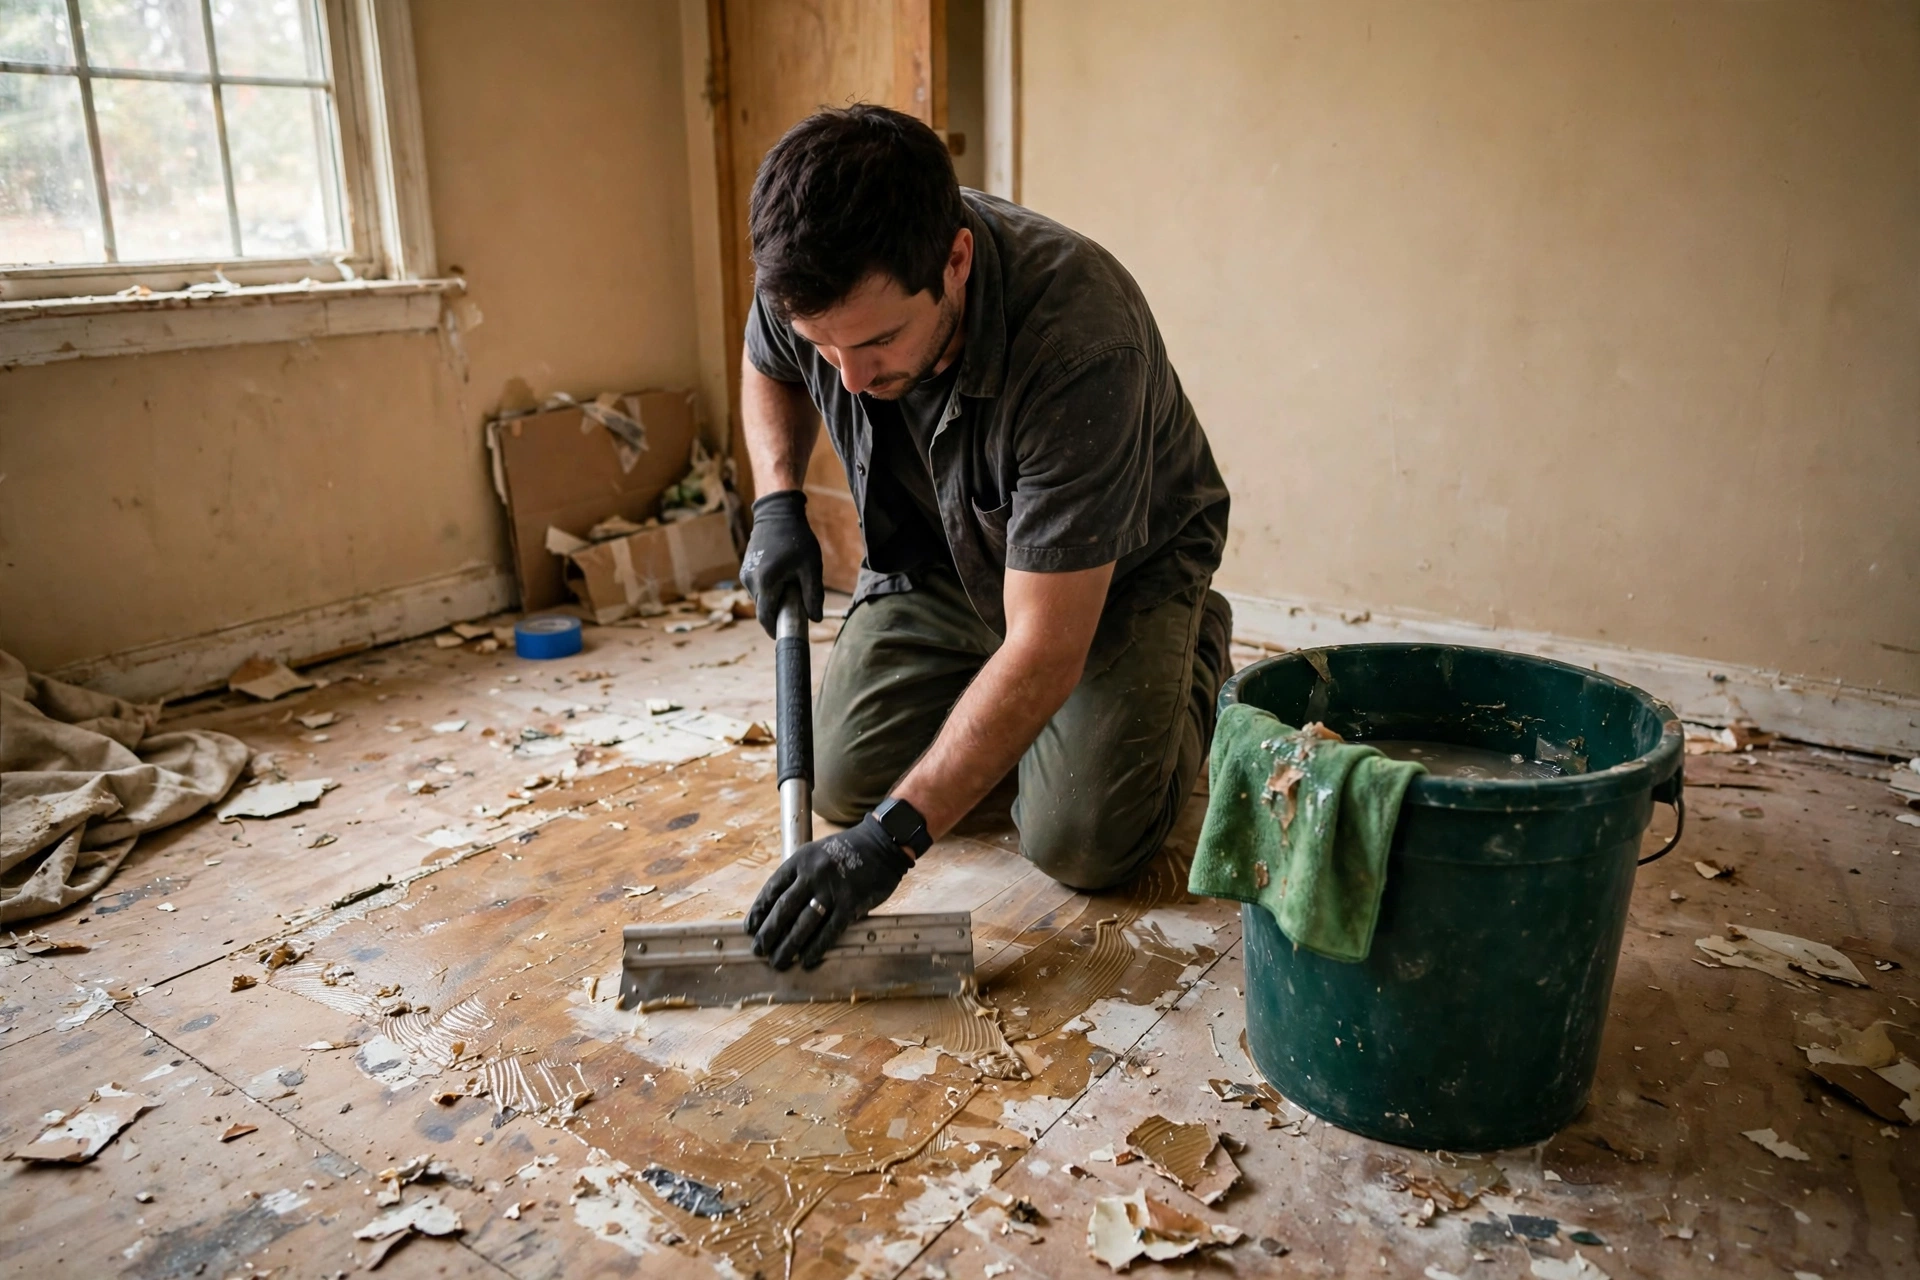
Step 5: Scrape the warm glue right away. While the floor is still warm from the tile you just lifted, run the floor scraper over the worst glue lumps. Warm adhesive comes off in strips. Cold adhesive comes off in crumbs.
Step 6: Work the residue in levels. Start with scraping, then warm soapy water, then a citrus adhesive remover on what is left. Let the remover sit for the time on its label, then scrape again. Save the strong solvents for last, and test any solvent in a hidden corner first.
Step 7: De-tack and inspect. Scatter baking soda over any faint stickiness, let it sit a few minutes, then sweep or vacuum it up. The powder kills the tack without chemicals. Then walk the whole floor and mark gouges or soft spots for patching before any new floor goes down.
How long does a whole room take?
For a 10 ft by 10 ft room (100 sq ft, about 9.3 sq m) with 12 by 12 in (30 by 30 cm) tiles, that is 100 tiles. At 1 to 2 minutes per tile for heating and peeling, lifting takes about 1 hour 40 minutes to 3 hours 20 minutes. Residue scraping and cleanup adds roughly 45 to 60 minutes. Plan on 2.5 to 4.5 hours total for the room, with a break in the middle. Fresh tiles land near the fast end. Tiles older than 10 years land near the slow end, and a heat gun earns its keep there.
The floor underneath decides everything
Not all subfloors forgive the same mistakes. Here is the honest table, with a deposit-risk rating from 1 (safest) to 5 (riskiest) for renters.
| Floor underneath | What changes | Deposit risk |
|---|---|---|
| Concrete slab | The most forgiving surface. Heat, scrape, and use citrus remover freely. | 1 |
| Plywood | Use a plastic scraper and a low angle. Metal gouges plywood fast. | 2 |
| Old vinyl or laminate | Gentle heat only. Too much heat can bubble or lift the old layer too. | 2 |
| Finished hardwood | Low heat, plastic tools, and stop if the finish starts to lift with the tile. | 3 |
| Particle board | The risky one. It swells with water, so keep it dry and never soak it. | 4 |
Best for: concrete and plywood floors, where this method shines. Main advantage: the floor usually survives untouched if you keep the scraper flat. Watch out for: particle board and water damage. If the subfloor is soft, swollen, or smells musty, the tiles are not your main problem, and removal may expose damage that needs a landlord conversation first.
One safety note worth taking seriously: very old vinyl tiles, especially the 9 by 9 in (23 by 23 cm) kind in older homes, are a different product from modern peel and stick tiles. Do not sand them or grind the adhesive. If your home is old and the tiles look original, check local guidance on testing before you start.
Getting rid of the adhesive residue
Think of residue removal as a ladder, not a single product. Climb one rung at a time.
Level 1: Heat and scrape. Reheat a sticky patch and scrape it while warm. This alone clears most fresh adhesive. Level 2: Warm soapy water. A degreasing dish soap solution softens light film, and it is safe on nearly every floor. Level 3: Citrus adhesive remover. Spray, wait, scrape, wipe. This is the right tool for the stubborn patches that survive levels 1 and 2. Level 4: Solvents. Rubbing alcohol or mineral spirits handle the last traces, but ventilate well, keep them away from flames, and never use them on particle board you plan to keep.
The baking soda trick deserves its own mention. If you plan to lay click laminate or carpet, a dusting of baking soda kills leftover tack nicely. But if you plan to glue down new tiles, skip it. That fine powder film stops wet adhesive from bonding, and your new floor will pop up later. For glue-down installs, the floor must be smooth, clean, and dust free.
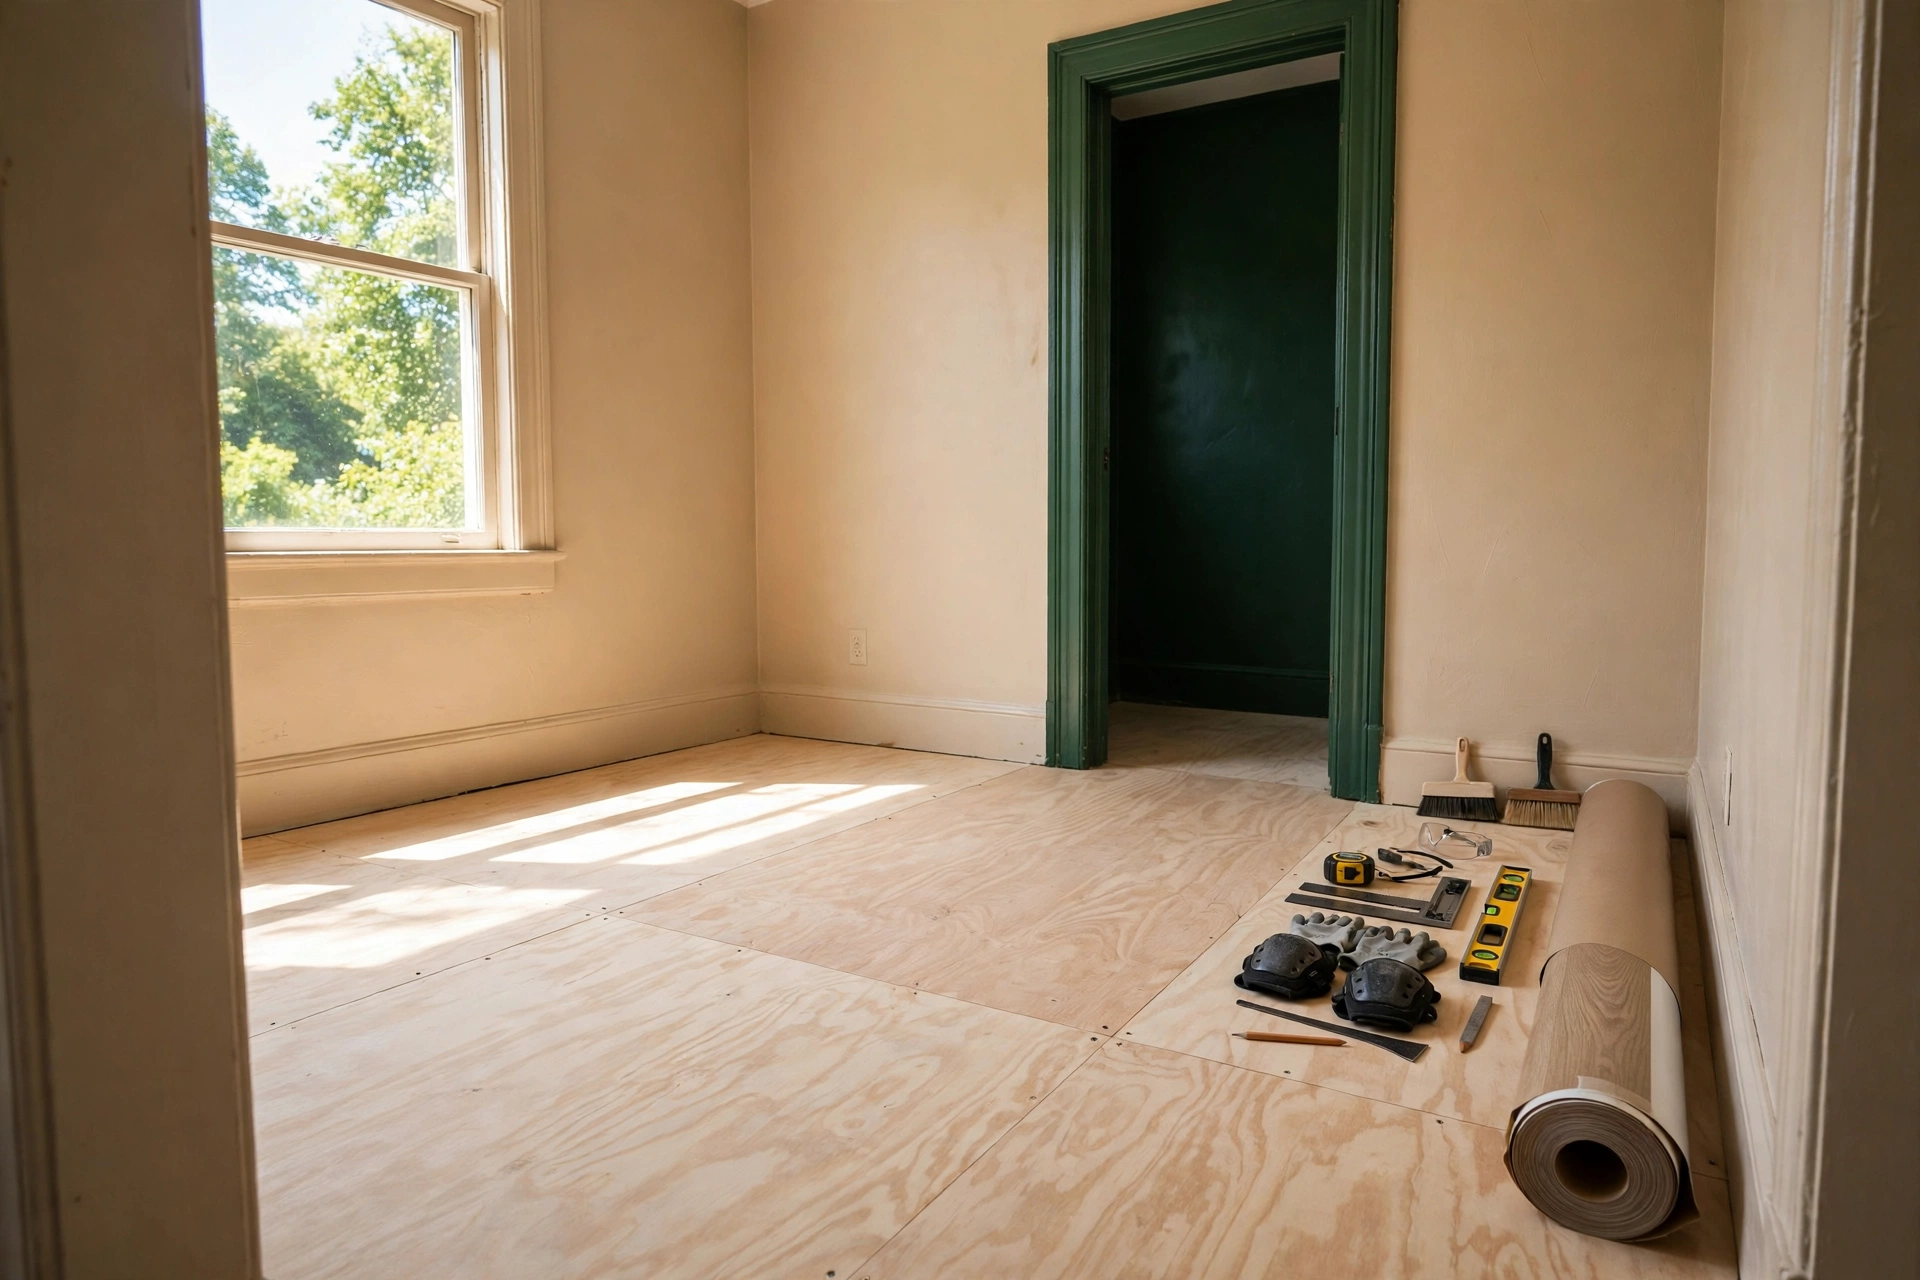
What to put down next
Your cleanup target depends on what comes next, so decide before you start scraping. Fresh peel and stick tiles forgive a little leftover tack and even like a smooth, slightly grippy surface. Click laminate and floating floors need a flat, smooth floor but do not care about a faint film. Glue-down tile and sheet vinyl are the strictest: every lump must go, and the floor must be dust free, or the new floor will telegraph every bump. If the old floor is too rough to fix, a thin plywood underlayment over the top is often cheaper than hours of extra scraping.
That choice connects to the wider renter flooring picture. If you are weighing what to lay after removal, the ideas in our guide to renter friendly flooring ideas cover rugs, peel and stick, and interlocking tiles side by side, while our guide on whether peel and stick backsplash damages walls answers the same damage question for walls. And if the tiles you are removing sat on a backsplash instead of a floor, our guide on how to remove peel and stick backsplash walks through the wall version of this job step by step.
What this costs, as of November 2026
Prices checked live in November 2026. The hairdryer row assumes you already own one.
| Item | Price |
|---|---|
| Wagner FURNO 300 heat gun (Tractor Supply) | $29.99, buy only if tiles are old |
| Plastic scraper set | $7.98 |
| Goo Gone Spray Gel, 12 oz (Target) | $6.29 |
| Total if you own a hairdryer | $14.27 |
| Total if you buy the heat gun too | $44.26 |
The sums check out: 7.98 plus 6.29 equals 14.27, and 29.99 plus 7.98 plus 6.29 equals 44.26. Most renters only need the $14.27 kit, since a hairdryer handles tiles under 5 years old just fine. Either way, that is the full kit for how to remove peel and stick floor tiles without a second shopping trip.
Mistakes to avoid
Heating one spot until it scorches. Keep the heat moving. A melted tile bonds harder than the original one did. Yanking a stuck tile. If it resists, reheat. Force is what snaps tiles and gouges plywood. Using a metal scraper on wood. Plastic costs the same and forgives a bad angle. Soaking particle board. Water swells it permanently, and no scraper fixes that. Skipping the test tile. Five minutes of testing saves hours of fragments.
What to skip
Skip the expensive full-room adhesive removers sold by the gallon unless your room is huge. A single spray bottle handles a normal room, because most of the work is heat and scraping, not chemicals. Skip sanding the floor to remove glue, too. It creates dust, it can damage the subfloor, and it is unnecessary when warm scraping does the same job. And skip reusing lifted tiles. The adhesive is spent, the vinyl is stretched, and they will curl at the corners within weeks.
Renter caveat: check the lease first
Before you lift a single tile, check what your lease says about flooring changes and about returning the floor to its original state. Some leases allow peel and stick tiles but still require the original floor back at move-out. Photograph the floor before you start, keep one lifted tile as a sample, and tell your landlord early if the subfloor underneath turns out damaged. That conversation goes much better at the start of the job than at move-out inspection. If permission is ever unclear, our guide on how to ask your landlord for permission lays out a simple script for it.
The short version
Heat, lift low and slow, scrape while warm, and match your method to the floor underneath. That is how to remove peel and stick floor tiles without wrecking the floor, in one sentence. A 10 by 10 ft room takes roughly 2.5 to 4.5 hours, the kit costs $14.27 with a hairdryer you own or $44.26 with a heat gun, and the floor underneath is usually fine if you test one tile first and never force a stuck one.
How this was made: this guide was written from manufacturer-style removal advice and live-checked November 2026 prices, with the room time and cost totals computed from the tile count and prices above, not from a claimed test.
Sources: Homes and Gardens removal guide, EngineerFix tile removal guide (outbound links in the publish package). No affiliate links used anywhere.
Will a heat gun damage the subfloor when removing peel and stick floor tiles?
It can, if you hold it in one spot or use high heat on wood. Keep a heat gun on low, keep it moving, and hold it a few inches from the surface. On plywood and hardwood, a hairdryer is the safer default, and a heat gun is only the upgrade for old, hardened adhesive.
What is the best way to remove adhesive residue after removing peel and stick floor tiles?
Work the ladder: scrape while warm, wash with warm soapy water, then use a citrus adhesive remover on what remains. Save solvents for last, test in a hidden corner, and never use a baking soda dusting if you plan to glue down new tiles, since the film stops wet adhesive from bonding.
Can I put new flooring over adhesive residue?
Sometimes. Fresh peel and stick tiles and click laminate tolerate a smooth, faintly tacky surface, and baking soda can de-tack it. Glue-down tile and sheet vinyl cannot: they need a smooth, clean, dust-free floor, or every lump shows through. When in doubt, scrape it clean rather than covering it.
Do peel and stick floor tiles damage the floor underneath?
Usually not, if the subfloor was sound, dry, and level to begin with. Problems mostly come from extra adhesive added during install, water damage under the tiles, or aggressive scraping during removal. Concrete and plywood floors come through this job best, while particle board and damaged hardwood carry the real risk.