How to Divide a Studio Apartment Without Walls: 7 Methods That Actually Give You Rooms
You can learn how to divide a studio apartment without walls by giving every activity a clear address, not by building anythin, which also helps a studio apartment for two people feel like two rooms. Pick three or four zones, sleep, living, work, and dining, anchor each one with a rug or a piece of furniture, and separate them with something you can move: an open shelf, a curtain on a tension rod, or a folding screen. The original check in this guide is a floor space test: every divider below is measured against a 30 inch (76 cm) minimum walkway, so you can see before you buy whether your studio still lets you walk through it comfortably. Start with the zone plan, then add only one divider. Most studios feel divided after that single change.
How to divide a studio apartment without walls?
Follow three steps in order to work out how to divide a studio apartment without walls, and do not buy anything until step one is done.
First, map the room on paper. Draw the door, the windows, the kitchen counter, and the bathroom door, because those fixed points decide where zones can go. The bed zone wants the darkest, quietest corner, usually farthest from the entry, where a studio apartment with no closet can also keep its clothes zone out of sight. The work zone wants daylight and an outlet. The living zone wants the space between them, where guests naturally land.
Second, size each zone honestly. A workable split for a typical 400 sq ft (37 sq m) studio looks like this:
| Zone | Floor space | What anchors it |
|---|---|---|
| Sleep | 70 to 90 sq ft | Bed plus one small nightstand |
| Living | 100 to 130 sq ft | Sofa, rug, coffee table |
| Work | 30 to 40 sq ft | Desk or fold down table |
| Dining | 30 to 40 sq ft | Small table or counter stools |
| Walkways | 90 to 110 sq ft | Clear paths, 30 in (76 cm) wide |
If the zones add up to more than your room, shrink the living zone first. It is the one that borrows space most easily.
Third, add light as a divider. A pendant over the dining table, a floor lamp beside the sofa, and a desk lamp at the work zone tell your brain where one room ends and the next begins, even when nothing physical stands between them. Our guide to studio apartment layout ideas covers the same zone thinking for whole room arrangements, and it pairs well with the divider methods below.
What is the cheapest way to divide a studio apartment without walls?
Rearranging furniture you already own costs nothing, and it is the method most people skip. Turn the sofa so its back faces the bed. That single move creates a living side and a sleep side, and guests stop staring at your bedding the moment they walk in. Put a narrow console or a low bookcase behind the sofa and the boundary reads even clearer, without blocking light.
Rugs are the next cheapest move. A rug under the sofa and coffee table marks the living zone the way a wall would, and a different rug or a runner beside the bed marks the sleep zone. The floor changes, so the eye changes, and no floor space is lost at all. In a narrow studio apartment layout, rugs do even more work, because a long room needs strong visual stops to keep it from feeling like a corridor.
Which divider method gives the most privacy?
Privacy, light, and floor space pull in opposite directions, so pick the tradeoff you can live with:
| Method | Privacy | Light kept | Floor space used | Typical cost |
|---|---|---|---|---|
| Open bookshelf | Medium | High | 12 to 16 in (30 to 41 cm) deep | $30 to $100 |
| Curtain on tension rod | High | Low when closed | None | $35 to $130 |
| Folding screen | Medium | Medium | 12 to 18 in (30 to 46 cm) in zigzag | $50 to $100 |
| Sofa back plus console | Low | High | None extra | $0 to $80 |
| Rug plus lighting zones | Low | Full | None | $0 to $100 |
| Tall plants | Low | High | 12 in (30 cm) row | $40 to $100 |
| Platform or loft bed | High | Medium | None extra | $150 and up |
Nothing on this list blocks sound in any meaningful way. A heavy curtain softens echo a little, but if a roommate’s video calls are the problem, no freestanding divider fixes that. That honest limit matters, because most competitor guides imply privacy means quiet. It does not. It means you cannot see the bed from the sofa.
7 methods that divide a studio without walls
1. Open bookshelf as a see through wall
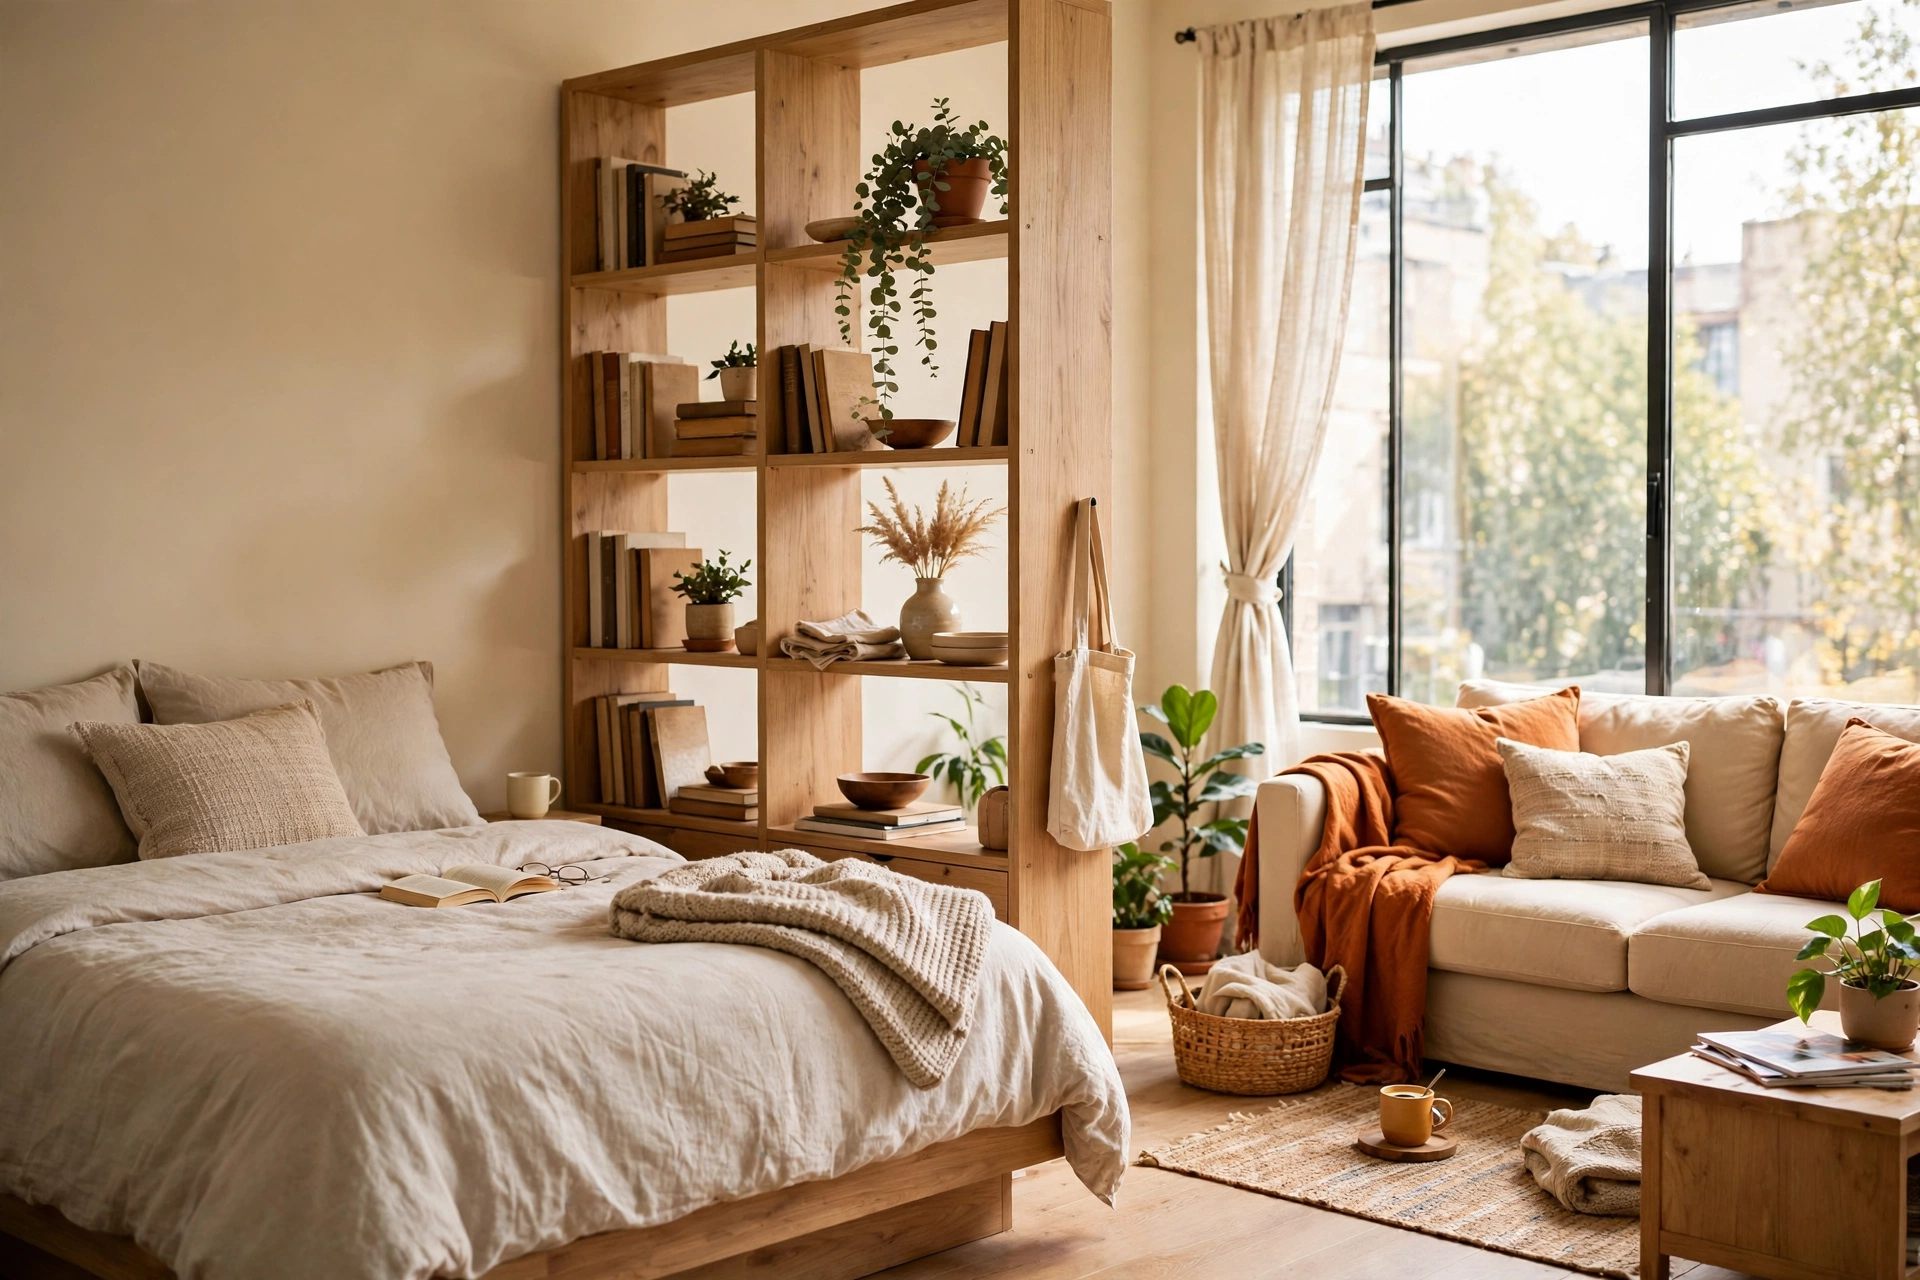
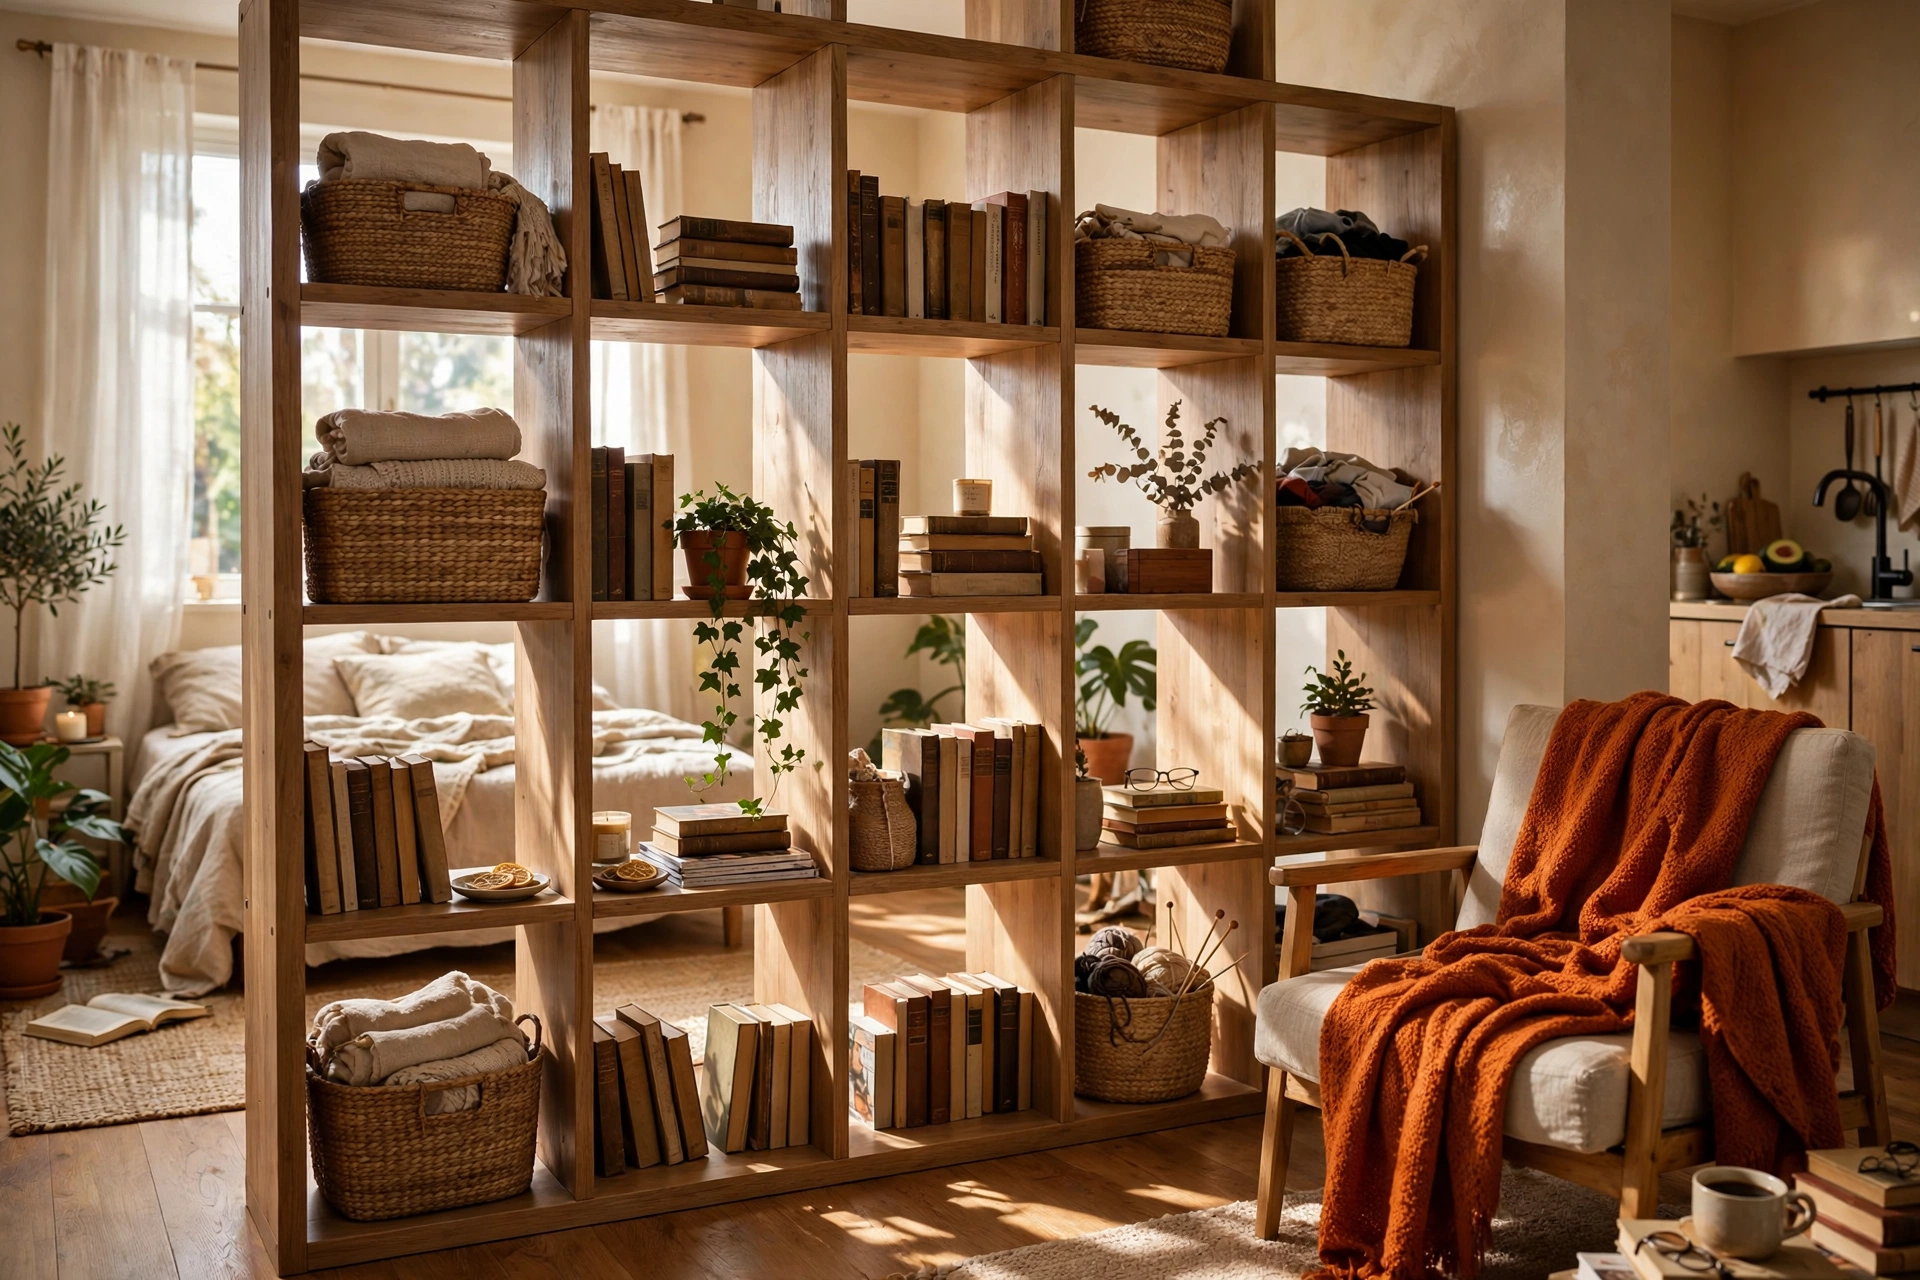
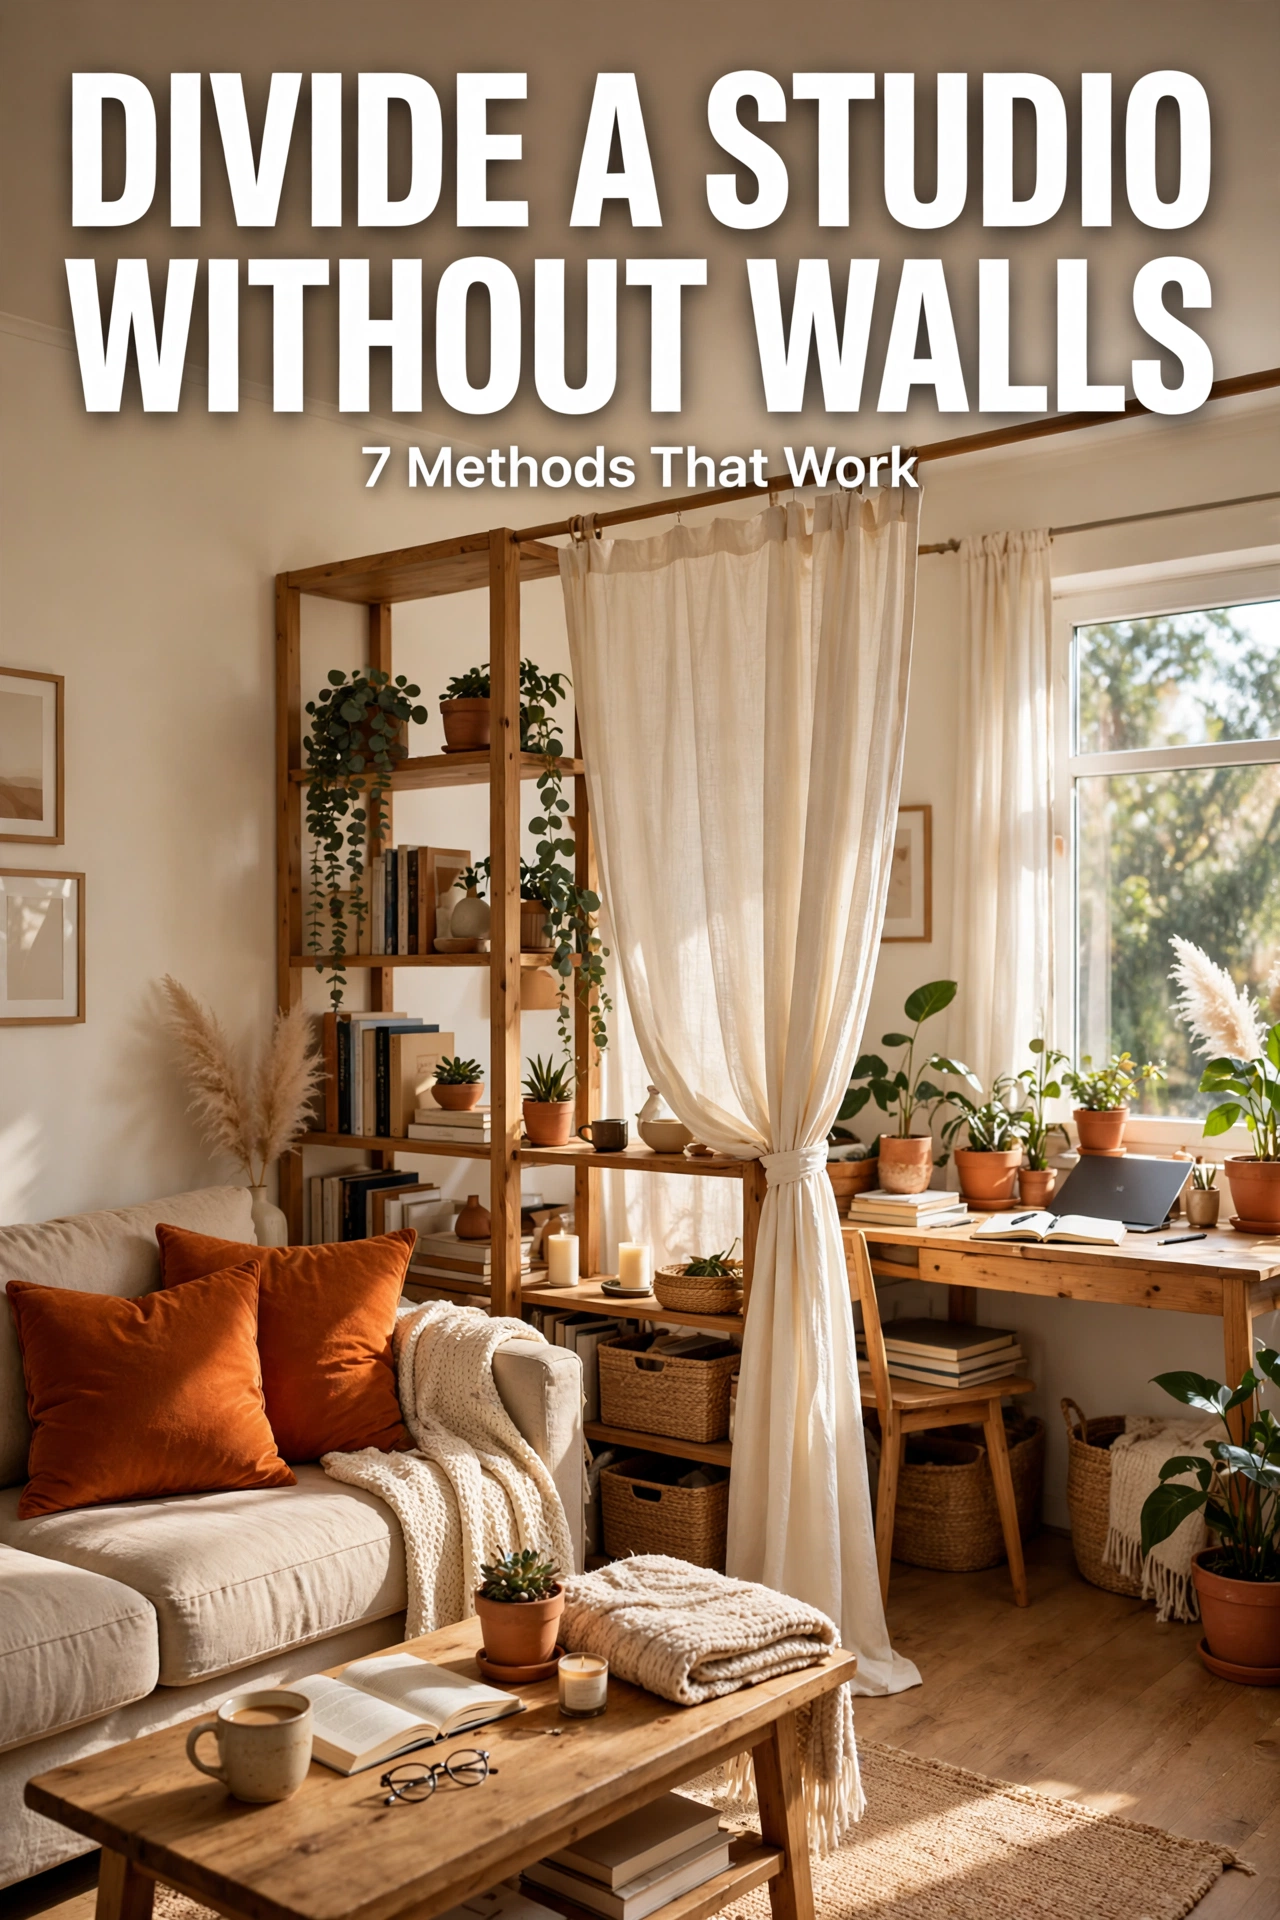
Stand a tall open shelf, like a 2 by 4 cube unit, with its back perpendicular to the wall, between the bed and the living area. Books and baskets face both sides, light passes through, and you gain storage at the same time. Best for: renters who want privacy plus storage in one piece. Watch out for: anchor it to the wall if your lease allows, or keep it low and loaded at the bottom, because a tall shelf full of books can tip. A cube unit lying on its side as a low divider keeps the room open and costs less than the tall version.
2. Curtain on a floor to ceiling tension rod
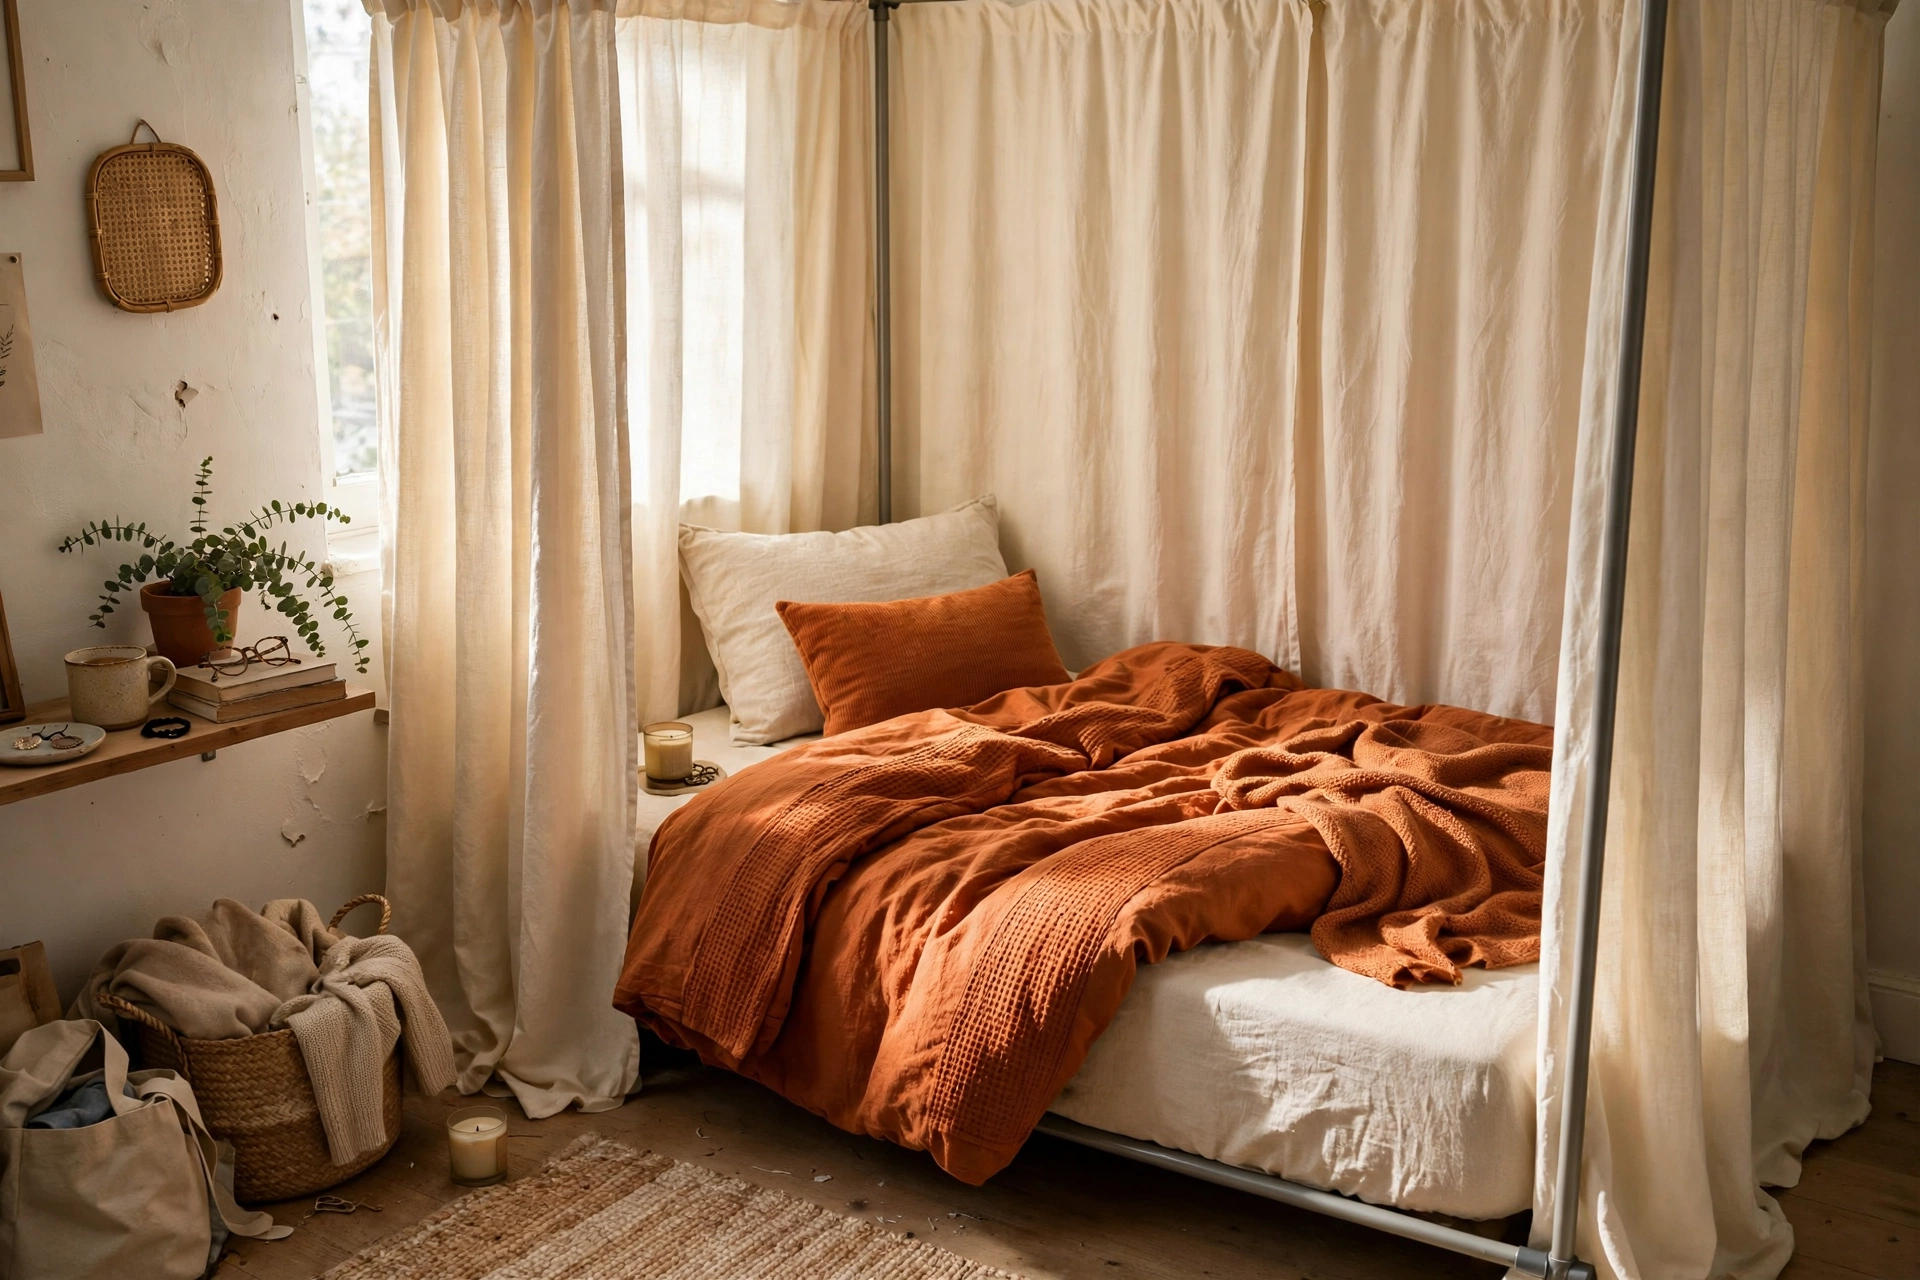
A tension rod wedges between floor and ceiling with pressure, no drilling, and a curtain hangs from it to close off the bed at night and open the room by day. Best for: anyone who wants full visual privacy for sleeping or changing. Watch out for: check the rod rating against the curtain weight, and check the contact points every few months, because pressure can leave faint marks on soft ceilings over a long tenancy. Our guide on how to hang curtains without drilling covers rod types and weight limits in detail.
3. Folding screen you can move in seconds
A three or four panel screen stands in a zigzag beside the bed or desk and folds flat when you want the room open. Best for: small studios where the divider must disappear for guests or cleaning. Watch out for: the zigzag stance eats 12 to 18 inches (30 to 46 cm) of floor depth, and a light screen slides on smooth floors, so put felt pads or a rug under its feet.
4. Sofa back plus a console table
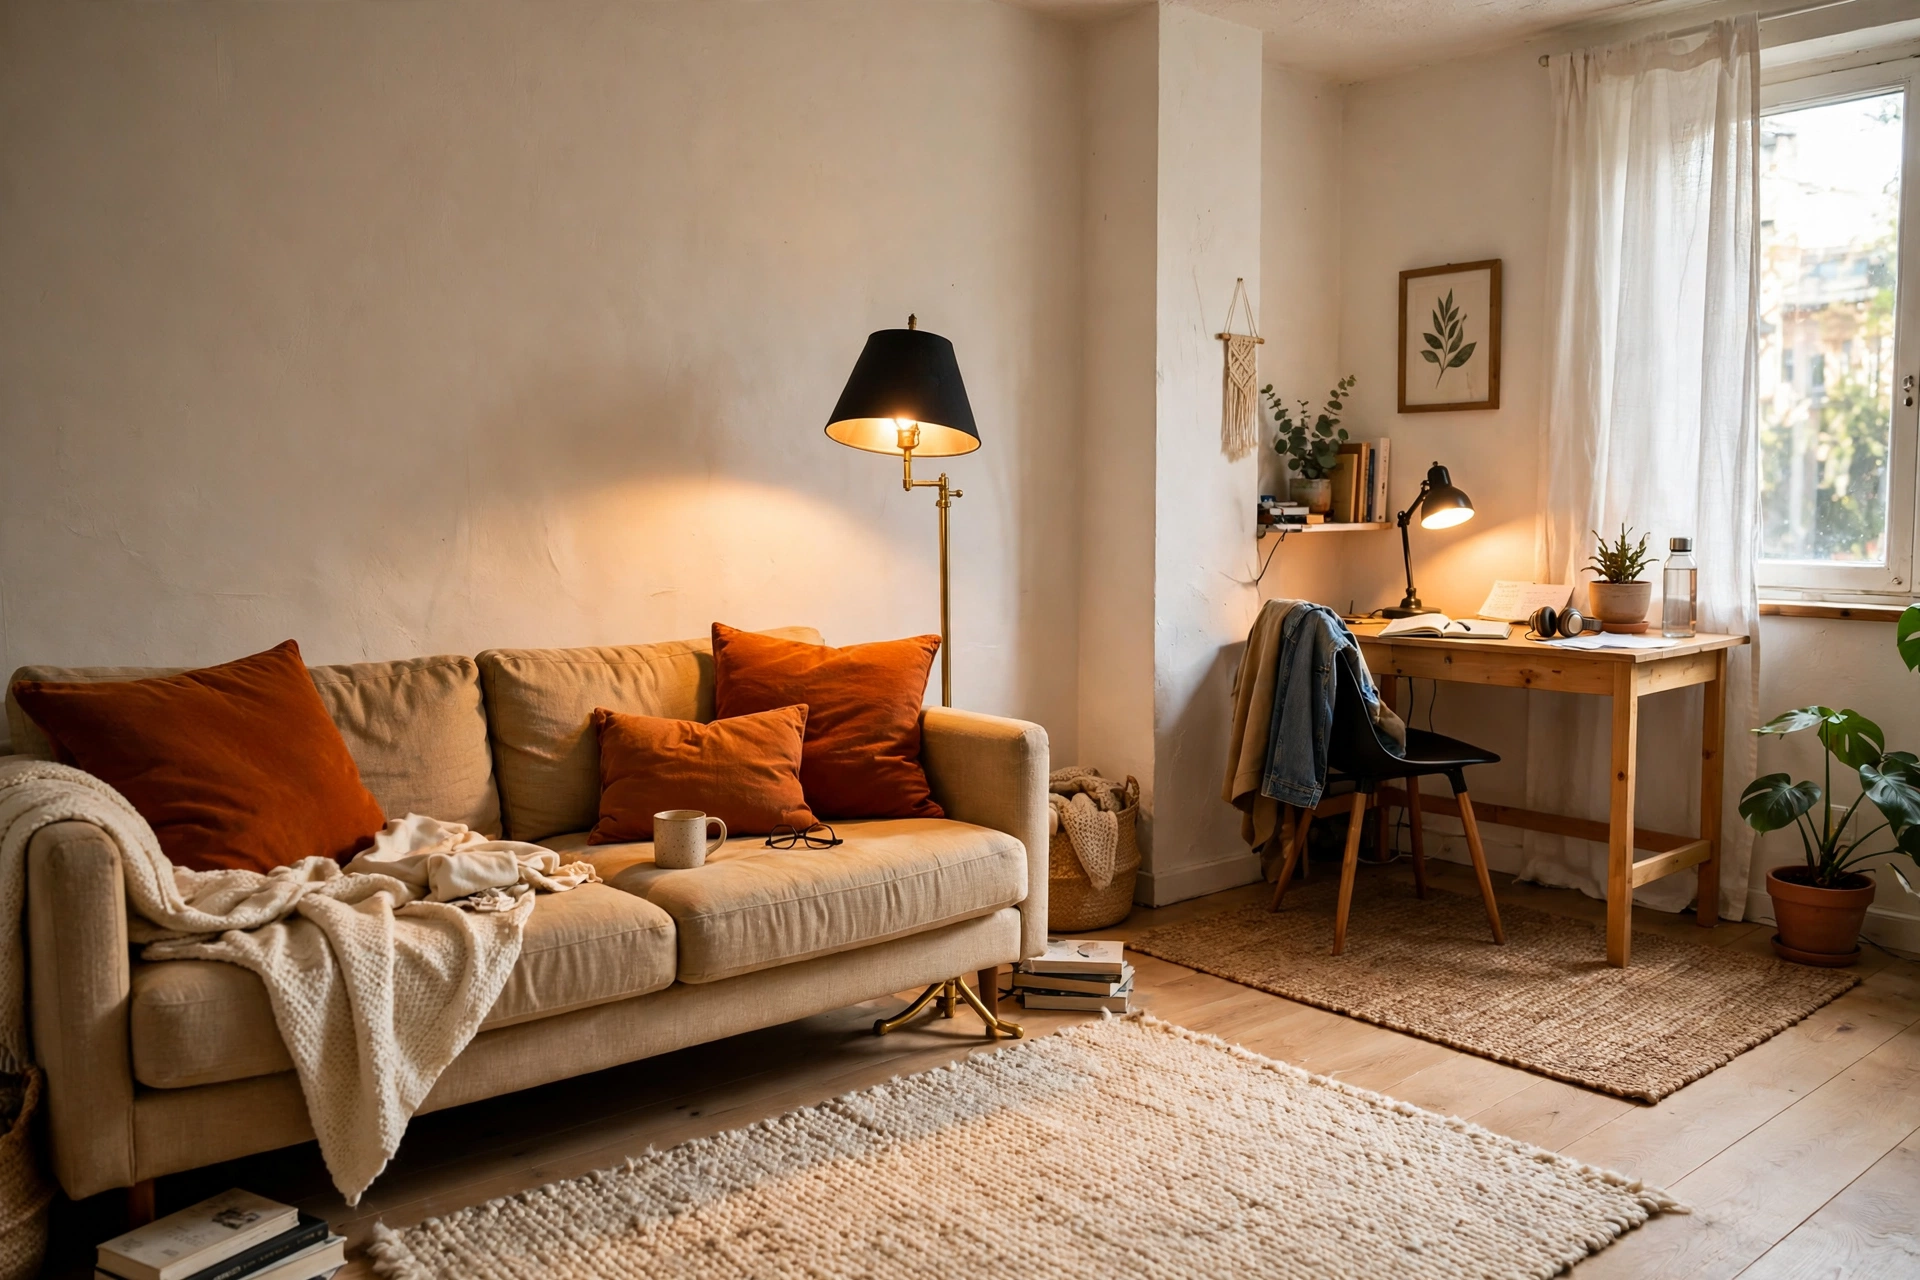
Float the sofa in the middle of the room with its back to the bed, and place a narrow console behind it for keys, a lamp, and books. Best for: studios where the bed must stay visible from the door but should not dominate the room. Watch out for: this is a visual boundary only. It will not hide a messy bed from a video call, so pair it with a tidy bedding habit or a throw that covers the pillows.
5. Rug and lighting zones
Give each zone its own rug and its own light source, and skip physical dividers entirely. Best for: bright studios with one good window, where any tall divider would steal daylight. Watch out for: this method fails if the rugs are too small. A living rug should sit under the front legs of the sofa at least, or the zone reads as a mat, not a room.
6. A row of tall plants
Line up three or four tall plants, monstera, fiddle leaf, or snake plants in matching pots, along the edge of the sleep zone. Best for: renters who want a soft boundary that also cleans up the room’s look. Watch out for: plants need light and watering, so this boundary dies in a dark corner. Put the row where daylight reaches it, or choose low light plants and accept a thinner screen.
7. Platform bed that lifts sleep out of sight
A platform or loft bed raises the mattress and frees the space under it for storage or a desk, which separates sleep from living by height instead of by a wall. Best for: studios with ceilings of 9 feet (2.7 m) or more, where sitting up in bed still leaves headroom. Watch out for: measure twice. A loft bed under an 8 foot (2.4 m) ceiling leaves no room to sit up, and climbing a ladder every night gets old fast. In an L-shaped studio layout, the platform often fits best in the short leg, where the corner already shelters the bed.
How to divide a studio apartment without walls and keep the light
Light is the one thing a studio cannot spare, so follow two rules. First, put solid dividers, curtains and screens, on the side away from the window, never between the window and the rest of the room. Second, prefer open or sheer dividers near the window: an open shelf, a sheer curtain, or plants let daylight through while still marking the boundary. If your only window sits behind the bed zone, keep that zone’s divider low or sheer, and let the living zone borrow the light. A dark living zone feels smaller than a slightly visible bed ever will.
How much floor space does a divider actually take?
Measure before you buy, using the 30 inch (76 cm) walkway rule. Walkways narrower than 30 inches feel like squeezing, and they are the first thing guests notice. Test it with painter’s tape: tape the divider’s footprint on the floor, live with it for a day, and walk every path, entry to kitchen, bed to bathroom, desk to door, before spending anything.
| Divider | Footprint | Walkway left in a 10 ft (3 m) wide room |
|---|---|---|
| Curtain on tension rod | 0 in of floor | Full width kept |
| Open shelf, 15 in (38 cm) deep | 15 in (38 cm) | About 8 ft 9 in (2.7 m) of room left, walkway easy |
| Folding screen in zigzag | 12 to 18 in (30 to 46 cm) | Walkway easy if the screen sits at the zone edge |
| Sofa back plus console | 12 in (30 cm) console depth | No new loss beyond the sofa itself |
If taping the footprint leaves any walkway under 30 inches, choose the curtain or the rug method instead. A divider that forces a sideways shuffle has made the room worse, not better.
Materials and steps: the weekend zone plan
You need: painter’s tape, a tape measure, one rug or one divider of your choice, and one lamp or pendant per zone you want to mark. The whole plan takes about two hours, not counting shopping.
-
Measure the room, length and width, and note the door swing, windows, and outlets.
-
Tape the zone boundaries on the floor, sleep, living, work, and the 30 inch (76 cm) walkways between them.
-
Walk every path in the taped plan, and move any boundary that forces a squeeze.
-
Place the anchor furniture first, sofa back to the bed, desk near daylight, bed in the quiet corner.
-
Lay the rugs so each zone has one, with the living rug under the sofa’s front legs.
-
Add the one divider, shelf, curtain, or screen, at the sleep zone edge.
-
Add one light per zone, then stand at the entry and check: can you see three distinct areas without seeing the whole bed?
If step seven fails, move the divider six inches at a time before buying anything else. Small shifts fix most zoning problems.
Cost breakdown, as of November 2026
Prices below are checked market prices for typical items, not personal receipts. Ranges cover budget to midrange options.
| Item | Typical price | Notes |
|---|---|---|
| Tension rod, floor to ceiling | $28 to $30 | No drill rod kits start near $28 |
| Curtain panels, pair | $17 to $100 | Basic blackout pair near $17, heavier room divider curtains near $80 to $100 |
| Open cube shelf, 2 by 4 | $80 | Flat pack cube units in this size run near $80 |
| Living area rug, 5 by 8 ft (152 by 244 cm) | $66 | Washable flatweave options near $66 |
| Folding screen, 3 panel | $50 to $100 | Wood and fabric screens in this range |
| Tall plant in pot | $20 to $40 each | Three plants run $60 to $120 |
| Starter kit: tension rod plus curtains plus rug | $111 to $196 | Rod $28 plus curtains $17 to $100 plus rug $66 |
The cheapest complete division is the $0 furniture move plus a rug you already own. The most useful starter kit for a renter is the tension rod, curtains, and rug at $111 to $196, because it gives full sleep privacy and two anchored zones for under $200.
Mistakes to avoid
Do not divide before you zone. Buying a screen first and then hunting for a place to put it is how studios end up with a divider blocking the only window. Do not use a tall solid bookcase as the first divider in a one window studio. It will darken half the room. Do not forget the door swing and the closet doors. A curtain rod across a closet path, or a shelf in front of a door that opens inward, turns a good plan into a daily annoyance. And do not chase total privacy. A studio divided into sealed boxes feels smaller than an open studio, because every zone loses borrowed light and borrowed space.
What to skip
Skip sliding barn door hardware in a rental. It needs a wall track, drilling, and landlord approval, and it rarely fits the next apartment. Skip custom built room dividers that cost $500 or more for a rented studio. You move eventually, and the divider may not fit the next room. Skip heavy, floor to ceiling solid panels unless you own the place. They block light, block airflow, and make a small room feel like a corridor. Skip the idea of a “bedroom wall” made from stacked storage boxes. It looks temporary, it tips, and it reads as clutter from every angle.
Renter caveat: check the lease first
Most of the methods here need no permission at all, because nothing is screwed into the walls. Still, check your lease before you install anything that touches the ceiling or the walls. Look for clauses about alterations, ceiling fixtures, and adhesive or pressure marks, and ask your landlord in writing if a floor to ceiling tension rod counts as an alteration in your building. Anything you install must reverse cleanly: tension rods come down with no holes, shelves move out whole, curtains come off the rod. Photograph the ceiling and wall contact points on move in day, so a faint pressure mark cannot become a deposit deduction later. Our guide on how to ask your landlord for permission covers the wording for that conversation, and a budget home office setup can share the work zone without adding another divider.
Can I divide a studio apartment in a rental without drilling?
Yes. Tension rods, folding screens, freestanding shelves, furniture placement, rugs, and plants all divide a studio with no drilling and no holes. Anything that needs a wall track or ceiling anchors needs landlord permission first, and most renters do better without it.
Do room dividers block natural light?
Solid dividers block light, open ones do not. Open shelves, sheer curtains, and plants keep most daylight moving through the room, while heavy curtains and solid panels darken one side. Put solid dividers away from the window and keep sheer or open dividers near it.
What is the cheapest way to divide a studio apartment?
Rearranging furniture you already own is free: turn the sofa back to the bed and anchor each zone with a rug. After that, a tension rod with curtains, roughly $35 to $130 for rod and panels, is the cheapest way to get full visual privacy.
Do room dividers reduce noise?
No, not in any meaningful way. Freestanding dividers block sightlines, not sound. Heavy curtains soften echo slightly, but voices and video calls pass straight through. If noise is the problem, the fix is headphones, rugs, and soft furnishings, not a taller divider.
How this was made: This guide to how to divide a studio apartment without walls was written from the zoning methods that rank for this query, measured against a 30 inch walkway rule and a floor space table that competing guides do not publish. Prices are checked market prices as of November 2026, not purchases or tests. No divider was bought or installed for this article.
Sources: Divider costs and renter limits are consistent with published renter divider guides, including House of Eme’s rental divider guide (tension rod $15 to $30, curtains $20 to $100), Brick Underground’s curtain divider guide (RoomDividersNow kits from $160), and WorkCocoon’s studio divider guide (no drill tension rods from $28). The light, footprint, and walkway figures are computed from the measurements in this article, not quoted from a single source.