10 Studio Apartment Layout Ideas That Make One Room Feel Like Three
A studio apartment is one room pretending to be three — and most layouts make it feel like none of them. I spent months in a 410-square-foot studio that felt like a storage unit with a bed in it, until I stopped decorating and started zoning. The difference was instant: the same 400 square feet suddenly had a living room, a bedroom, and a place to actually sit with a laptop without perching on the duvet.
The secret isn’t buying more furniture. It’s giving every activity a clear address. Here are the ten layout moves that made the biggest difference.
1. Map Your Zones Before You Buy Anything
Every failed studio layout I’ve seen started with shopping instead of measuring. Grab a tape measure and a sheet of paper, and draw the room to scale. Then label three zones: sleep, live, work/dine. In a typical 400–500 sq ft (37–46 sq m) studio, the sleep zone needs about 80 sq ft (7.4 sq m), the living area 120–150 sq ft (11–14 sq m), and the rest absorbs work, dining, and entry.
Now here’s the part people skip: mark the windows, the door swing, and the outlets. A reading chair is useless if the nearest outlet is 10 feet (3 m) away. I learned this the expensive way with a floor lamp that never got plugged in. Plan the zones around light and power, and the furniture almost arranges itself.
2. Float the Sofa as the Divider
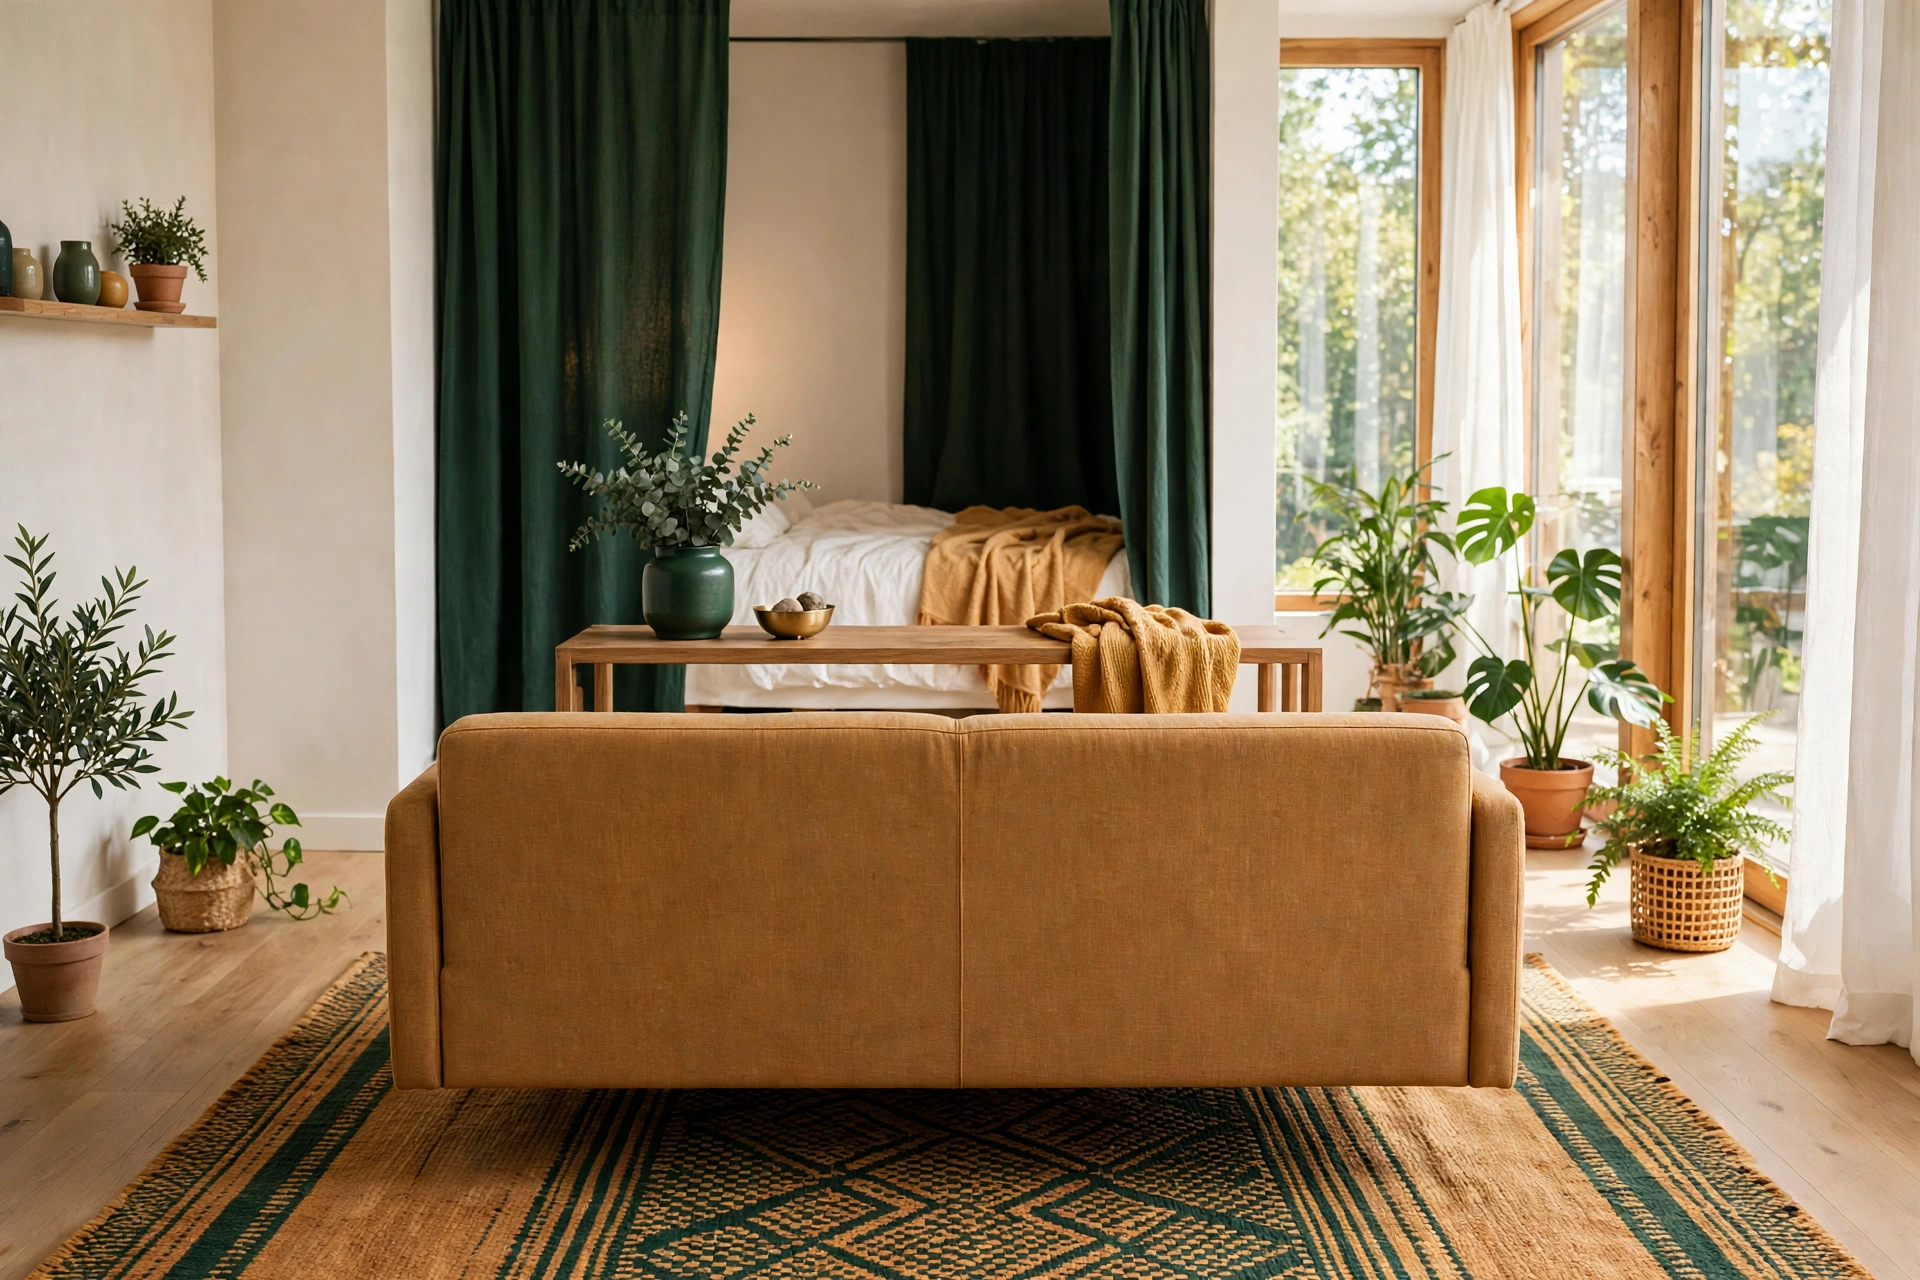
Pushing every piece of furniture against the walls is the fastest way to make a studio feel like a waiting room. Pull the sofa forward — even 2 feet (60 cm) — so its back faces the bed zone, and you’ve created two rooms without a single wall. This is the same principle behind good small living room layouts, just applied in a room that also happens to contain a bed.
Put a narrow console table behind the sofa for keys, a lamp, and a phone charger. It gives the divider some height (keep it under 30 inches / 76 cm so sightlines stay open) and adds storage where studios need it most: the boundary line between zones.
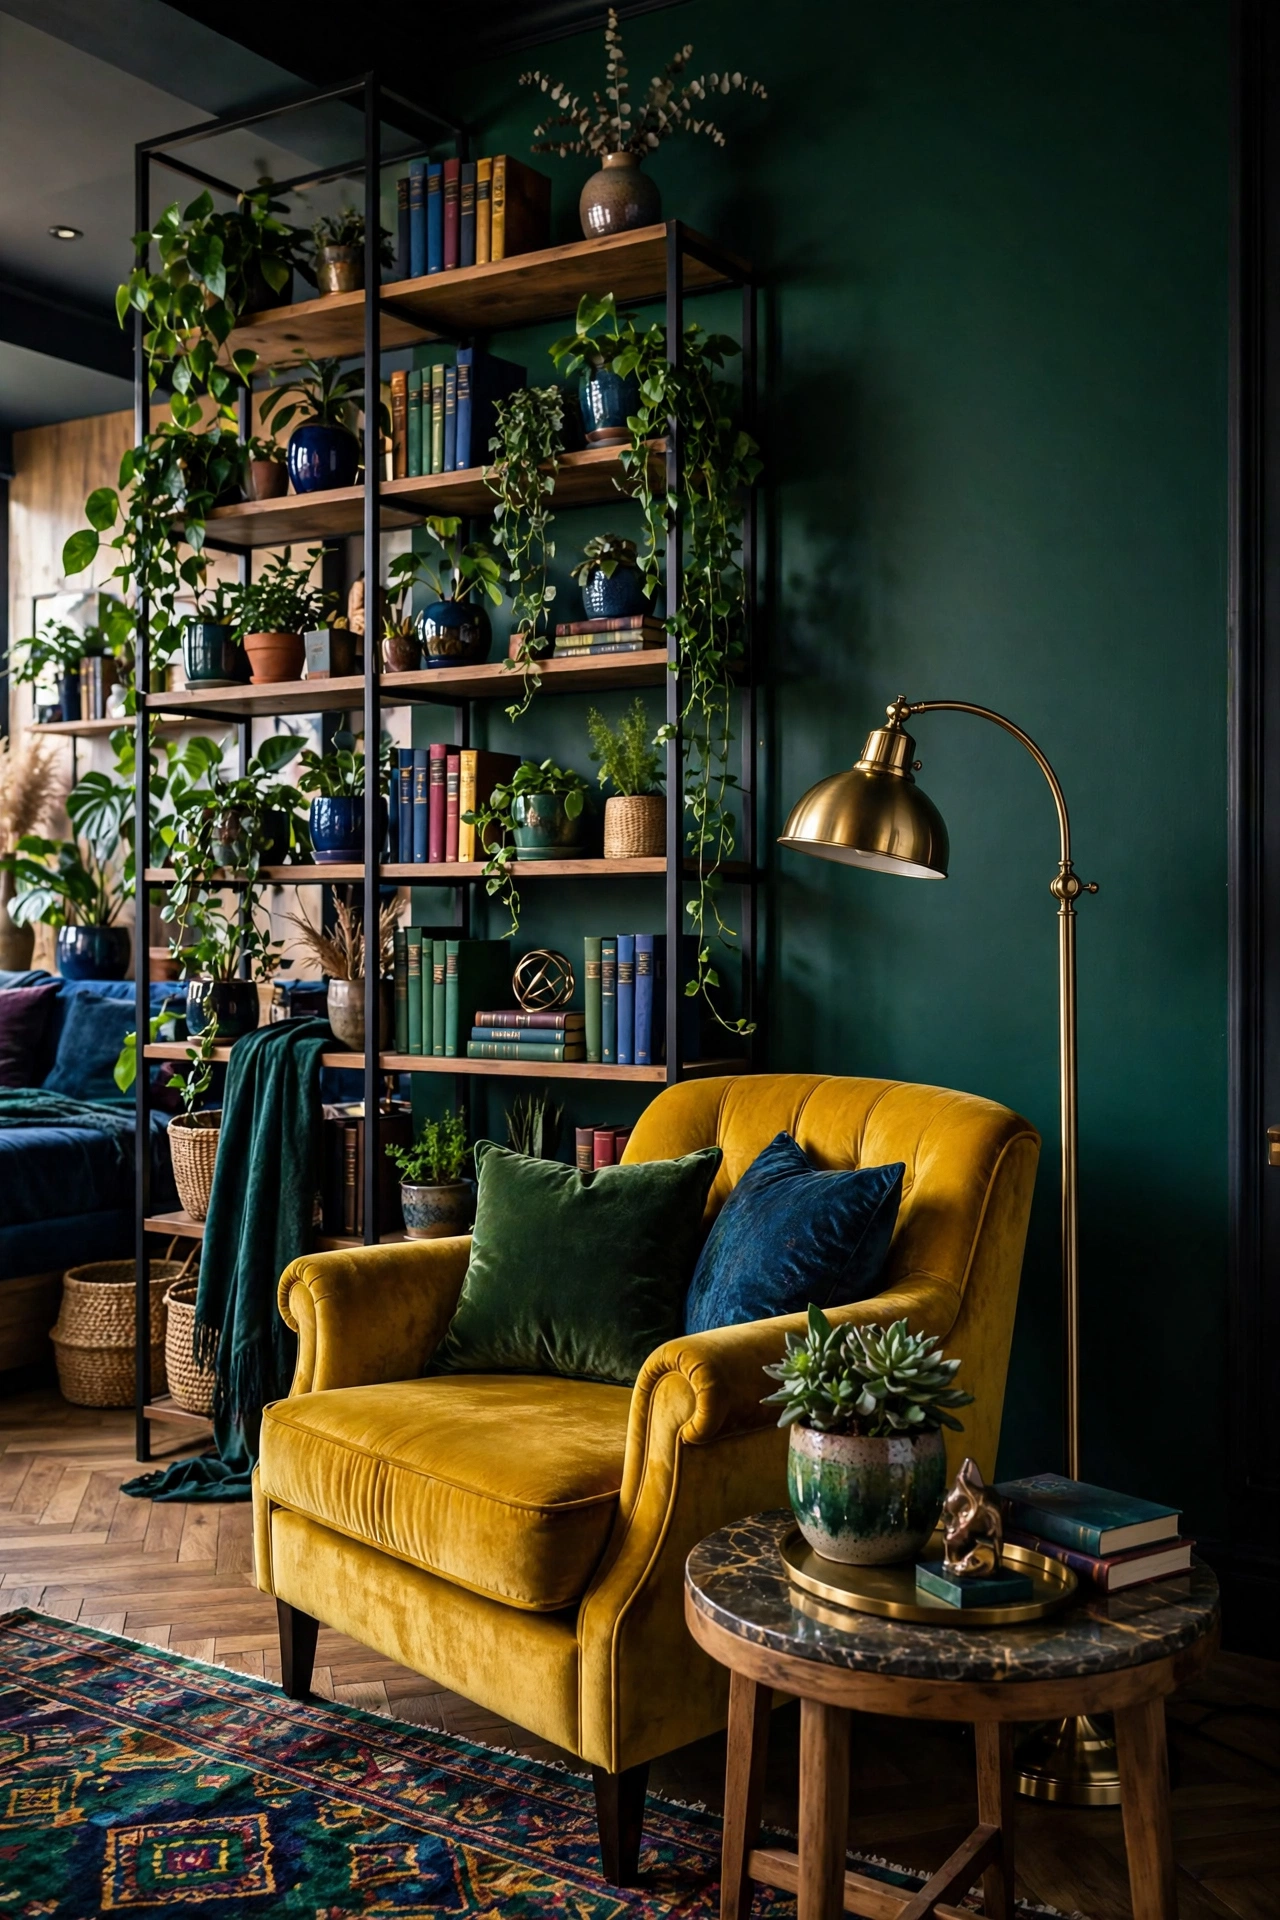
3. Use an Open-Backed Bookshelf as a Room Divider
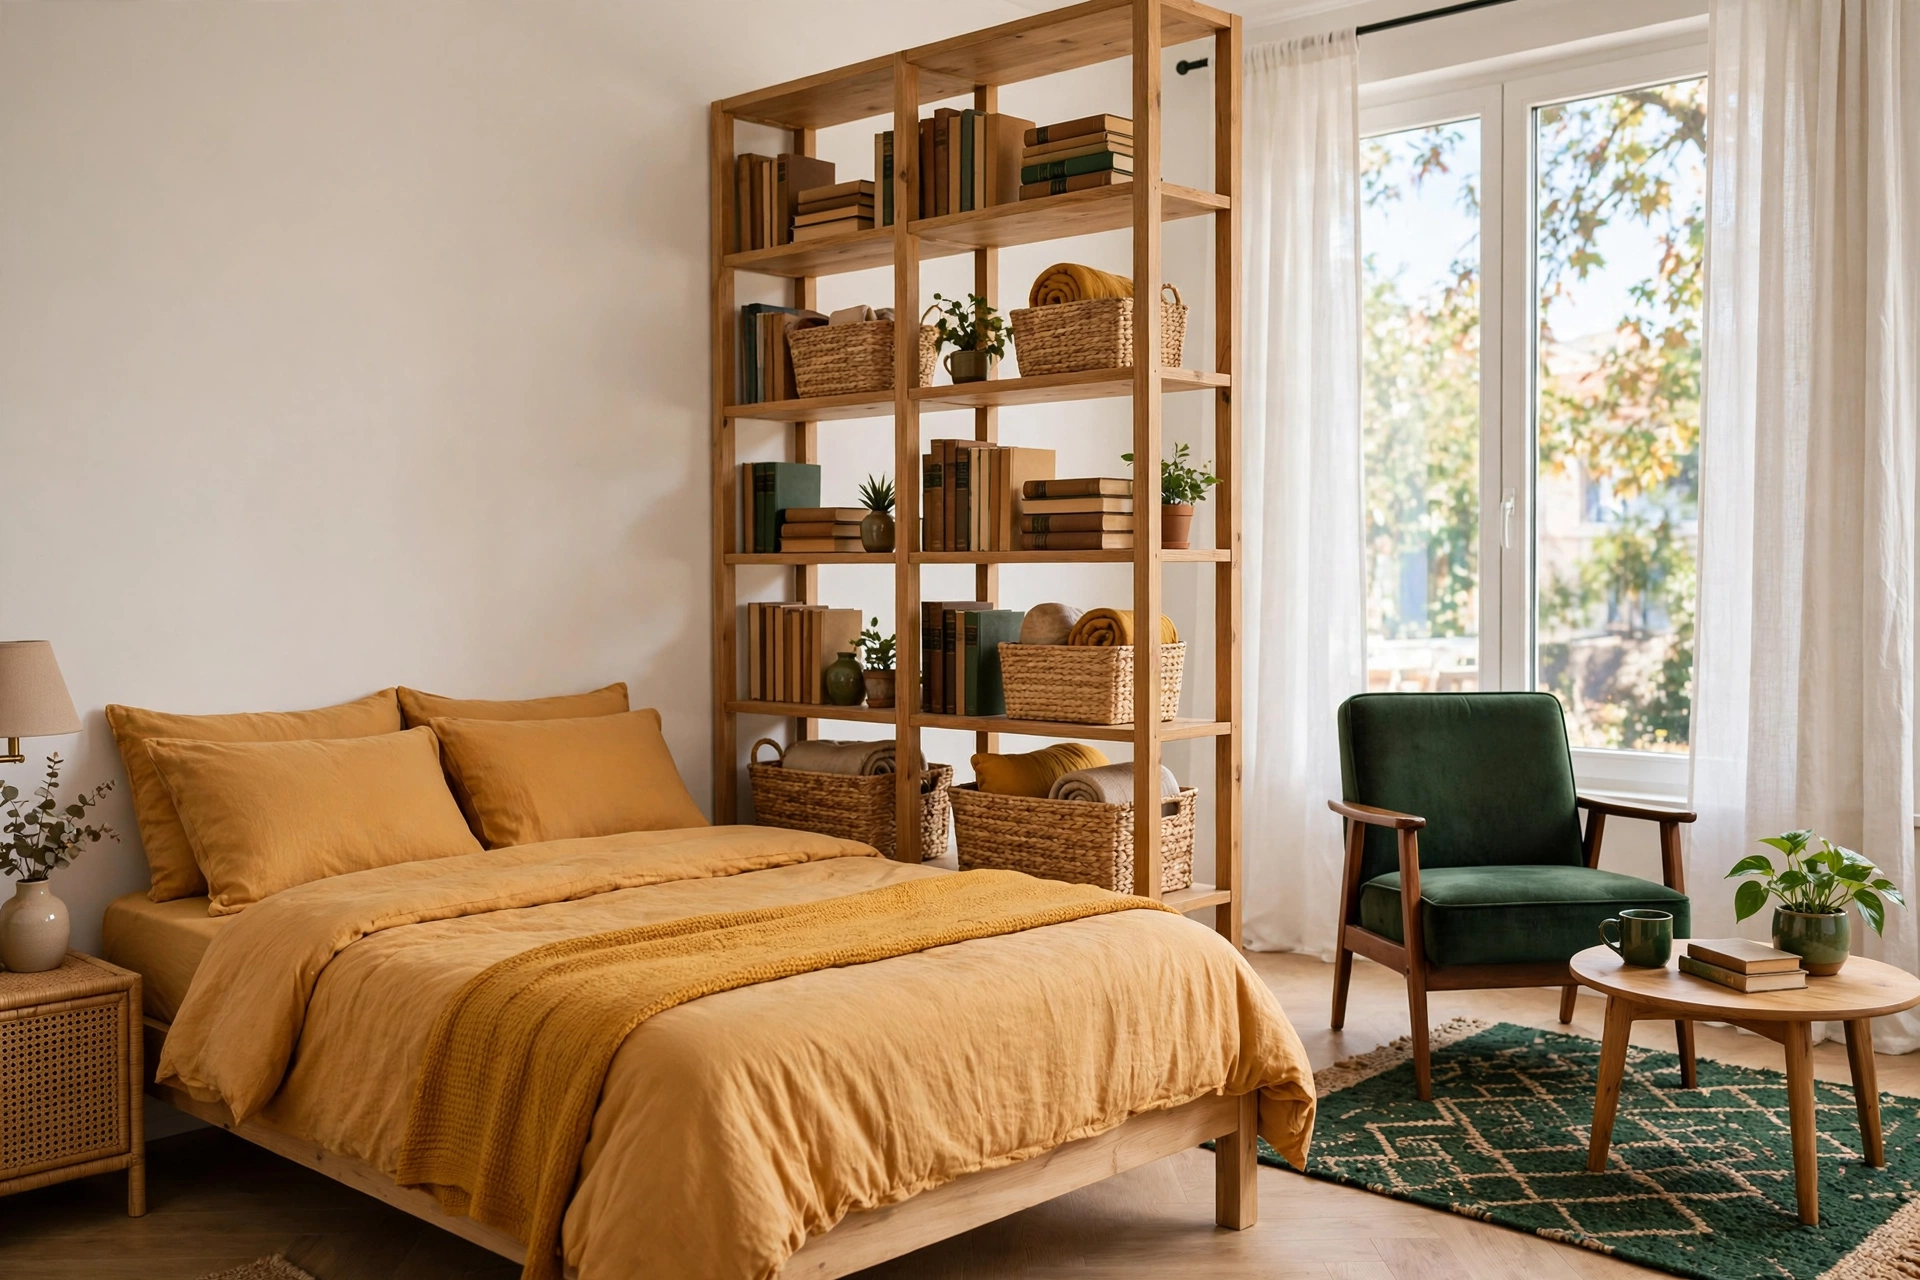
If the sofa trick isn’t enough separation, an open-backed bookshelf does what a wall can’t: it divides the space while letting light and air through. Position it perpendicular to the longest wall, roughly where the living zone should end. Shelves around 12–16 inches (30–40 cm) deep give real storage without eating floor space.
Load it intentionally — books and baskets on the living-room side, folded clothes or sleep-side essentials on the bedroom side. One piece of furniture, two serving zones, zero renovation. It also works beautifully as a headboard substitute when the bed tucks right up against it.
4. Loft the Bed — or Just Lift It 14 Inches
A bed eats roughly 33 sq ft (3 sq m) of floor space, and most of it is doing nothing. Bed risers that lift the frame 12–14 inches (30–36 cm) turn that dead zone into a home for out-of-season clothes, luggage, and the suitcase you never unpack. If your ceiling is 9 feet (2.7 m) or higher and the lease allows it, a loft bed reclaims the entire footprint — desk or reading nook underneath, sleeping up top.
Even without a loft, raising the bed changes how the studio feels. Under-bed space that’s organized in shallow bins reads as intentional storage, not clutter spilling out. Pair this with the right small bedroom storage ideas for the sleep zone and the “bedroom” half of your studio starts pulling its weight.
5. Curtain the Sleep Zone With a Ceiling Track
Curtains beat dividers on two fronts: cost and flexibility. A ceiling-mounted curtain track runs about $25–40 and a pair of heavyweight curtains hides the unmade bed from every angle. Pull them open during the day and the room feels big again; close them at night and your brain finally gets the “bedroom” signal it needs to wind down.
Mount the track as close to the ceiling as possible and let the curtains puddle just slightly on the floor — it reads taller. Choose a fabric with some weight; sheer curtains divide nothing. If you’re renting, tension-wire systems exist, but a track with adhesive ceiling mounts holds better and still comes down cleanly on move-out day.
6. Choose Furniture That Holds Two Jobs
In a studio, every piece has to earn its square footage twice. My shortlist of double-duty winners:
- Storage ottoman — coffee table, footrest, guest seat, and a hiding place for throw blankets.
- Sleeper or daybed sofa — the daybed version is underrated: it’s a couch by day and your actual bed, no nightly unfolding ritual.
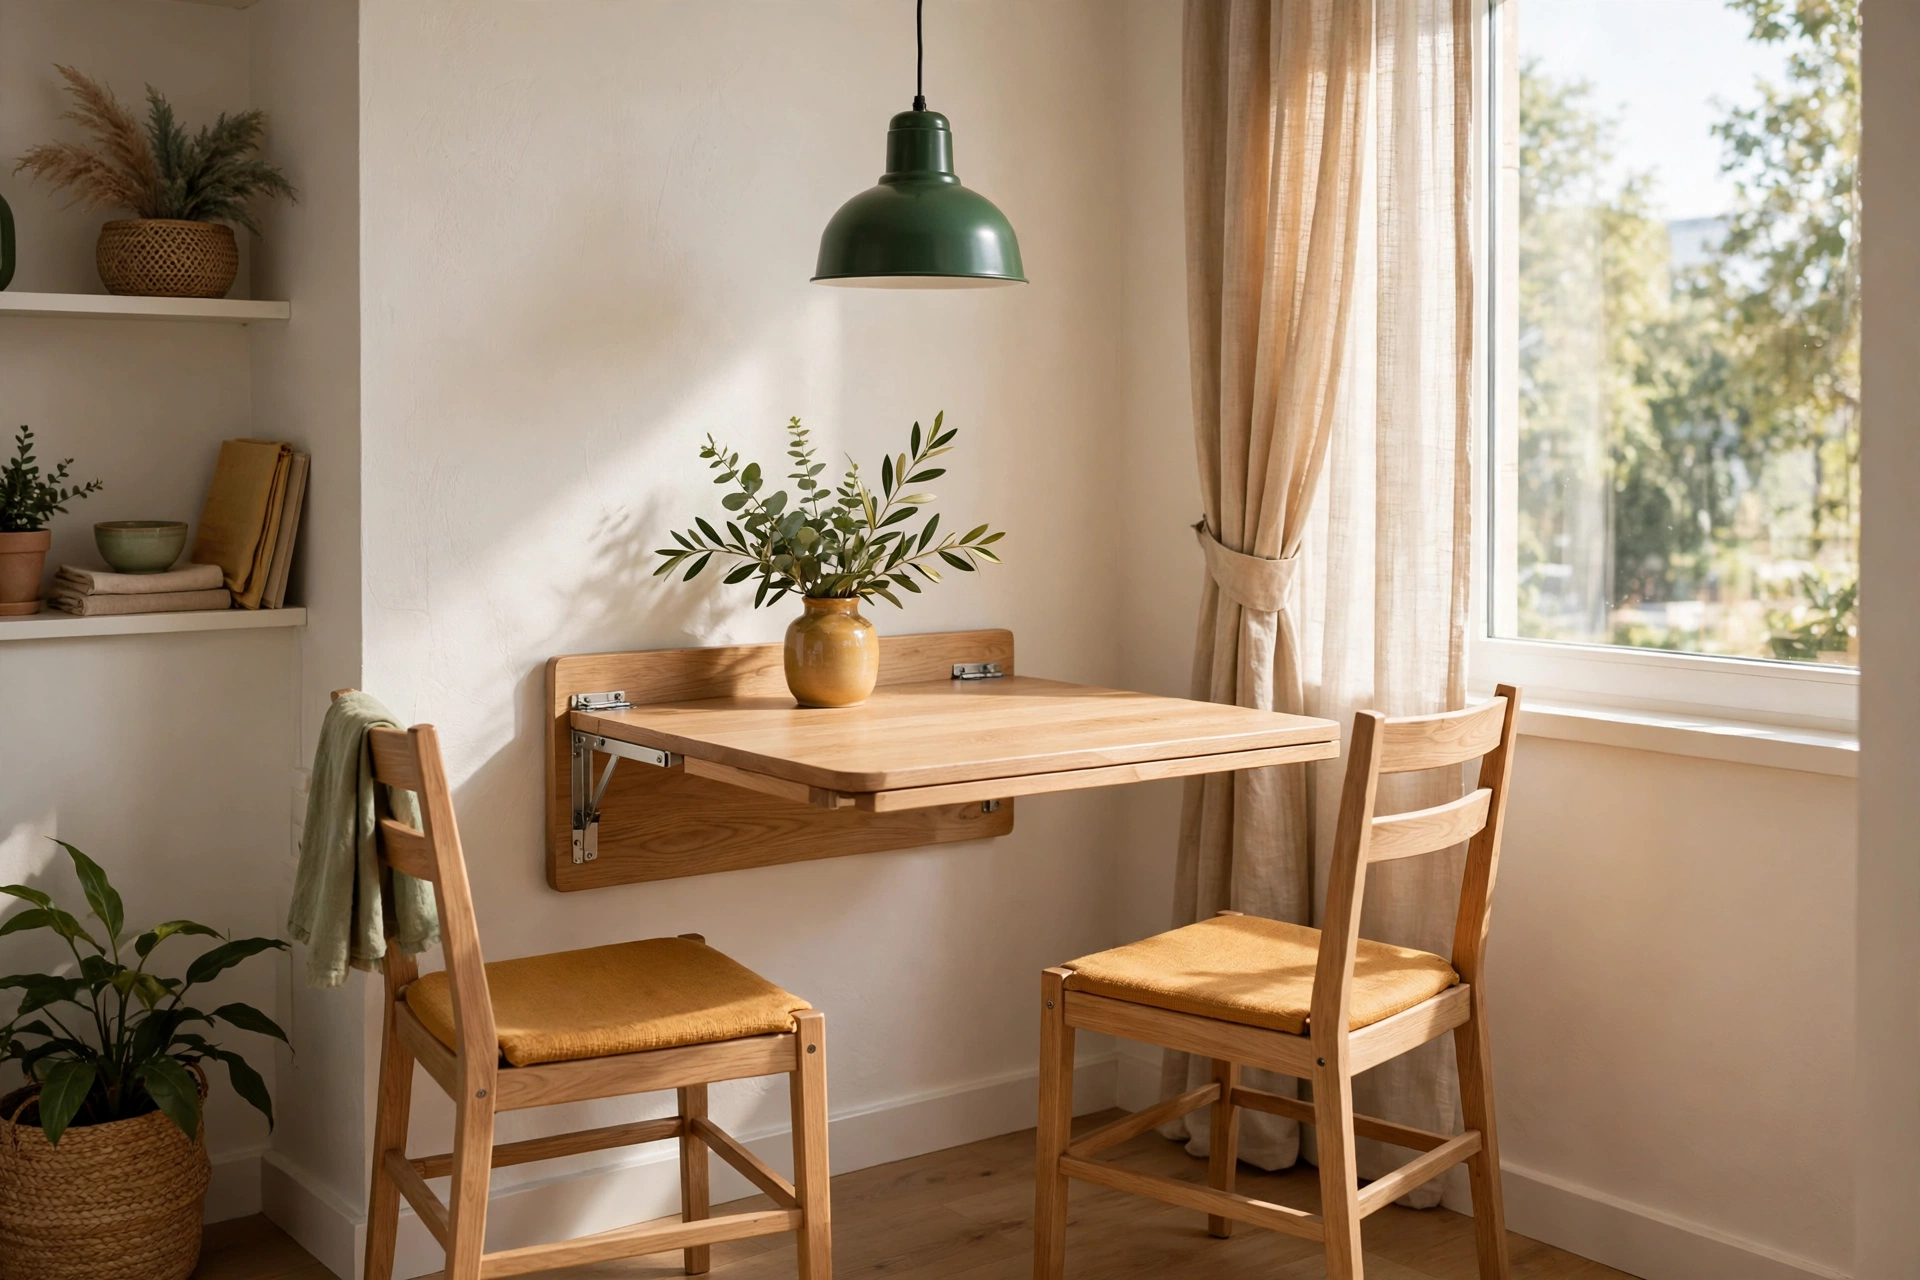
- Fold-down wall table — seats two for dinner, folds flat for workspace, disappears entirely for yoga. Mount it 28–30 inches (71–76 cm) high.
- Nesting side tables — spread them out when guests come, stack them when it’s just you.
The rule I use: if a piece does only one thing and takes up more than 4 sq ft (0.37 sq m), it doesn’t make the cut.
7. Anchor Each Zone With a Rug
When there are no walls, the floor has to do the talking. A rug under the living area and a smaller one (or a washable runner) by the bed tells your eye where each zone starts and ends. The trick is sizing: the living-zone rug should be big enough that at least the front legs of the sofa and chairs sit on it — 5×7 feet (152×213 cm) is the sweet spot for most studios.
Keep the palette consistent across zones so the room reads as one cohesive home rather than three unrelated corners. One pattern, one solid, one texture — that’s the whole formula. It’s the same zoning logic that makes a whole-home organization approach work; you’re just doing it on a smaller canvas.
8. Build an Entryway Landing Strip at the Door
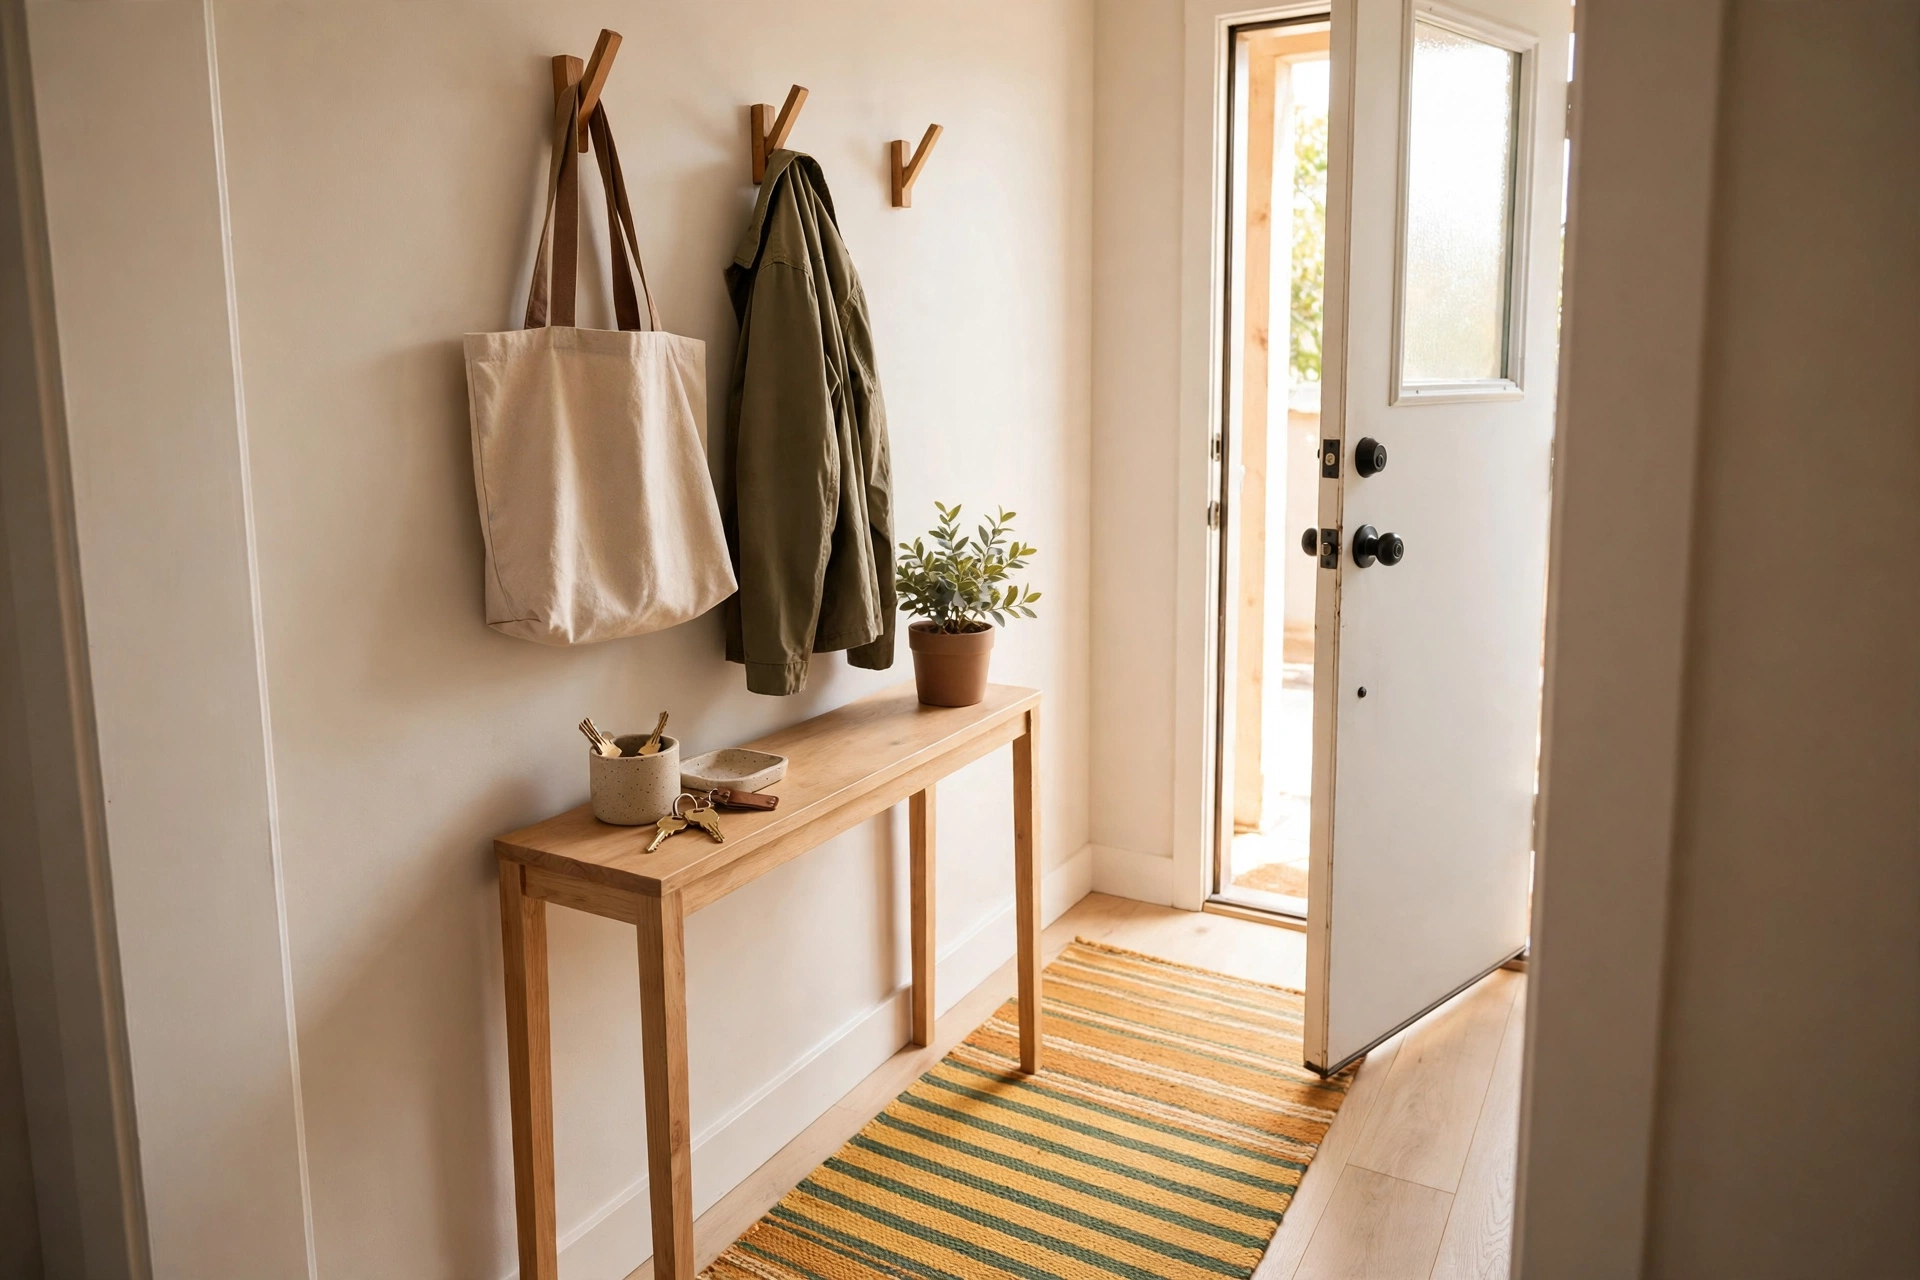
Studios usually open straight into the living space, which means keys, bags, and shoes colonize the first flat surface they find. Claim the first 3 feet (90 cm) inside the door: a narrow console or wall-mounted shelf, three hooks, and a slim tray for keys. A small rug or boot mat marks the boundary.
This tiny station stops the “where are my keys” spiral and keeps the living zone from becoming a hallway. The same tiny entryway setup principles that organize a proper foyer work here — they just have to work harder, because your entryway is also your living room.
9. Take Storage All the Way Up
Studio walls are usually tall and almost always underused. A bookcase that’s 72 inches (183 cm) tall holds roughly double what a 36-inch (91 cm) one does, on the same 1.5 sq ft (0.14 sq m) of floor. Stack storage in vertical columns: daily-use items between knee and eye level, weekly items above, seasonal stuff on top.
Wall-mounted options keep the floor clear entirely — floating shelves above the desk, a pegboard by the work zone, hooks inside cabinet doors. Every square foot of wall you activate is a square foot of floor you get back. In a 400 sq ft studio, vertical storage can easily “add” the equivalent of a small closet.
10. Run a One-In-One-Out Rule (and a 15-Minute Reset)
Here’s the honest truth about studio layouts: no arrangement survives clutter. When everything is visible, five stray items look like fifty. The one-in-one-out rule — every new item in means one item leaves — is the only inventory system that works at this scale.
Pair it with a nightly 15-minute reset: everything returns to its zone, surfaces get cleared, tomorrow starts clean. It sounds fussy until you try it; a studio that’s reset every evening genuinely feels 20% bigger than one that isn’t. If you need a system to stick to, the 15-minute home reset method was built for exactly this kind of space.
Your Studio, Zoned
Start with the paper plan, divide with furniture instead of walls, and give every zone its own floor boundary. Most studios don’t need more space — they need clearer addresses for the space they already have. Pick three of these ideas this weekend, and by Sunday night your one room will finally feel like the three it was pretending to be.
How do you divide a studio apartment without walls?
Use furniture as dividers: float the sofa with its back to the bed, place an open-backed bookshelf perpendicular to the wall, or hang ceiling-track curtains around the sleep zone. Rugs under each zone reinforce the separation visually without blocking light.
What is the best layout for a small studio apartment?
Zone the room by activity — sleep, live, work/dine — and arrange furniture around windows, door swing, and outlets rather than pushing everything against the walls. Floating key pieces like the sofa creates the feeling of separate rooms in as little as 400 sq ft (37 sq m).
How can I make my studio apartment feel bigger?
Keep sightlines open with low dividers, use one consistent color palette across zones, take storage vertical instead of spreading it on the floor, and run a nightly 15-minute reset. Visual calm reads as spaciousness — clutter is what makes small rooms feel tiny.
Where should the bed go in a studio apartment?
Place the bed in the darkest, quietest corner — usually farthest from the front door — and separate it from the living area with a bookshelf, curtain track, or a floated sofa. Raising the bed 12–14 inches (30–36 cm) on risers reclaims the space underneath for storage.