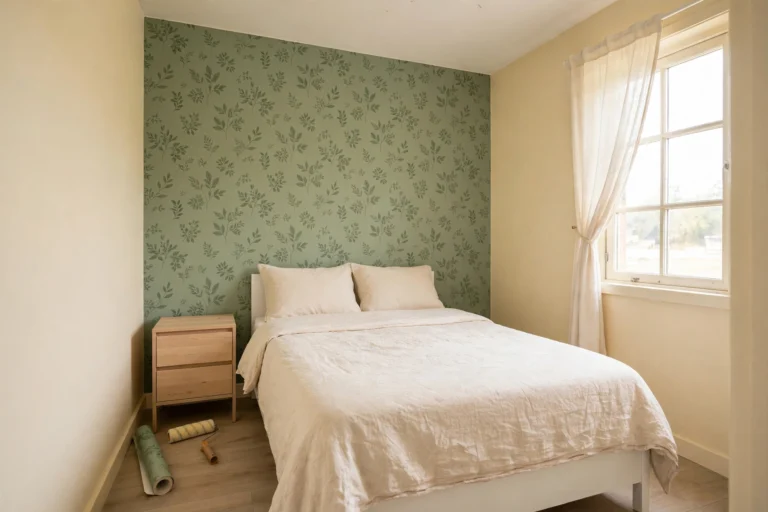

Renter Friendly No Drill Bedroom Layouts: 4 Plans That Leave No Holes
Direct answer
A no drill bedroom layout is a bedroom plan built only from furniture that stands, leans, bolts to itself, or sticks and peels cleanly. Nothing goes into the wall. No screws, no anchors, no patched holes at move out. The bed, the storage, the mirror, and the curtains all work without a drill, and the room still looks finished, because the layout does the work that wall mounted pieces usually do.
The original check in this guide is two small pieces of math, worked before any shopping. First, the wall math: in a 10×10 ft room, a queen frame at 64 in (163 cm) wide plus two 18 in (46 cm) nightstands equals 100 in (254 cm) on a 120 in (305 cm) wall, leaving 20 in (51 cm) spare, so the centered bed plan passes. Second, the adhesive budget: 4 pairs of large picture strips hold 16 lb (7.3 kg) for a frame up to 24×36 in (61×91 cm), so a framed print under 16 lb hangs safely, while a heavier mirror must lean on the floor instead. Measure the wall, weigh the frame, and the plan picks itself.
What a no drill bedroom layout actually changes, and what it does not
Direct answer: A no drill plan changes how things attach to the room, not how the room is arranged. Clearances, bed sizes, and walkways still follow the same rules as any bedroom plan.
That distinction matters, because renters often treat “no drill” as a style, and then buy a room full of adhesive hooks and wonder why it still feels wrong. The layout comes first. A bed that is too big for its wall is still too big when nothing is drilled. A dresser that blocks the door swing still blocks it. Get the arrangement right with tape on the floor, then choose the no drill method for each piece.
What changes is the toolkit. A headboard bolts to the bed frame instead of the wall. Art hangs on strips instead of nails. Curtains hang on a tension rod instead of brackets. A mirror leans instead of hanging. A shelf stands on the floor instead of floating on brackets. Each swap has a weight limit and a surface rule, and those limits are the real content of this guide.
One more honest limit: no drill does not mean no risk. Adhesive on fresh paint, textured walls, or brick can still pull paint or fail. Heavy items still need a floor, not a strip. The deposit risk ratings in this guide say so plainly, piece by piece.
Which no drill bedroom layout works in each size band?
Direct answer: Every no drill bedroom layout below uses the same method, scaled to the band: the bed goes first, the walkways stay clear, and every wall piece is replaced by a standing, leaning, or sticking alternative.
The four bands come from this site’s layouts by dimension pilot. Tiny means up to 80 sq ft, Small means 80 to 120 sq ft, Compact means 120 to 180 sq ft, and Modest means 180 to 250 sq ft. Each plan below links to its band page, where the full clearance math lives.
Plan A: Tiny, up to 80 sq ft, the corner bed plan
Direct answer: In a Tiny room, push the bed into a corner, skip the second nightstand, and let one leaning mirror and one tension rod do the decorating.
Take an 8×9 ft (2.4×2.7 m) room. A queen bed fails here: it leaves only 18 in (46 cm) per side, below the 24 in (61 cm) minimum, a trap the bedroom layout mistakes guide calls out in detail. A twin at 38 in (97 cm) or a full at 54 in (137 cm) in the corner leaves a real walkway on the open side and room for a slim shelf, not a nightstand, on the tight side.
The no drill layer is light on purpose. One leaning full length mirror on the wall opposite the window bounces light without a single strip. Curtains hang on a tension rod inside the window recess, which suits a Tiny room because it keeps the full wall for the bed. Art, if any, goes on strips on the wall beside the bed, never above it, because the manufacturer warning is explicit: do not hang frames over beds.
Best for: one sleeper, a first rental, a room under 80 sq ft. Watch out for: a corner bed means making the bed from one side only, and climbing in from one side. Verdict: the only plan in this guide where the corner bed is the right answer, not a compromise. The tiny bedroom layout ideas guide works the same room in more detail.
Plan B: Small, 80 to 120 sq ft, the centered queen plan
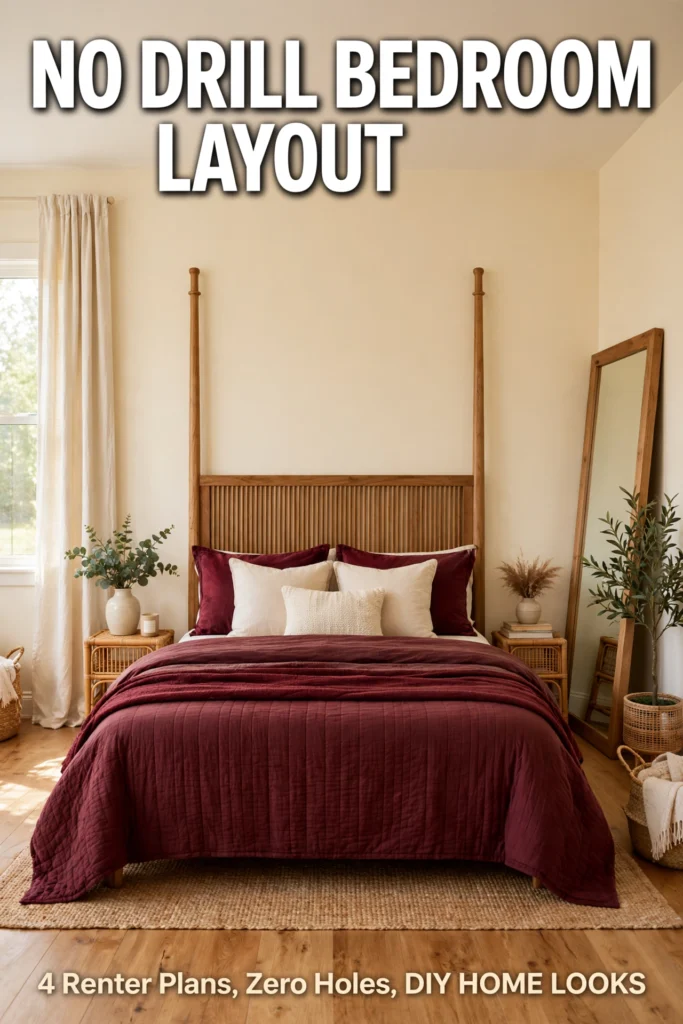
Direct answer: In a Small room, center a queen bed on the long wall, bolt the headboard to the frame, and hang curtains on a tension rod or no drill brackets.
Take a 10×10 ft (3.0×3.0 m) room. The wall math from the intro passes with room to spare: queen frame 64 in (163 cm) plus two 18 in (46 cm) nightstands equals 100 in (254 cm) on a 120 in (305 cm) wall, with 20 in (51 cm) left over. That spare 20 in is where a narrow laundry hamper or a small plant lives, not a third piece of furniture.
The headboard is the piece most renters get wrong. A frame bolted headboard attaches to the bed frame itself, so the bed wall stays untouched and the headboard still gives the room its anchor. Plug in sconces or clip on lights go on adhesive hooks beside the bed, but weigh them first: a light under 2 lb (0.9 kg) is a hook job, anything heavier needs a table lamp instead. A 5×8 ft (1.5×2.4 m) rug goes under the front legs of the bed and extends into the room, which is what makes the bed zone read as one deliberate area.
Best for: couples in a Small room, anyone who wants the room to look planned rather than improvised. Watch out for: a king bed in this band. It fails the same wall math by eating the nightstands. Verdict: the most useful plan in this guide, and the one most renters should start from. The small bedroom layout ideas guide covers the same band with more plan variants.
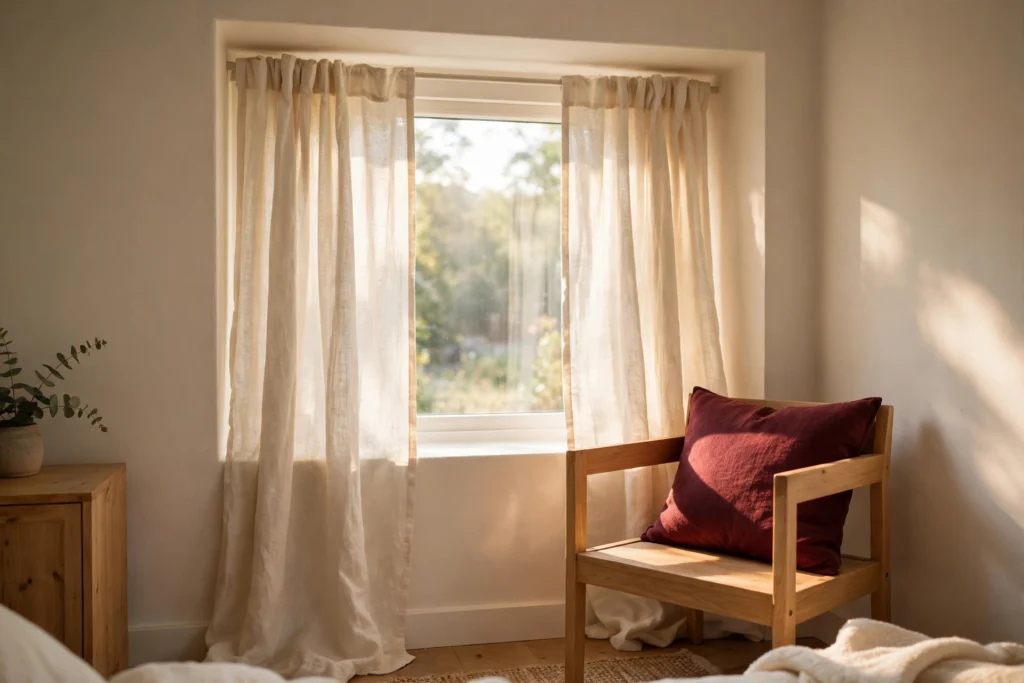
Plan C: Compact, 120 to 180 sq ft, the bed plus work corner plan
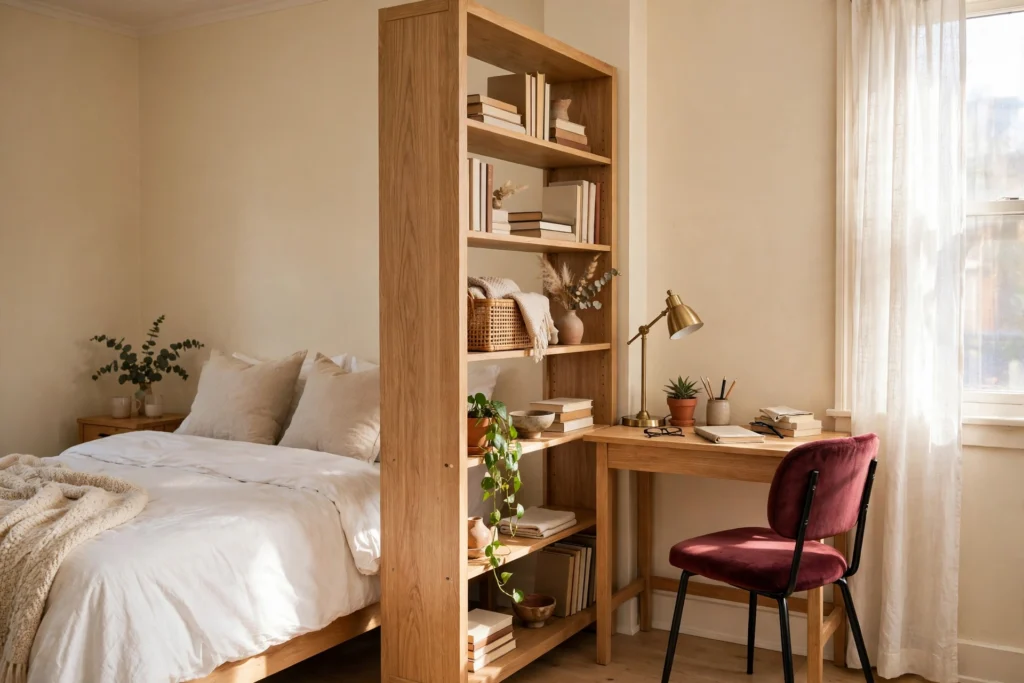
Direct answer: In a Compact room, keep the centered bed, add a dresser on the opposite wall, and divide a work corner with a freestanding shelf, not a wall.
Take an 11×13 ft (3.4×4.0 m) room. The queen bed keeps 30 in (76 cm) clearances on both sides here, which is comfortable rather than tight. That comfort buys a second zone: a dresser on the wall opposite the bed, with 36 in (91 cm) clear in front of it so drawers open and you can stand there, and a freestanding bookshelf turned sideways as a divider for a small desk corner.
The divider is the no drill star of this plan. A bookshelf that stands on the floor needs no bracket, creates a visual wall between sleep and work, and moves with you in one piece. Keep it under 6 ft (1.8 m) tall and load the heavy books low, so it stands stable. If the household includes small children, follow the manufacturer’s anti tip guidance for tall furniture even in a rental, and keep climbing temptations off the top shelf.
Best for: remote workers, couples who need a desk in the bedroom, rooms with a wall to spare. Watch out for: the dresser at the foot of the bed. In a Compact room it works, but only if the foot clearance stays at 24 in (61 cm) or more. Verdict: the plan where a rental bedroom stops feeling like a bedroom only, and starts feeling like a home.
Plan D: Modest, 180 to 250 sq ft, the king plus sitting corner plan
Direct answer: In a Modest room, a king bed finally passes, and the spare floor becomes a sitting corner built from freestanding pieces only.
Take a 13×16 ft (4.0×4.9 m) room. A king frame at about 80 in (203 cm) wide still leaves generous clearances on a 156 in (396 cm) wall, so both nightstands fit and the walkways stay wide. The sitting corner is one armchair, one small side table, and one floor lamp, grouped on a second rug near the window. Nothing in that corner touches the wall.
This is also the band where a freestanding wardrobe earns its floor space. A wardrobe that stands on its own replaces a wall of hooks or a drilled rail, and it takes its contents with you at move out. Keep the wardrobe on the wall opposite the window so it does not block light, and leave 24 in (61 cm) in front of it for the doors.
Best for: larger rentals, couples who want a chair in the bedroom, anyone furnishing a room they plan to stay in for years. Watch out for: filling the spare floor just because it exists. Empty floor is what makes a Modest room feel modest. Verdict: the luxury plan, and the one where restraint matters most.
| Band | Room example | Bed that passes | No drill anchor piece |
|---|---|---|---|
| Tiny, up to 80 sq ft | 8×9 ft (2.4×2.7 m) | Twin or full, corner | Leaning mirror, tension rod |
| Small, 80 to 120 sq ft | 10×10 ft (3.0×3.0 m) | Queen, centered | Frame bolted headboard |
| Compact, 120 to 180 sq ft | 11×13 ft (3.4×4.0 m) | Queen, comfortable clearances | Freestanding shelf divider |
| Modest, 180 to 250 sq ft | 13×16 ft (4.0×4.9 m) | King | Freestanding wardrobe, sitting corner |
The no drill bedroom layout toolkit: what holds, what leans, what stands
Direct answer: Adhesive strips hold light frames, tension rods hold curtains, and everything heavy leans or stands. When a piece is too heavy for its method, change the method, not the limit.
| Method | What it does | Manufacturer limit or rule | Deposit risk 1 to 5 |
|---|---|---|---|
| Large picture strips | Hang framed prints and light art | 4 pairs hold 16 lb (7.3 kg), max frame 24×36 in (61×91 cm); XL pairs hold 20 lb (9.1 kg) | 1, clean removal if stretched slowly downward |
| Adhesive hooks | Hold lights, small organizers, hats | Light items only, smooth painted walls; wait 1 hour after sticking before loading | 1 to 2, fails on textured walls |
| Tension rod | Hang curtains inside a window recess | Fits the recess width exactly; heavy blackout curtains need a sturdier rod | 1, no wall contact at all |
| No drill curtain brackets | Hang curtains high and wide | Grip the top edge of a wooden window frame; check frame type first | 1 to 2 |
| Frame bolted headboard | Give the bed its anchor | Bolts to the bed frame, never the wall | 1 |
| Leaning mirror | Full length mirror without hanging | Stands on the floor, felt pads stop wall scuffs | 1 |
| Freestanding shelf or wardrobe | Storage and room division | Stands on its own; heavy items low, tall pieces per anti tip guidance | 1 |
| Peel and stick wallpaper panel | One accent panel behind the bed | Test a corner first; heat helps removal; never on fresh or damaged paint | 2 to 3 |
Three rules govern the whole table. First, weigh the frame before you pick the strip count, and stay under the rating, not near it. Second, wait after painting: the manufacturer guidance says wait 7 days after painting before sticking strips, and strips need 1 hour of bonding before they carry weight. Third, never hang anything over a bed, and never hang valuable or irreplaceable items on strips. Those two warnings come straight from the manufacturer, and ignoring them is how deposits get lost.
The renter friendly bedroom upgrades guide covers more damage free ideas room by room, while this guide stays on layout. Use them together: that guide for what to add, this guide for where it goes.

How to set up a no drill bedroom layout in one weekend
Direct answer: Tape the plan on Friday night, move furniture on Saturday morning, and hang everything on Saturday afternoon, after the strips have had their bonding hour.
- Painter’s tape and a tape measure, for the floor plan
- Adhesive picture strips, sized to the frames you actually own
- A tension rod measured to your window recess, plus curtains
- A frame bolted headboard, if your bed frame accepts one
- Felt pads for the leaning mirror and any piece that touches a wall
- A freestanding shelf or wardrobe, for Compact and Modest plans
- A 5×8 ft (1.5×2.4 m) rug for Small plans, larger for bigger bands
- Measure the room, the door swing, and every wall, in inches and cm, and write them down. Measure bed frames, not mattresses, since frames add 2 to 5 in (5 to 13 cm).
- Pick your band plan from the table above, and tape the bed footprint on the floor, frame included. Walk the routes: door to bed, bed to closet, bed to door. Anywhere you turn sideways, move the tape.
- Place the bed first, then the nightstands, then the dresser or wardrobe. Nothing goes on a wall until the furniture layout passes the walk test.
- Weigh every frame you plan to hang, and match the strip count to the rating. Anything over 16 lb (7.3 kg) on large strips leans or stands instead.
- Stick the strips and hooks, then wait 1 hour before loading them. Use the hour to lay the rug and place the leaning mirror.
- Hang the curtains on the tension rod, set the headboard on the frame, and place the freestanding shelf or wardrobe last, so it does not block the earlier steps.
- Photograph every wall and floor on move in day, and keep the strip packaging. The photos are your move out evidence, and the packaging tells you the removal method.
Time estimate: about 5 hours of active work across one weekend, plus the 1 hour strip bonding wait and a week of patience if any wall was freshly painted.
Renter caveat: check your lease before you stick, lean, or tension anything
Direct answer: Read the lease clauses on alterations, wall hangings, and move out condition before you buy anything, and get permission in writing for anything the lease does not clearly allow.
Most leases allow adhesive hanging and freestanding furniture without a second thought, but some ban all wall attachments, including strips, and some charge for paint damage even from approved methods. Check three things: the alterations clause, the wall hanging clause if there is one, and the move out condition clause. Then check the deposit clause, so you know what a paint repair would actually cost you.
If anything is unclear, ask the landlord in a short written message: “I plan to use removable adhesive strips and freestanding furniture only, with no holes or screws. Is that acceptable?” A written yes protects you at move out far better than a verbal one. Keep the reply with your move in photos.
At move out, removal order matters. Peel strips by stretching slowly straight down toward the floor, never pulling forward or at an angle, which is how paint comes off. Warm a peel and stick panel gently and peel slowly from a corner. Wipe tension rod ends and mirror felt pads off the wall, and photograph everything again. The whole removal takes under an hour for a Small room, and it is the cheapest deposit insurance in this guide.
What a no drill starter kit costs, as of November 2026
Direct answer: A starter kit for a Small room runs $156 to $258 in checked market prices, and the mirror is more than half of it.
| Item | Checked price November 2026 | Notes |
|---|---|---|
| Adhesive picture strips, large pack | $7 to $13 | Amazon tracker listings, October 2026: medium 4 pair pack $6.90, large 14 pair pack $12.50 |
| Tension rod | $13 to $20 | Room divider tension rod listing $15.19; heavier rods cost more |
| Leaning full length mirror | $50 to $55 | Walmart listing $52.99 as of November 1, 2026, 64×21 in (163×53 cm) arched mirror |
| 5×8 ft rug | $86 to $170 | Live checked range from this site’s November 2026 furniture size guides |
| Starter kit total | $156 to $258 | Sums checked: 7 plus 13 plus 50 plus 86 equals 156; 13 plus 20 plus 55 plus 170 equals 258 |
These are checked market prices, not personal receipts, and they will move with sales and stock. The headboard, shelf, and wardrobe are not in the kit total because their prices vary too widely by size and material to quote honestly in one range. Buy the tape measure first, the furniture second, and the strips last, once you know the real weights.
Mistakes to avoid
Direct answer: The expensive mistakes are all weight and surface mistakes: too heavy for the strip, wrong surface for the strip, or a frame hung where it should never hang.
- Hanging a heavy mirror on strips. If it weighs more than the strip rating, it leans. A falling mirror breaks the mirror, the floor, and the deposit.
- Sticking strips on textured walls, brick, wallpaper, or fresh paint. Strips are made for smooth painted walls, and the manufacturer says to wait 7 days after painting.
- Loading strips immediately. They need 1 hour to bond. Hang the frame early and it can slide, taking paint with it.
- Pulling strips forward at removal. Stretch slowly straight down toward the floor. Forward pulls are the classic paint damage move.
- Buying the king bed for a Small room, then blaming the no drill methods. The bed size decision comes before any method decision.
- Blocking the door swing with the dresser or wardrobe. Tape the swing arc on the floor before placing anything near the door.
- Hanging a gallery wall over the bed. The manufacturer warning exists for a reason, and a bedroom has other walls.
What to skip
Direct answer: Skip anything that needs a stud, an anchor, or a patch at move out, no matter how good it looks in a photo.
- Wall mounted floating shelves. They need anchors, and anchors need holes. A freestanding shelf does the same job.
- A wall mounted TV. It needs studs. A TV stand holds the same screen and moves with you.
- Drilling “just one small hole” for a curtain rod. A tension rod or no drill brackets hold the same curtain with zero holes.
- Peel and stick wallpaper on all four walls. One accent panel behind the bed gives the look with a quarter of the removal risk.
- A heavy gallery wall on strips. One or two light frames on strips look intentional. Ten heavy frames look like a risk assessment failure.
- Mounted bedside sconces that need wiring. Plug in or clip on lights on adhesive hooks give the same warm light at eye level.
Frequently asked questions
Can you put up a headboard without drilling into the wall?
Yes. Choose a freestanding headboard that bolts to the bed frame, not to the wall. Check that your frame has bolt holes or a compatible bracket first, since not every frame accepts one. The headboard then moves with the bed, leaves the wall untouched, and gives the room the same anchor a mounted headboard would.
How do you hang curtains without drilling holes?
Use a tension rod inside the window recess for the simplest option, or no drill brackets that grip the top edge of a wooden window frame when you want curtains hung high and wide. Mount the rod 3 to 6 in (8 to 15 cm) above the frame and 8 to 12 in (20 to 30 cm) past each side for the taller look, and keep heavy blackout curtains on a sturdier rod so the tension holds.
Do adhesive strips damage paint when you move out?
Not when they are used and removed correctly. Use them only on smooth painted walls, wait 7 days after painting, stay under the weight rating, and remove them by stretching slowly straight down toward the floor. Damage usually comes from the opposite of all four: textured walls, fresh paint, overloaded strips, or pulling forward at removal.
How do renters arrange a small bedroom without damaging the walls?
Start with the layout, not the decorations. Tape the bed footprint on the floor, keep 24 in (61 cm) clearances on used sides and one 36 in (91 cm) main route, then replace each wall piece with a standing, leaning, or sticking alternative: a frame bolted headboard, a leaning mirror, a tension rod, and adhesive strips for light frames only. Photograph the walls on move in day so move out condition is provable.
How this was made
This guide was written from the band clearance math in this site’s layouts by dimension pilot, manufacturer weight ratings from 3M Command, and market prices checked in November 2026. No product was tested in a real home for this article, and no personal purchase is claimed. By Wasim.
Sources and further reading
- Manufacturer weight ratings and removal method: 3M Command 20 lb XL picture hanging strips page.
- A full no drill room plan with curtain methods: rental bedroom makeover without drilling guide.
- The band pages this spoke links to: the tiny bedroom layout ideas guide, the small bedroom layout ideas guide, and the bedroom layout mistakes guide for the queen bed trap.