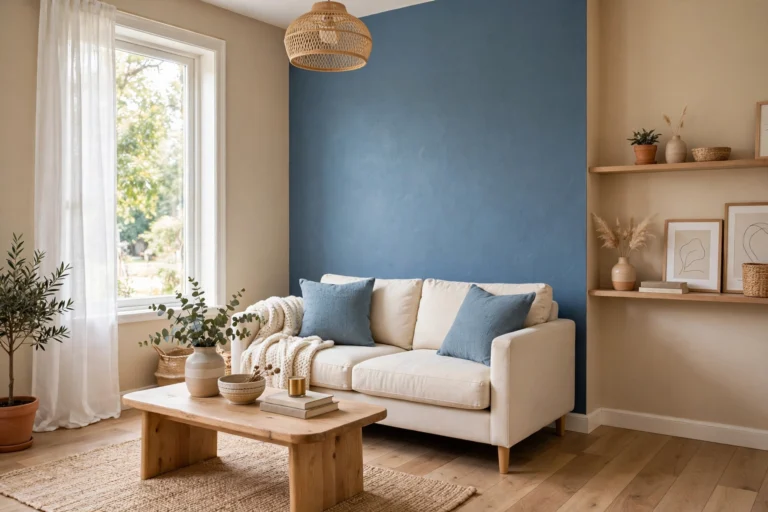
Color Drenching a Small Room: 7 Steps to Make a Tiny Room Feel Bigger
Yes, color drenching a small room can make it feel bigger, not smaller. Color drenching a small room means painting the walls, trim, doors and ceiling in one color family, so the contrast lines that chop a tiny room into pieces disappear. The room reads as one continuous envelope instead of five separate surfaces, and your eye stops measuring where the room ends. Search interest in the technique jumped about 149% year over year, according to Google Trends data cited in a Zillow report from October 2025, which makes it the defining paint trend of 2026. This guide gives you the full method: the finish formula, the paint math for a real 10 by 10 foot room, a dated cost table, and the mistakes that turn a cocoon into a cave.
Color Drenching Small Room Basics: What It Is and Why It Works
Color drenching is simple to describe and easy to picture. Instead of half painted walls for small rooms, where a split line divides colored walls from bright white trim and a white ceiling, you carry one color across everything: walls, baseboards, window trim, doors, door frames, built-ins and the ceiling. Most drenched rooms do not use one identical can on every surface. They use one color family with small shifts: a deeper tone on the walls, a touch lighter on the ceiling, the same color in a tougher sheen on the trim. The eye reads it as one color, and that is what matters.
Why does it work? A small room feels small because your brain keeps hitting boundaries. Every white baseboard is a line. Every white ceiling is a lid. Every door frame is a stop sign. Paint removes those signals. Corners soften because there is no light-dark edge to trace. The ceiling stops capping the room because it is the same color as the walls. Designers call this the envelope effect, and it is the opposite of the old advice that small rooms must be white. White makes a room bright, but brightness and spaciousness are not the same thing. White walls with white trim still show you every edge of the box.
Here is my honest opinion, and it is the part most guides skip. Color drenching is overrated as a magic trick and underrated as a discipline. It will not double how big a room feels, and it cannot fix a bad layout or a low ceiling. What it does brilliantly is make a small room feel intentional instead of accidental, and that feeling is worth more than a few visual inches. If you want a room that feels designed rather than leftover, this is the cheapest way to get there.
Does Drenching Make a Room Look Bigger or Smaller?
It usually makes a room look bigger, but only when you commit to the full envelope. A single dark wall surrounded by white trim and a white ceiling does the opposite. It frames the dark wall like a picture and shrinks everything around it. The effect comes from continuity, not from darkness.
Three registers work, and they suit different rooms:
Light drench. A pale mid-tone, like warm greige, dusty sage or soft mushroom, across all surfaces. This is the safest first drench. It works in almost any light, and it is the best choice for a room with one small window or a north-facing window. Our guide to paint colors for north-facing rooms explains why warm shades rescue cold gray light, and the same rule applies here: a warm light drench beats a cool one in a north-facing room every time.
Mid-tone drench. A clearly visible color with real saturation, like deep sage, dusty teal or warm terracotta. This is where the technique earns its keep. Mid-tones hide the small scuffs and uneven patches that white paint shows off, and they give a small room a mood instead of a blank stare.
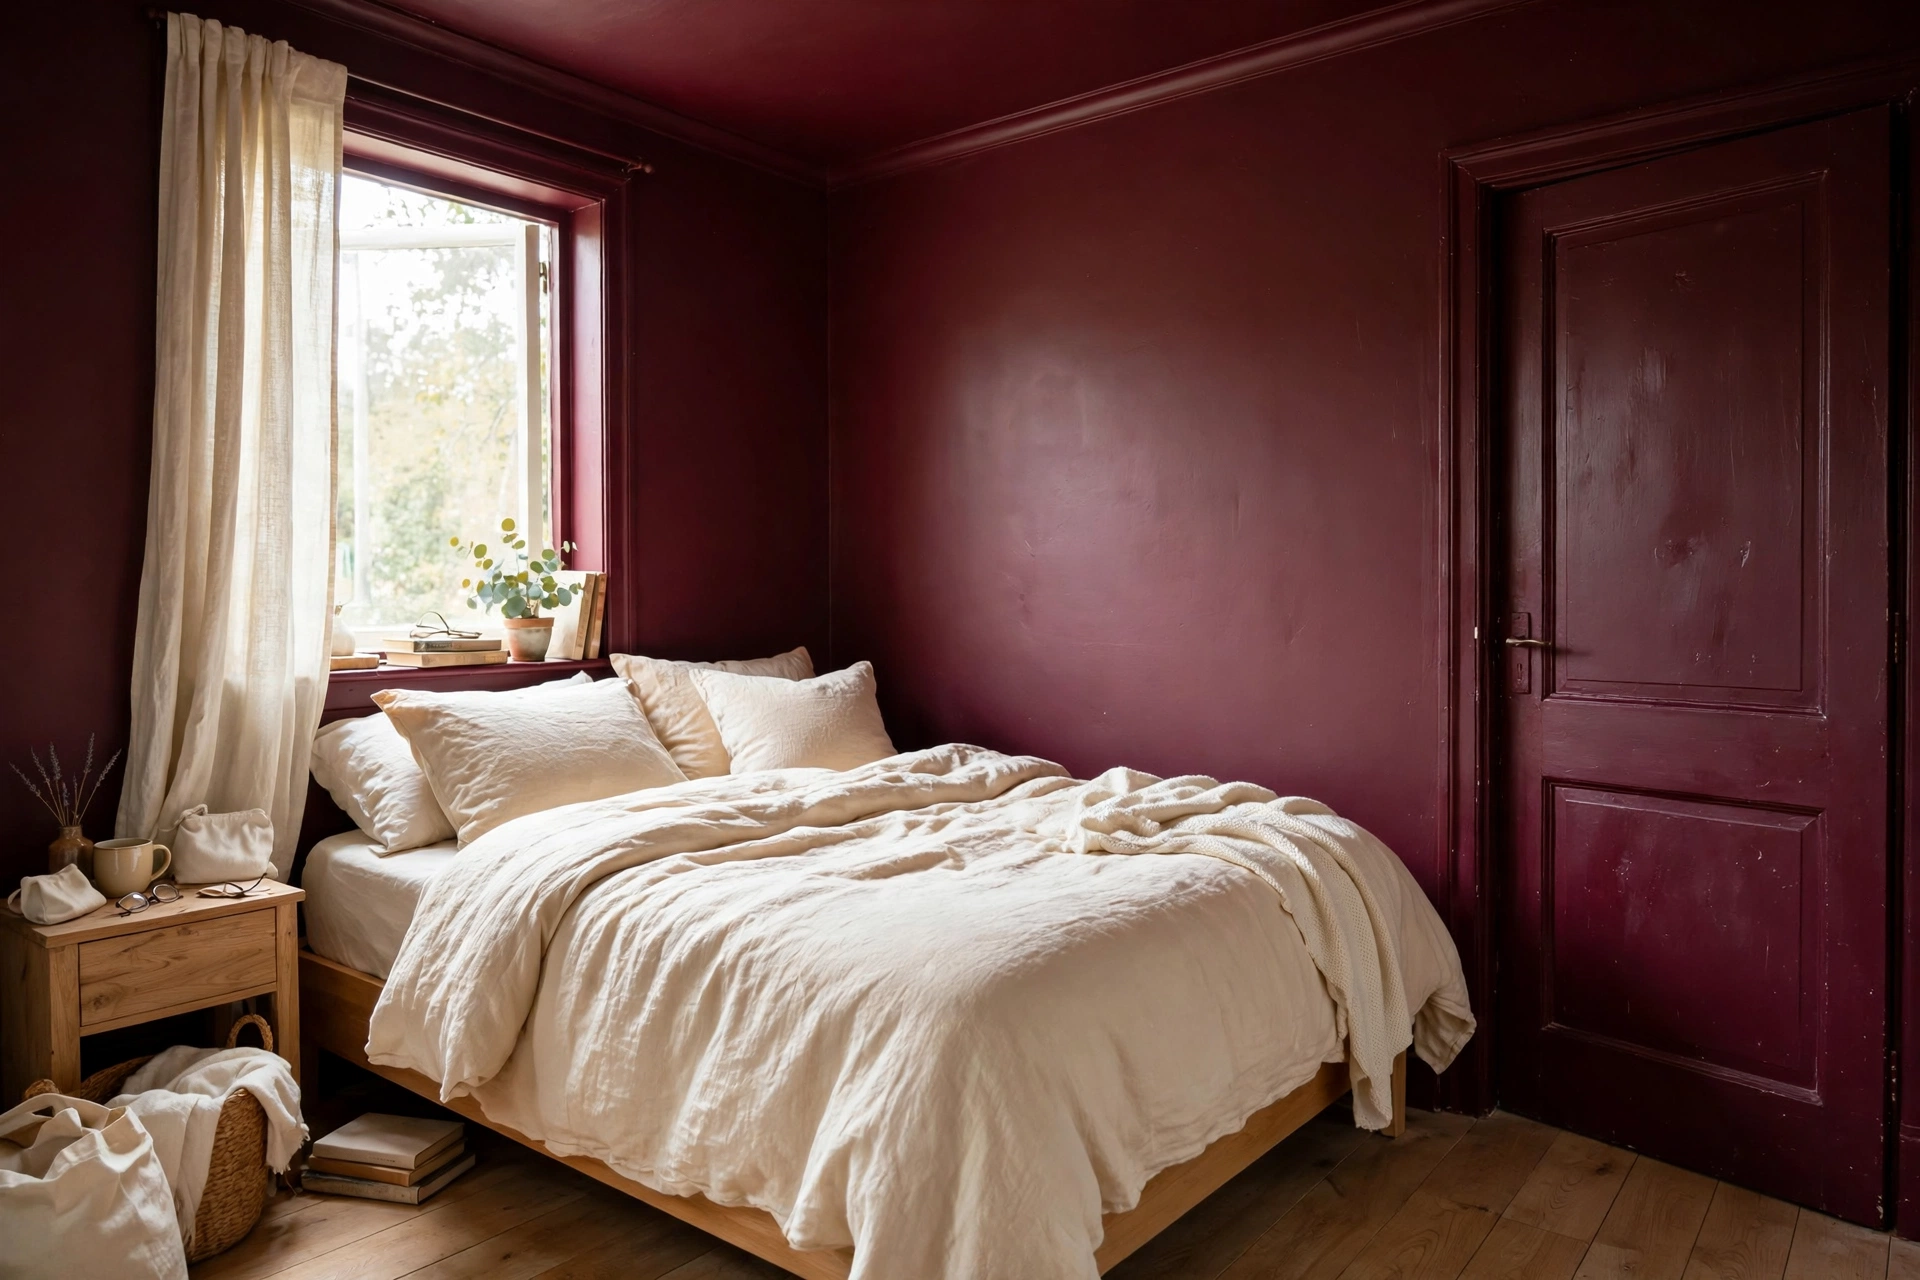
Dark drench. A deep, moody tone, like forest green, navy or espresso brown, on every surface. Highest reward, highest risk. It needs decent natural light to read as dimensional rather than dim, and it needs the ceiling painted too, or the dark walls will feel like a box with a white lid. Bedrooms and bathrooms are the strongest candidates because they are small by nature and they benefit most from the jewel-box effect.
The Best First Rooms to Drench
Do not start with your living room. Start small, learn the technique, then decide if you want more. Here are the four best first rooms, each with an honest verdict.
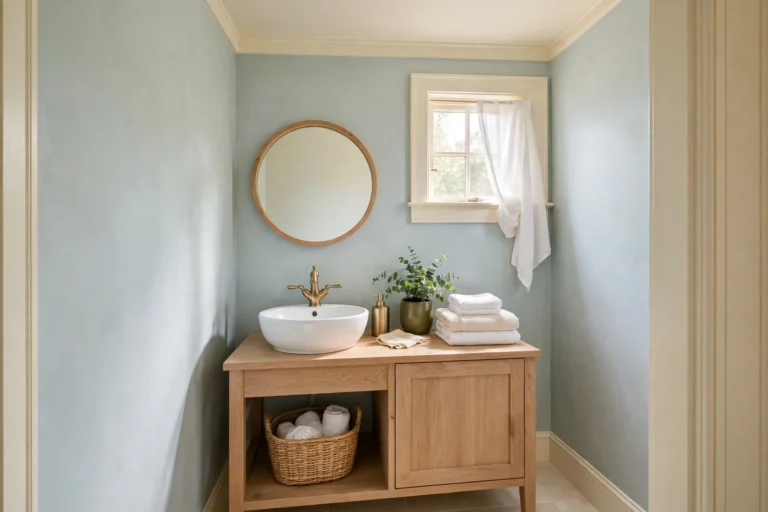
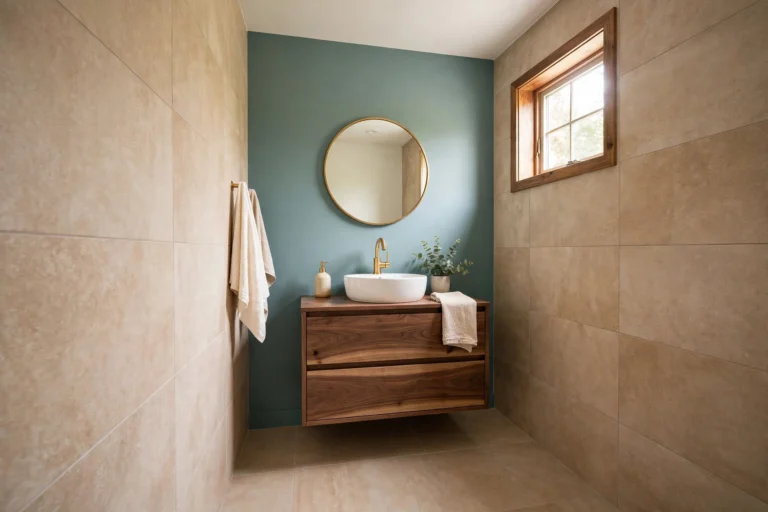
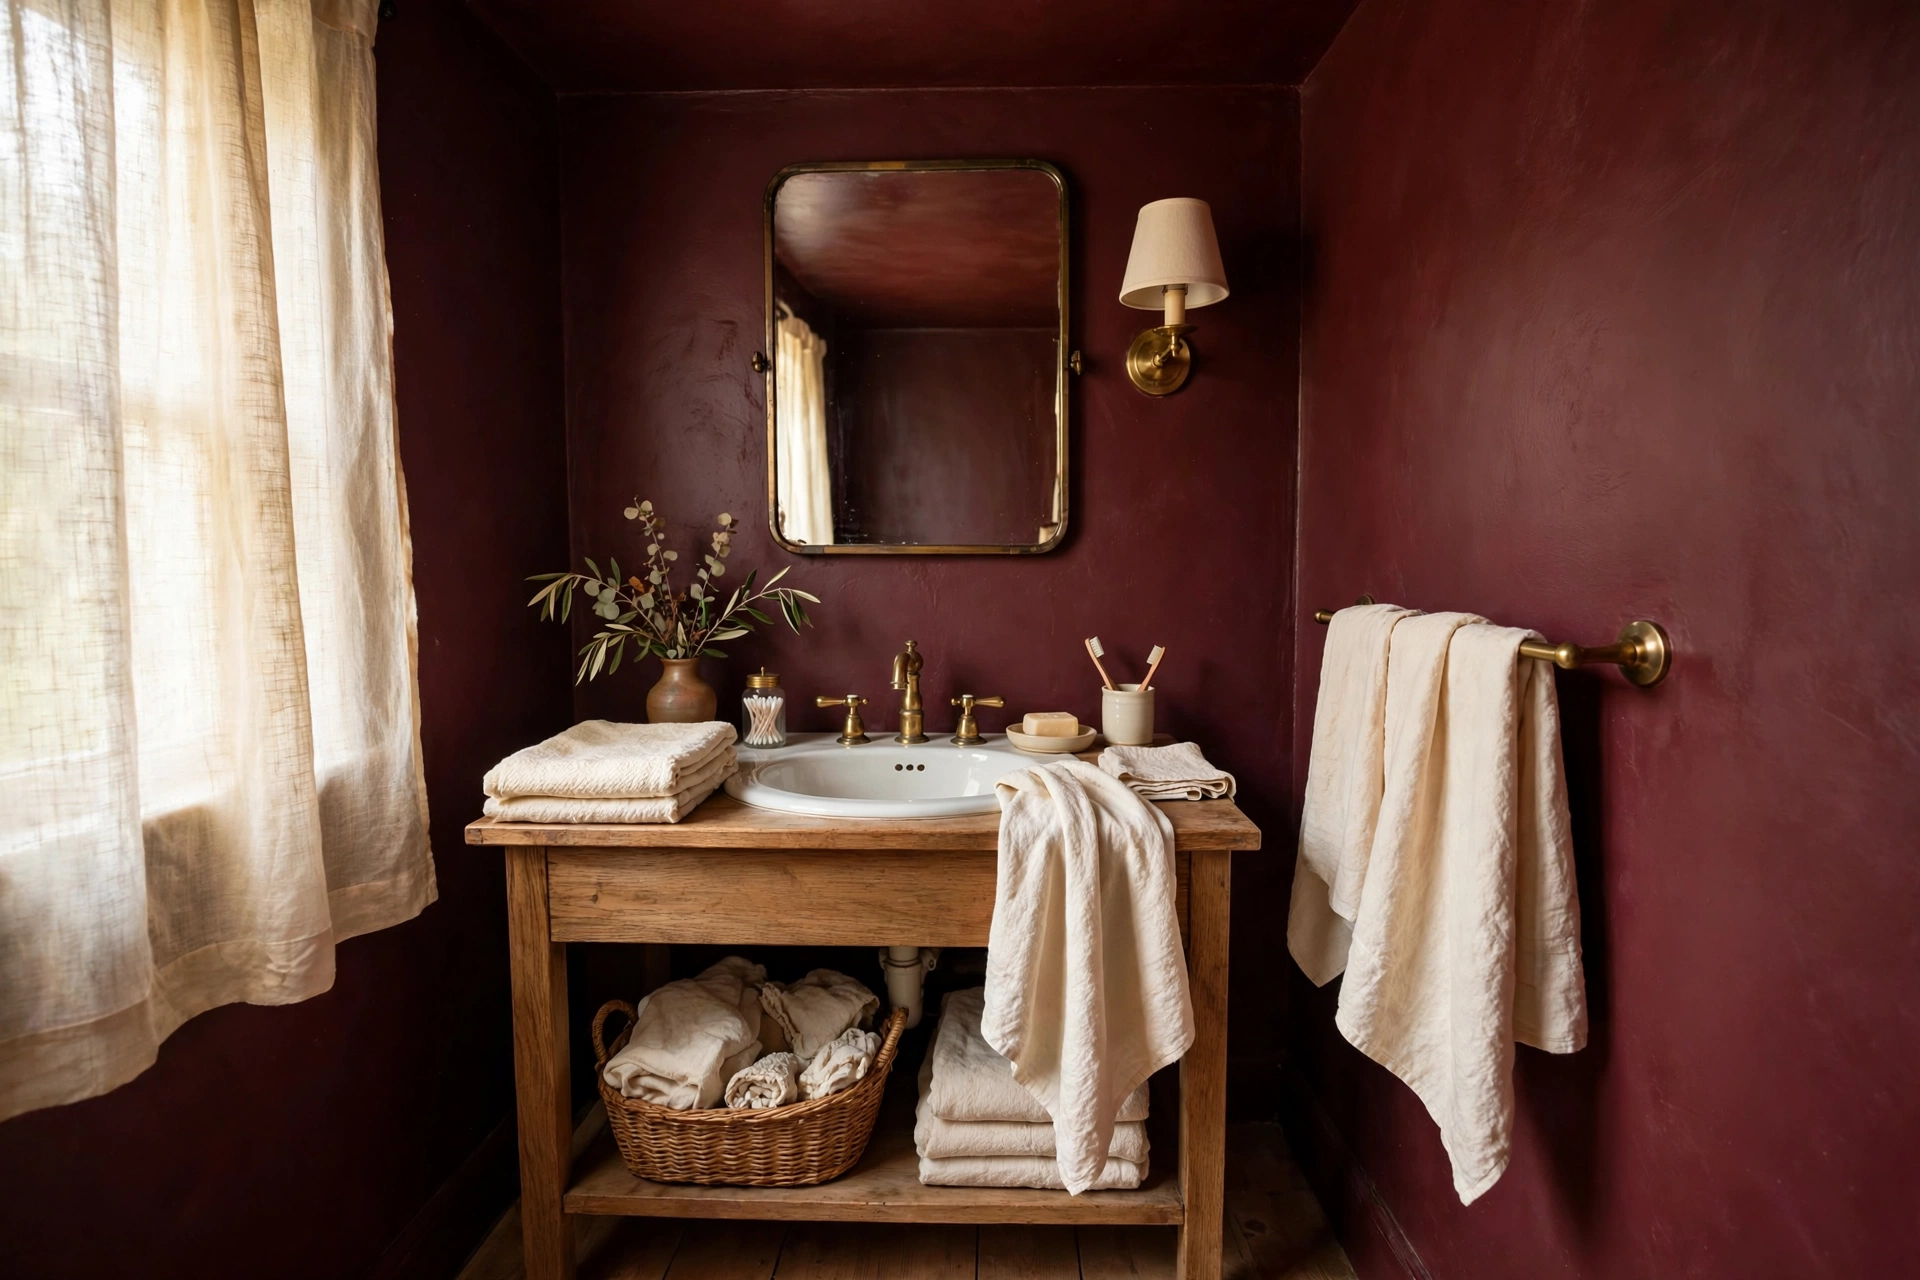
The small bathroom. Best for: first-timers. It is self-contained, so a bold choice cannot clash with the rest of the house, and it has the least wall area to paint. Main advantage: a dark drench turns a plain white box into a boutique-hotel bathroom for the price of one gallon. Watch out for: moisture. Use a satin or semi-gloss finish on the walls here, not flat paint, and ventilate while it dries. Verdict: the single best place to try drenching.
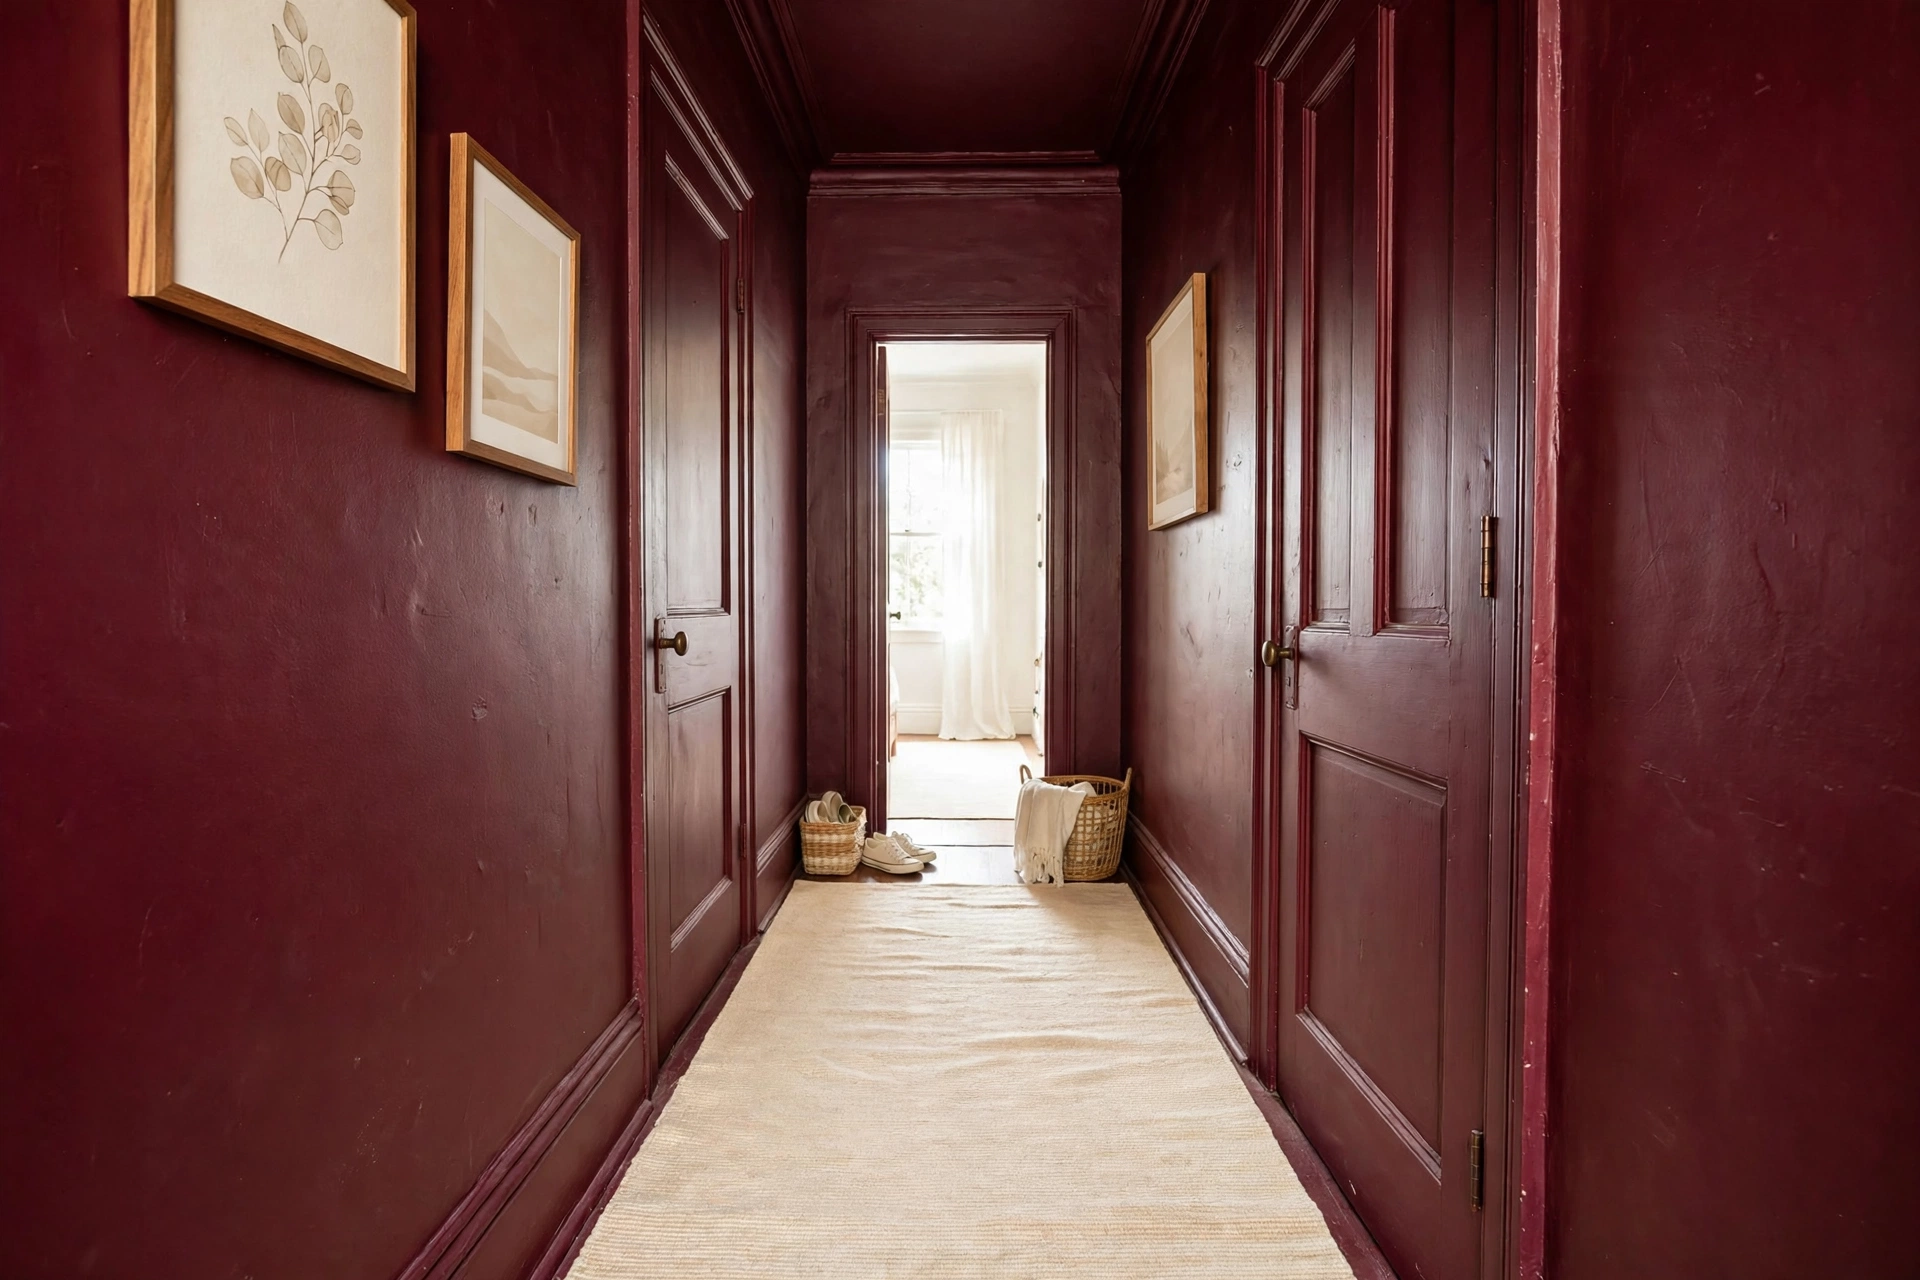
The hallway. Best for: choppy, door-filled spaces. Hallways have more trim and door frames per square foot than any other room, so they gain the most from removing contrast lines. Main advantage: three doorways stop reading as three separate frames and start reading as one smooth tunnel. Watch out for: low light. Pick a light or mid-tone register, not a dark one. Verdict: the most dramatic before-and-after per gallon of paint.
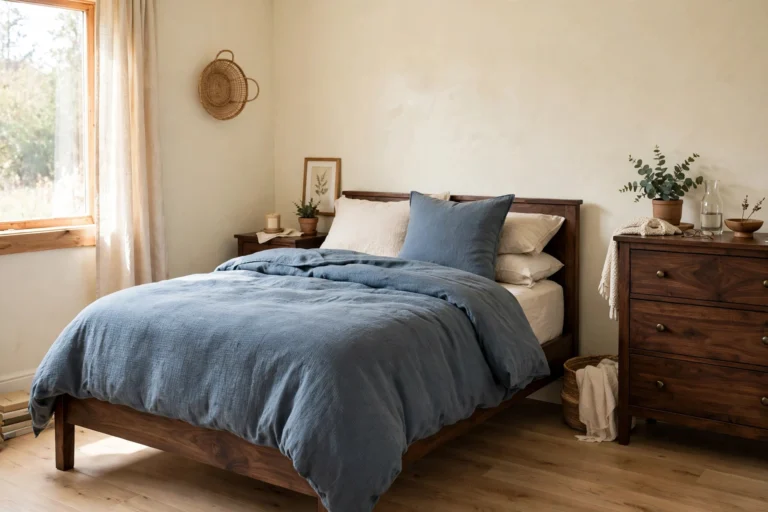
The small bedroom. Best for: cozy over spacious. A drenched bedroom feels like a cocoon, which is exactly what a bedroom should feel like. Main advantage: the ceiling disappears at night, so the room feels calm instead of cramped. Watch out for: going too dark in a north-facing bedroom. Test first, and read our north-facing paint guide before you commit. Verdict: the best dark-drench candidate in the house.
The home office corner. Best for: focus. One color behind your desk kills visual clutter without buying a single organizer. Main advantage: video calls look better because the background is one calm field of color. Watch out for: screen glare from a glossy finish. Keep the walls eggshell or matte. Verdict: a one-afternoon upgrade with a real payoff.
The Finish Formula, Surface by Surface
Sheen is the secret ingredient. When every surface shares one color, finish is what keeps the room from looking flat. Use this formula and do not improvise on it.
| Surface | Finish | Why |
|---|---|---|
| Walls | Eggshell or matte | Hides imperfections, soft light, easy to live with |
| Ceiling | Matte, same color or one shade lighter | No glare overhead, keeps the envelope soft |
| Trim and baseboards | Satin or semi-gloss, same color | Durable, wipeable, gives trim a crisp edge without a color break |
| Doors | Satin, same color | Handles fingerprints and scuffs from daily use |
| Bathroom walls | Satin | Moisture resistance matters more than a flat look |
Two rules sit behind the table. First, never use flat paint on trim or doors. It scuffs the first week and you cannot wipe it clean. Second, never leave the ceiling bright white while everything else is drenched. The white ceiling is the one contrast line that undoes the whole effect. If a full-strength ceiling color scares you, go one shade lighter on the same paint strip, not white. That is the compromise designers call color capping: a tonal gradient that deepens toward the floor instead of matching exactly.
How Much Paint (and Money) a 10×10 Room Takes
Here is the original math nobody else in the top results shows. Take a 10 by 10 foot room (3.05 by 3.05 m) with 8 foot (2.44 m) ceilings. The four walls measure 4 times 10 times 8, which is 320 sq ft (29.7 sq m). Subtract about 30 sq ft for one door and one window, and you have roughly 290 sq ft of wall. The ceiling adds 100 sq ft. Two coats on the walls is 580 sq ft, plus one coat on the ceiling is 100 sq ft, for 680 sq ft total. Paint covers about 400 sq ft per gallon per coat, the standard industry estimate, so 680 divided by 400 is 1.7 gallons. Buy 2 gallons. Trim and baseboards take about 40 linear feet of paint, which is one quart of satin in the same color, and if the job leaves you with a half-full can, here is what to do with leftover paint.
Time estimate: one weekend, about 6 to 8 hours of actual work spread over two days, plus drying time between coats. Day one is prep and the first coat. Day two is the second coat and the trim.
Cost breakdown (prices checked live, as of November 2026)
| Item | Price |
|---|---|
| 2 gallons BEHR Premium Plus, eggshell and flat (walls and ceiling) | $59.96 to $69.96 |
| 1 quart BEHR Premium Plus satin (trim and doors) | $12.00 to $16.00 |
| Roller kit: frame, 2 covers, tray | $15.00 to $20.00 |
| 2.5 inch angled brush | $8.00 to $12.00 |
| Painter’s tape, 1.88 inch by 60 yard roll | $7.00 to $9.00 |
| Drop cloth, 9 by 12 foot | $6.00 to $10.00 |
| Spackle and paintable caulk | $7.00 to $10.00 |
| Starter kit total | $114.96 to $146.96 |
Paint prices are Home Depot listings for BEHR Premium Plus (1 gallon listed at $34.98 in November 2026; the $29.98 to $35 range comes from an August to October 2026 price index, see the Behr vs Sherwin-Williams comparison). Sherwin-Williams Emerald lists at $101 to $106 per gallon and SuperPaint at $83 to $101, but Sherwin-Williams runs 30 to 40 percent off sales several times a year, so the shelf price moves. If you want a premium paint, wait for a sale weekend. A color drenching small room project does not need premium paint to look premium. It needs two even coats and the right sheen.
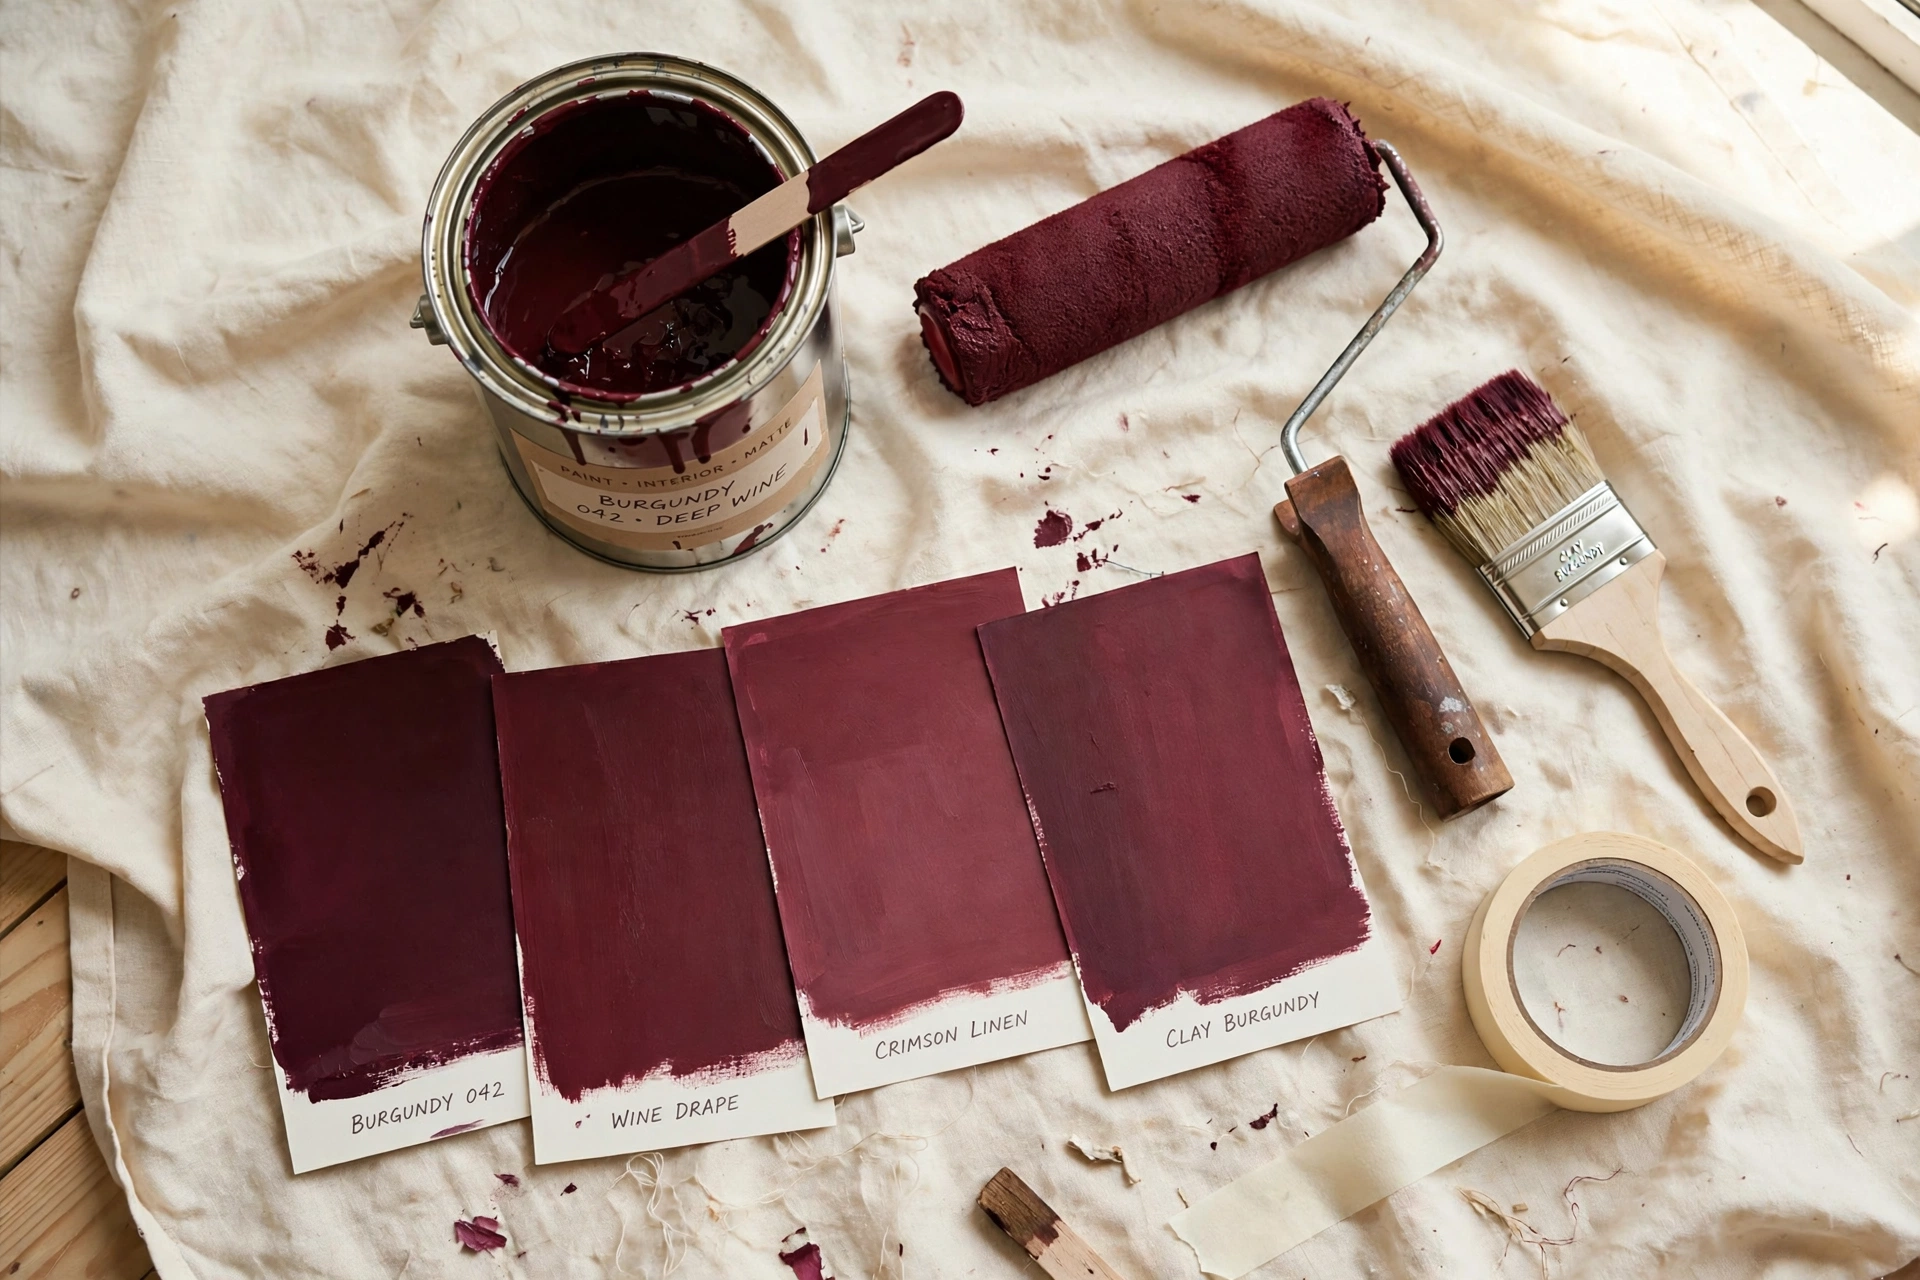
How to Color Drench a Room in 7 Steps
Materials: 2 gallons wall paint, 1 quart satin trim paint in the same color, primer if you are covering a dark color, 9 inch roller frame and covers, 2.5 inch angled brush, painter’s tape, drop cloth, spackle, paintable caulk, sanding sponge, stir sticks, paint tray and liners.
Step 1: Pick the room and the level. Choose a small room you can finish in a weekend. Any color drenching small room plan should start with the smallest room you have, not the one you love most. Then pick your level. Soft drench means walls plus trim only. Full drench adds the doors. Max drench adds the ceiling and built-ins. First-timers should stop at full drench and live with it for a month before deciding on the ceiling.
Step 2: Test a big swatch for 48 hours. Paint a large swatch, at least 2 by 2 feet (60 by 60 cm), on two different walls. Live with it for 48 hours across daylight and lamplight. Deep tones shift hard with orientation: a forest green that looks rich in a south-facing room can flatten to near-black in a north-facing one. Never judge a color from a paint chip.
Step 3: Prep like the finish depends on it, because it does. Fill holes with spackle, caulk the gaps where trim meets wall, sand lightly, wipe the dust off. Drenching shows every flaw because there is no white trim to distract the eye. Tape only what you are not painting. Remove outlet covers and switch plates.
Step 4: Paint the ceiling first. Always ceiling first, so drips land on unpainted walls instead of finished ones. Use a roller with an extension pole and work in 4 foot sections, keeping a wet edge. One coat is usually enough on a ceiling because it gets less wear and less light.
Step 5: Cut in, then roll the walls. Cut in the edges with the angled brush, about 2 to 3 inches wide, then roll the field while the cut-in is still wet so the two blend. Work one wall at a time, top to bottom. Two coats, with at least 2 to 4 hours of drying between them, or whatever your paint can says.
Step 6: Paint the trim and doors last. Switch to the satin quart. Doors come off their hinges if you can manage it, and since the door is now part of the wall color, pick the shade with the same care our door colors guide recommends for small homes. Baseboards and window trim get two thin coats, not one thick one. Thin coats dry harder and show fewer brush marks.
Step 7: Put the room back together and live with it for a week. Rehang the doors, refit the outlet covers, move the furniture back. Then stop judging it for seven days. A drenched room looks strange for the first day because your brain is still expecting the old contrast lines. By day three it reads as calm, and by day seven it reads as finished.
Mistakes to Avoid
Mistake 1: Leaving the ceiling white. This is the single most common failure. A white ceiling caps the room and cancels the envelope effect. Go one shade lighter if you must, but never white.
Mistake 2: Using one flat finish everywhere. Flat paint on trim scuffs in a week, and flat walls in a bathroom hold moisture. The finish table above exists for a reason. Vary the sheen, keep the color.
Mistake 3: Choosing an accent wall instead. An accent wall adds a contrast line to a room that is already fighting for cohesion. If you want drama, drench the whole room in a deeper tone. Half measures give you the worst of both ideas.
Mistake 4: Skipping the 48-hour swatch test. A color that looks perfect under store lights can turn muddy or cold on your wall. The swatch costs one sample pot. Repainting a whole room costs a weekend.
Mistake 5: Drenching a room with no light plan. Dark colors eat light. If the room has one small window, add a lamp or a lighter rug before you paint, not after. Our ceiling design guide has ideas for bouncing light around a low room, and the same thinking applies here.
What to Skip
Skip the radiators unless you have the right paint. Standard wall paint on a radiator yellows and peels with heat. Either leave the radiator white or buy a heat-resistant radiator paint in a matching tone.
Skip picture rails and period features. If your room has a picture rail, cornice or paneling you love, let it stay a feature. Painting over fine period detail to chase a trend is the one drench you may regret at resale.
Skip the dark dado band. A horizontal stripe of strong color halfway up the wall cuts the room in half and pulls the ceiling down. The whole point of drenching is removing horizontal lines, not adding one.
Skip double drenching on your first try. Double drenching uses two related colors, one on the walls and ceiling, another on the trim. It looks great in magazines and it doubles the decisions you have to get right. Master one color first.
Skip painting the floor. Some guides suggest carrying the color onto the floor. Floor paint wears fast in traffic paths and it is miserable to reverse. A rug in a tone from the same color family gives you the same grounding for a tenth of the effort.

A Note for Renters
Color drenching is a permanent change to the paint, so renters need to check the lease before opening a can. A color drenching small room project in a rental is only worth starting after written permission is in hand. Most leases allow painting with written permission, and many landlords say yes to a tasteful repaint because it saves them a refresh between tenants. Ask in writing, keep the answer, and note the exact paint name and color code so you can match it on move-out. If permission is refused, do not paint anyway. The deposit risk is real: a full professional repaint of one room runs $200 to $400, and that comes straight out of your deposit. A softer renter-safe route is the soft drench on one room you own the furniture in, or peel-and-stick wall treatments that mimic the effect without touching the paint. Our renter-friendly wall upgrades guide covers the damage-free options in detail.
Frequently Asked Questions
Does color drenching make a room look bigger or smaller?
It usually makes a room look bigger, because a color drenching small room project removes the contrast lines that tell your eye where the room ends. The effect only works as a full envelope. One dark wall with white trim and a white ceiling does the opposite and makes the room feel smaller.
Do you paint the ceiling the same color when color drenching?
Yes, for the true effect. The ceiling is one of the largest surfaces in the room, and leaving it white creates a hard visual stopping point that caps the space. If the full-strength color feels too heavy overhead, use the same color one shade lighter, never bright white.
What paint finish should you use for color drenching?
Use eggshell or matte on the walls, matte on the ceiling, and satin or semi-gloss on the trim and doors, all in the same color. The sheen differences give the room subtle depth without breaking the color match. In bathrooms, use satin on the walls for moisture resistance.
Is color drenching good for small bedrooms?
Yes, small bedrooms are one of the best rooms to drench. The cocoon effect suits a bedroom, and removing the white trim lines makes the walls feel less boxy. Pick a mid-tone or a warm dark shade, test a large swatch for 48 hours first, and avoid cool dark tones in a north-facing bedroom.
How this was made: keyword research and SERP gap check first, then the article, with paint prices live-checked in November 2026 and the paint math computed from a 10 by 10 foot room.
Sources: paint prices from PaintDeck’s Behr vs Sherwin-Williams comparison (October 2026 list prices) and the Home Depot listing for BEHR Premium Plus; the 149% trend figure from Google Trends data via Zillow (October 2025); the color drenching technique from The Decorholic’s Color Drenching 101 guide.