Budget Home Office Makeover Under $100: 10 Ideas That Make a Tiny Desk Zone Feel Designed
A budget home office makeover does not need a new desk, a new chair, or a spare room: a diy wall mounted folding desk for small rooms folds flat against the wall when you are done. It needs seven small fixes that add up to $86.98, a tape measure, and one weekend. That is the whole plan in this post: 10 ideas, an itemized cost table with live-checked prices, and desk-zone fit math from OSHA’s own workstation checklist. The $86.98 total covers a lamp, a shelf, a pegboard, a cable kit, a laptop stand, a paint sample, and a plant. Everything else in the plan is free, and every idea carries a deposit-risk rating, so renters can see at a glance what is safe to do.
Here is the opinion up front. Buying a new desk is the most overrated move in this niche. Your current desk already holds a laptop exactly as well as a $300 one does. The most underrated moves are a $15 lamp and a $12 cable kit, because light and hidden cables change how a corner feels more than any furniture swap. And the thing most guides get wrong is the budget itself. They price a makeover from an empty room, so their totals land at $290 to $350, or even $300 to $1,500. This budget home office makeover assumes you already own a desk and a chair, and prices only the upgrade. That is why it fits under $100 while theirs does not.
What does a budget home office makeover cost?
A budget home office makeover costs $86.98 when you upgrade a desk zone you already own, and $290 to $350 when you build a whole setup from scratch. The gap is furniture. A from-scratch build has to buy a desk (about $29 for an IKEA LAGKAPTEN top with legs), a secondhand ergonomic chair ($50 to $150), and a used monitor ($50 to $75), which is how one detailed budget guide reaches a $290 to $350 total. A full DIY makeover with new furniture runs $300 to $1,500, according to a cost breakdown that prices a basic refresh at $150 to $400 and a moderate makeover at $500 to $900. Our plan skips all of that. You keep your desk and your chair, and the $100 buys only the seven things that change how the zone works and looks.
| Item | Price | Price checked |
|---|---|---|
| IKEA TERTIAL desk lamp | $15.00 | Workwell Setup, October 2026 |
| IKEA LACK wall shelf | $9.99 | Workwell Setup, October 2026 |
| IKEA SKADIS pegboard with starter set | $20.00 | Workwell Setup, October 2026 |
| Cable management kit (sleeve, clips, ties) | $12.00 | Workwell Setup, October 2026 |
| BESIGN laptop stand | $16.99 | StarterPacks, checked November 2, 2026 |
| Behr 8 oz paint sample pot | $5.00 | Home Depot $4 to $5 range, 2026 |
| Snake plant | $8.00 | Workwell Setup, October 2026 |
| Total | $86.98 | $13.02 left in the $100 budget |
Prices are as of November 2026, and each one comes from a published listing, not a guess. The total is $86.98, which leaves $13.02 spare. Keep that spare for the one thing your room actually needs, or put it toward a lumbar cushion next payday. Time estimate: one weekend, about 4 to 5 hours total. Saturday takes about 3 hours (measure, mount the shelf and pegboard, run the cables). Sunday takes 1 to 2 hours (paint the accent patch, add the plant, do the first reset). No renovation, no electrician, no new furniture.
How do you measure a desk zone before you buy anything?
A real home office needs about 6 to 7 square feet, not a spare room. A 40 by 24 in (102 by 61 cm) desk covers 6.7 sq ft (0.62 sq m), and that is enough for a laptop, a lamp, and a notebook. Measure three things before you spend anything: the width of wall you can spare without blocking a walkway, the depth you can afford, and the space behind the chair. You want about 30 in (76 cm) behind the desk so you can push back and stand up. Then check the four numbers below. They decide every purchase in this plan.
Screen distance: 20 to 40 in (51 to 102 cm). OSHA’s computer workstation checklist puts the screen directly in front of you, at least 20 in (51 cm) from your eyes, with a preferred range of 20 to 40 in (51 to 102 cm). The top of the screen sits at or slightly below eye level, and the center sits 15 to 20 degrees below your straight-ahead gaze. A laptop flat on a desk fails this test for almost everyone, which is why the laptop stand is the first buy in the plan.
Chair push-back: 30 in (76 cm). You need about 30 in (76 cm) of clear floor behind the desk chair. Less than that, and you will scrape the wall every time you stand, or you will sit sideways and twist your back. If your corner cannot give you 30 in, pick a smaller desk, not a smaller chair.
Shelf height: 18 in (46 cm) above the desk. Mount the lower shelf about 18 in (46 cm) above the desk surface. That is high enough to clear your head when you lean forward, and low enough to reach a book from your chair. The LACK shelf in this plan is rated for about 11 lb (5 kg) when mounted into studs, which is enough for books and a plant, not for a printer.
Leg clearance: 20 to 28 in (51 to 71 cm). OSHA gives 20 to 28 in (51 to 71 cm) of clearance under the desktop for seated work. Check that your knees fit with the cable tray mounted. If the tray hangs too low, move it to the back edge of the desk, not the middle.
If you want more layout options before you commit to a spot, our home office layout ideas show 10 small-room arrangements, including the corner setup this plan uses. Pick the corner first, then buy. Never the other way around.
10 budget home office makeover ideas that change a tiny desk zone
These 10 ideas are the whole makeover. Each one lists what it costs, who it suits, what to watch for, and a verdict, plus a deposit-risk rating from 1 (nothing a landlord can object to) to 5 (needs written permission). If you only buy the seven items in the cost table, you can do all 10 ideas, because three of them cost nothing at all. For more ways to stretch a small workspace on a tight budget, our budget home office ideas for small spaces cover 12 ideas that pair well with this plan.
1. Raise the screen to eye level
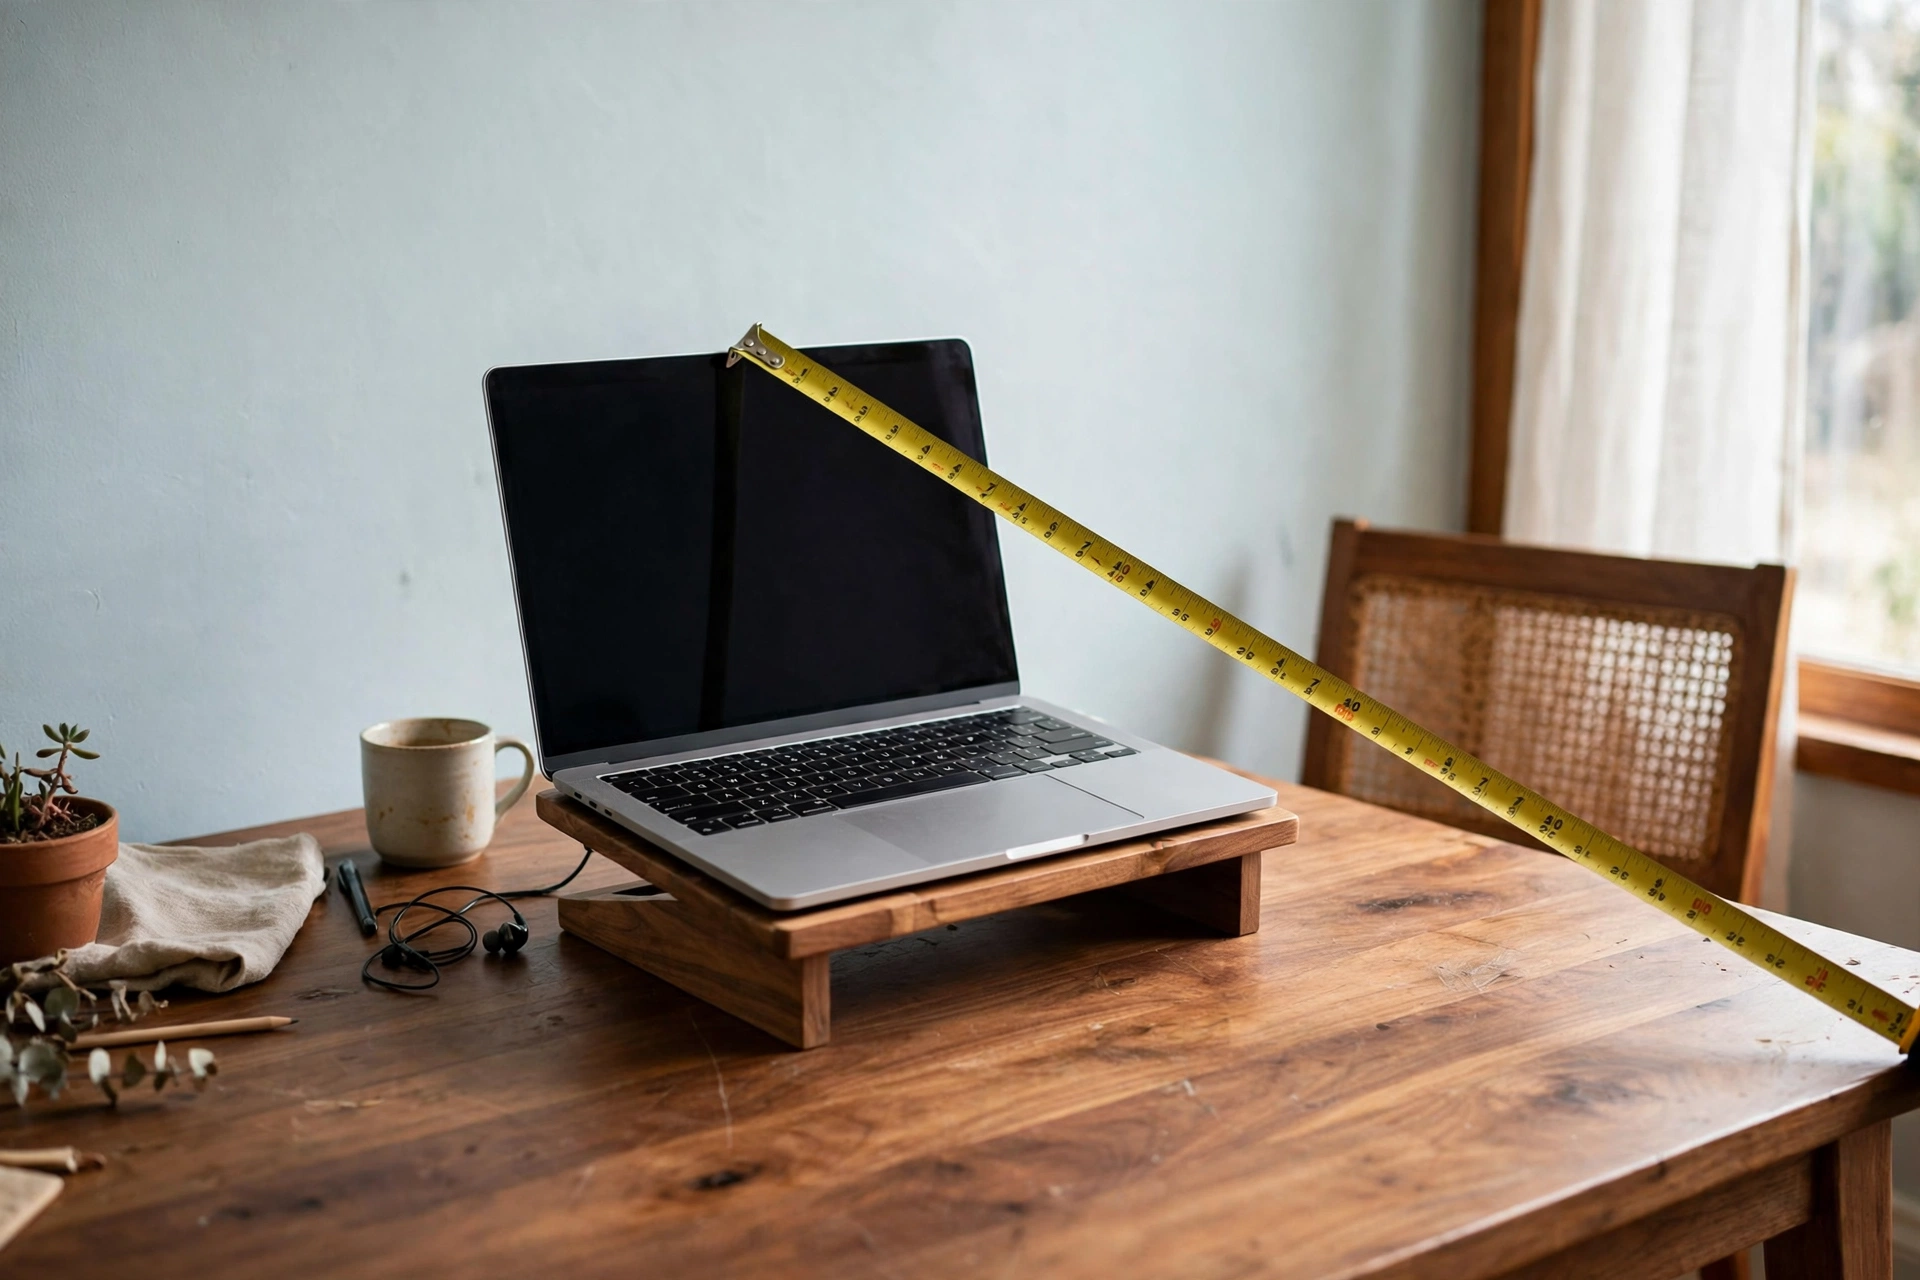
A laptop flat on a desk puts the screen 6 to 8 in (15 to 20 cm) below your eyes, and your neck pays for it by lunchtime. A $16.99 laptop stand lifts the screen so its top edge sits at or slightly below eye level, which is exactly what OSHA asks for. Add the external keyboard and mouse you already own, and your elbows sit at 90 degrees. If you have no stand yet, a stack of books does the same job for free while you decide.
Best for: anyone who works from a laptop all day. Main advantage: the single biggest posture fix in this plan, for the price of two coffees. Watch out for: a stand raises the keyboard too if you type on the laptop itself, so use a separate keyboard. Verdict: buy this first, before anything decorative. Deposit risk: 1/5.
2. Light the desk from the side
Most tiny offices have one overhead light, and it casts shadows across the keyboard while leaving your face in the dark on video calls. A $15 clip-on lamp, clamped to the desk edge, aims light exactly where you type and where your face is. Put the desk perpendicular to the window so daylight lands on your face from the side, and let the lamp cover the evenings. A 5000 to 6500K daylight bulb, about $5 to $8 for a multipack, keeps your face from looking orange on calls.
Best for: dim corners, basement desks, and anyone on video calls. Main advantage: the cheapest way to look professional on camera. Watch out for: never point the lamp at the screen, and never sit facing the window, because glare beats brightness every time. Verdict: the highest-impact $15 in this plan. Deposit risk: 1/5.
3. Hide the cables
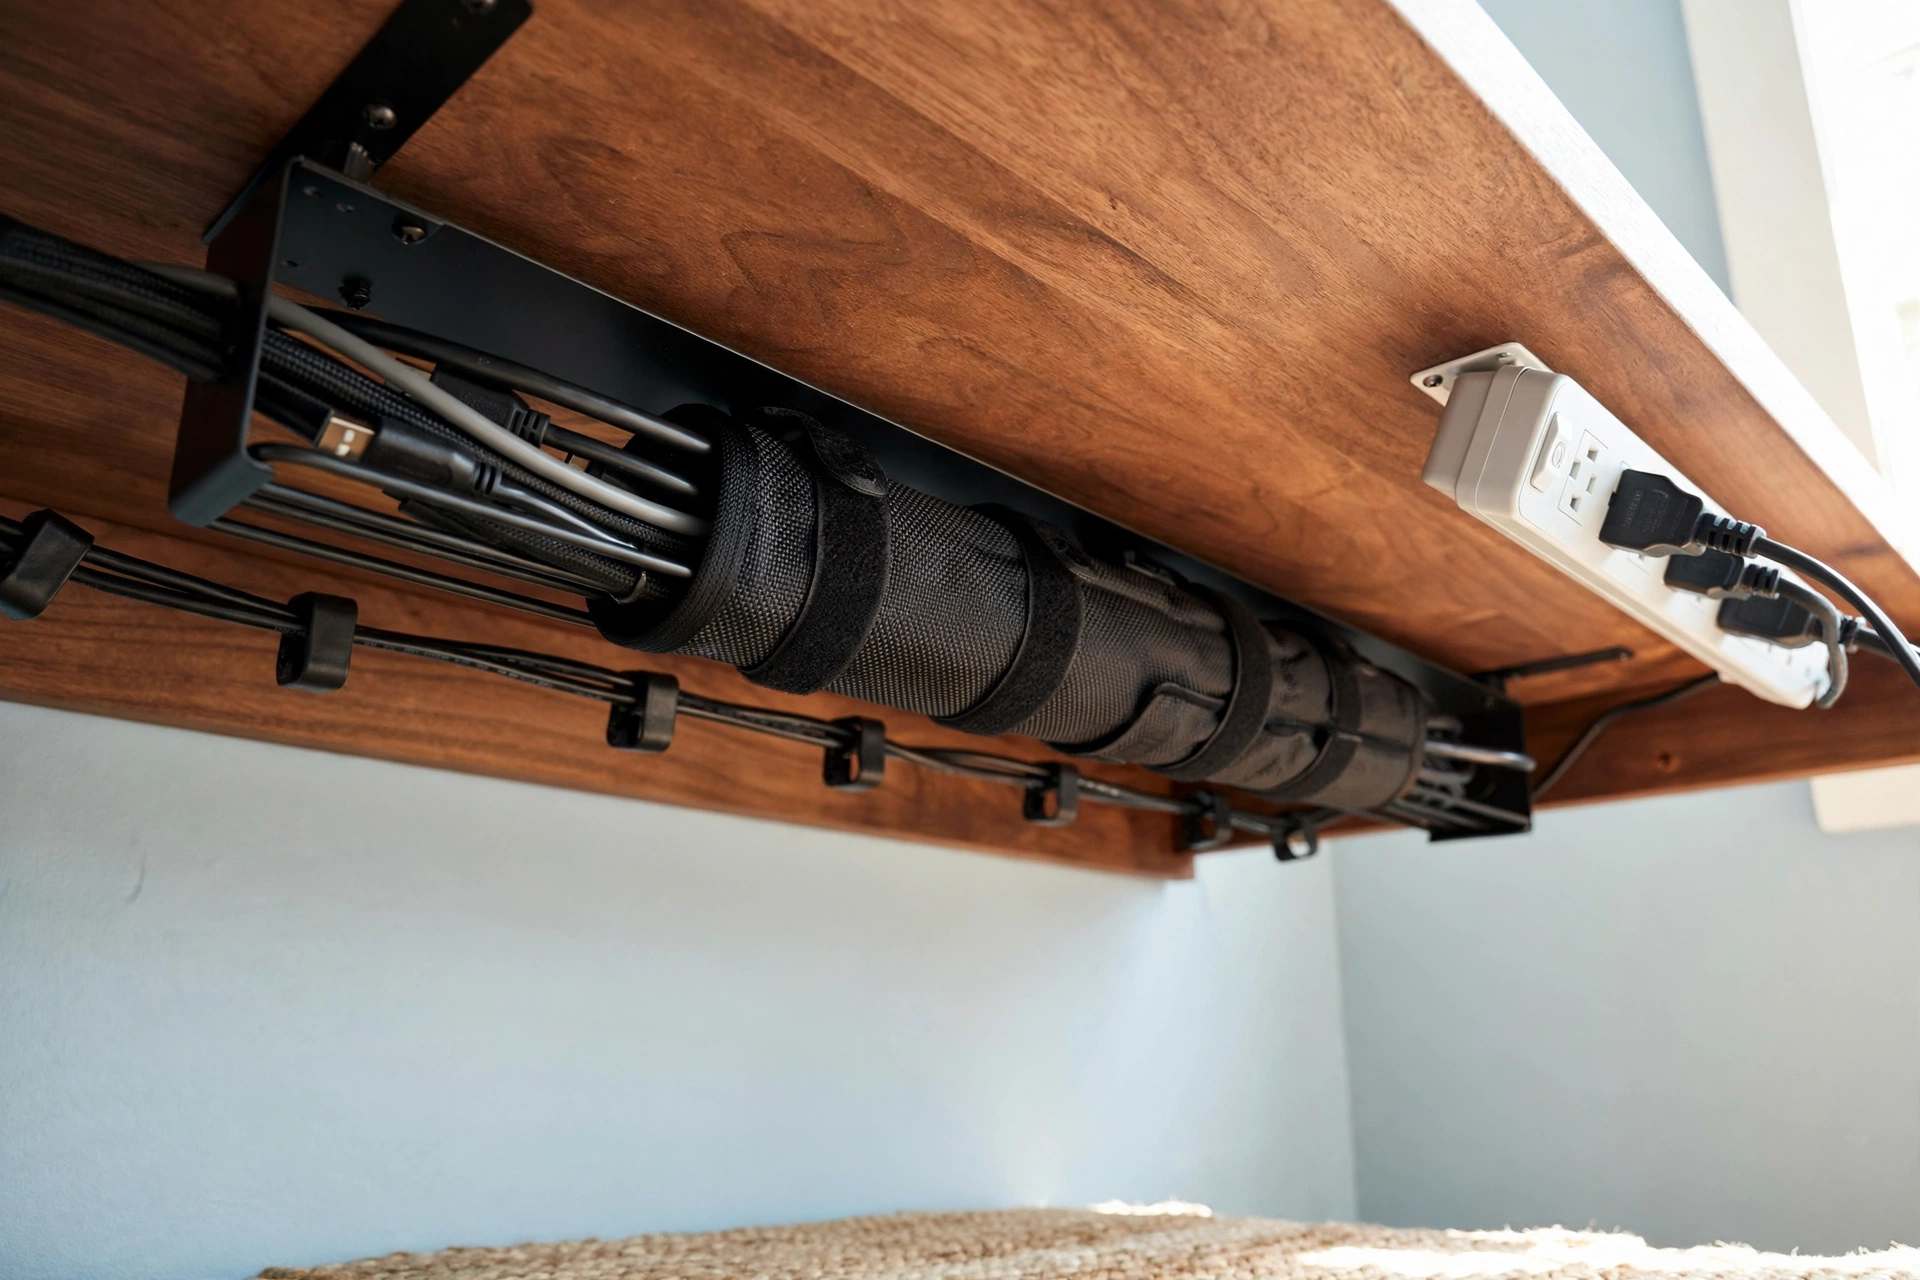
Visible cables dominate a small desk because there is nowhere else for the eye to go. A $12 kit, a sleeve plus adhesive clips plus ties, hides the whole nest in about 20 minutes. Mount the power strip under the desk edge with adhesive mounts, bundle the cables in the sleeve, and clip the phone charger where your hand lands. The desk instantly looks like it cost three times as much, and you stop kicking a loose power strip underfoot.
Best for: anyone with a laptop charger, a phone charger, and a lamp sharing one outlet. Main advantage: 20 minutes of work, and the desk looks finished. Watch out for: adhesive mounts can peel paint on a hot wall, so test one first and keep the strip reachable, never buried behind the desk. Verdict: do this on Saturday morning, before the shelf goes up. Deposit risk: 1/5.
4. Add one floating shelf above the desk
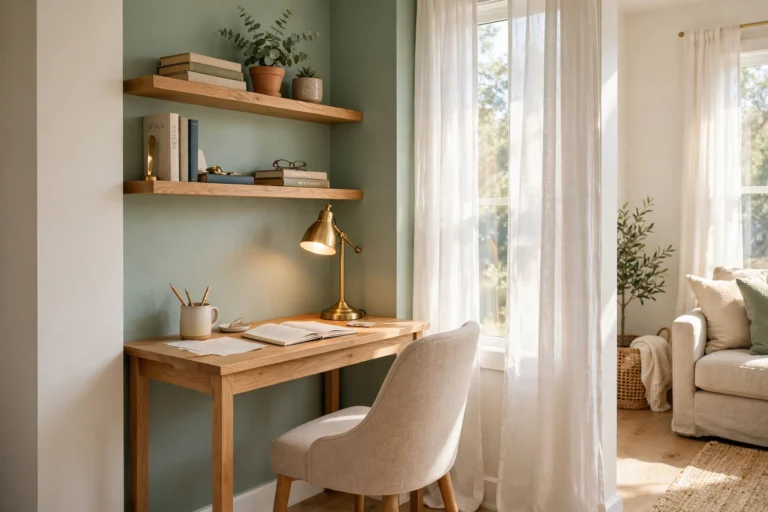
Small rooms punish horizontal thinking, and the wall above your desk is almost certainly empty. One $9.99 LACK shelf holds books, a plant, and a storage box in zero floor space. Mount it about 18 in (46 cm) above the desk, far enough to avoid hitting your head and close enough to reach from your chair. Remember the load limit: about 11 lb (5 kg) when mounted into studs, which covers books and decor, not a printer.
Best for: desks with no storage and walls with nothing on them. Main advantage: storage that takes no floor space at all. Watch out for: the 11 lb rating assumes studs. Into drywall alone, the same shelf holds far less, so find the studs with a cheap stud finder or knock and listen. Renters who cannot drill can use heavy-duty adhesive strips, but only for very light loads, and never over the bed or the chair. Verdict: the best $10 of storage in this plan. Deposit risk: 2/5 with screws, 1/5 with strips.
5. Pegboard the wall zone
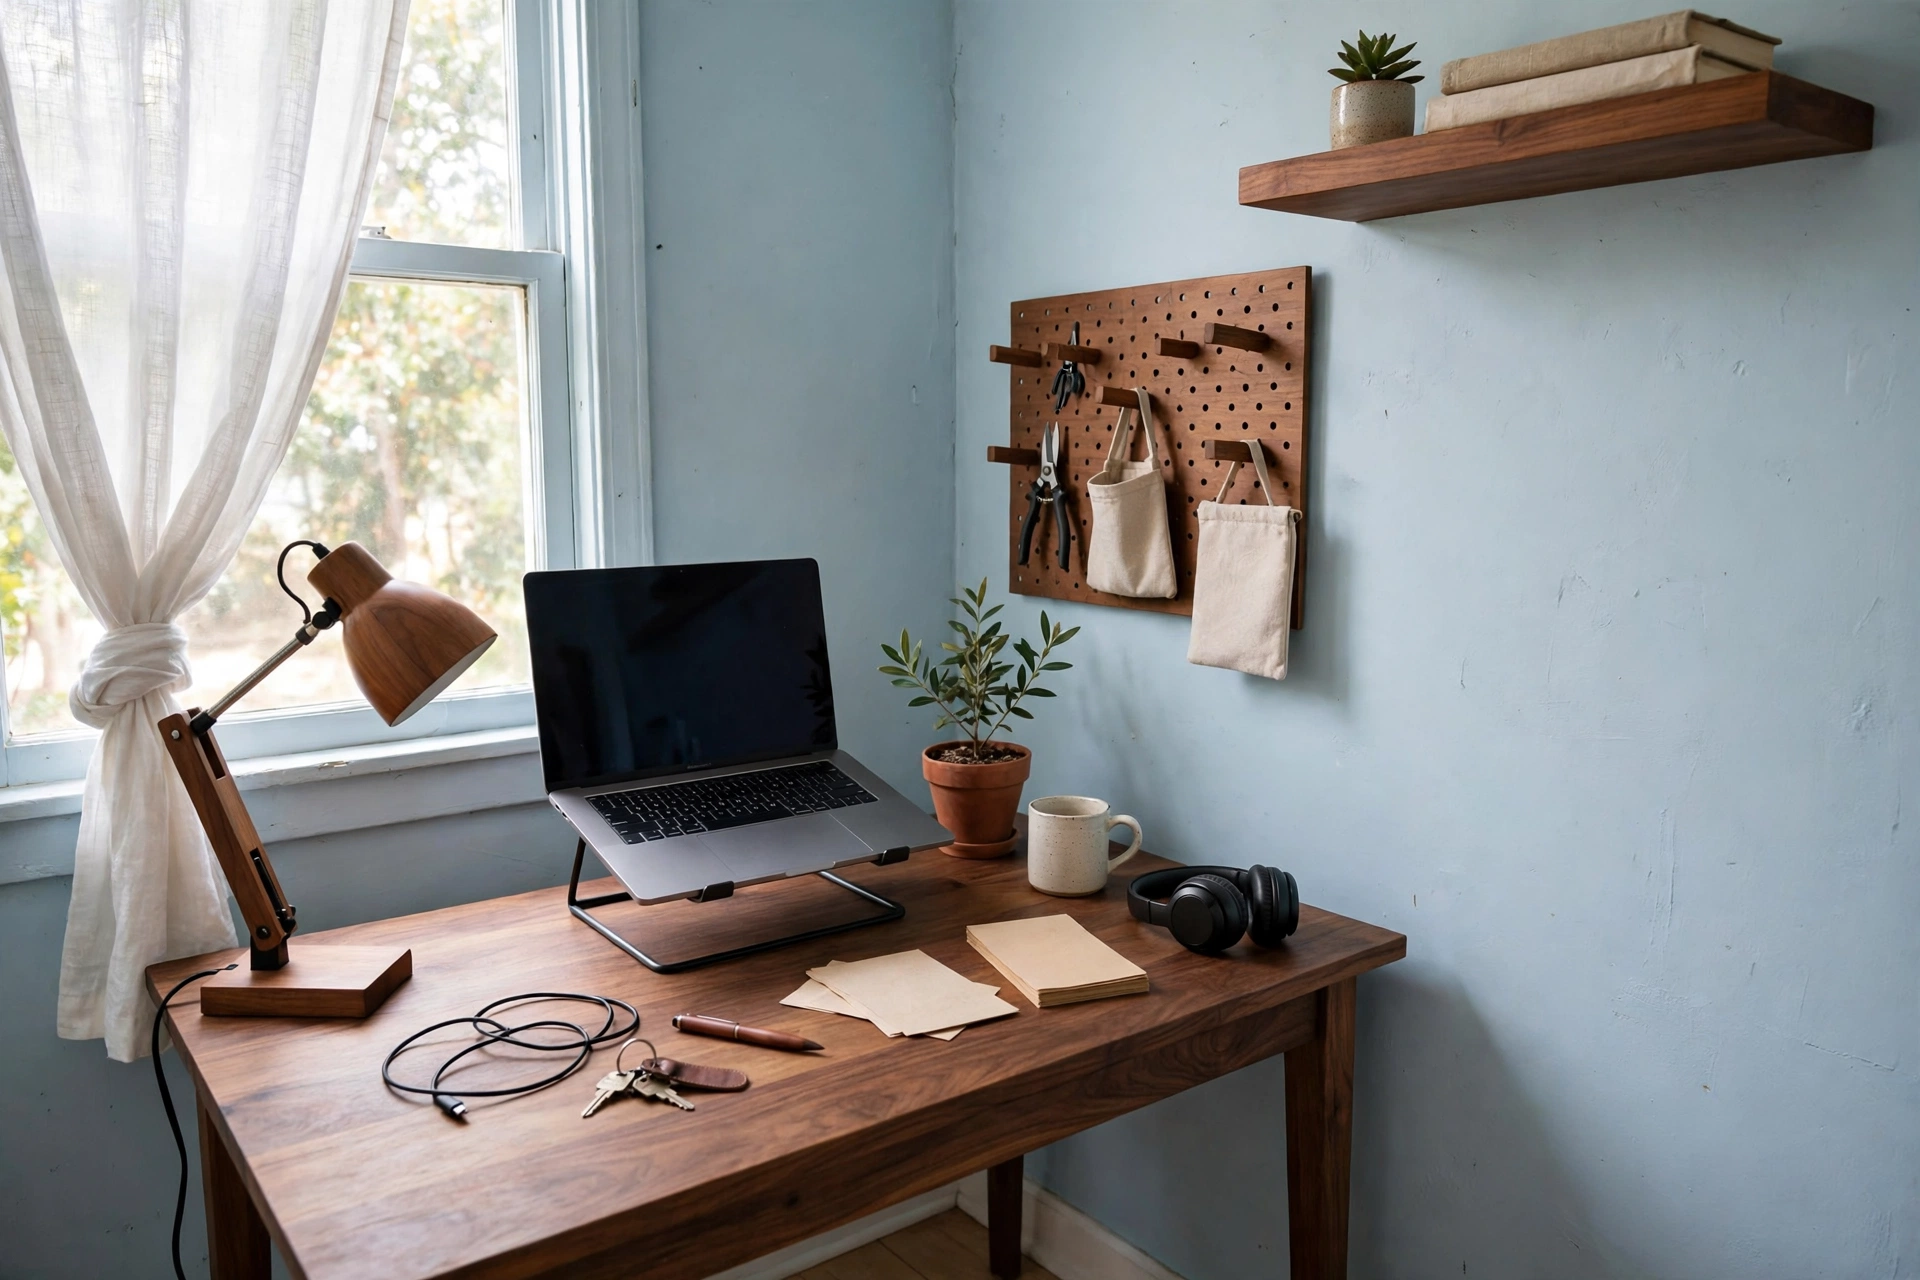
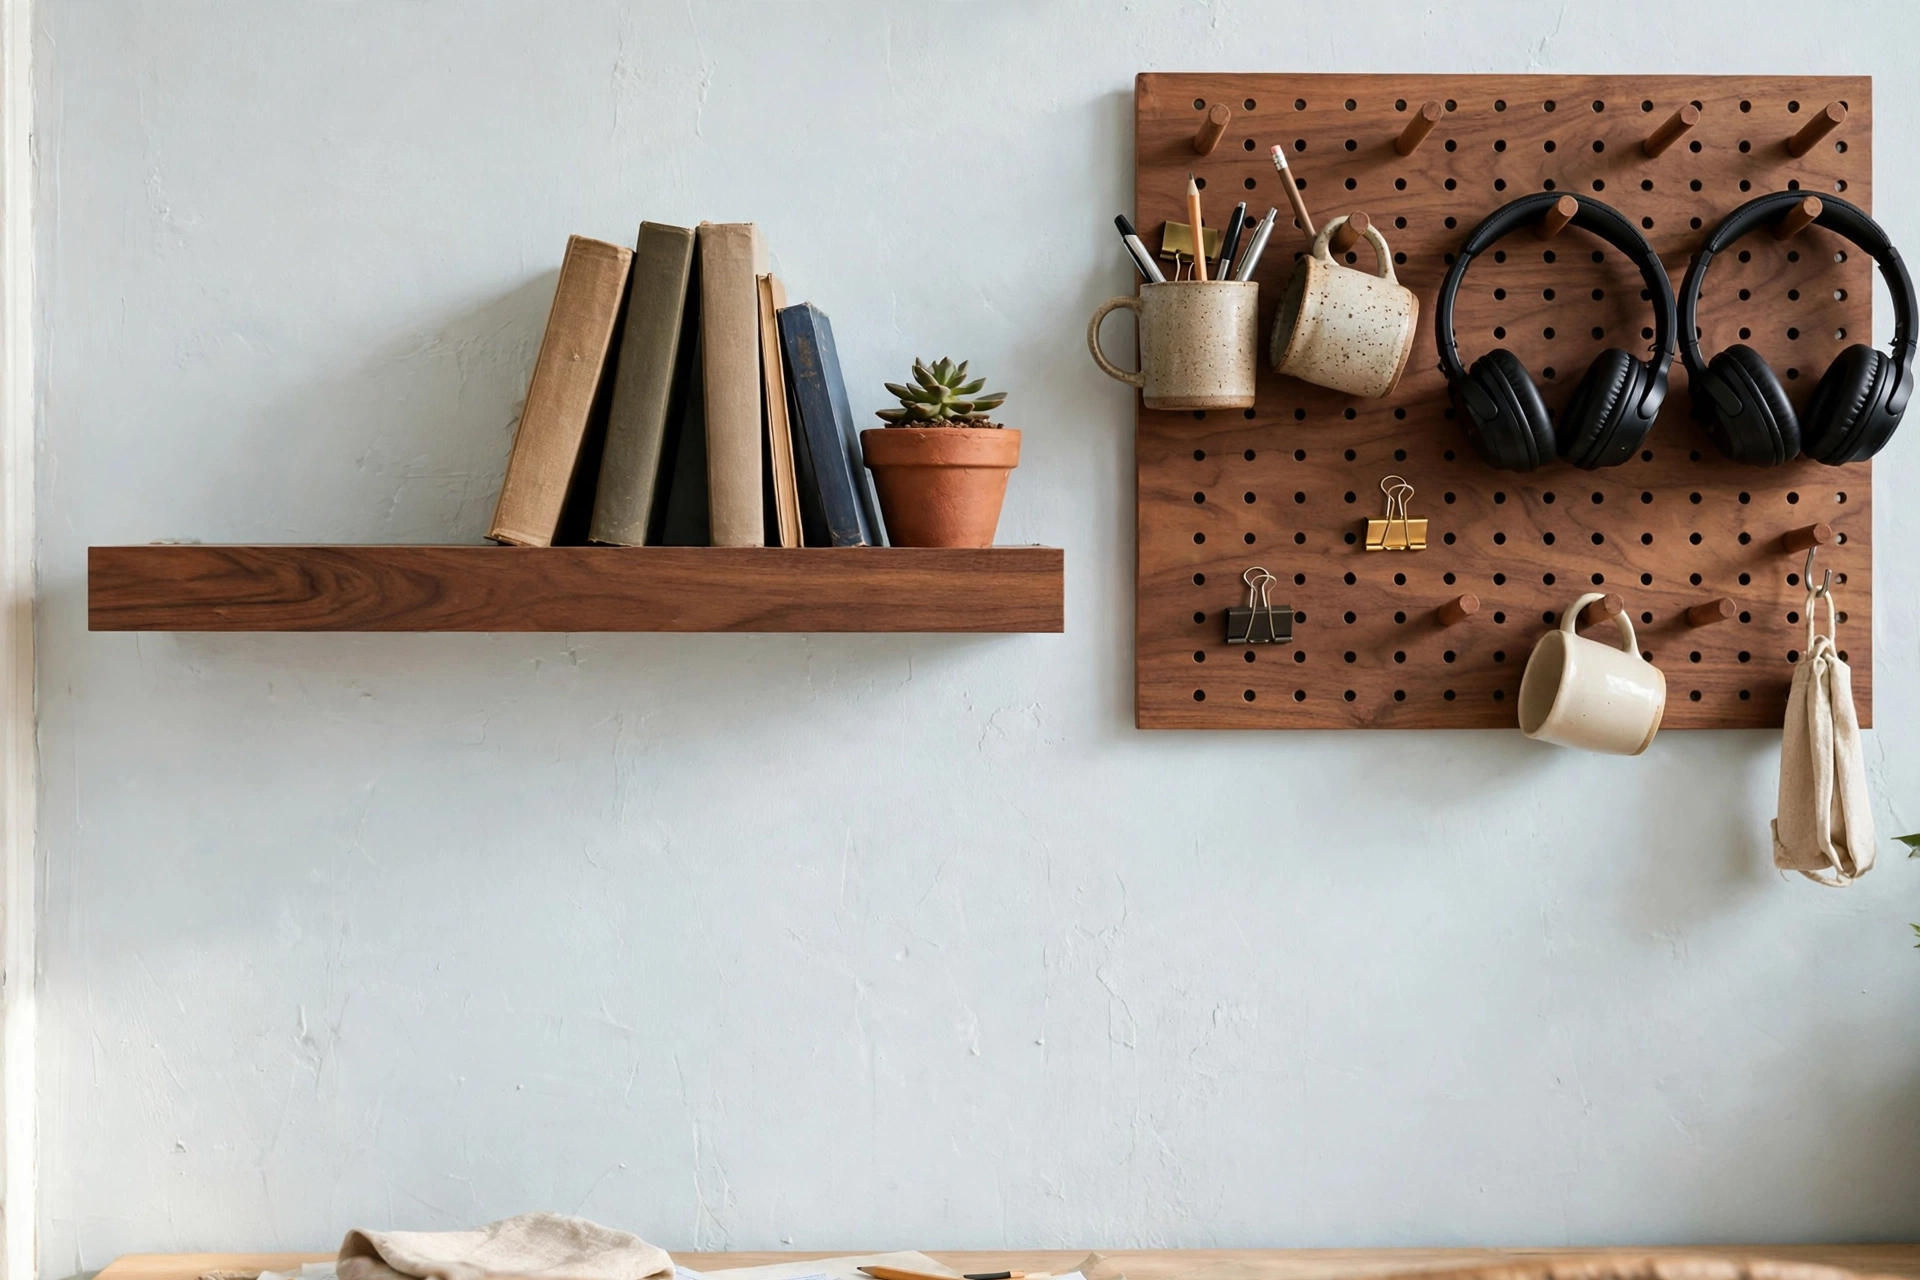
A $20 SKADIS pegboard with a starter set of hooks and cups turns the blank wall beside your desk into storage you can rearrange in seconds. Headphones, cables, scissors, and small tools hang within arm’s reach, and the desk surface stays clear. The board in this plan is 14 1/4 by 22 in (36 by 56 cm), and the starter set includes 7 accessories, so it is useful the day it goes up. A freestanding pegboard exists too, at about $29.99, if your lease bans wall fixings entirely.
Best for: people whose desk surface disappears under small stuff. Main advantage: everything visible, everything reachable, nothing on the desk. Watch out for: do not overload one side, or the board tilts, and keep heavy items low. Verdict: the most flexible storage in the plan. Deposit risk: 2/5 wall-mounted, 1/5 freestanding.
6. Paint one accent wall with a sample pot
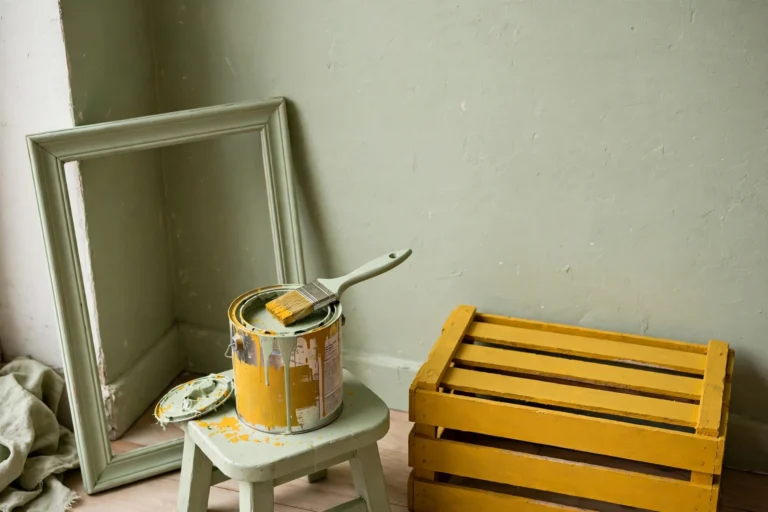
A full gallon of paint costs $60 to $150 and covers a whole room you do not need to repaint. An 8 oz sample pot costs about $5 and covers the patch of wall behind your desk, which is the only patch anyone sees on a video call. Pick a pale powder blue or a soft sage, paint one even coat, and the corner stops looking like a desk shoved against a wall. The sample pot is also the honest way to test a color: live with the patch for a week before you commit to a bigger tin.
Best for: renters whose lease allows painting with repainting at move-out, and owners who want a test patch. Main advantage: the biggest visual change per dollar in this plan. Watch out for: check the lease first. If painting is banned, use peel-and-stick color swatches at about $2 each instead, and never paint over a textured wall without asking. Verdict: do it if your lease allows, skip it if it does not. Deposit risk: 3/5, ask first.
7. Fix the chair you already own
A new ergonomic chair is the most expensive item in any office, and it is also the easiest to skip. A memory-foam lumbar cushion costs about $15 to $25 and turns a dining chair into a work chair, because most back pain from cheap chairs is really missing lumbar support. If even that is too much this month, roll a bath towel tight, secure it with a rubber band, and place it at your lower back. Physical therapists have recommended that trick for decades, and it costs nothing.
Best for: anyone working from a dining chair or a basic task chair. Main advantage: comfort for $20 instead of $150. Watch out for: sit in a secondhand chair before you buy it, and check that the gas cylinder holds height. Verdict: the cushion is the best $20 comfort buy; the towel is the best free one. Deposit risk: 1/5.
8. Give the zone a boundary
A desk in the corner of a bedroom never feels like an office until something marks where work ends. A rug under the desk, a folding screen, or a curtain on a tension rod draws that line for $0 with things you already own. The boundary matters twice: it tells your brain when the workday starts, and it gives video calls a backdrop that is not your bed. A 4 by 4 ft (122 by 122 cm) corner is enough for an L-shaped arrangement with two walls for shelves and a pegboard.
Best for: bedroom-corner offices and studio apartments. Main advantage: free, and it fixes the “I can never switch off” problem. Watch out for: a tension rod needs a solid frame to grip, and a rug under a rolling chair needs a hard floor or a chair mat. Verdict: the most underrated idea in this plan. Deposit risk: 1/5. Our studio apartment home office setups show 10 ways to draw this boundary in a studio.
9. Add one plant
A pothos or snake plant costs $5 to $10, survives neglect, and makes a corner feel like a room instead of a workstation. Put it on the shelf from Idea 4, where it is out of the way of your elbows and in the path of the window light. One plant is enough. Three plants turn a desk zone into a nursery, and then you are watering plants instead of working.
Best for: bare corners that feel cold on camera. Main advantage: the cheapest mood upgrade available. Watch out for: keep it off the desk surface if your desk is already crowded, and check that the pot cannot drip onto the laptop. Verdict: buy one, not three. Deposit risk: 1/5.
10. The 5-minute end-of-day reset
A small space only works if it resets to zero daily, because clutter compounds fastest where there is no room to ignore it. Every evening, clear the desk surface, close every tab, and write tomorrow’s top three tasks on a sticky note. Five minutes. The next morning you sit down to a clean desk and a plan, instead of yesterday’s mess. This is the only idea in the plan that protects the other nine.
Best for: tiny desks that refill with clutter overnight. Main advantage: free, and it makes the whole makeover last. Watch out for: the reset only works if everything has a home, which is what the shelf and pegboard are for. Verdict: the habit that makes the makeover stick. Deposit risk: 1/5. For a deeper system, organizing a tiny desk zone the same way every night is the habit our small home office organization guide builds on.
What do you need for the weekend makeover?
Materials: tape measure, pencil, small level, stud finder, drill and screws (or heavy-duty Command strips if you rent), screwdriver, the 7 items from the cost table, a microfiber cloth, and sticky notes. If your walls are plaster or brick, use the fixings made for that wall type, not the screws that came in the box. Total shopping time is about 30 minutes if you buy everything in one trip.
How to do the makeover in one weekend
Here is the order that works. Follow it in sequence, because each step assumes the one before it is done.
Step 1: Measure the zone. Measure the wall width, the desk depth, and the 30 in (76 cm) of floor behind the chair. Mark the shelf height at 18 in (46 cm) above the desk with a pencil, and mark the studs. Write the numbers down. Guessing is how shelves end up crooked.
Step 2: Clear the desk completely. Take everything off the desk and sort it into three piles: keep, donate, trash. Wipe the desk down. Do not buy anything until the desk is empty, because an empty desk tells you what you actually need.
Step 3: Position the desk. Put the desk perpendicular to the window, so daylight lands on your face from the side. Never face the window, and never sit with your back to it. Check the 30 in (76 cm) of push-back space, and check that an outlet is within arm’s reach.
Step 4: Mount the shelf and pegboard. Fix the shelf into the studs at the pencil mark, and check it with the level. Mount the pegboard beside it, and load the hooks and cups. If you rent and cannot drill, use the freestanding pegboard and adhesive strips for a very light load only.
Step 5: Set the screen height. Put the laptop on the stand, and raise it until the top of the screen sits at or slightly below eye level. Sit back in your chair and check the distance: 20 to 40 in (51 to 102 cm) from your eyes. Add the external keyboard and mouse.
Step 6: Run the cables. Mount the power strip under the desk edge, bundle the cables in the sleeve, and clip the charger where your hand lands. Plug the lamp in last, and aim it at the keyboard, not at the screen.
Step 7: Paint the patch, add the plant, reset. Paint the accent patch behind the desk if your lease allows it, and let it dry overnight. Put the plant on the shelf. Then do the first 5-minute reset: clear the desk, close the tabs, write tomorrow’s top three tasks on a sticky note.
Mistakes to avoid
Buying a new desk first. The desk is the worst place to overspend. A $29 top holds a laptop exactly as well as a $300 one, and the money is better spent on light, screen height, and cables.
Facing the window or sitting with your back to it. Facing the window causes screen glare. Sitting with your back to it turns you into a silhouette on video calls. Sideways is the only position that works for both.
Mounting the shelf into drywall alone. The 11 lb (5 kg) rating assumes studs. Into drywall alone, the same shelf holds far less, and a falling shelf takes the plant and the books with it.
Spending the whole $100 on one item. A $99 chair leaves nothing for light, cables, or storage, and a comfortable chair in a dark, messy corner is still a dark, messy corner. Spread the money across the seven items.
Skipping the reset. Without a daily close, the desk refills in a week, and the makeover quietly undoes itself. The reset is the only idea that protects the other nine.
What to skip
A second monitor on a $100 budget. A used 24 in monitor costs $50 to $75, which eats most of the budget for one item. A laptop raised to eye level on a $16.99 stand does the job until the budget grows.
LED strip lighting. It looks fun in photos, adds glare to the screen, and solves nothing a $15 lamp does not solve better. Spend the money on the lamp.
A full gallon of paint. A gallon costs $60 to $150 and covers a whole room. An 8 oz sample pot costs about $5 and covers the only patch anyone sees. Buy the pot.
A matching desk set. Matching sets cost more and fit worse than one shelf plus one pegboard, because they are sized for a showroom, not for your corner. Buy the two pieces separately.
A note for renters
Check your lease before you drill or paint anything. Most leases allow small screw holes but forbid painting without written permission, so ask your landlord in writing and keep the reply. Photograph the wall before you start, keep the paint can label for the exact color, and plan the reversal now: peel the adhesive strips, patch the screw holes, and repaint the accent patch before move-out. Every idea in this plan except the accent wall carries a deposit risk of 1 or 2 out of 5, which is why the plan works for renters at all. If your lease bans drilling outright, use the freestanding pegboard, the adhesive strips for light loads only, and the tension-rod curtain for the boundary, and skip the shelf.
Frequently asked questions
How much does a small home office cost on a budget?
About $290 to $350 for a complete setup from scratch, covering a $29 desk, a $50 to $150 secondhand chair, a $50 to $75 used monitor, lighting, storage, and accessories. But a budget home office makeover that upgrades a desk zone you already own costs $86.98 with the 7-item plan in this post, because it skips the furniture you already have.
What is the single best upgrade under $50?
A $15 lamp plus a $12 cable kit, for $27 total. Together they deliver the biggest visible change in the room. If your back hurts after a workday, buy the $20 lumbar cushion first instead, because seating affects your body for 8 hours a day and nothing else under $50 comes close in impact per dollar.
Can I set up a home office in a bedroom corner?
Yes, a corner is actually ideal. Corners give you two walls for shelves and a pegboard, and an L-shaped arrangement fits in as little as 4 by 4 ft (122 by 122 cm). Keep the desk perpendicular to the window for the best light, mark the boundary with a rug or a screen so work ends when the day ends, and use a folding desk or a wall-mounted shelf if the room doubles as a guest room.
What is a realistic budget for a home office makeover?
For a full DIY makeover with new furniture, $300 to $1,500 is realistic, with a basic refresh at $150 to $400 and a moderate makeover at $500 to $900. Under $100 is realistic only when you keep the desk and chair you already own and spend on the seven upgrade items in this plan. That is the difference between a makeover budget and a furnishing budget, and mixing the two up is how $100 plans turn into $350 receipts.
How this was made: this guide was researched from live listings and OSHA’s workstation checklist in November 2026, and the $86.98 plan total was calculated from the published prices in the cost table.
Sources: OSHA Computer Workstations eTool checklist (monitor 20 to 40 in, top of screen at or below eye level, leg clearance 20 to 28 in); Workwell Setup, 21 Small Home Office Ideas on a Budget (prices as of October 2026, full setup $290 to $350); Living Bits and Things, DIY Home Office Makeover Cost ($300 to $1,500 range); StarterPacks, Home Office Upgrade Starter Pack (prices checked November 2, 2026).