DIY Radiator Cover Ideas for Small Rooms: 7 Builds That Hide the Radiator Without Killing the Heat
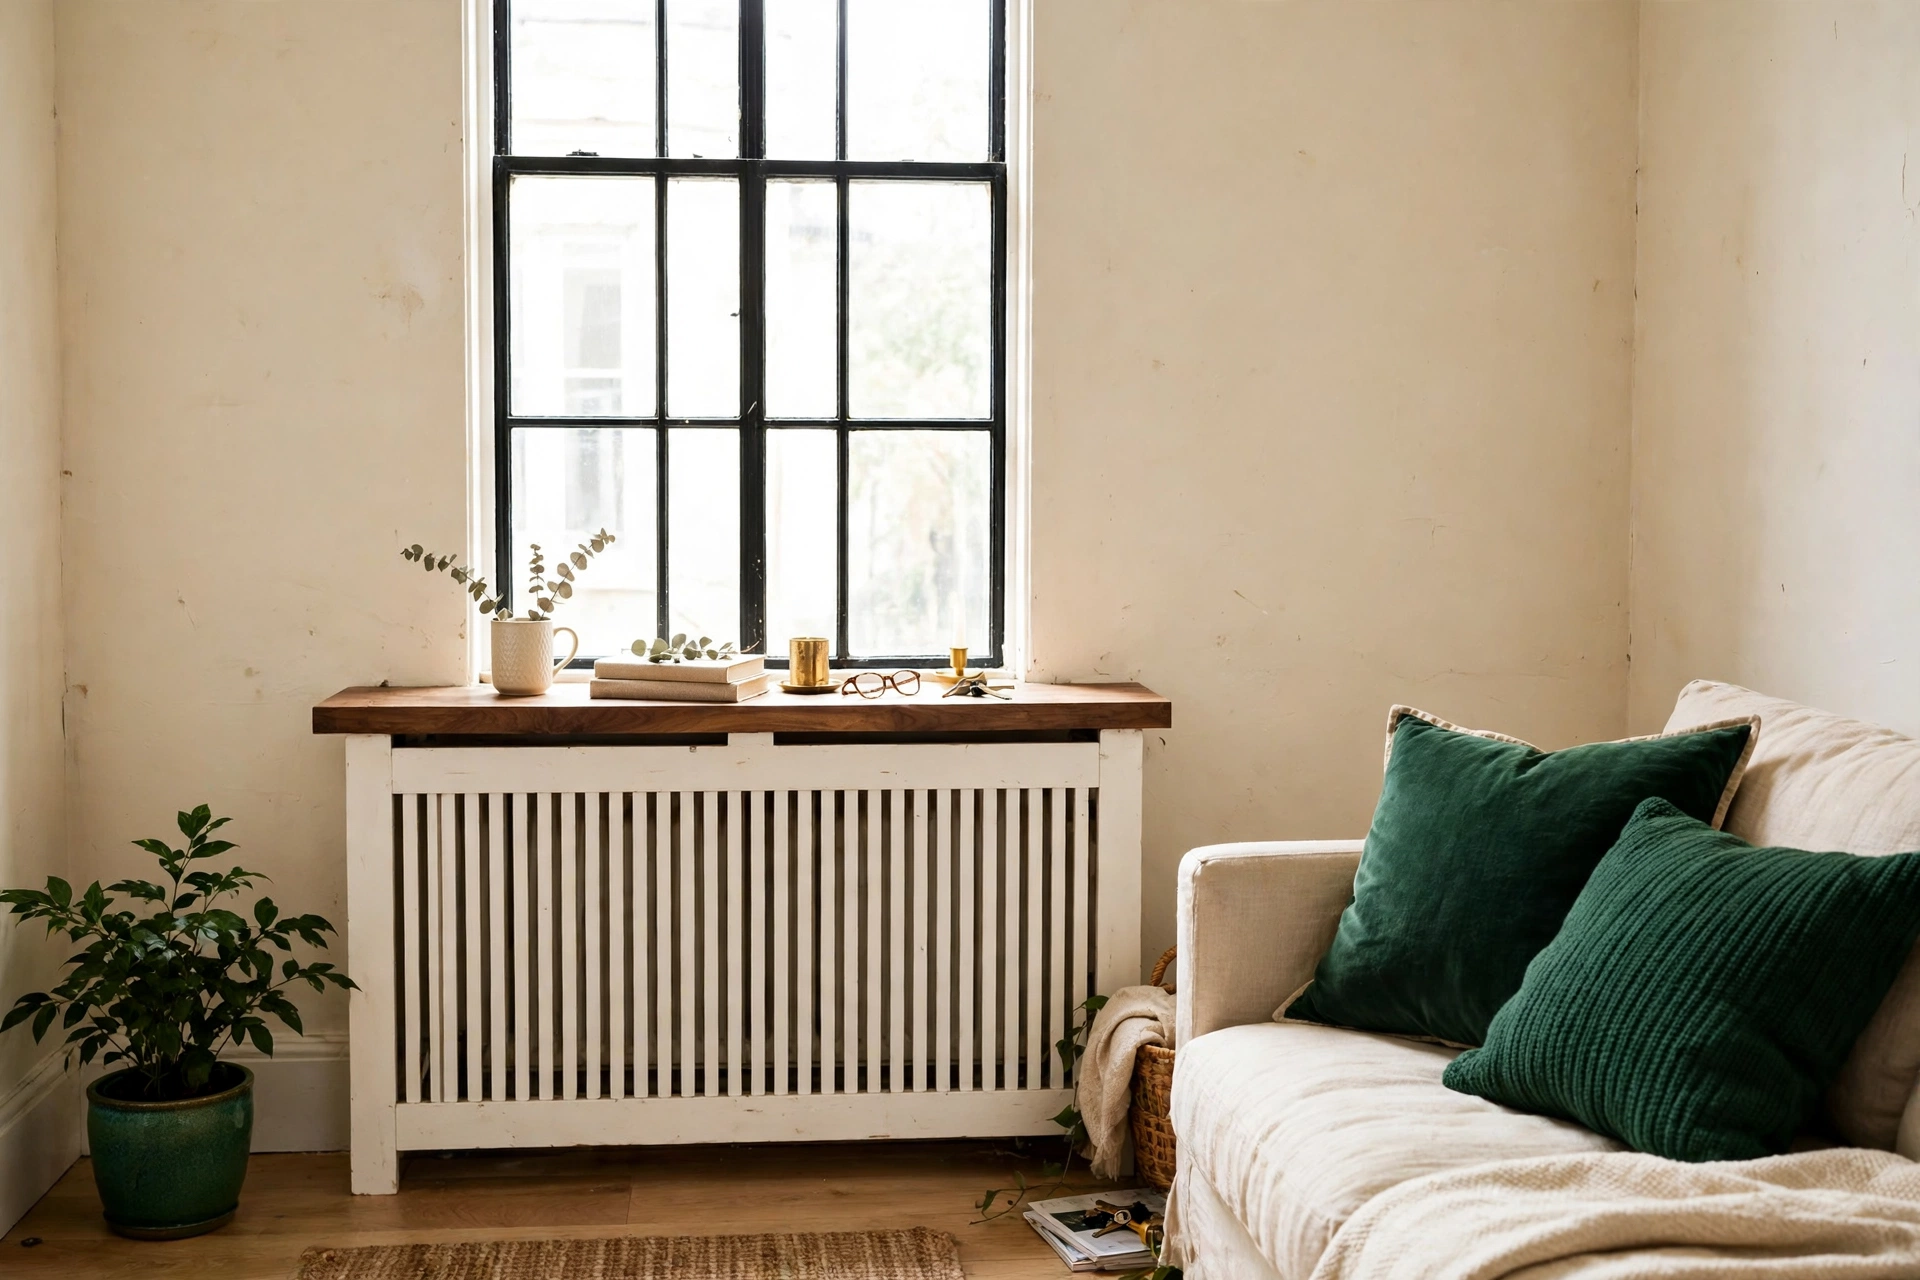
Old radiators are the ugliest thing in a small room. They sit under the window, flaking paint and eating wall space, and in a rental you cannot move them, replace them, or drill into the wall beside them. These diy radiator cover ideas for small rooms fix that with a box you build yourself: a freestanding cover that hides the metal, adds a shelf, and still lets the heat out. If you only want the shelf and not the whole box, a diy radiator shelf for small rooms does the same job with less wood and no sides. The original work in this post is a computed fit table for four common radiator sizes, a heat-loss table by front type from published sources, and a three-route cost table with live-checked November 2026 prices. The cheapest honest build starts at $83.00, and none of the seven builds needs a drill in your wall.
Do radiator covers block heat? The honest numbers
Yes, every cover blocks some heat. The question is how much, and the answer depends on the front you choose, not on whether you cover it at all. Stelrad, a radiator manufacturer, cites Energy Saving Trust research and gives three bands: a well-designed cover with an open front and a vented top loses about 5 to 10 percent of output, a moderately restrictive cover loses 10 to 20 percent, and a poorly designed cover with a solid front and a closed top loses 20 to 30 percent or more. Family Handyman puts the typical figure at 10 to 12 percent. Research from Liverpool John Moores University found magnetic fabric covers 13 to 20 percent more efficient than traditional wooden ones, which tells you the front material matters as much as the shape.
Here is the nuance most guides skip. Blocked heat is not destroyed heat. It is delayed heat. A radiator is a heat exchanger, not a heater that burns fuel, so the warmth trapped behind a cover still ends up in the room eventually, just slower. The genuine loss is the extra heat pushed into the wall behind the radiator, which matters most on an uninsulated outside wall, plus the slower warm-up that makes the room feel cold at the same thermostat setting. So the honest verdict is this: build an open front with a vented top and the cost is small, build a sealed box and the room will feel it. This post only builds the open kind.
| Front type | Expected heat loss | Airflow | Best for |
|---|---|---|---|
| Open slats + vented top | 5-10% | Good | Most rooms, best all-rounder |
| Metal grille front | About 10-12% | Good | Kids, pets, high-traffic rooms |
| Cane or mesh front | 10-20% | Fair | Bedrooms, vintage looks |
| Solid front, closed top | 20-30% | Poor | Do not build this. |
How much clearance does a radiator cover need?
Measure first, cut second. Take three measurements: width side to side, height floor to top, and depth wall to front edge. Then add clearance on every side so air can move and nothing touches hot metal. The rule that every good build follows is 2 inches on each side of the width, 2 inches above the top, and 2 inches in front plus 1 inch behind for the depth. That gives you this fit table, computed from the rule:
| Your radiator (W x H x D) | Build your cover (W x H x D) | New shelf space on top* |
|---|---|---|
| 24 x 20 x 5 in (61 x 51 x 13 cm) | 28 x 22 x 8 in (71 x 56 x 20 cm) | 240 sq in (1.7 sq ft) |
| 30 x 24 x 6 in (76 x 61 x 15 cm) | 34 x 26 x 9 in (86 x 66 x 23 cm) | 324 sq in (2.3 sq ft) |
| 36 x 26 x 7 in (91 x 66 x 18 cm) | 40 x 28 x 10 in (102 x 71 x 25 cm) | 420 sq in (2.9 sq ft) |
| 48 x 24 x 6 in (122 x 61 x 15 cm) | 52 x 26 x 9 in (132 x 66 x 23 cm) | 486 sq in (3.4 sq ft) |
The 30 inch row matches a published measured build exactly, which is a good check that the rule works. Measure the pipes and the valve too. The cover must clear the valve handle and the air vent, and the thermostatic valve head, the TRV, must stay OUTSIDE the cover. If the TRV sensor sits inside a hot cover it reads warm air and shuts the valve early while the rest of the room is still cold. Leave a cutout for it, or fit a remote sensor head. And one safety rule before you touch anything: if your home was built before 1978, test for lead paint before sanding the radiator or the wall around it. Do not sand old paint blind.
DIY radiator cover ideas for small rooms: the 7 builds
Every build below is freestanding unless it says otherwise. Freestanding means the box sits on the floor around the radiator with no screws in your wall, which is what makes all seven renter-safe. Each build carries a Deposit-Risk rating from 1 (nothing to explain at move-out) to 5 (expect a conversation with your landlord).
1. Classic slatted wood cover
Best for: almost every room, and the best first build. Main advantage: slats let heat through while hiding the radiator completely, and the flat top becomes a shelf. Watch out for: slats take the longest to cut and space evenly, so budget an extra hour. Verdict: build this one if you only build one. Deposit-Risk: 1/5.
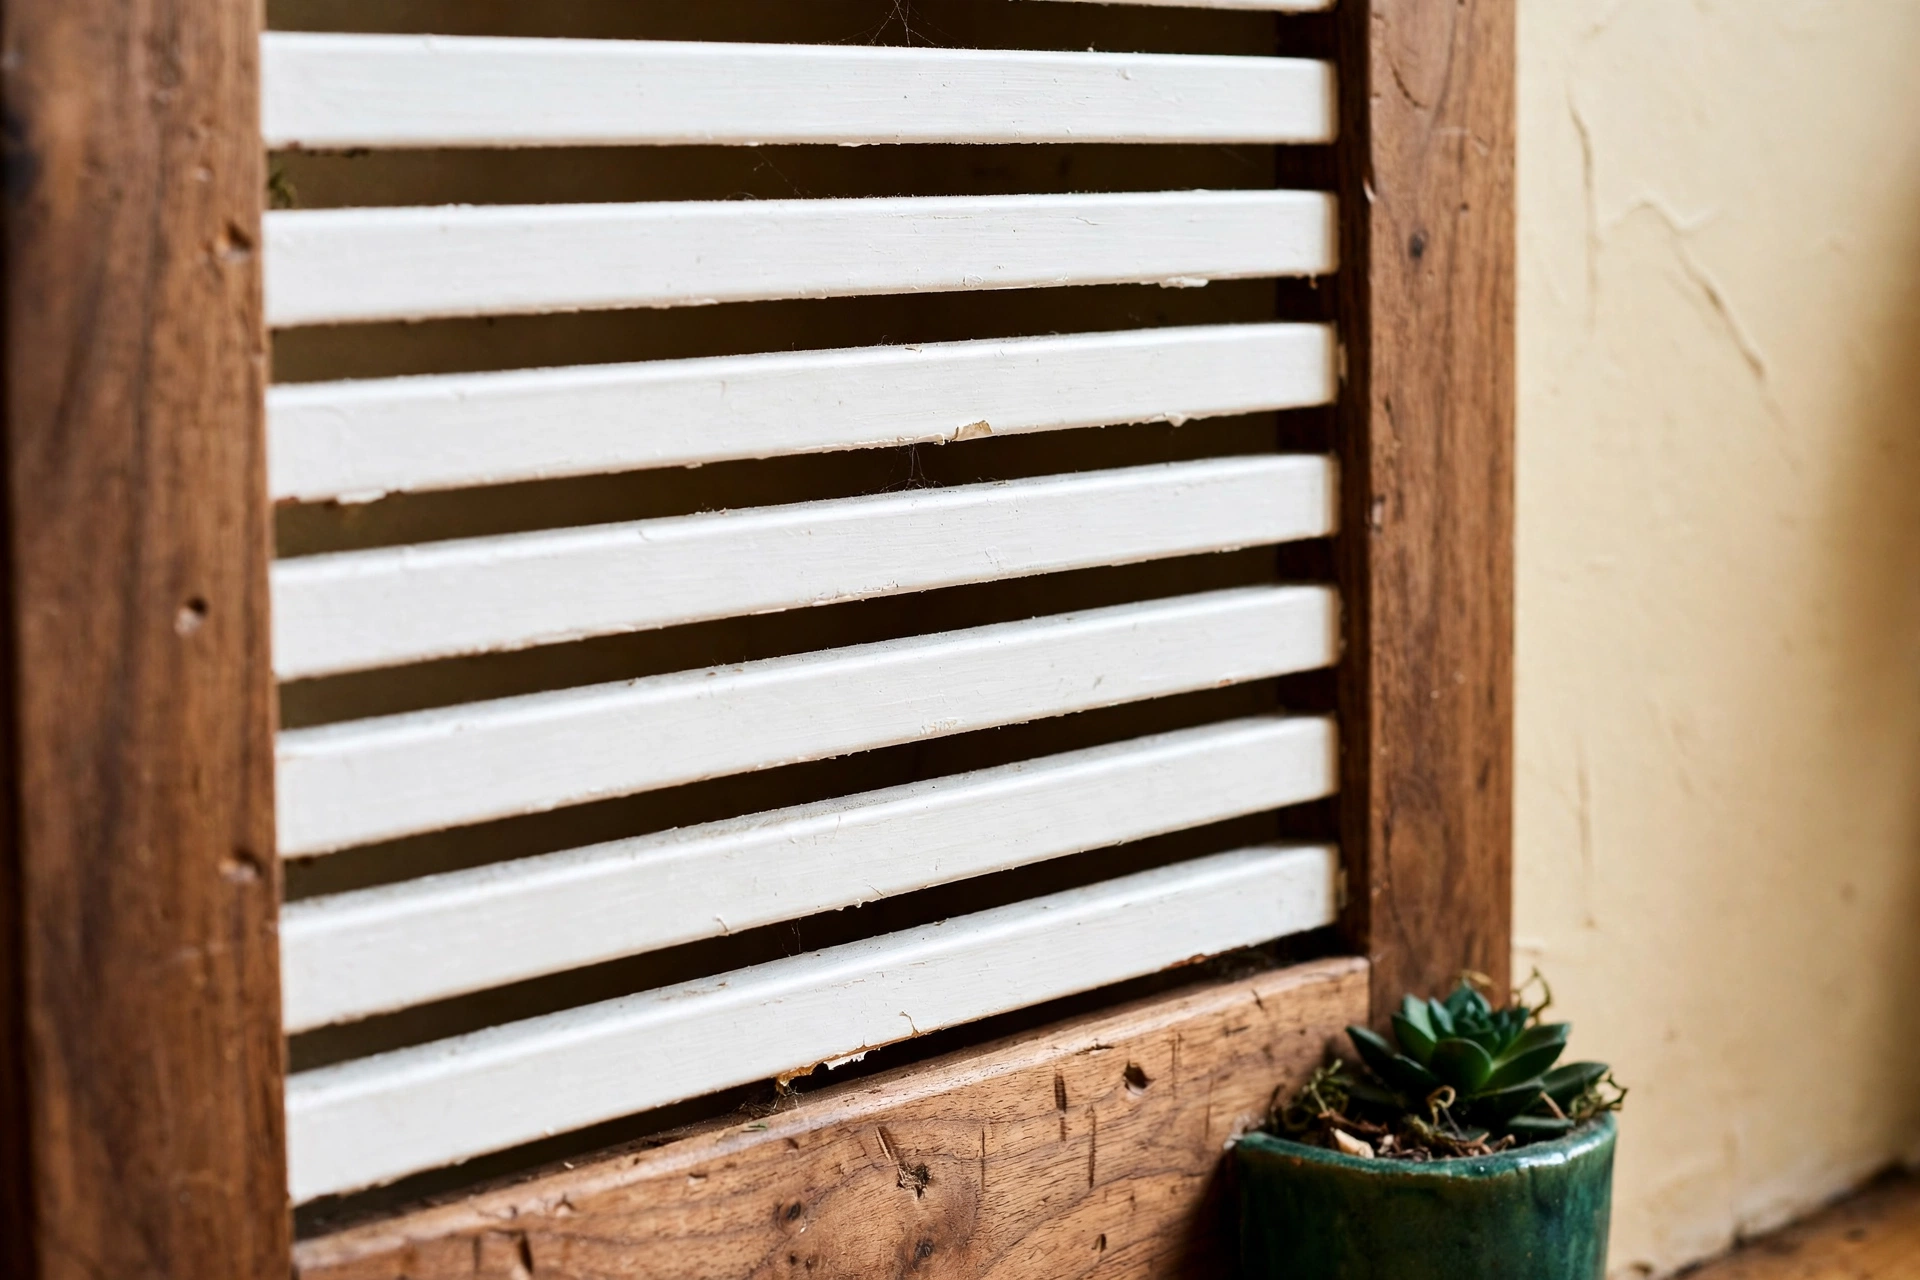
2. Cane-front cover
Best for: bedrooms and relaxed living rooms where you want a softer, vintage look. Main advantage: cane webbing hides the radiator while breathing better than a solid panel, and it looks far more expensive than it costs. Watch out for: cane sags if it gets damp, so keep it out of bathrooms, and buy the roll before you cut the frame so the frame fits the webbing, not the other way round. Verdict: the prettiest build here, and the easiest to make look custom. Deposit-Risk: 1/5.
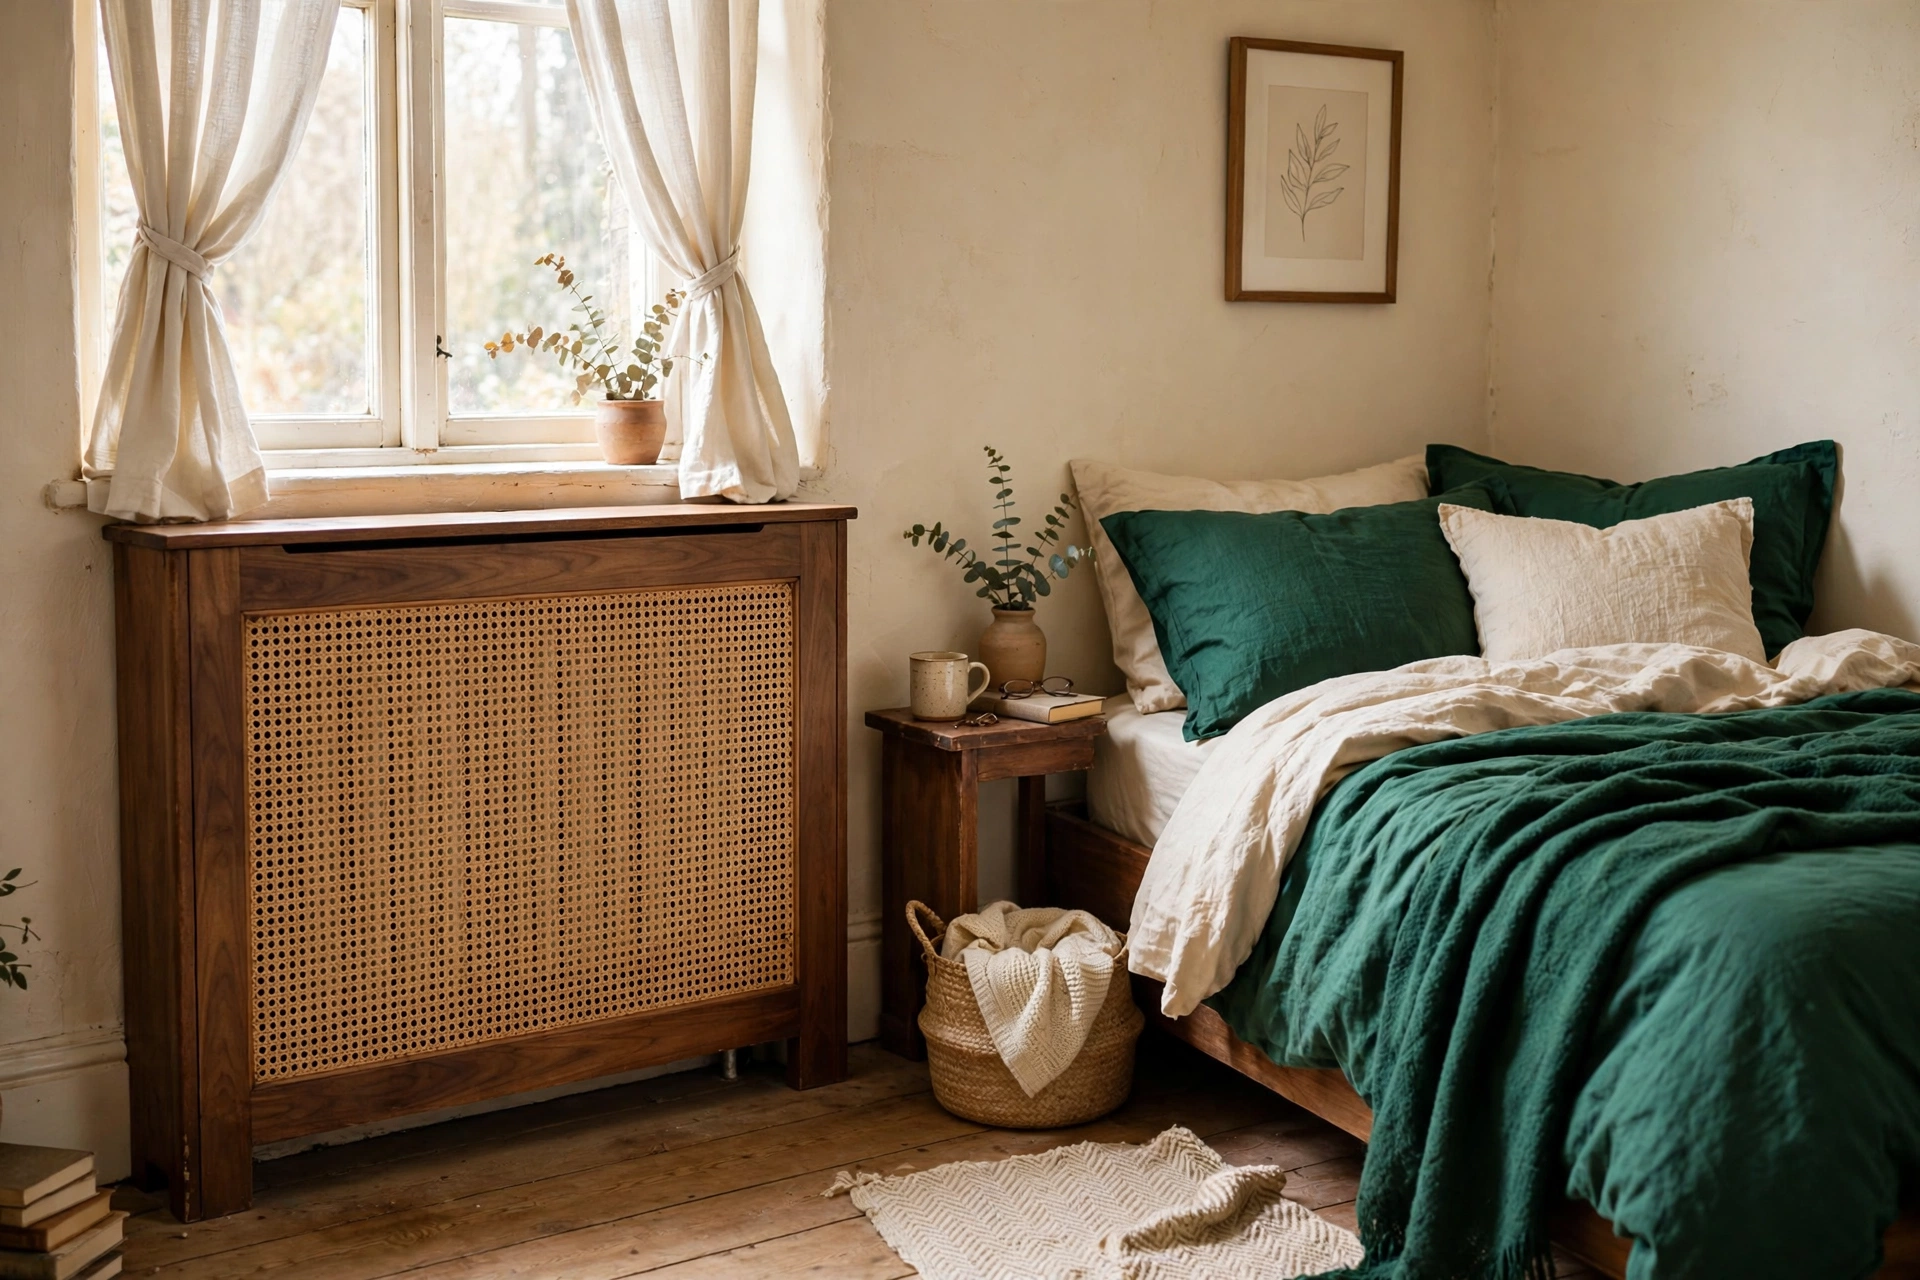
3. Metal grille cover
Best for: homes with kids or pets, and hallways where things bump into furniture. Main advantage: a perforated metal sheet blocks the least heat of any solid-looking front, it cannot be dented by a toy, and it will not scorch. Watch out for: the metal itself gets hot to the touch when the radiator is running, so it is a burn guard, not a cool surface, and cut edges are sharp until you file them. Verdict: the toughest build, and the honest pick for a family home. Deposit-Risk: 1/5.
4. Floating shelf cover
Best for: tiny rooms and narrow hallways where a full-depth box would eat the walkway. Main advantage: a floating shelf cover borrows the same idea as DIY floating shelves: a shelf built just above the radiator with light side panels gives you a display surface and a finished look while leaving the whole radiator open to the room, so heat loss is close to zero. Watch out for: it hides nothing below the shelf, so this is a styling fix, not a full cover. Verdict: the fastest win on this list, and the only one with almost no heat penalty. Deposit-Risk: 2/5 (the shelf usually needs two small wall fixings, so check the lease first).
5. Window-seat bench cover
Best for: radiators under windows in bedrooms and reading corners. Main advantage: you get a seat, storage, and a hidden radiator in one build, and a 20 inch deep top turns dead space into the coziest perch in the room. Watch out for: the top must sit above the radiator with a clear gap, never resting on hot metal, and the cushion needs a washable cover because heat and dust collect there. Verdict: the most useful build here if your radiator sits under a window. Deposit-Risk: 1/5 if freestanding, 3/5 if you anchor it to the window frame.
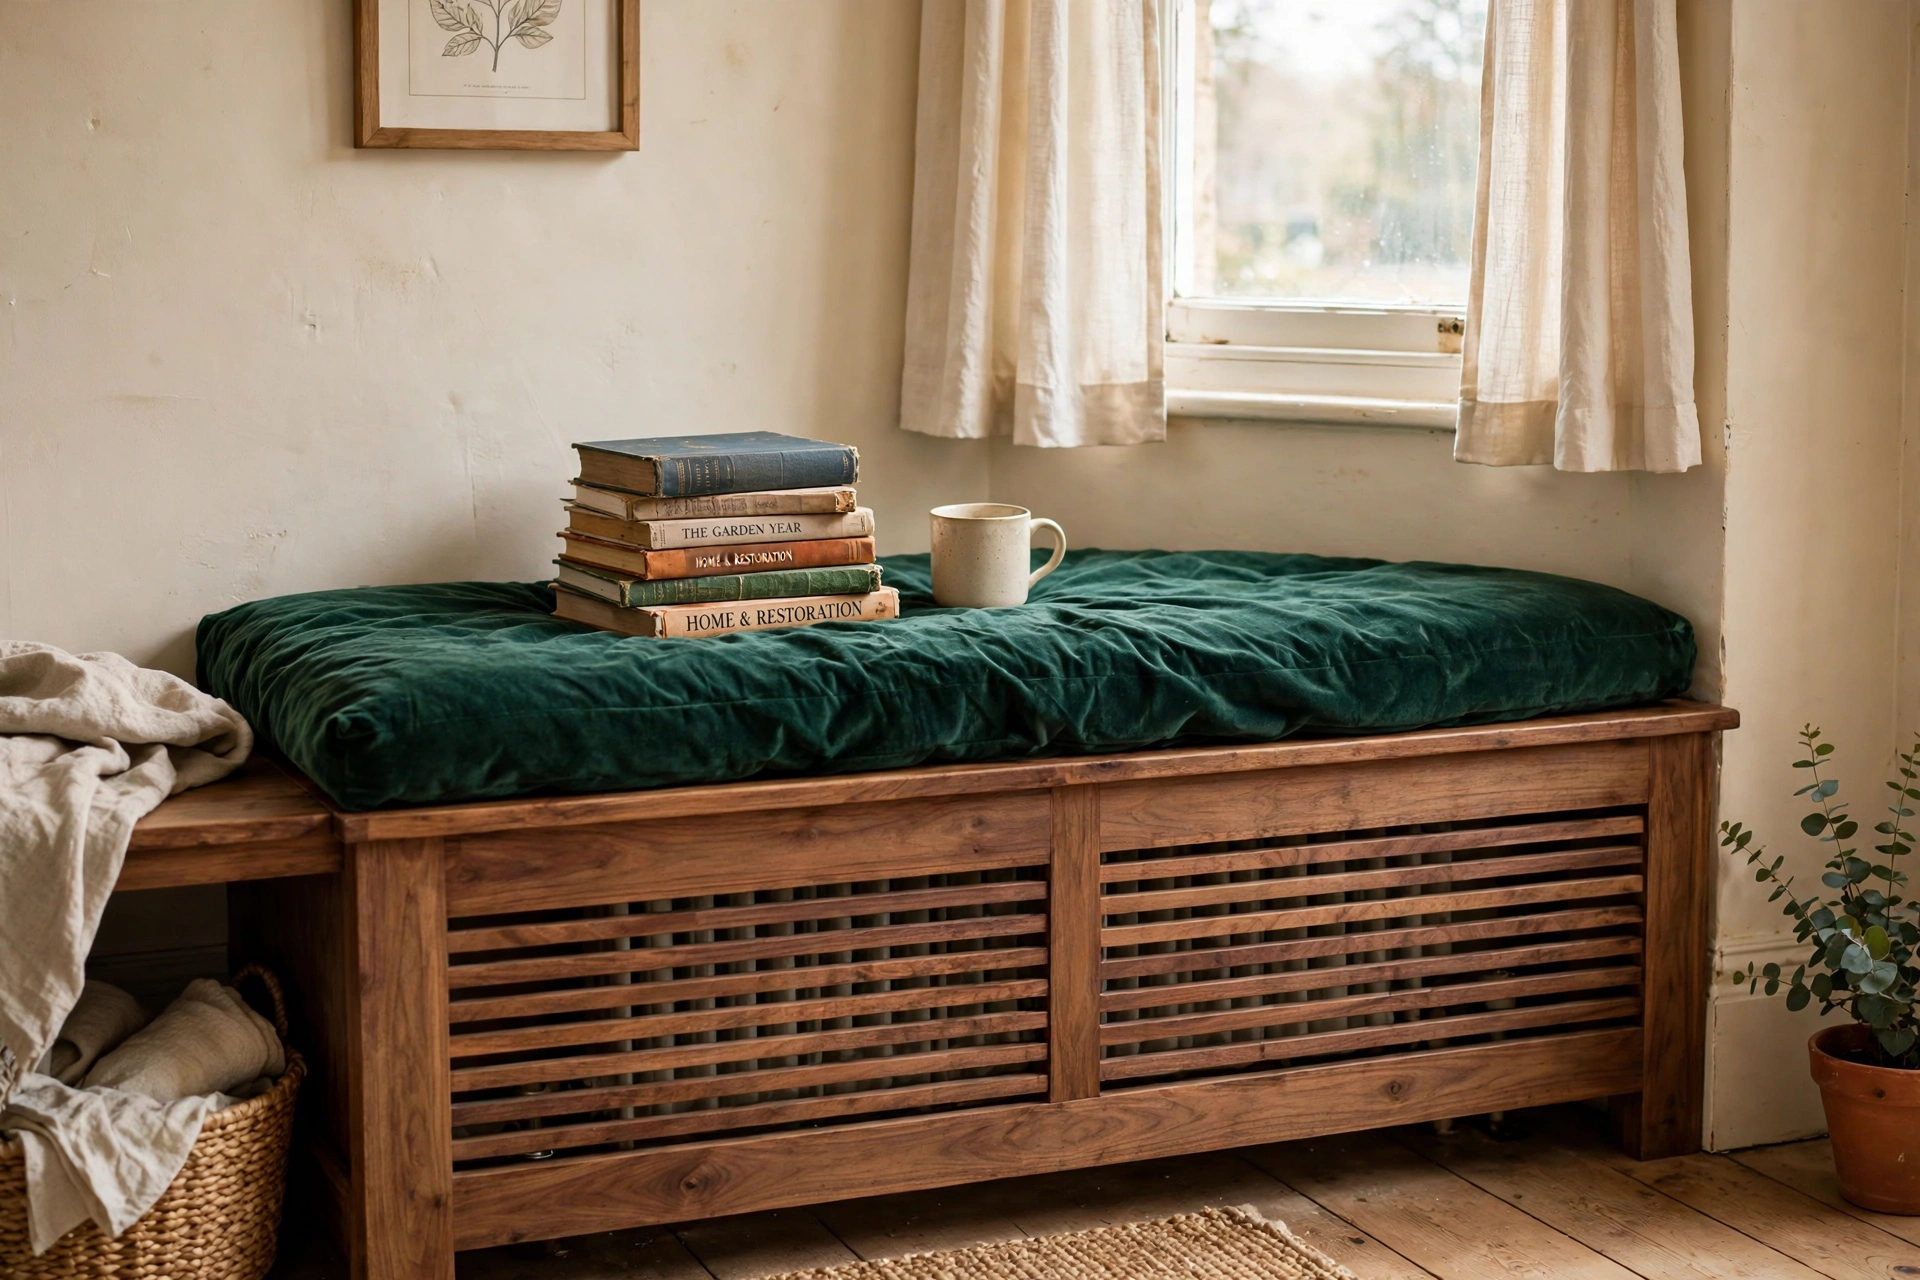
6. Entry-table cover
Best for: hallways and entryways where the radiator eats the only usable wall. Main advantage: a slim cover with a finished top works as a console table for keys, mail, and a mirror above, which is exactly the kind of small entryway organization a tight hall needs. Watch out for: keep the depth tight to the fit table, or the table will block the walkway, and never put candles or anything meltable on top. Verdict: the best build for a small entryway, full stop. Deposit-Risk: 1/5.
7. Faux cabinet front cover
Best for: rooms where the radiator sits beside fitted furniture or kitchen-style cabinets. Main advantage: a flat panel with trim that matches the surrounding millwork makes the radiator disappear into the architecture instead of looking like a box you added. Watch out for: flat panels are the worst for airflow, so this build needs the biggest vent slots top and bottom, and a solid front without vents is a 20 to 30 percent heat loss. Verdict: beautiful, but only build it with real vents, or skip it. Deposit-Risk: 1/5 freestanding, 2/5 if you screw it to adjacent cabinetry.
How to build a radiator cover: materials and 7 steps
This is the standard slatted-wood build, sized for the common 30 x 24 x 6 inch radiator, which needs a 34 x 26 x 9 inch box. The steps work for the other builds too, with the front swapped for cane or grille. Time: about 3 to 4 hours for the standard build, plus paint drying time.
Materials list: one 1/2 inch BC plywood 4×8 sheet, three pine 1x2x8 trim boards, one box of 1-1/4 inch wood screws (about 50 count), one metal grille sheet 24×36 inches if you are building the grille front, one quart of primer, one quart of interior paint, felt pads for the feet, wood glue, 120-grit sandpaper.
Cost table, as of November 2026 (live-checked prices, see Sources):
| Item | Price |
|---|---|
| 1/2 in BC plywood 4×8 sheet | $35.00 |
| Pine 1x2x8 trim boards x3 | $13.50 |
| Wood screws 1-1/4 in, about 50 count | $7.50 |
| Primer, quart | $12.00 |
| Interior paint, quart | $15.00 |
| Slatted-wood route total | $83.00 |
| Metal grille sheet 24×36 in (adds to the above) | $26.23 |
| Metal-grille route total | $109.23 |
| Cane webbing roll 24 in x 5 ft (adds to the slatted route) | $49.99 |
| Cane-front route total | $132.99 |
All three totals are the sums of the rows above. Prices are US retail ranges checked in November 2026, and your store will vary a little. The cane roll price is an Amazon listing price, so confirm it before buying.
The 7 steps:
- Measure and mark. Measure width, height, and depth, add the clearance from the fit table, and mark every cut on the plywood before you pick up the saw. Check the valve and pipe positions twice.
- Cut the box. Cut two side panels, one top piece with a 1 inch overhang on each side so it reads as a shelf, and one front frame. Keep the back open.
- Build the front. For slats, space 1×2 slats with a finger-width gap between them. For cane or grille, cut the sheet to the frame opening and staple it to the back of the frame.
- Assemble the box. Glue and screw the sides to the top, then fit the front frame. Check for square by measuring both diagonals.
- Add the top vent. Cut a vent slot or fit a grille strip along the back of the top so warm air can exit. This is the step that keeps your heat loss near 5 to 10 percent.
- Prime and paint. Sand with 120-grit, prime, then paint two coats. Use heat-tolerant interior paint, and let it cure fully before the cover goes over a hot radiator.
- Place and level. Slide the cover over the radiator, check nothing touches hot metal, stick felt pads under the feet, and shim any wobble on uneven floors. Leave the valve and TRV accessible.
The renter decision: freestanding vs anchored
Most renters should build freestanding and stop there, the same no-drill rule behind our renter-friendly wall ideas. A freestanding cover needs no wall holes, no landlord email chain, and it lifts off in seconds when the heating engineer visits. That is the whole point of diy radiator cover ideas for small rooms: the room looks finished and the deposit stays safe. On uneven floors it can wobble, so felt pads and thin shims fix that without a single fixing. If you have small kids or a narrow cover that could tip, the safer renter move is a wider, heavier cover that does not wobble, not adhesive strips, because adhesives soften near heat and fail on textured paint. Anchoring with L-brackets is the owner route, and it is also the right route if a child could pull the cover over. Before you build, check your lease for alteration language, the same way you would before trying any of these renter-friendly flooring ideas in an older flat. If it is strict, send a short email: “I am placing a freestanding cover around the radiator, no drilling, for safety and looks.” That one sentence covers you at move-out, and the cover itself leaves nothing behind except felt-pad marks that wipe off.
Mistakes to avoid
Building the box tight to the radiator. A cover that touches the radiator is a fire risk and a heat trap. Keep the clearance from the fit table, every side, every time.
Forgetting the top vent. A solid top traps hot air inside the box. The room stays cold, the wall behind gets hotter, and your heating bill climbs for nothing.
Trapping the TRV inside. The valve sensor reads the hot air in the box and shuts the radiator off while the room is still cold. Cut the TRV out of the cover.
Sanding old paint without testing. Pre-1978 homes can carry lead paint. Test first, and if it is positive, stop and get proper advice instead of sanding.
Putting heat-sensitive things on top. Candles, vinyl records, and electronics do not belong on a warm cover top. Books, a lamp, and a plant in a ceramic pot do.
Painting before the wood is dry and cured. Fresh paint over a hot radiator blisters. Paint first, let it cure, then place the cover.
What to skip
Solid-front cabinets with no vents. They look clean in photos and cost you 20 to 30 percent of your heat. The prettiest cover that makes the room cold is a bad cover.
Fabric radiator covers. Uncertified fabric near a hot surface is a fire risk, and non-certified polyester covers can lose 28 to 35 percent of heat. Skip them entirely.
Drying clothes on the radiator. A folded towel blocks up to 70 percent of the airflow at the top vent. Dry laundry on a rack, never on the radiator.
Radiator reflector foil as a cover substitute. Foil behind the radiator is a different job, and kitchen foil is not a reflector. Do not let a foil project talk you out of the cover you actually need.
Buying a cover before measuring. Ready-made covers come in fixed sizes and most radiators do not. Measure first, then decide whether a ready-made size fits or a DIY build is cheaper.
Sources
ThePlywood.com, “Radiator Covers: DIY Guide to Stylish, Functional Designs” (measured 30x24x6 in to 34x26x9 in build, +2 in clearance rule): https://theplywood.com/radiator-covers/ Stelrad, “Do Radiator Covers Block Heat and Increase Heating Costs?” (5-10% / 10-20% / 20-30% bands, Energy Saving Trust; 1,500 W worked example): https://www.stelrad.com/news-events/blog/do-radiator-covers-block-heat-what-you-actually-need-to-know/ Velvet Abode, “Renter-Safe Radiator Covers” (front 2-3 in, sides 1-2 in, top 2 in + vent; freestanding pick): https://velvetabode.com/renter-safe-radiator-covers/
Prices checked November 2026: plywood ranges via woodworkingadvisor.com (Oct 2026) and thepricer.org (Nov 5, 2026); pine boards via thepricer.org (Sep 2026); screws via nailerguy.com; primer and paint quarts via constructioncalculators.com; metal grille sheet and cane webbing via Amazon listings.
How this was made: this article was researched from live search results and published price listings in November 2026, written in our own words, and every price, measurement, and heat-loss figure was checked against its source before publishing. No product was tested by us, and no hands-on claim is made.
Do radiator covers block heat?
Yes, but how much depends on the design. A well-designed cover with an open slatted front and a vented top loses about 5 to 10 percent of heat output, according to Stelrad citing Energy Saving Trust research. A solid front with a closed top can lose 20 to 30 percent, which is why this post only builds open fronts.
How much clearance does a radiator cover need?
Allow 2 inches on each side of the width, 2 inches above the top, and 2 inches in front plus 1 inch behind for the depth. For a common 30 x 24 x 6 inch radiator that means a 34 x 26 x 9 inch cover. Never let the cover touch the radiator, the pipes, or the valve.
Can you put a radiator cover on in a rented apartment?
Yes, if it is freestanding. A freestanding cover sits on the floor around the radiator with no screws in the wall, so it needs no landlord permission in most leases. Check your lease for alteration language first, and send a short email telling your landlord what you are placing, so there is a record at move-out.
Is it safe to cover a radiator with wood?
Yes, if you keep the clearances in the fit table, vent the top, and never let wood touch hot metal. Use heat-tolerant interior paint and keep the TRV valve head outside the cover. If your home was built before 1978, test for lead paint before sanding anything near the radiator.