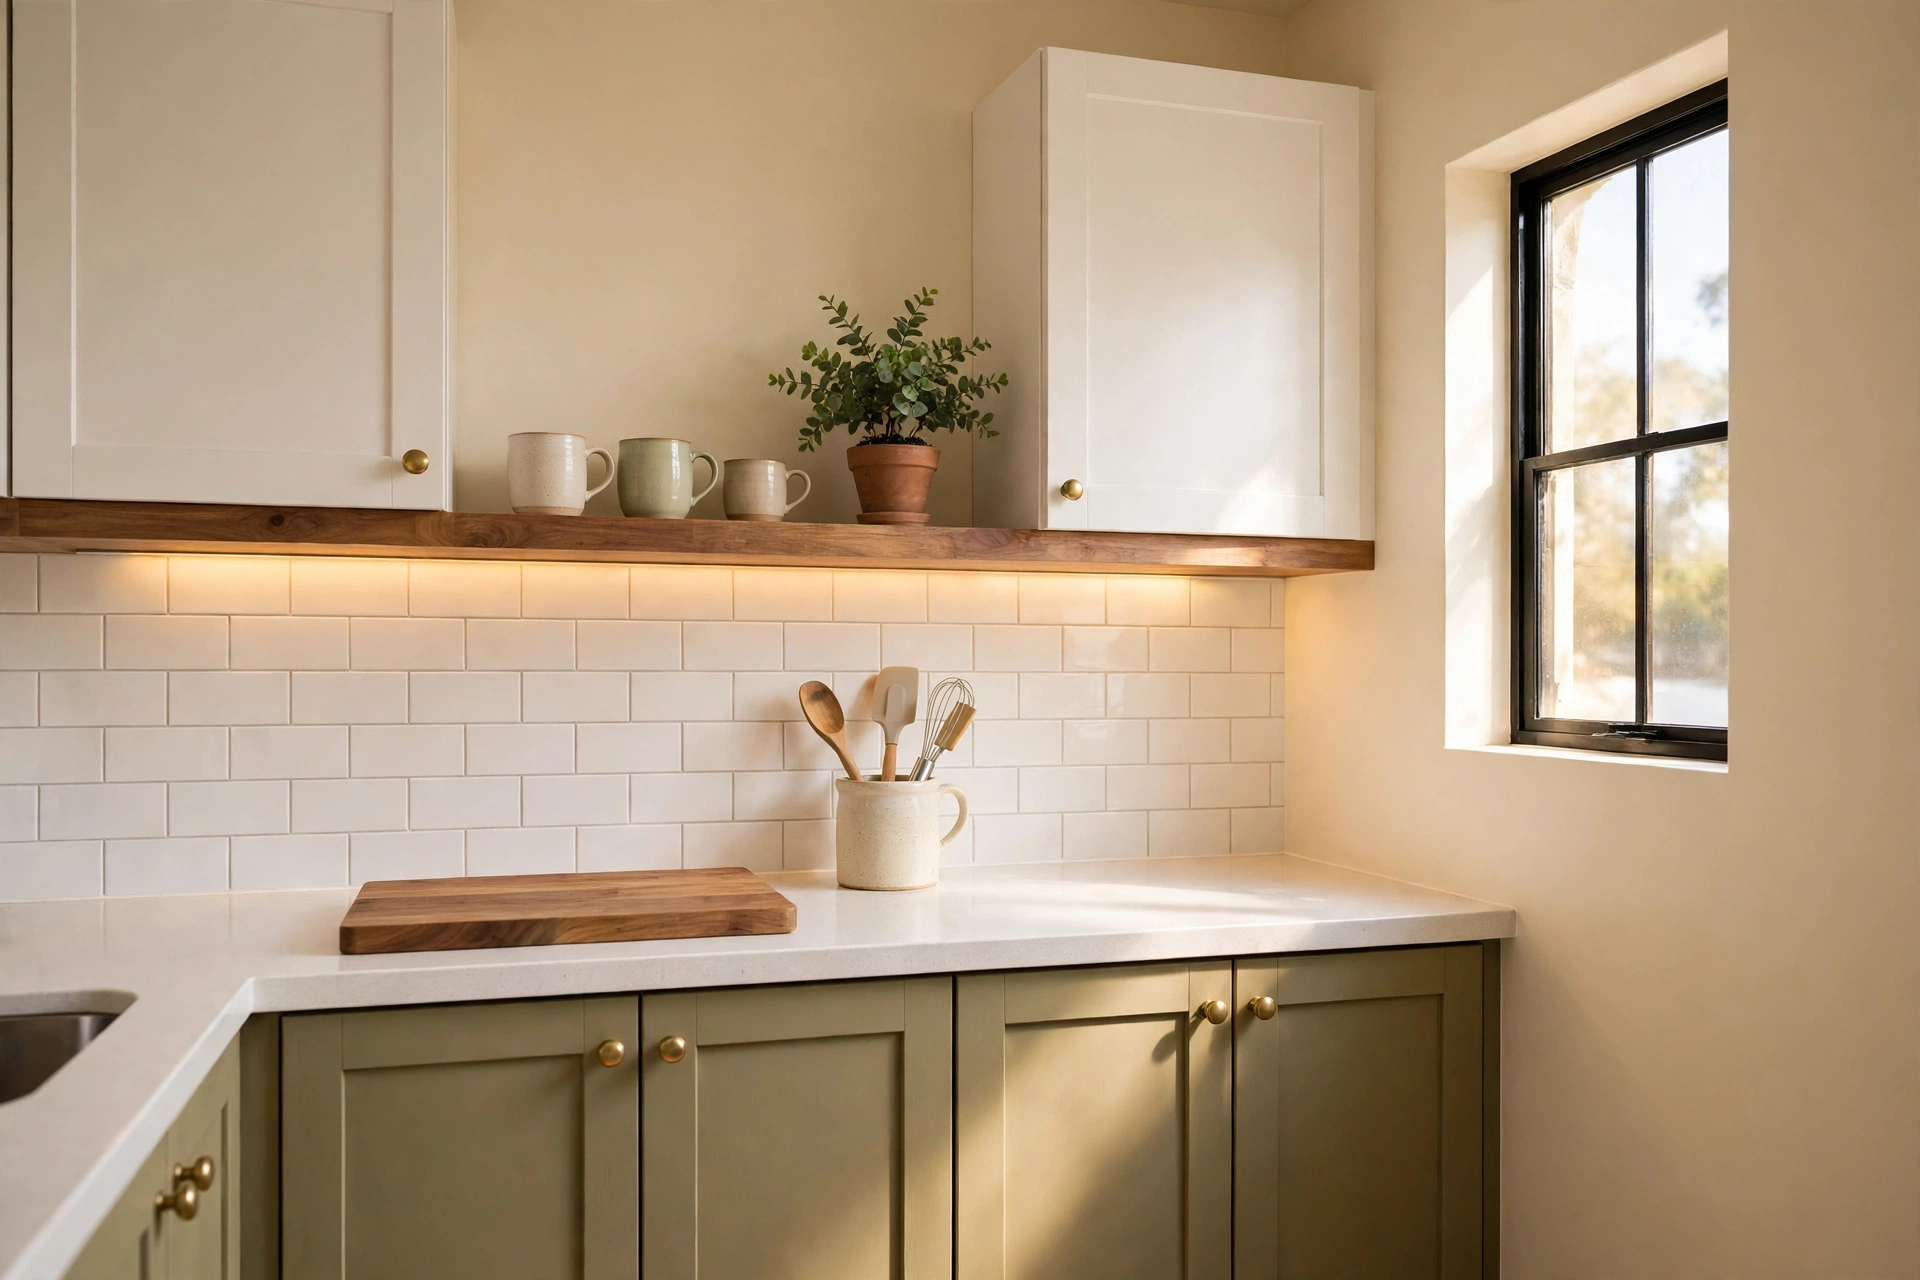
Budget Kitchen Makeover: 10 Ideas Under $100 That Actually Change the Room
Yes — a budget kitchen makeover under $100 can genuinely change a kitchen. Not a remodel, obviously. Nobody’s swapping cabinets or counters for $100. But if you spend it on the surfaces at eye level — the cabinet fronts, the hardware, the strip of wall behind the stove, the light over the worktop — the room reads completely different by Sunday night. I’ve done this exact refresh twice now, once in my own kitchen and once helping a friend, and the same rule held both times: spend on what you actually look at, skip everything else.
The ten ideas below lay out a budget kitchen makeover under $100 in cheapest-first order. Do them all and you’re at about $99, and I’ve shown the math at the end so you can check my work. All prices are as of October 2026, for a typical small kitchen — call it 10 by 10 feet (3 by 3 m) of cabinet run, which is what most apartments and small houses have.
1. Start with the free stuff: a real deep clean
I know. A deep clean is not a makeover idea, it’s a chore. But hear me out — before you spend a single dollar, take everything off the counters and give the whole room the kind of clean it hasn’t had since you moved in. Degrease the cabinet fronts (they’re stickier than you think), scrub the grout, wipe the tops of the uppers, clean the inside of the microwave. Half the “dated” look in most kitchens is just a thin film of cooking grease catching the light wrong.
Then declutter with intent. If something hasn’t been used in six months and it lives on the counter, it goes in a cabinet or out the door. This is the part where a system helps more than willpower — our whole-home organization system has a room-by-room reset that works well here, and the kitchen section takes about fifteen minutes. Free, and it makes every dollar after this one look bigger.
2. Paint only the lower cabinets
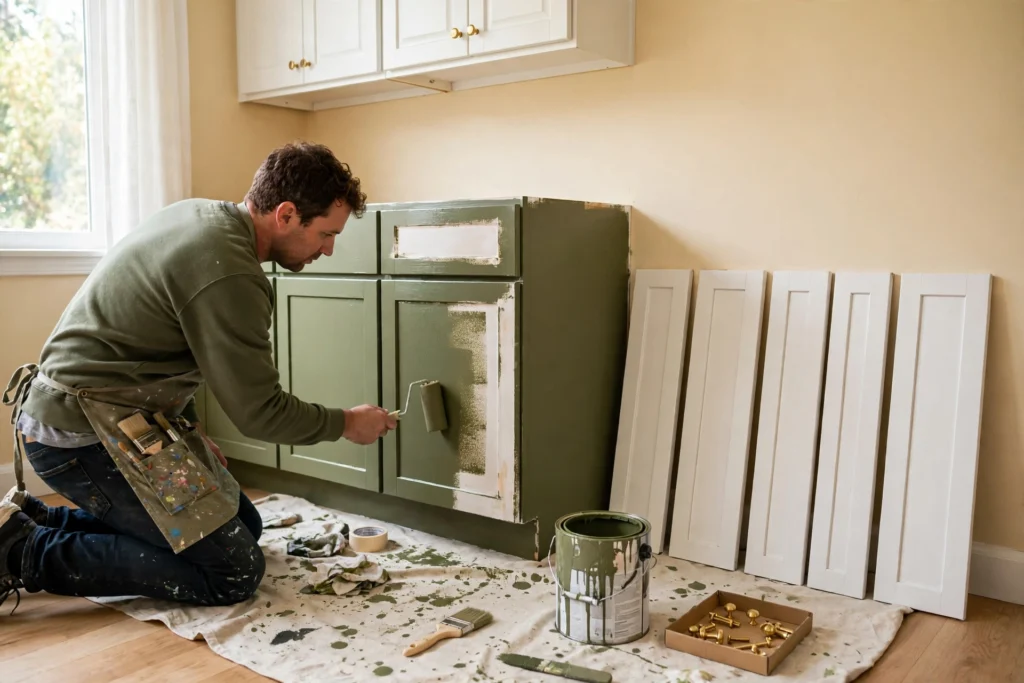
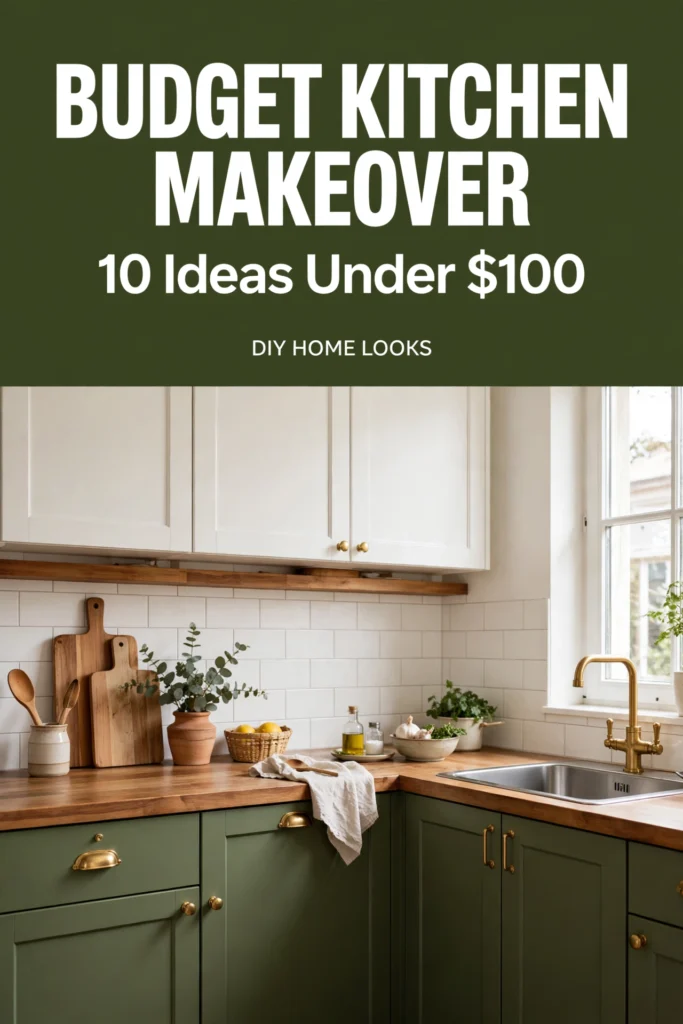
Here’s the trick that saves both money and your weekend: paint just the base cabinets. Two-tone kitchens are the look right now anyway, so painting only the lowers isn’t a compromise — it’s the design. You skip the hardest part of a repaint, which is cutting in around the uppers while standing on a step stool with your neck bent, and you use half the paint.
Degrease with a TSP substitute, scuff-sand with 220-grit, prime with a bonding primer, then two thin coats of cabinet enamel. Thin coats — thick ones stay tacky for months, and I’ve seen that mistake more than once. A quart of decent cabinet paint runs about $25–35 and covers a small kitchen’s lowers with room to spare. Sage green, deep navy, or warm charcoal all work; white uppers keep it from feeling heavy. If you want the full method with drying times and the paint I actually used, our step-by-step cabinet painting guide walks through the whole job. Cost: $25–35.
3. Swap the hardware — or spray-paint what you have
Nothing dates a kitchen faster than its knobs and pulls. And nothing changes it faster for the money, either. A full set of matte black or brushed brass pulls runs $20–40 for a small kitchen, and the job takes an afternoon with just a screwdriver. Measure the hole spacing first — 3 inches (7.6 cm) is the common one, but older cabinets love to surprise you — and buy one pull to test before you commit to twenty.
Broke even for that? Spray-paint the pulls you already own. A $7 can of metallic spray paint and an hour of drying time, and those tired chrome knobs look like new brass. A credit-union guide I checked while pricing this out puts hardware at $25–100 for a full swap, so our $20–40 range is the careful end of it — buy the cheaper multipacks and you’re fine. Cost: $20–40, or about $7 if you spray-paint.
4. Stick a backsplash where the heat isn’t
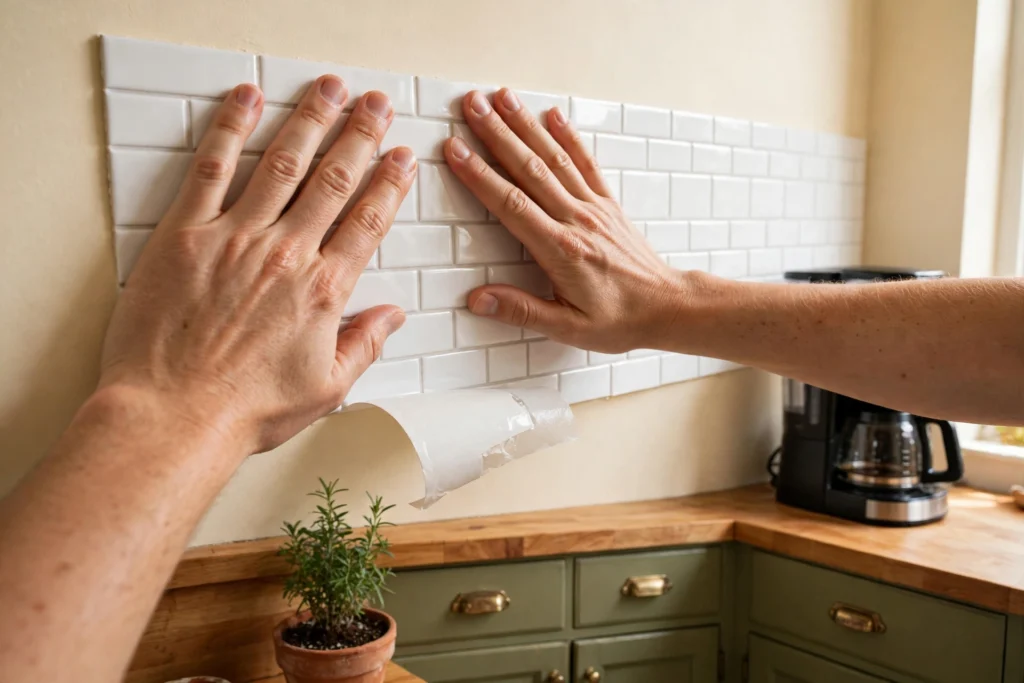
Peel-and-stick backsplash tile is the single best-looking cheap upgrade in this whole list — with one honest caveat. Heat and steam break the adhesive down over time, so keep it off the wall directly behind a gas burner. Behind the coffee maker, along a prep run, up the wall of open shelving: fine. Directly over the cooktop: skip it.
Vinyl sheets run $1–3 per square foot, so a typical 15–30 sq ft run costs $30–90, and most small kitchens need the low end of that. Wipe the wall with rubbing alcohol first — grease you can’t see will kill the bond — and caulk the edges with a paintable silicone for a finished line. Our peel-and-stick backsplash guide covers the full install, including the one spot you should use real tile instead. Cost: $30–60.
5. Give the counters a contact-paper cover
If your laminate counters are stained, chipped, or just that particular shade of 1990s beige, a roll of stone-pattern contact paper is the cheapest cover-up going: about $20–30 per roll, and one roll usually does a small kitchen’s main run. It goes on with a squeegee and a hair dryer for the corners, and it looks surprisingly convincing from standing height.
Be honest with yourself about what it is, though. It’s a temporary cover, not a new countertop — it softens near heat, so keep hot pans on trivets, and don’t cut directly on it. We tested the durability properly in our guide on whether contact paper countertops actually last, and the short version is: one to three years with care, less if you abuse it. For a $25 refresh while you save for the real thing, that’s a fair deal. Cost: $20–30.
6. Light the worktop, not the ceiling
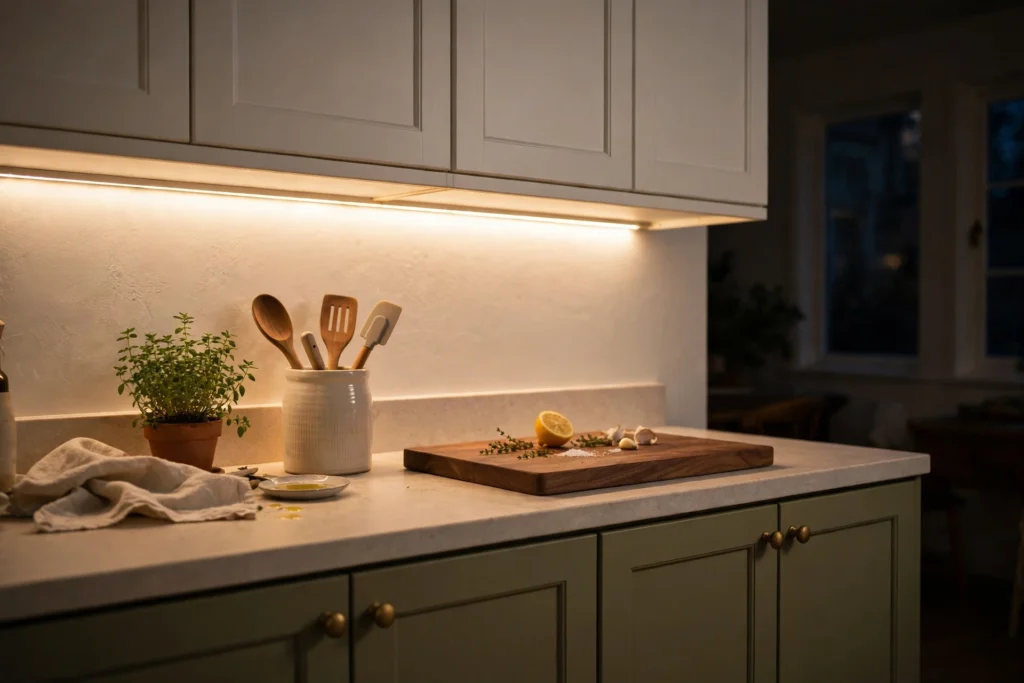
Most small kitchens have one sad ceiling light and a permanent shadow exactly where you chop onions. A strip of warm-white LED tape under the upper cabinets fixes that for $15–25, and it changes how the whole room photographs, too. The plug-in kind with a remote is the easiest — no wiring, no electrician, just stick and plug in behind the coffee maker where nobody sees the cord.
Go warm white, around 2700K, not the blue-white daylight strips. Cool light makes food look grey and tired; warm light makes the same kitchen look like evening in a restaurant. Cost: $15–25.
7. Open up one cabinet
You don’t need to rip out cabinets for open shelving. Just take the doors off one run — the one nearest the stove, usually — and you’ve got display shelving for free. Sand the inside edges lightly, paint the interior the same color as your lowers, and put your prettiest plates and glasses there. The everyday stuff stays behind closed doors where it belongs.
One warning from experience: don’t open up the cabinet above the stove. That’s where the grease lives, and open shelves there just collect it. Pick the run you actually look at while you cook. Cost: $0–10 (a small can of paint if you bother).
8. Hang one thrifted shelf or rail
A single floating shelf or a wall rail with hooks does more for a small kitchen than any gadget. Mugs on hooks, a rail for utensils, a shelf for the cookbooks and the plant — suddenly the counter has breathing room. Thrift stores and marketplace listings are full of solid wood shelves for $10–20; a new rail with hooks runs about $15–30.
Mount it into a stud if you can, or use proper wall anchors — a shelf full of mugs is heavier than it looks, and drywall alone won’t hold it. Height matters: 18 inches (46 cm) above the counter is the sweet spot, high enough to work under, low enough to actually reach. Cost: $15–30.
9. Refresh the grout and caulk
This is the least glamorous idea on the list and possibly the highest-impact one per dollar. Old caulk goes yellow, grout goes grey, and both make the whole room feel tired even when everything else is fine. A tube of white silicone caulk is about $8, a grout pen about $7, and an afternoon of careful work makes the sink area and the backsplash edges look brand new.
Cut the old caulk out first — don’t just layer over it, or the new bead peels off in a month. Smooth the new bead with a wet finger, and wipe the excess before it skins over. Cost: $8–15.
10. Style the last 10 inches
Once the work is done, spend the last few dollars on the stuff that makes it look finished rather than just fixed. Matching dish towels, a ceramic crock for utensils, one small plant in a plain pot. That’s it. Three things, one color family, and the kitchen suddenly looks styled instead of just repaired.
Resist the urge to buy a whole matching set of everything. A kitchen with one nice crock and a plant looks designed; a kitchen with twelve matching accessories looks like a showroom, and showrooms don’t get cooked in. Cost: $10–15.
The $99 starter combo
If you did everything above, here’s where the money actually went in this budget kitchen makeover under $100 — the combo I’d pick if I only had one weekend and one hundred dollars:
| Move | Cost |
|---|---|
| Paint the lower cabinets | $28 |
| New hardware (matte black pulls) | $24 |
| Peel-and-stick backsplash, prep run only | $32 |
| LED strip under the uppers | $15 |
| Total | $99 |
That’s four moves, one weekend, and a budget kitchen makeover under $100 that leaves the kitchen looking like a different room. The contact paper, the grout refresh, and the thrifted shelf can wait for next month’s $50 — or skip straight to them if you’ve already got paint and hardware sorted.
What to skip in a budget kitchen makeover under $100
A few things that look tempting but don’t belong in a $100 makeover. Epoxy countertop kits ($100–200 alone) eat the whole budget and need a full day of fumes. A new faucet is a great upgrade, just not at this price — a decent one starts around $80 before you even buy the supply lines. And full countertop replacement, obviously, isn’t happening for $100. The rule is simple: if one item eats more than half the budget, it waits for the next round.
What is the cheapest way to make a kitchen look better?
Start free: deep clean and declutter the counters. After that, swapping the cabinet hardware is the cheapest high-impact change — a full set of knobs or pulls costs $20–40 and takes an afternoon with a screwdriver. Painting the lower cabinets and adding a peel-and-stick backsplash are the next most visible upgrades for under $100.
Can I change my kitchen countertops without replacing them?
Yes, temporarily. Adhesive contact paper in a stone or wood pattern costs about $20–30 per roll and can cover laminate counters. Countertop paint kits run $40–80 and last longer but need careful prep. Both are less durable than real stone, so protect them from hot pans and sharp knives, and expect one to three years of life with normal care.
How do I paint kitchen cabinets without brush marks?
Use a high-quality cabinet paint and a small foam roller for the flat areas, with a brush only for edges and corners. Apply thin, even coats and let each one dry fully before the next. Sand lightly with 220-grit paper between coats to smooth out any raised grain or dust — and paint only the lower cabinets if you want the job done in a weekend.
Will peel-and-stick backsplash damage my walls when removed?
Usually not, if it’s applied to a smooth, painted surface. It can pull paint off if the paint underneath was poorly bonded, and it may leave a sticky residue that comes off with a mild adhesive remover. On textured tile or wallpaper, removal is harder and could damage what’s underneath — so test a small corner first.