
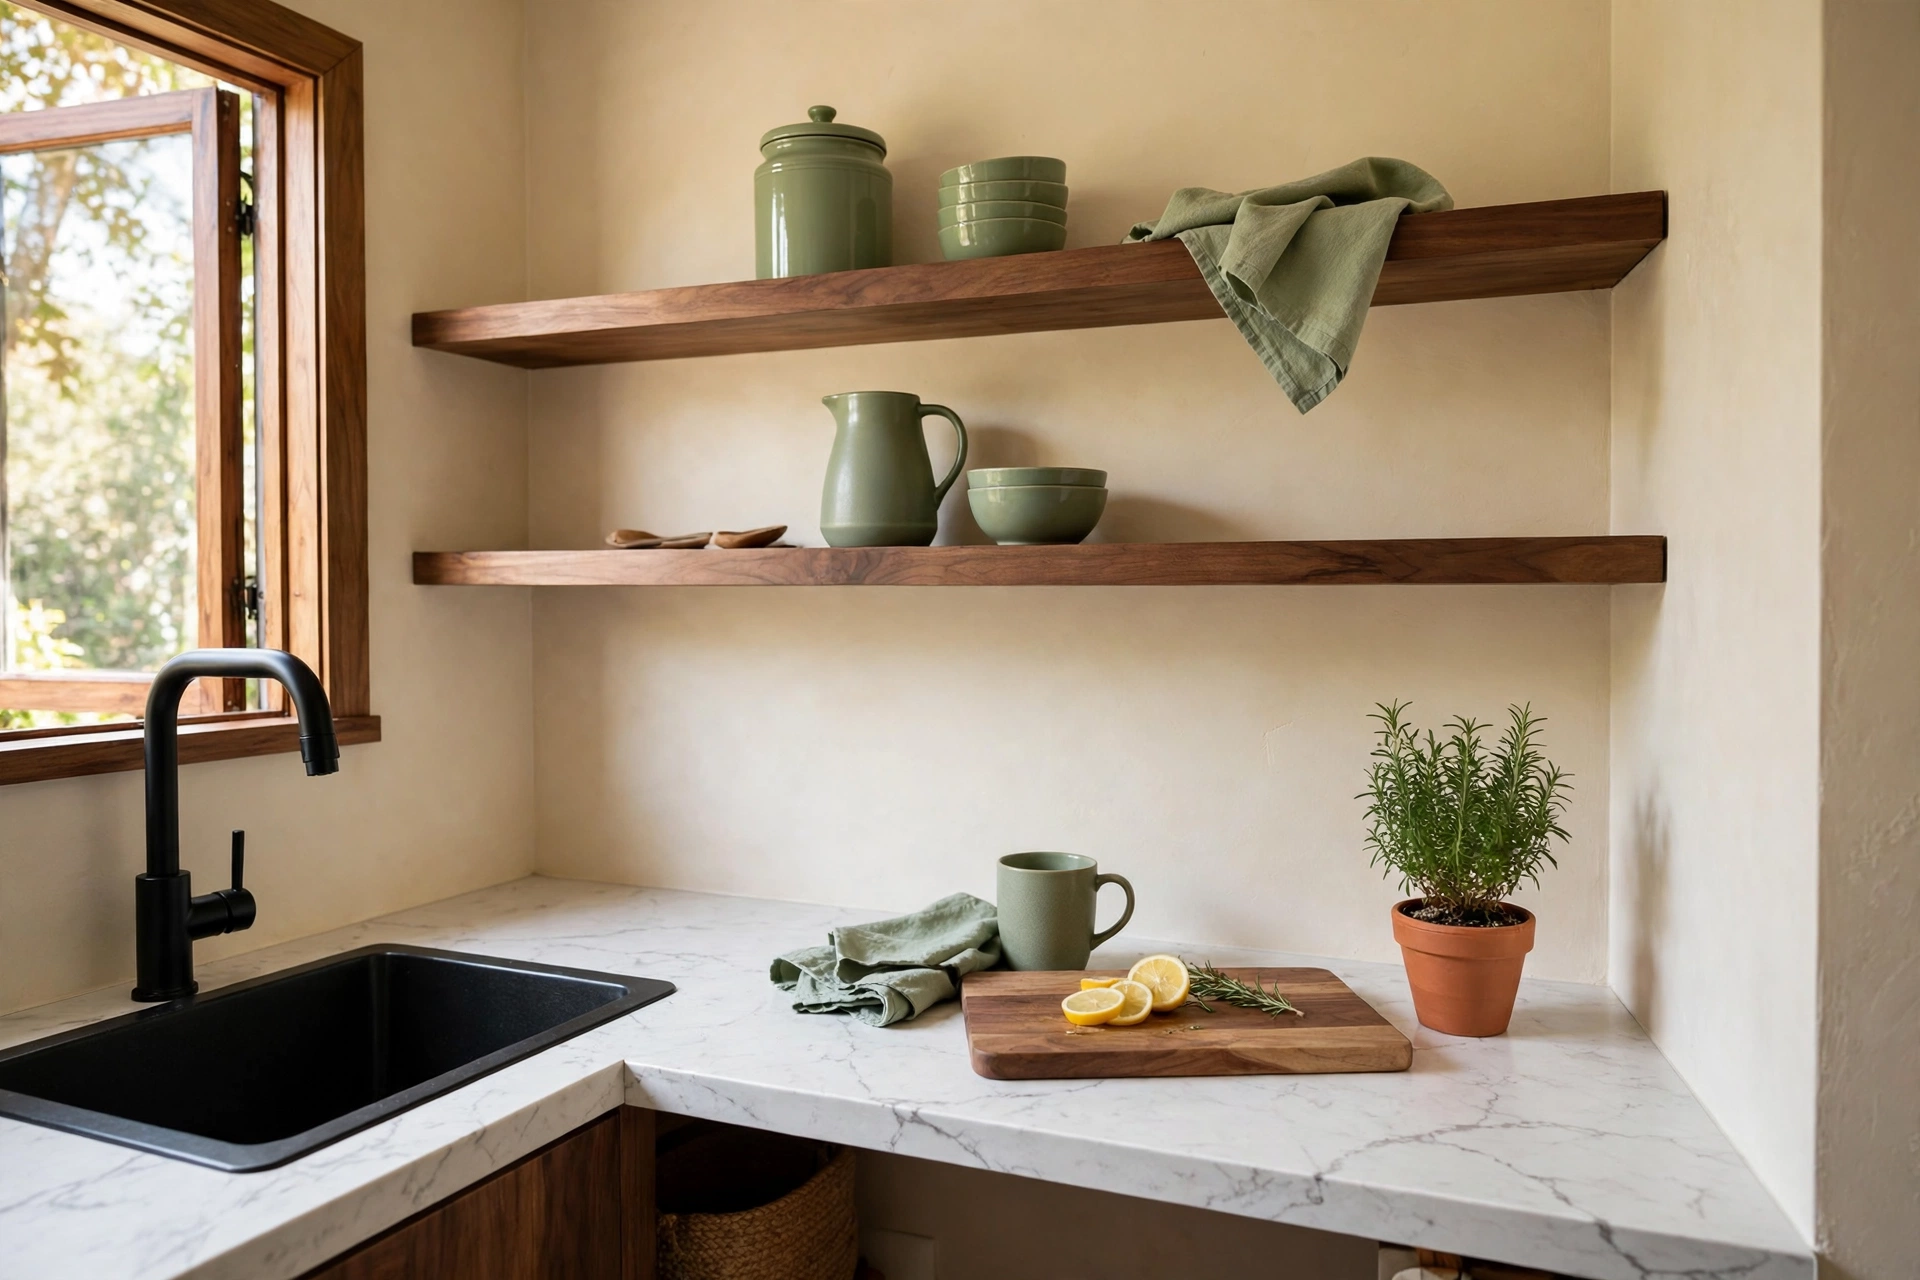
Contact Paper Countertops: Do They Actually Last?
So. Can you put contact paper on a countertop and actually live with it day to day? Yes — one to five years, if you install it properly and don’t abuse it. That’s the short version. The longer version is messier, and honestly more useful: contact paper is vinyl, not stone, and the people who hate it are almost always the people who treated it like stone. A hot pan, one careless knife, and suddenly the whole internet is full of photos of melted rings and curled edges. Meanwhile the people who treat it like what it is — a really good sticker — get years out of a $15 roll. A small kitchen runs about $20–$40 all in, prices as of October 2026, and the whole job takes an afternoon, beer breaks included.
I’ve seen it go both ways up close, which is why I keep coming back to this topic. A friend of mine did her rental kitchen in matte black contact paper and it held for two and a half years. Daily cooking, a toddler who treats every surface like a drum, and then a move-out where the whole thing peeled off in long clean sheets. The counter underneath looked better than the day she moved in. Another friend — same city, same product, basically the same kitchen — skipped the cleaning step, stuck marble paper straight onto a counter that still had a faint grease film on it, and watched the edges start curling within a month. Same roll. Different prep. That gap between the two outcomes is the whole post, really.
How Long Contact Paper Countertops Actually Last
Pull the numbers together from people who’ve actually done it and you land somewhere between one and five years. Two to three is the most common. And here’s the thing nobody puts in the headline: the paper doesn’t really “wear out” the way a real counter does. It fails in three specific ways, and all three are avoidable. Heat melts it. Knives cut it. Water sneaks under a lifted edge and loosens the glue from beneath. That’s the entire failure list. Keep those three things away and it just… sits there, looking like marble, for years.
Where you put it changes the math a lot. A bathroom vanity is the easy win — toothpaste splashes, a bit of water, a curling iron on a mat. One DIYer I found while researching this had hers still looking brand new after ten months of daily use with kids in the house, which is about as harsh a test as a bathroom gets. A kitchen is harder on it. Knives, heavy pots, tomato sauce, a wet sponge abandoned in the same spot for a week. It still works in a kitchen, don’t get me wrong. You just have to respect it more, and most people don’t, because it looks so convincing that your brain files it under “real countertop” and stops being careful.
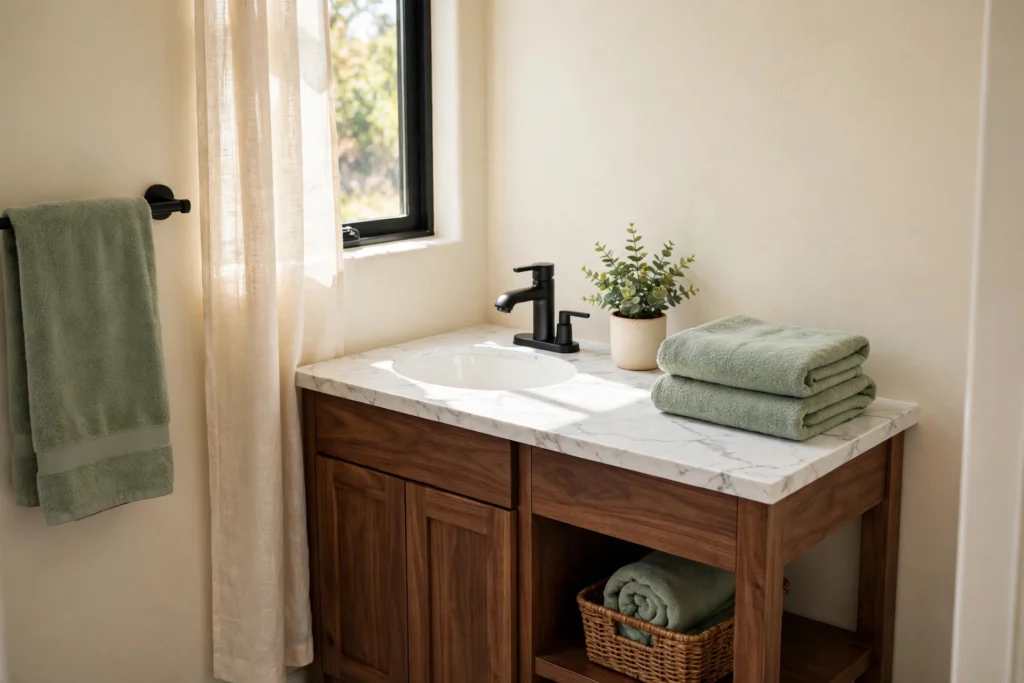
The removal is the part renters actually care about, and it’s genuinely good news. Warm a section with a hair dryer, peel it back slow at a low angle, and the counter underneath comes out clean. More than clean, usually — the paper spent a year or two shielding the laminate from stains and scratches. When your deposit is on the line, that’s not a small thing.
What It Costs (As of October 2026)
Forty bucks, tops, and that’s being generous. A roll of decent contact paper — the standard size is 15.8 inches by 80 inches, so 40 by 203 cm — runs $6–$15 depending on the pattern. Here’s the funny part: the marble and granite looks cost the same as the plain ones. A small galley kitchen needs two or three rolls. A bathroom vanity needs one, maybe with enough left over for a shelf.
Then the tools, most of which you already own. A plastic squeegee, or an old credit card if you’re cheap like me. A sharp craft knife. The hair dryer from your bathroom. The only thing worth actually buying is clear silicone caulk, about $5, for sealing the edge around the sink — skip that step and water will find its way underneath eventually, it’s just a matter of time. All in, a small kitchen lands around $20–$40. A real countertop replacement starts around $1,500. That’s not a comparison, that’s a different universe, and it’s why this little roll has such a devoted following.
If I could only give you one piece of spending advice: buy the thicker paper. The tissue-thin bargain rolls tear while you’re still applying them, and they show every bump and crumb underneath like a bad paint job. The mid-range vinyls — d-c-fix is the name that comes up again and again in DIY circles, and for good reason — are thicker, they forgive small mistakes, and you can peel them back and reposition them while you work instead of committing to the first touch.
Where It Works — and Where It Fails
OK, the failures, because knowing them is genuinely what makes the install last. Smooth laminate counters, bathroom vanities, laundry room counters, desk tops, shelf surfaces — anything flat and non-porous and already in decent shape. Tile counters work too, the paper bridges small grout lines fine, but deep grout or chipped tile will poke through eventually and you’ll see it every single day, so be honest with yourself about the state of your tile before you start.
What kills it? Rough or peeling surfaces, for one — the paper follows every bump like shrink wrap, there’s no hiding. Counters with real damage underneath. And sustained heat, obviously. But the failure I see most often isn’t any of those. It’s the mindset thing I mentioned at the top. People install it, it looks amazing, they forget it’s vinyl, and six months later they’re wondering why there’s a melted ring where the baking tray sat. The sink is the other danger zone, by the way. Water pools there, and if it gets under an edge that wasn’t sealed, it lifts the paper from underneath, slowly, invisibly, until one morning a whole corner is flapping. That silicone bead around the sink rim is the difference. Thin line of clear silicone where the paper meets the sink, smooth it with a damp finger, leave it alone for a full day before you run water over it. Boring. Essential.
How to Apply It Without Bubbles
I know, prep is boring. Prep is also everything. Clean the counter with dish soap and water, then wipe it down with rubbing alcohol and let it dry completely. Grease is the number one reason edges lift — not bad glue, not cheap paper, grease. Get on your knees if you have to and scrape the built-up gunk off with a flat knife, especially along the edges and the underside of the lip. The paper needs a clean surface to grip there or it’ll keep peeling back, and you’ll blame the product for a problem your sponge caused.
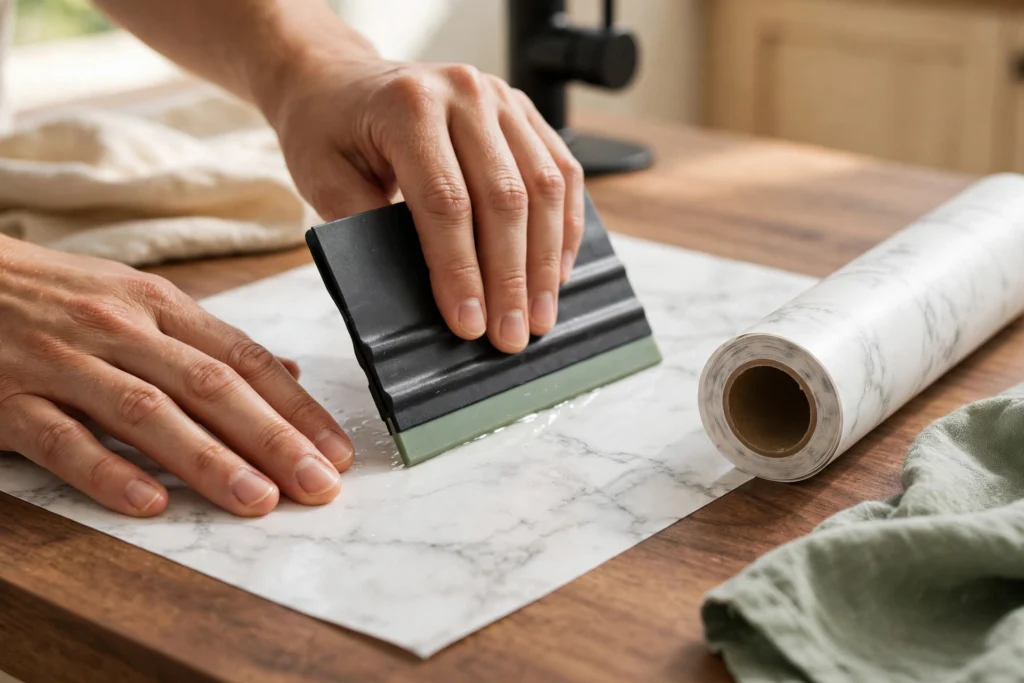
Measure twice, cut once, leave an extra inch — 2.5 cm — on every side so you can fold it over the edge. Peel back just a few inches of backing to start, line it up, and smooth as you go with the squeegee, working from the center out toward the edges. The trick that saves most people, and I wish someone had told me this the first time: keep the roll elevated while you apply it. If it flops down onto the counter it sticks where you don’t want it and now you’re peeling and re-sticking and cursing. A second pair of hands helps enormously here. One person holds the roll up in the air, the other smooths in slow sections, inch by inch. A 10-foot run takes about forty minutes with two people. Alone, longer, and with more swearing.
Bubbles are going to happen, so don’t panic. Small ones push out to the edge with the squeegee. Stubborn ones get a tiny pinprick and a press — the hole vanishes into the pattern, especially with a busy marble print, which is yet another reason to pick a busy pattern. For the sink, cut relief slits radiating out from the opening and fold the flaps down under the rim, or trim precisely along the inner edge. Slow down here. The sink cut is the part everyone actually sees, including you, three times a day, forever.
If you want the same peel-and-stick treatment on the wall above the counter, our peel-and-stick backsplash guide covers that surface — same family of product, different rules, and the two together are the classic $100 kitchen refresh.
The Daily Care Rules
There are three of them and I learned two the hard way, so listen up.
Trivets. Always. Vinyl starts to soften around 140°F, which is 60°C, and a hot pan straight off the stove will melt or scorch the surface in seconds — not minutes, seconds. I keep a cork trivet right next to the stove now, permanently, because “I’ll remember” is a lie I told myself exactly once. Same rule for the curling iron in the bathroom: heat-safe mat, every time, no exceptions.
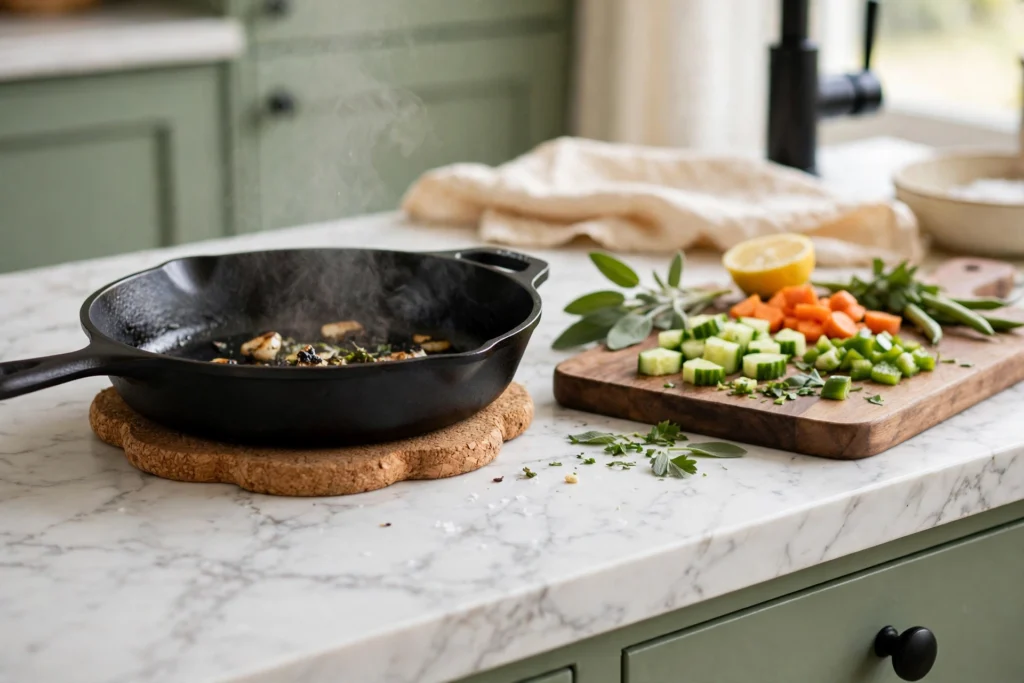
Cutting boards, also always. A knife goes straight through vinyl. That’s not the paper failing, that’s physics, and it’s your fault, not the product’s. Chop on a board. Every time.
And cleaning — gentle, or don’t bother. Mild dish soap, warm water, soft cloth. That’s the whole list. No scouring pads. No acetone, no bleach, no ammonia sprays. They eat the vinyl’s finish and chew up the adhesive underneath, and then people wonder why the edges are lifting six months in. Wipe up spills when they happen, especially around the sink, and if an edge does start to lift, dab a little vinyl adhesive under it right away, before water gets in. Five minutes now or a whole re-do later. Your call.
Do those three things and the surface stays looking new for years. Ignore them and you’ll be re-doing the job by summer, and honestly, you’ll deserve it. I’ve seen both timelines play out, and the difference was never the brand of paper. It was the habits.
The Renter Rules (Read This Before You Start)
Contact paper is renter-friendly. Mostly. Your deposit still deserves five minutes of caution before you start sticking things to someone else’s property.
First, the lease. Most leases never mention contact paper specifically — why would they — but some ban adhesive products outright, and “I didn’t know” doesn’t get a deposit back. If there’s any doubt at all, text your landlord. A thirty-second message now beats a fight later.
Second, protect what’s underneath. The one genuine risk with contact paper is the adhesive pulling up the top layer of a laminate counter if it sits there for years. The fix costs nothing and takes two minutes: lay down a layer of painter’s tape on the counter first, then put the contact paper over that. Painter’s tape is designed to peel off cleanly, so it acts as a barrier between the strong vinyl adhesive and your landlord’s countertop. A creator I follow did exactly this across two different rentals and both counters came out pristine underneath — the tape came off, the laminate was untouched, full deposit back.
Third, and this is the part people forget until moving day: plan the removal now. When it’s time to go, warm each section with a hair dryer on high — you’re aiming for roughly 80 to 140°F at the surface — and peel it back slowly at a low 45-degree angle. Slowly. Don’t yank it like a bandage or you’ll tear the paper and leave glue everywhere. Any sticky residue that does stay behind comes off with rubbing alcohol on a microfiber cloth, or a dab of Goo Gone if it’s being stubborn. A small kitchen takes under an hour, start to finish.
Cheap, reversible, deposit-safe — that combination is exactly why contact paper shows up in so many of our renter-friendly kitchen upgrades under $50. It’s the single biggest visual change on that whole list for the least money. Not even close.
What to Do When It Starts to Fail
Even a good install ages, so here’s how to read the signs instead of panicking.
An edge starts lifting? Press it back down with a hair dryer to wake the adhesive up, then run a thin bead of clear silicone or vinyl adhesive along the edge. Caught early it’s a five-minute fix. Ignored, it turns into a water channel, and then you’re replacing a whole section.
A bubble that won’t smooth out? Pinprick it, press the air out, move on with your life. But if the same spot keeps bubbling, something’s wrong underneath — probably uneven, probably damp. Lift that section, dry it properly, stick it back down. Don’t just keep pressing the same bubble down every week and hoping.
A stain or a scorch mark? Small marks sometimes come off with a baking soda paste, worth a try. A melted spot is permanent, though, no way around it. The honest fix is cutting a patch from your leftover roll, matching the pattern as best you can, and hiding the seam where the pattern is busiest. Marble prints hide patches beautifully — solid colors really don’t, which, again, is why busy patterns are the smarter pick.
And when more than a third of the surface is failing, stop patching. Peel the whole thing off with the hair dryer, clean the counter properly this time, and start fresh. A new roll costs ten dollars. Your weekends are worth more than nursing a dying install along for another six months.
Is It Worth It?
For a rental? Yes, and it’s not particularly close — best dollars-per-impact upgrade I know of, full stop. For a home you own and plan to stay in, it’s a great stopgap while you save for the real thing, not a replacement for it. And paired with the rest of a small-kitchen refresh — say, painting the cabinets while you’ve already got the place torn apart — a $40 roll of paper can make a tired kitchen feel like a different room entirely.
Just go in with your eyes open. Vinyl, not stone. Treat it like vinyl and it’ll reward you for years. Treat it like stone and it’ll punish you within a week. That one distinction is the whole secret, and now you know it before you’ve spent a dollar.
If you’re tackling the whole home room by room, our whole-home organization guide lays out the order that keeps a small space from sliding back into chaos — kitchen included.
For the durability numbers behind this post, see TastingTable’s rundown on whether peel-and-stick counters actually last and EngineerFix’s step-by-step application guide.
How long does contact paper last on countertops?
Honestly, one to five yea
rs — two to three is what most people actually get in a kitchen, longer in a bathroom. The three things that shorten its life are heat, knives, and water creeping under the edges, so trivets, cutting boards, and a sealed sink edge are the habits that matter. Get those right and the paper just keeps going.
Is contact paper waterproof on countertops?
The vinyl itself, yes — water beads right off it, as long as there are no nicks or cuts in the surface. The weak point is always the edges, especially around the sink, where water can seep underneath and loosen the glue. A bead of clear silicone caulk around the sink rim takes care of that. Wipe up standing water when you see it and you’re fine.
Can you put hot pans on contact paper countertops?
No. Never. Not even for a second. Vinyl starts to soften around 140°F (60°C), and a hot pan will melt or scorch the surface before you can blink. Trivet or hot pad, every single time — keep one right by the stove so it’s not a decision you have to remember to make.
Does contact paper ruin countertops when you remove it?
Usually the opposite, actually. Warm it with a hair dryer, peel it back slowly at a low 45-degree angle, and the counter underneath generally comes out clean — the paper spent its whole life protecting the surface from stains and scratches. If you want to be extra careful on laminate, lay painter’s tape down first as a barrier, and any leftover stickiness comes off with rubbing alcohol.