
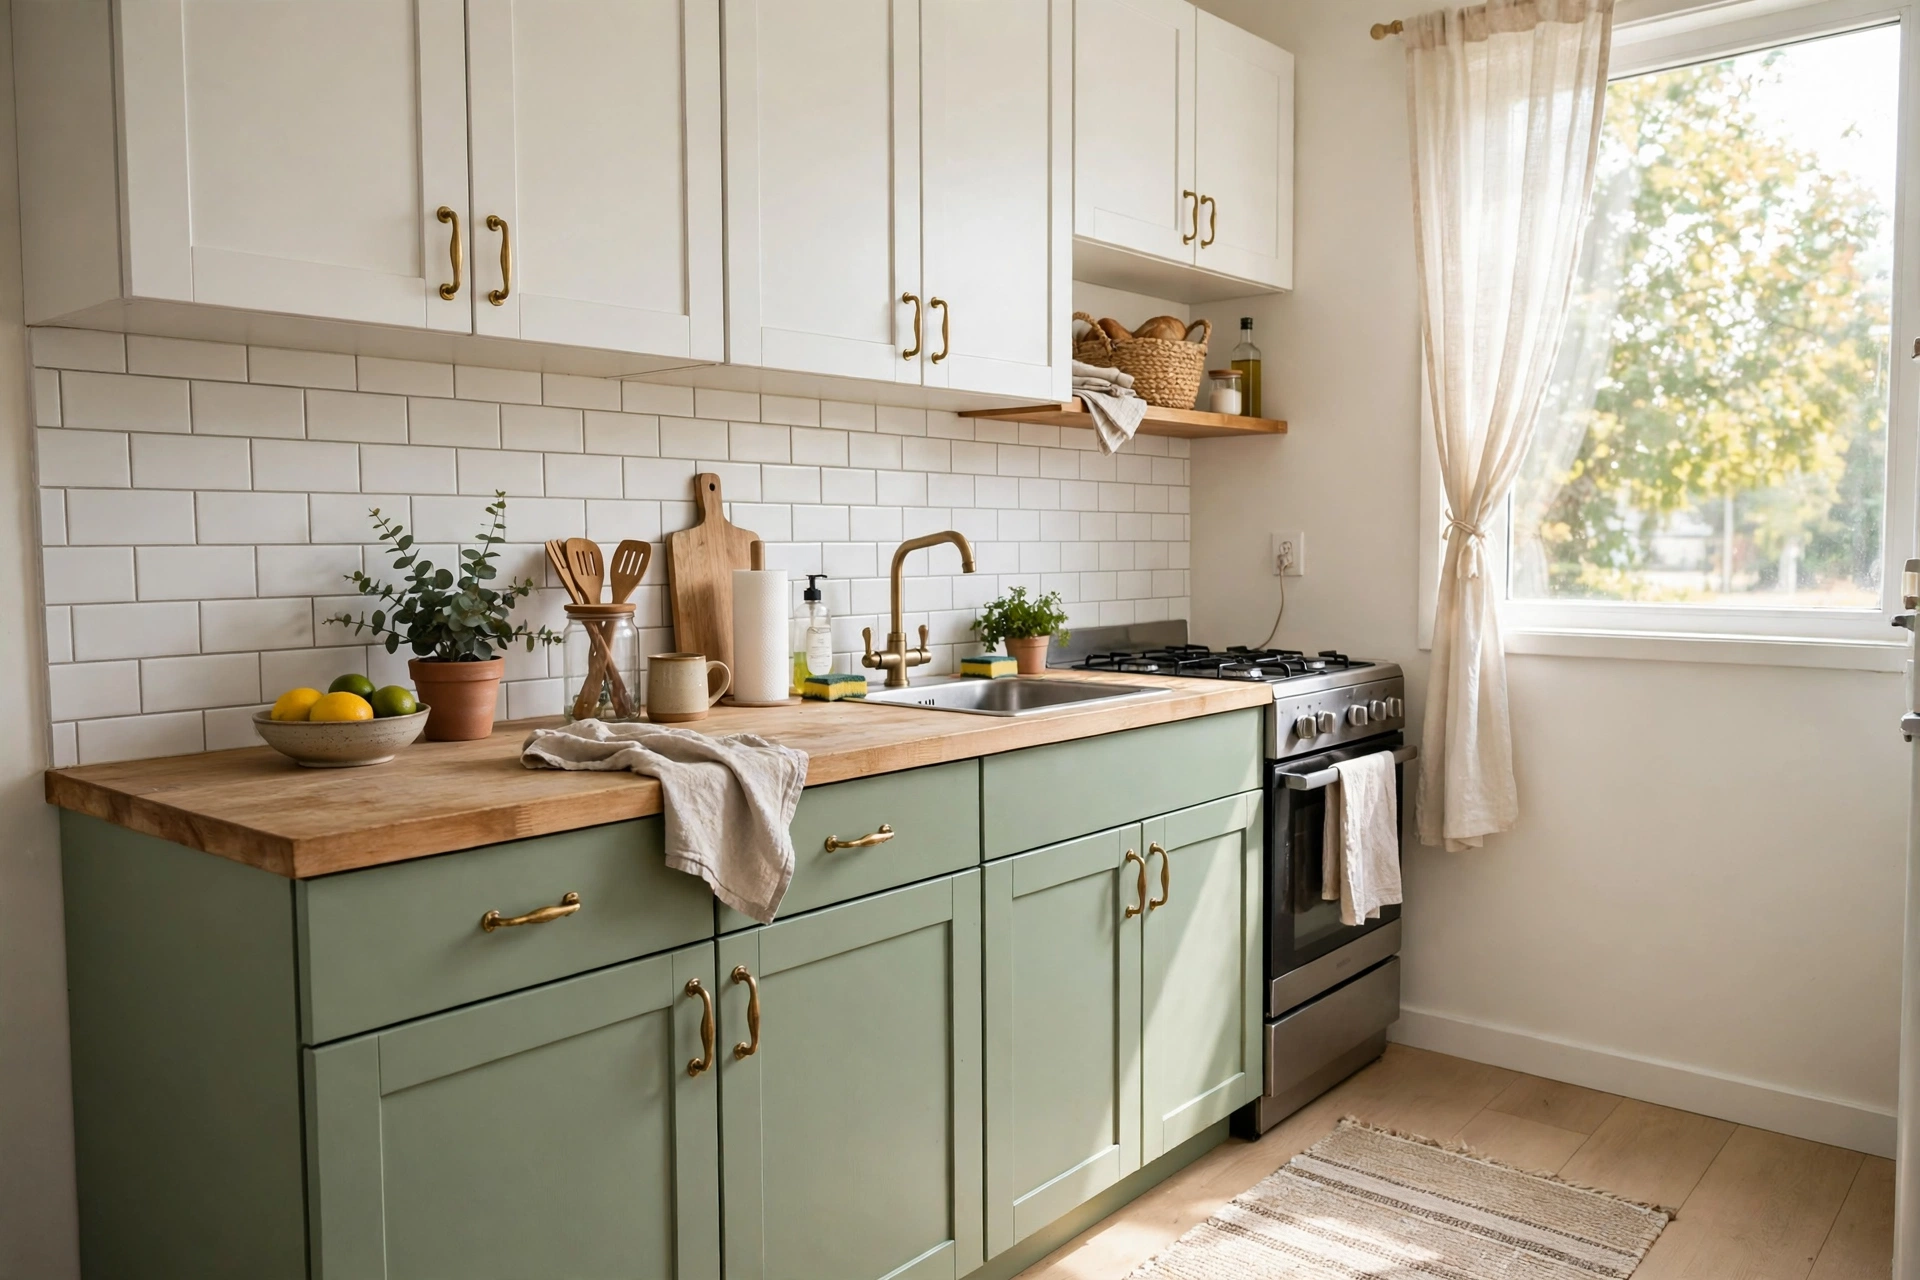
How to Paint Kitchen Cabinets for Under $200 (Step by Step)
New cabinets cost thousands. Painting the ones you have costs under $200 and a few evenings — and done properly, it doesn’t look like a compromise, it looks like a renovation. This is the exact process, with the real cost of every item, the drying times nobody mentions, and the three mistakes that make painted cabinets chip within a year. (Organized your cabinets first? Our no-pantry kitchen organization ideas are the perfect prep step.)
What it actually costs (real breakdown)
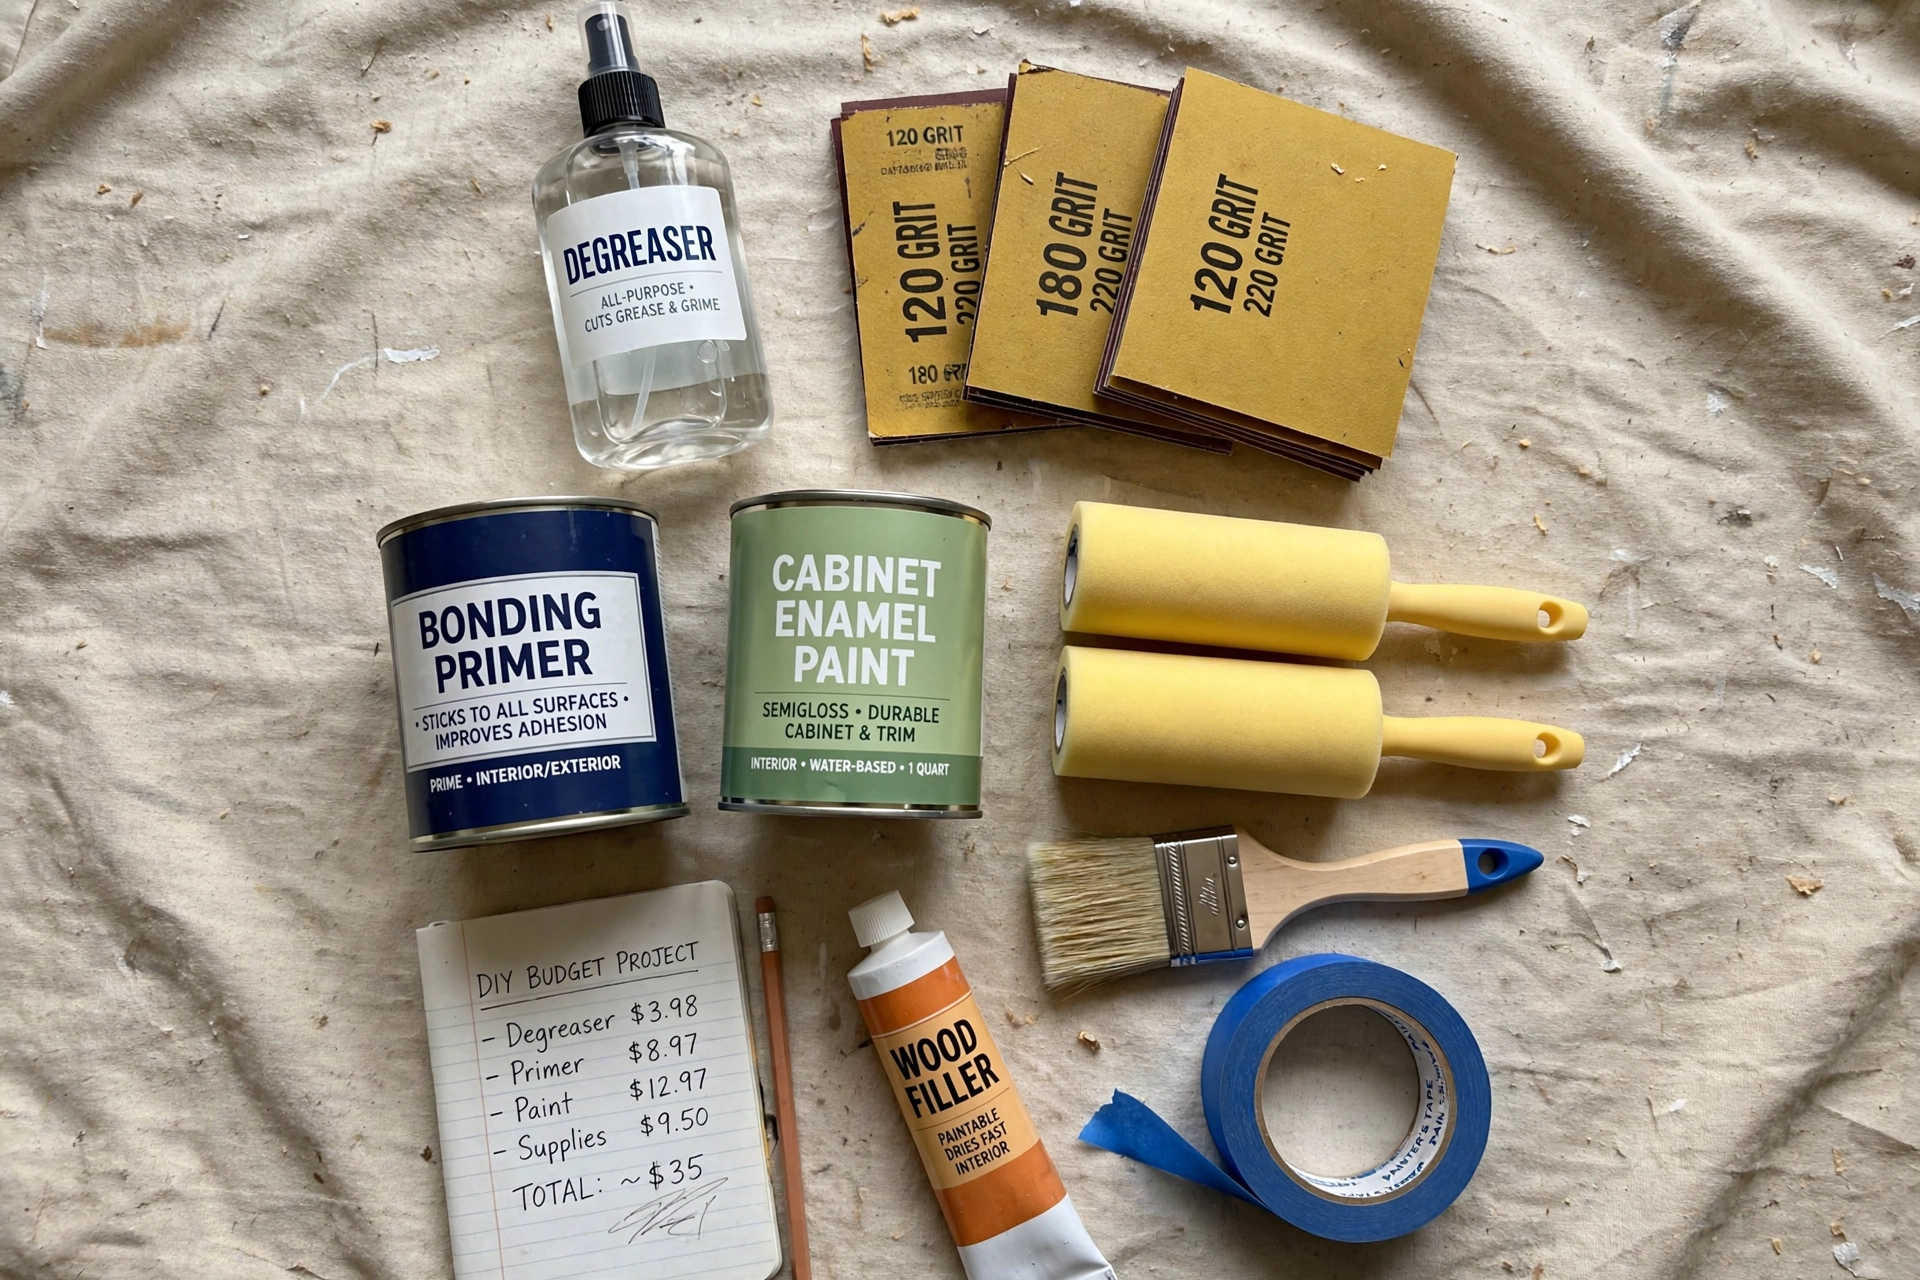
Prices from a typical US home store run, mid-range brands:
- Degreaser (TSP substitute): $8
- Liquid deglosser + sandpaper (120 & 220 grit): $15
- Bonding primer, 1 quart: $22
- Cabinet & trim enamel paint, 1 gallon: $52
- Foam rollers, angled brush, trays: $18
- Painter’s tape, drop cloths, plastic: $14
- Wood filler + caulk: $7
- Total for the paint job: $136
- Optional: new handles/knobs: $40 → $176 all-in
Under $200 with room to spare. The gallon covers a typical 10–15-cabinet kitchen with two coats.
Before you start: the honest time budget
Two evenings of prep, one weekend day of priming and first coats, a second day for final coats, then patience: cabinet paint needs 5–7 days to cure hard before normal use. You can reinstall doors after 48 hours if you’re gentle, but slamming them in week one is how chips happen.
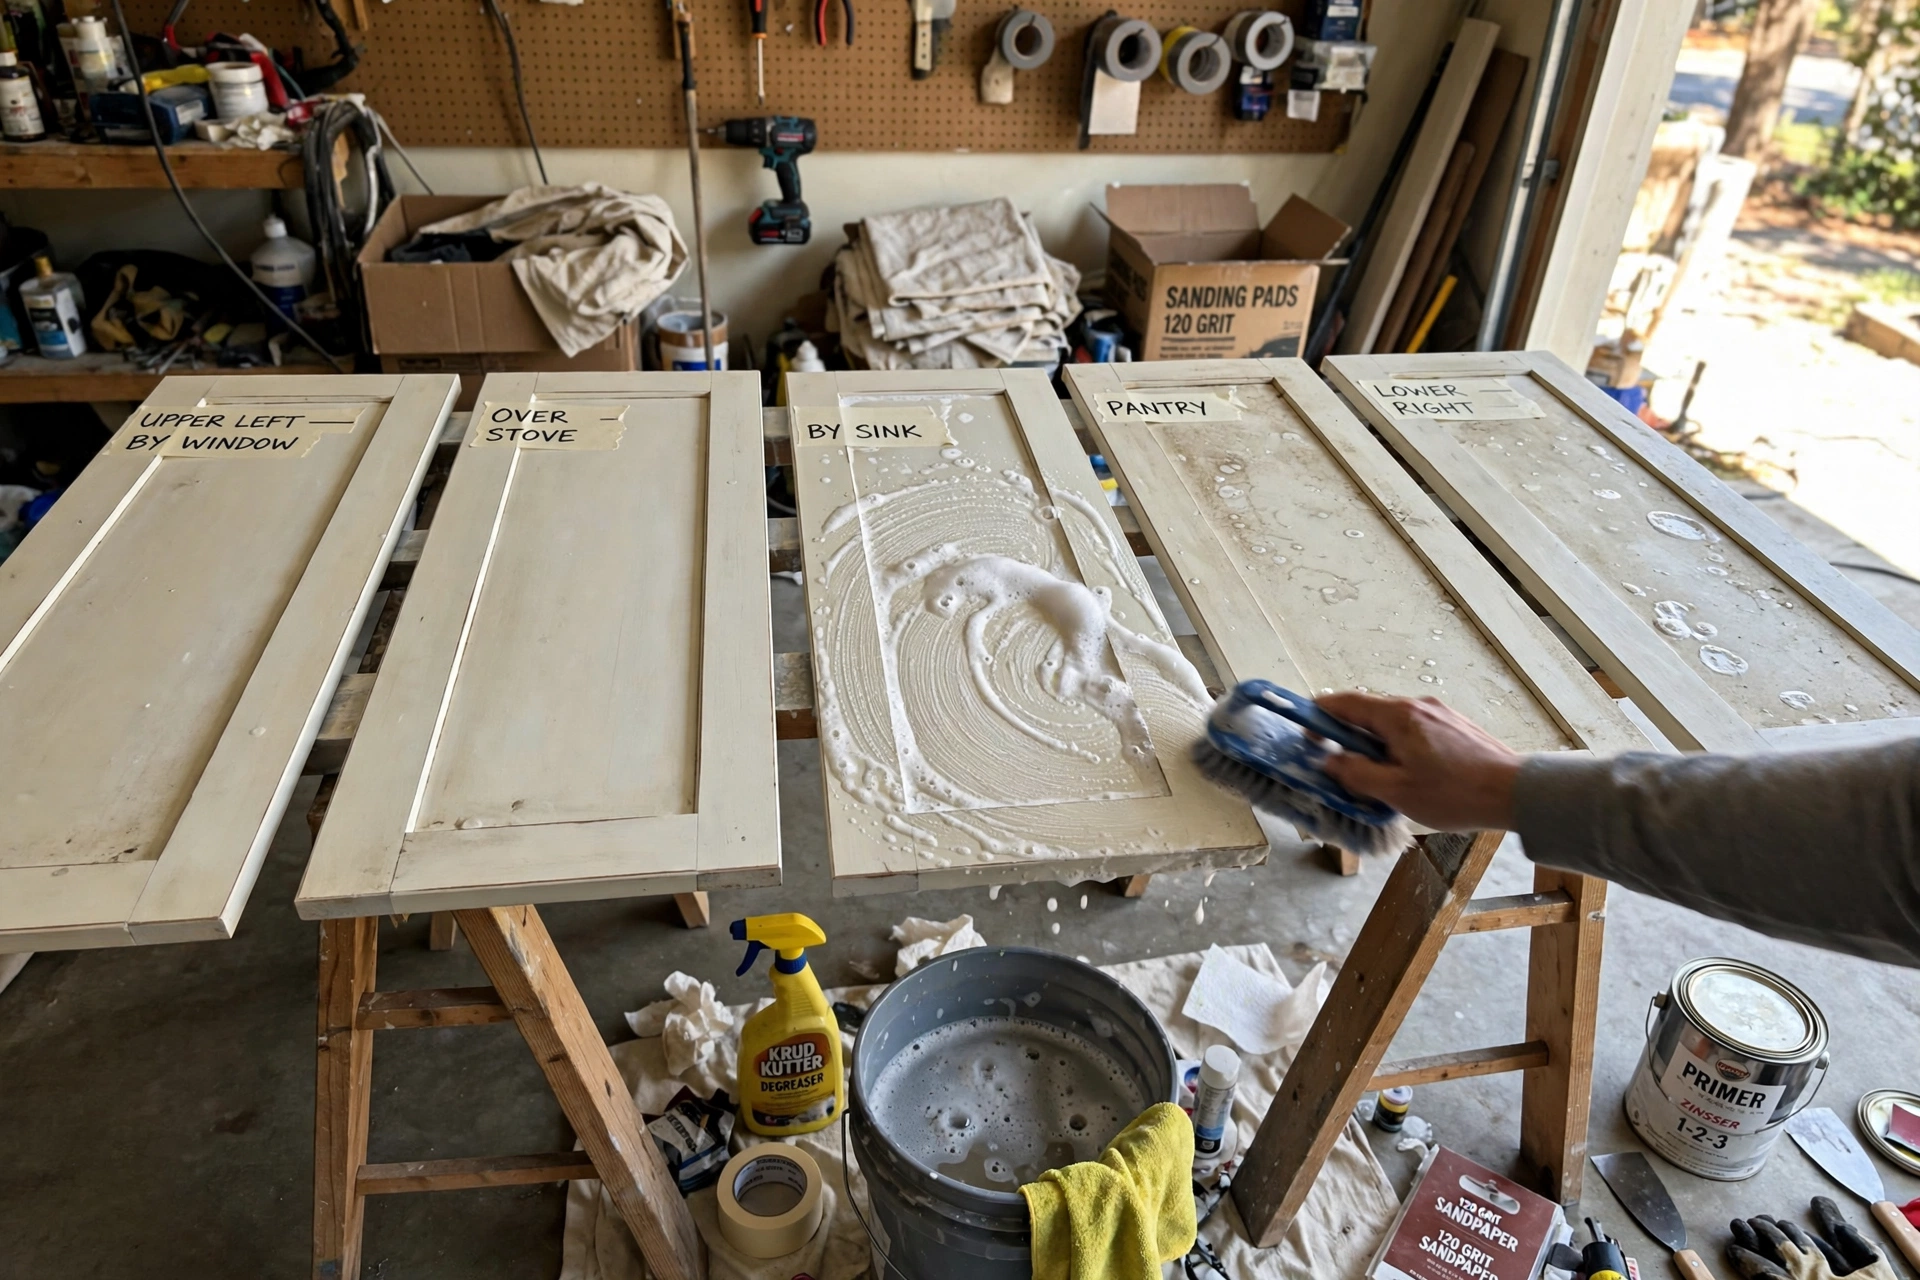
Step 1: Remove doors, drawers and hardware — and label everything
Take doors off their hinges and hardware off the doors. Label every door and its cabinet with matching numbers on painter’s tape (inside the hinge cup is the classic spot). Photograph the hardware layout. Future you, at reassembly, will be extremely grateful. Bag screws and hinges per door.

Step 2: Degrease like you mean it
Kitchen cabinets wear an invisible coat of cooking grease, and paint will not bond to it. Scrub every surface with the degreaser, rinse, and let it dry fully. This is the step shortcuts are made of, and it’s the number-one reason painted cabinets peel. If the surface still feels slick, do it again.
Step 3: Sand or degloss — you need one of them
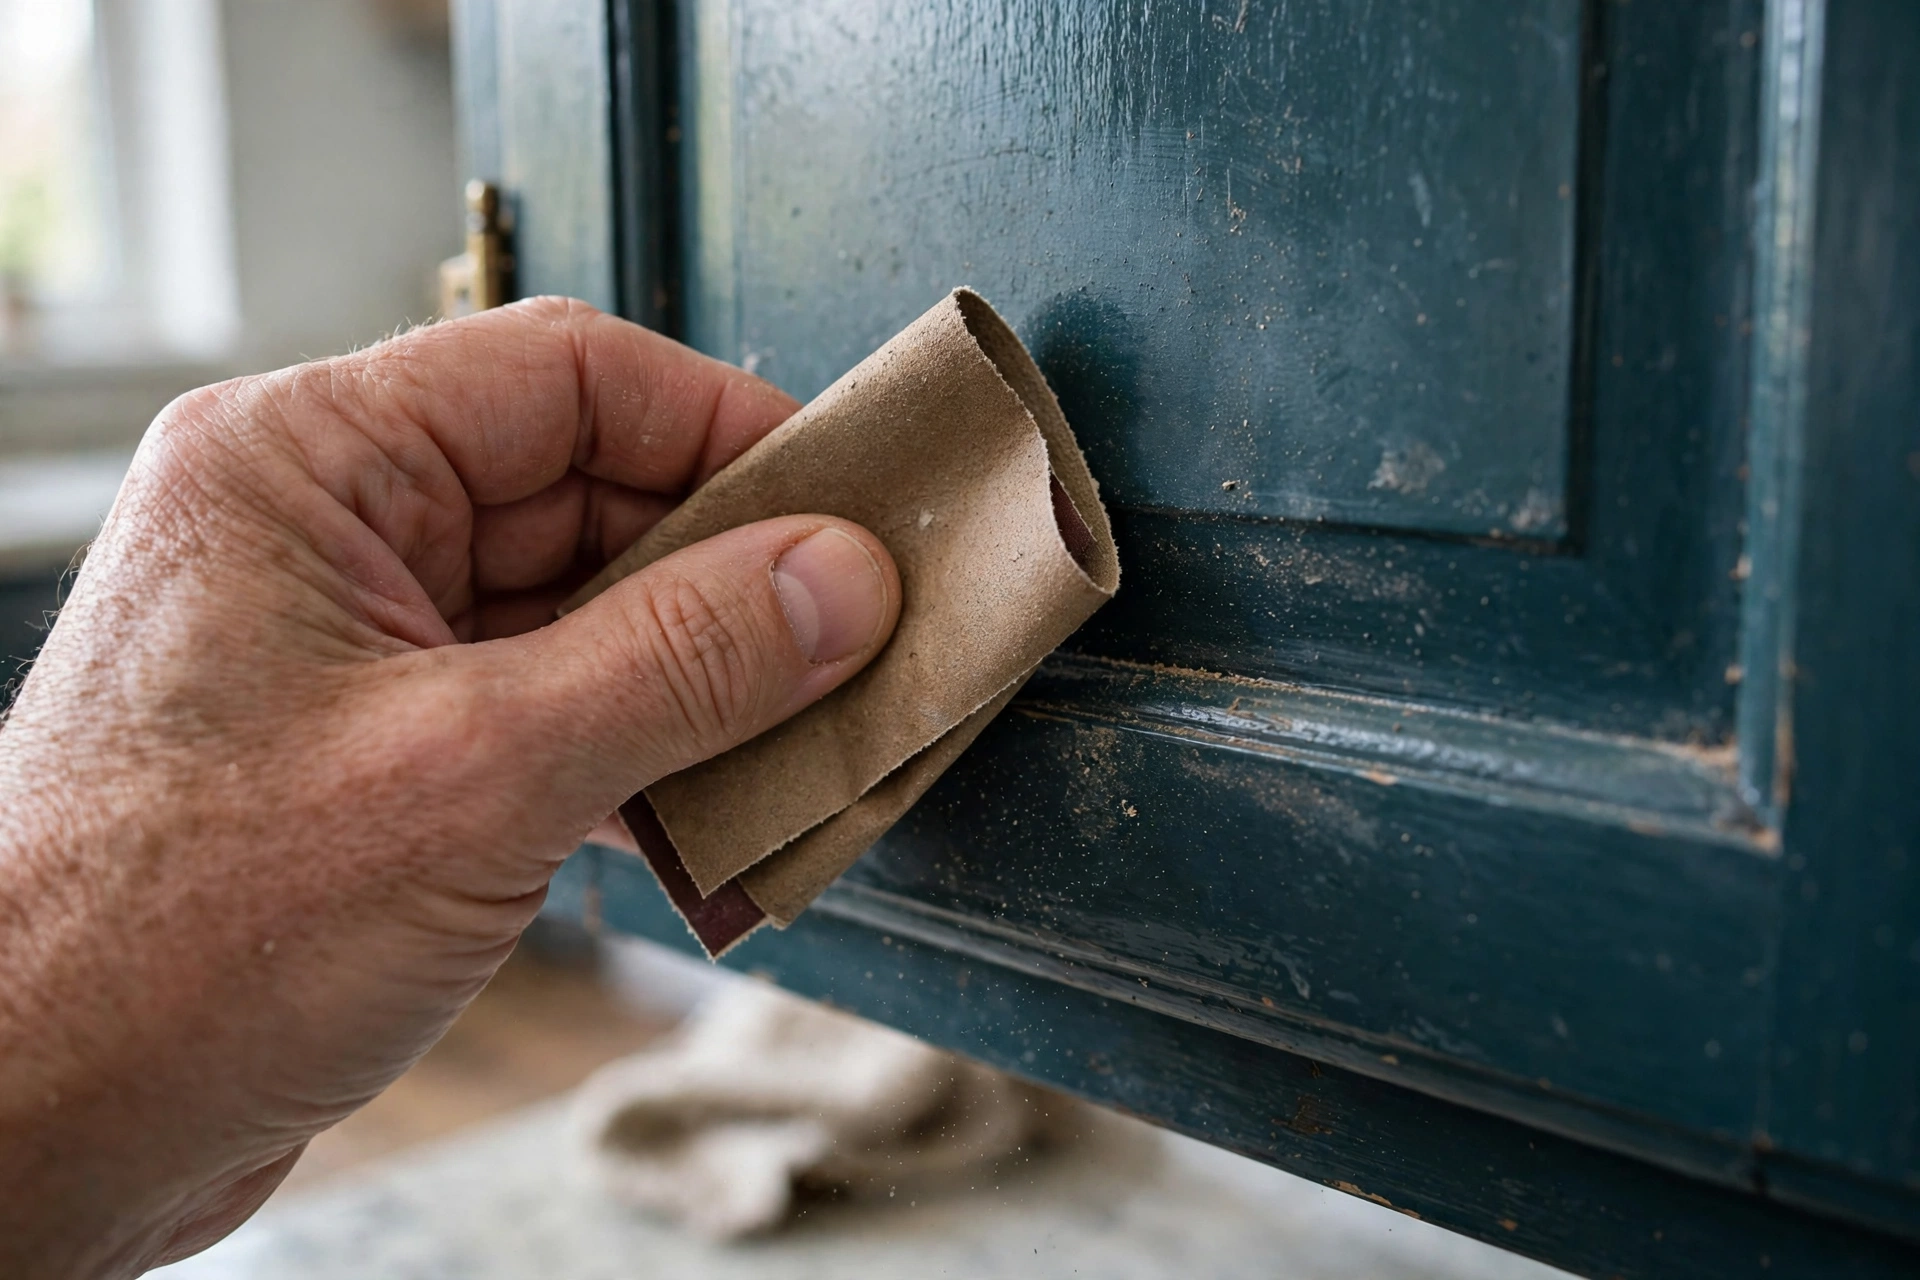
Paint needs something to grip. Either sand all surfaces lightly with 120-grit (you’re scuffing the shine, not stripping to wood), or wipe on liquid deglosser per its instructions — the faster option on detailed door profiles. Many careful painters do both on flat doors. Wipe dust off with a tack cloth or damp microfiber and let dry.
Step 4: Fill, caulk, and fix the sins
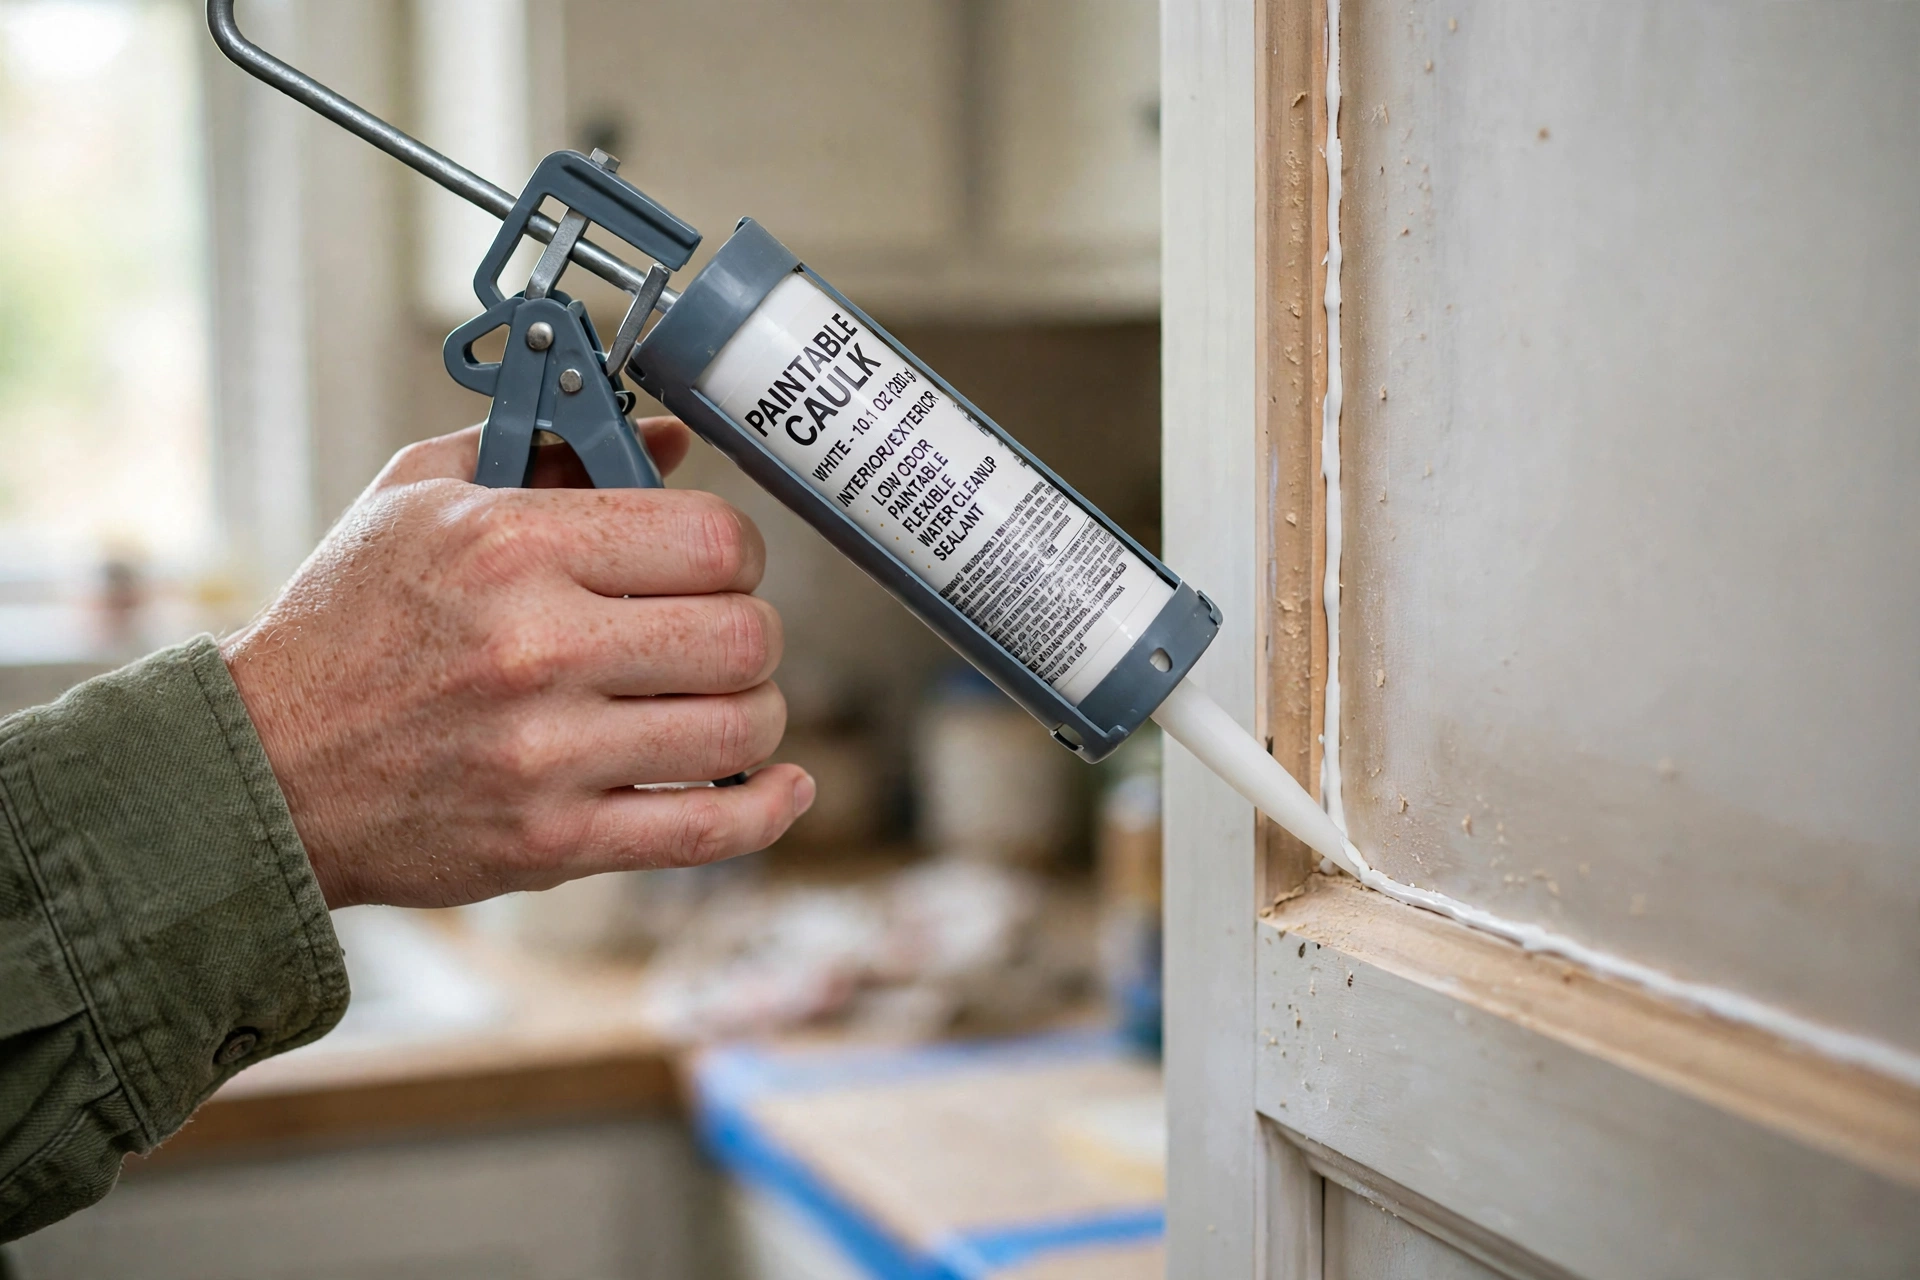
Wood filler in dents and old handle holes (if your new hardware has different spacing), smooth, sand flush when dry. A thin bead of paintable caulk where door panels meet frames stops the cracked-line look after painting. Ten minutes here is the difference between painted cabinets and new cabinets.
Step 5: Prime with a bonding primer
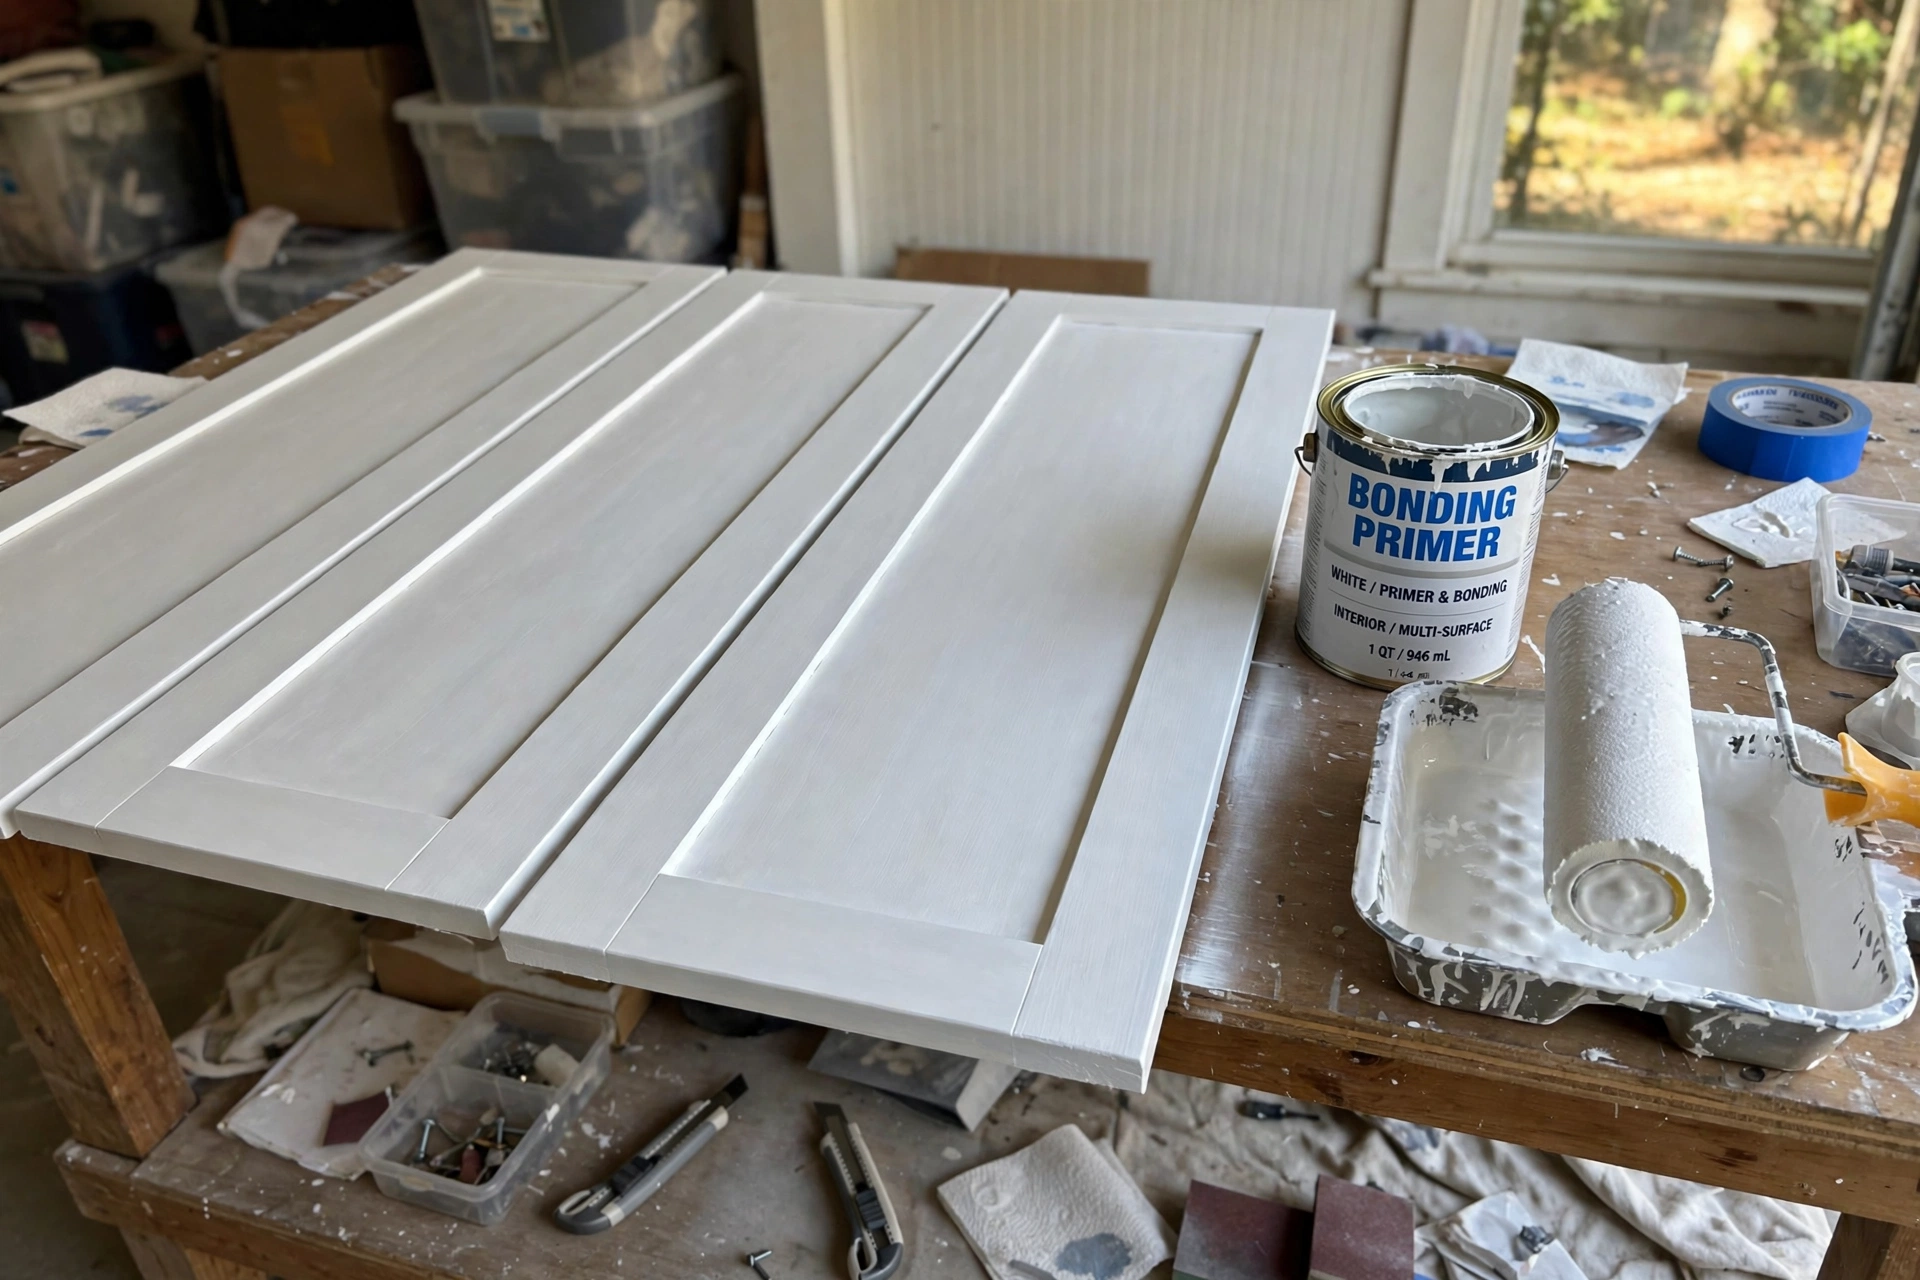
Regular wall primer will fail on glossy cabinet finishes. A bonding (adhesion) primer is made for exactly this. Thin, even coats: foam roller on flat areas, angled brush in the grooves. One coat is usually enough over a sound surface. Let it dry per the can — typically 1–2 hours — and sand whisper-light with 220-grit for a glass-smooth base.
Step 6: First coat of cabinet enamel
Use paint made for cabinets and trim — a water-based enamel that levels smooth and cures hard. Wall paint stays soft and will mark and peel in a kitchen; this is not the place to use up leftover paint. Roll the flats, brush the details, and work in long even strokes. It will look streaky and thin. That’s correct. Thin coats are the whole secret.

Step 7: Sand between coats (lightly!)
When coat one is dry (2–4 hours for most cabinet enamels), a gentle pass with 220-grit knocks down dust nibs and gives coat two its grip. Wipe clean. Skipping this is how you get a finish that looks orange-peeled up close.
Step 8: Second coat — and a third if the color demands it
Dark-to-light color changes usually need a third coat; same-family colors often finish in two. Judge in daylight, not under warm evening bulbs. Then walk away. Seriously — the finish levels and smooths as it dries, and touching it just to check is how fingerprints become permanent residents.
Step 9: Cure, then reinstall
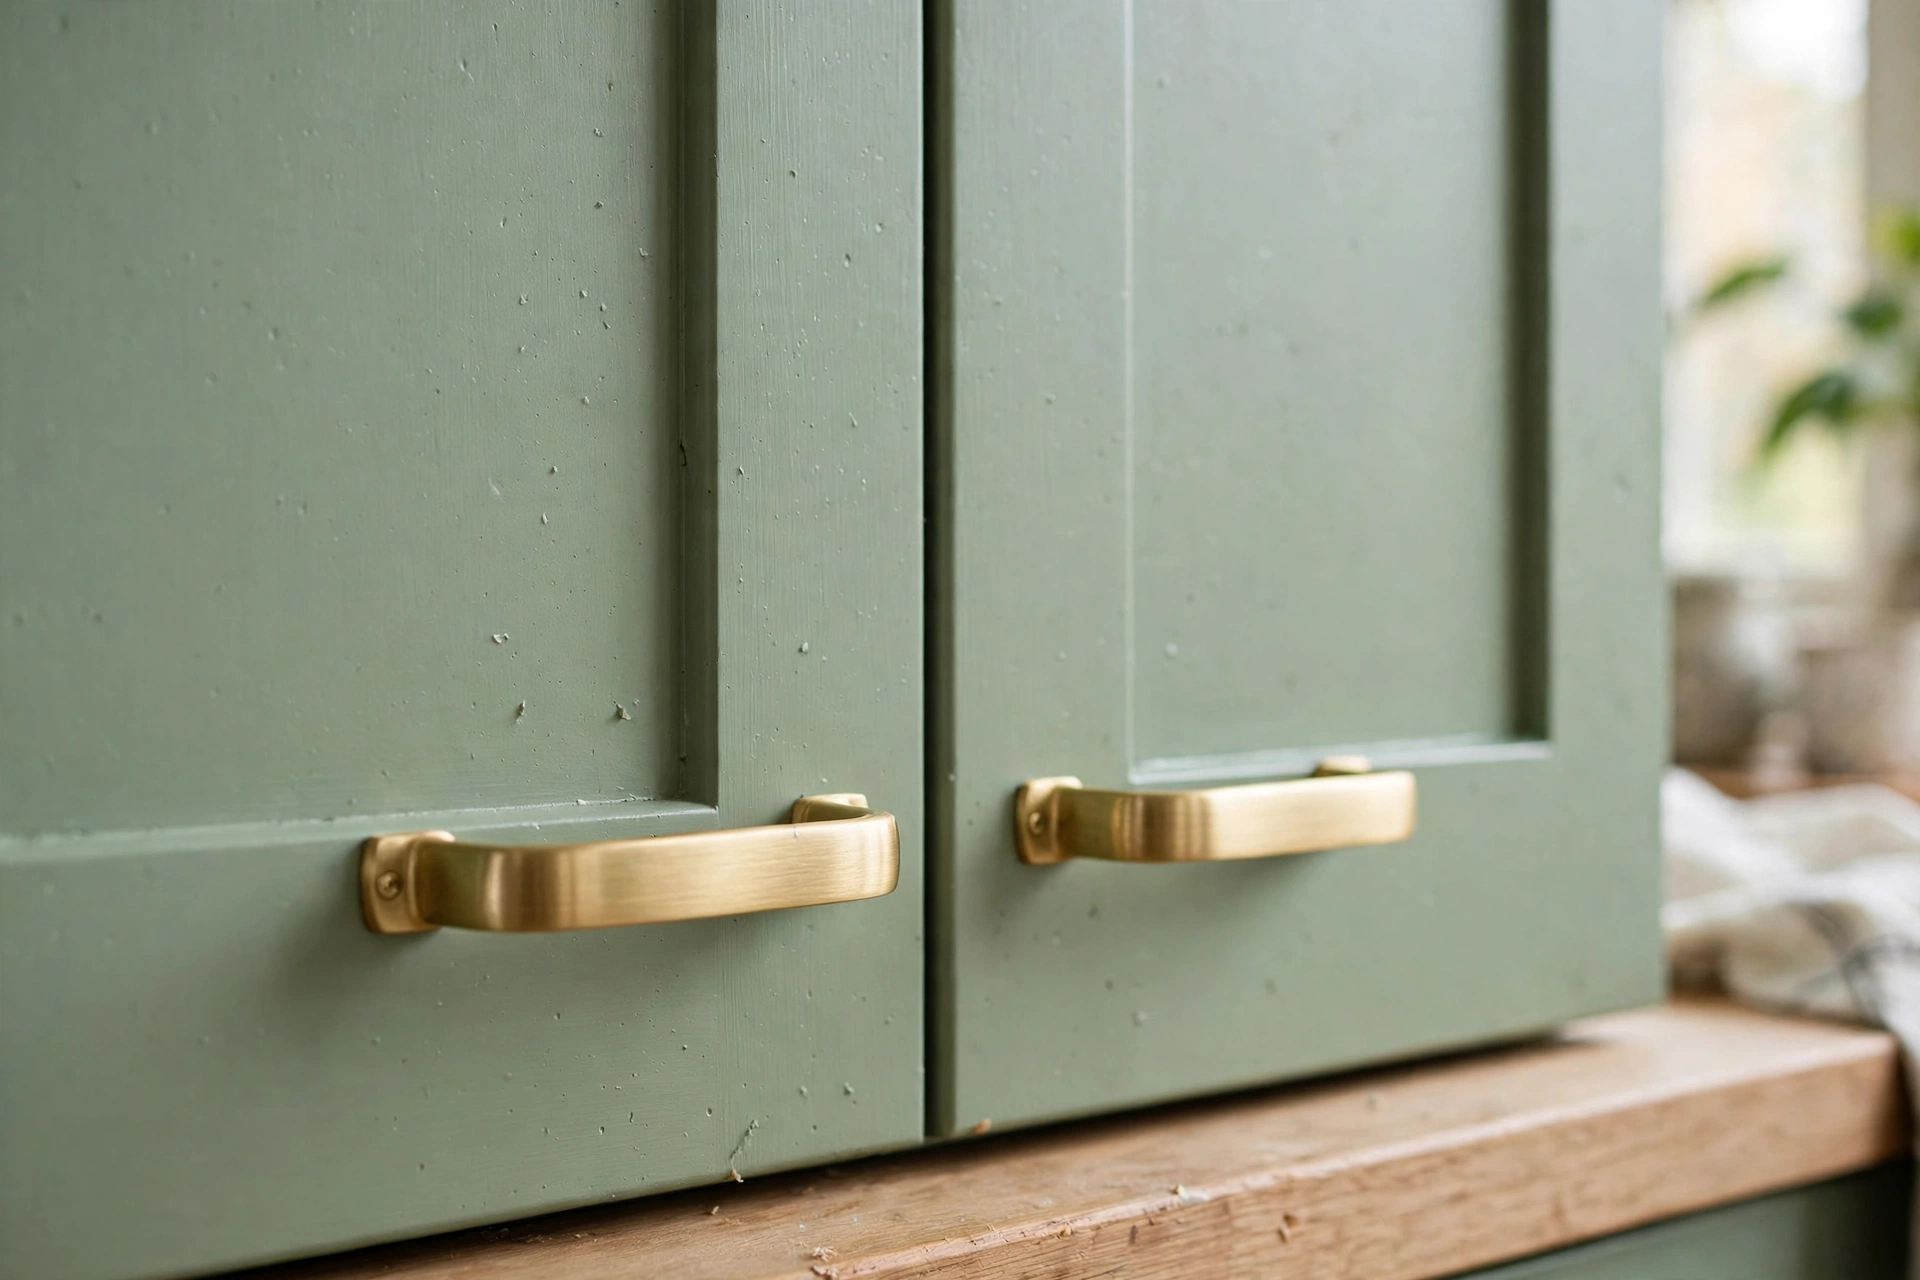
After 48 hours, doors can go back on — gently, with felt bumpers on the contact points. Match doors to cabinets using your step-1 labels, attach hardware (this is where the $40 of new handles transforms the whole job), and remove your tape lines. Then treat the kitchen gently for a week while the paint reaches full hardness.
The 3 mistakes that ruin painted cabinets
- Skipping the degrease. Grease under paint = peeling paint, guaranteed.
- Using wall paint. It never cures hard enough for doors that get touched 50 times a day.
- Rushing the cure. A dried coat is not a cured coat. Slamming doors in week one chips edges that took you a weekend to build.
Is it worth it vs. replacing?
Refacing runs $2,000–$5,000; replacing, $8,000 and up. This project, at $136–$176 and roughly 12 hours of your time, buys a kitchen that reads as new for years if the prep was honest. In the budget-DIY league table, nothing else comes close per dollar.
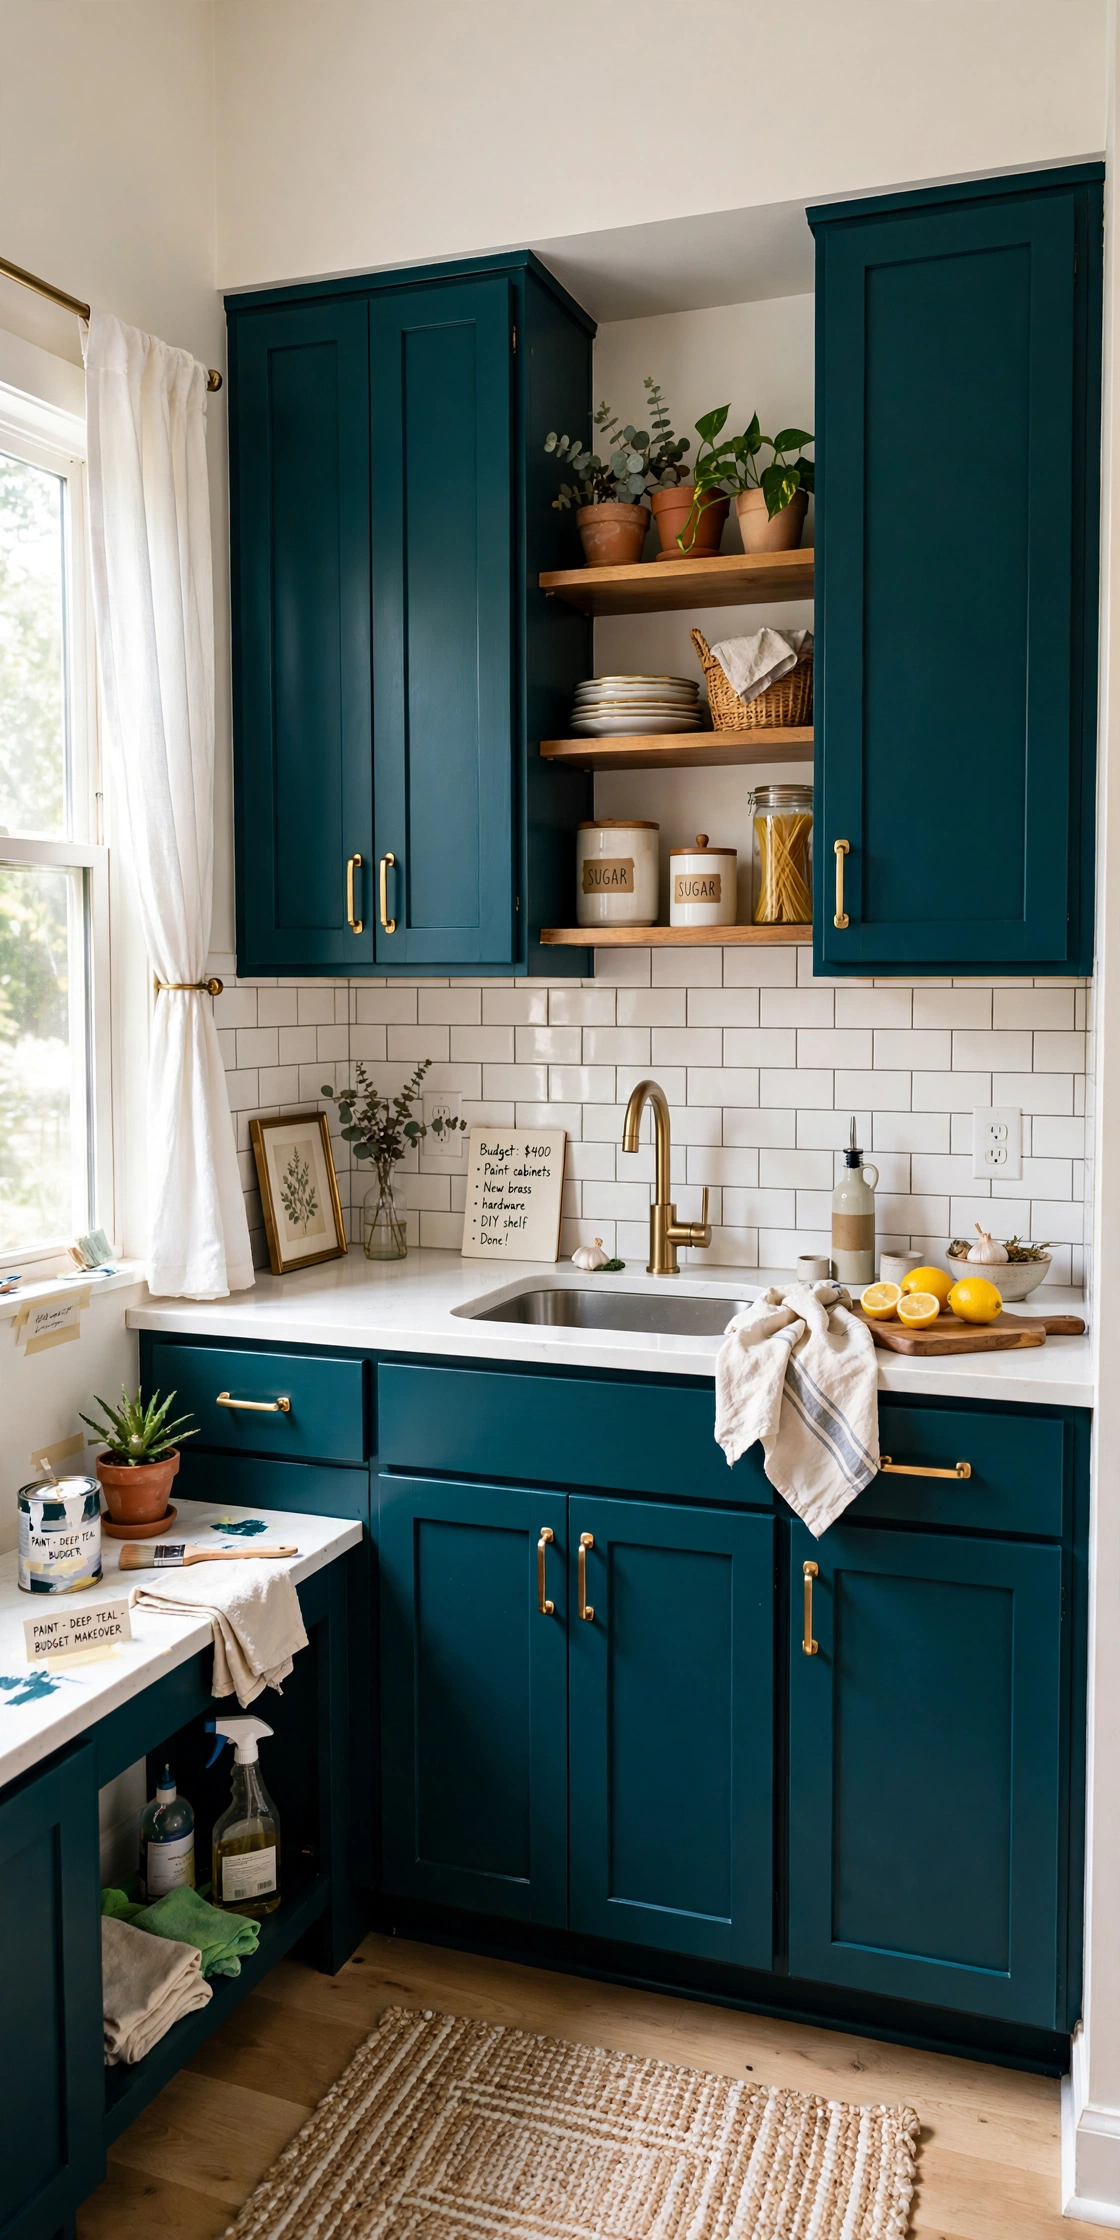
Love bold cabinets? Save this deep teal makeover for later:
Cabinet Painting FAQs
How long does it take to paint kitchen cabinets?
About 12 working hours spread over a few days: prep on day one, priming and first coats on day two, final coats on day three — then 5–7 days of gentle use while the paint cures to full hardness.
What paint is best for kitchen cabinets?
A water-based cabinet and trim enamel. It levels smooth, cures hard and resists yellowing. Never use standard wall paint — it stays soft and marks in a working kitchen.
Do I need to sand cabinets before painting?
You need grip: either a light scuff-sand with 120-grit or a liquid deglosser — and always degrease first, or nothing will bond. Many careful painters degrease, then do both on flat doors.
How long do painted cabinets last?
With honest prep — degrease, scuff, bonding primer — and a real cabinet enamel, expect 5–8 years of normal kitchen use before edges need touch-ups.
More Budget Kitchen Upgrades
Painted the outside? Now fix the inside with our small kitchen organization ideas — the no-pantry system pairs perfectly with a fresh cabinet color. Browse all Budget DIY Projects, or see everything new on the blog.
Next upgrade? A peel-and-stick backsplash finishes the look for under $100 — here is the full process, costs included.
Choosing colors for the whole room? Our best wall colors for small rooms guide shows which shades make the space feel bigger.
