DIY Radiator Shelf for Small Rooms: 7 Builds That Turn Dead Space Into Storage
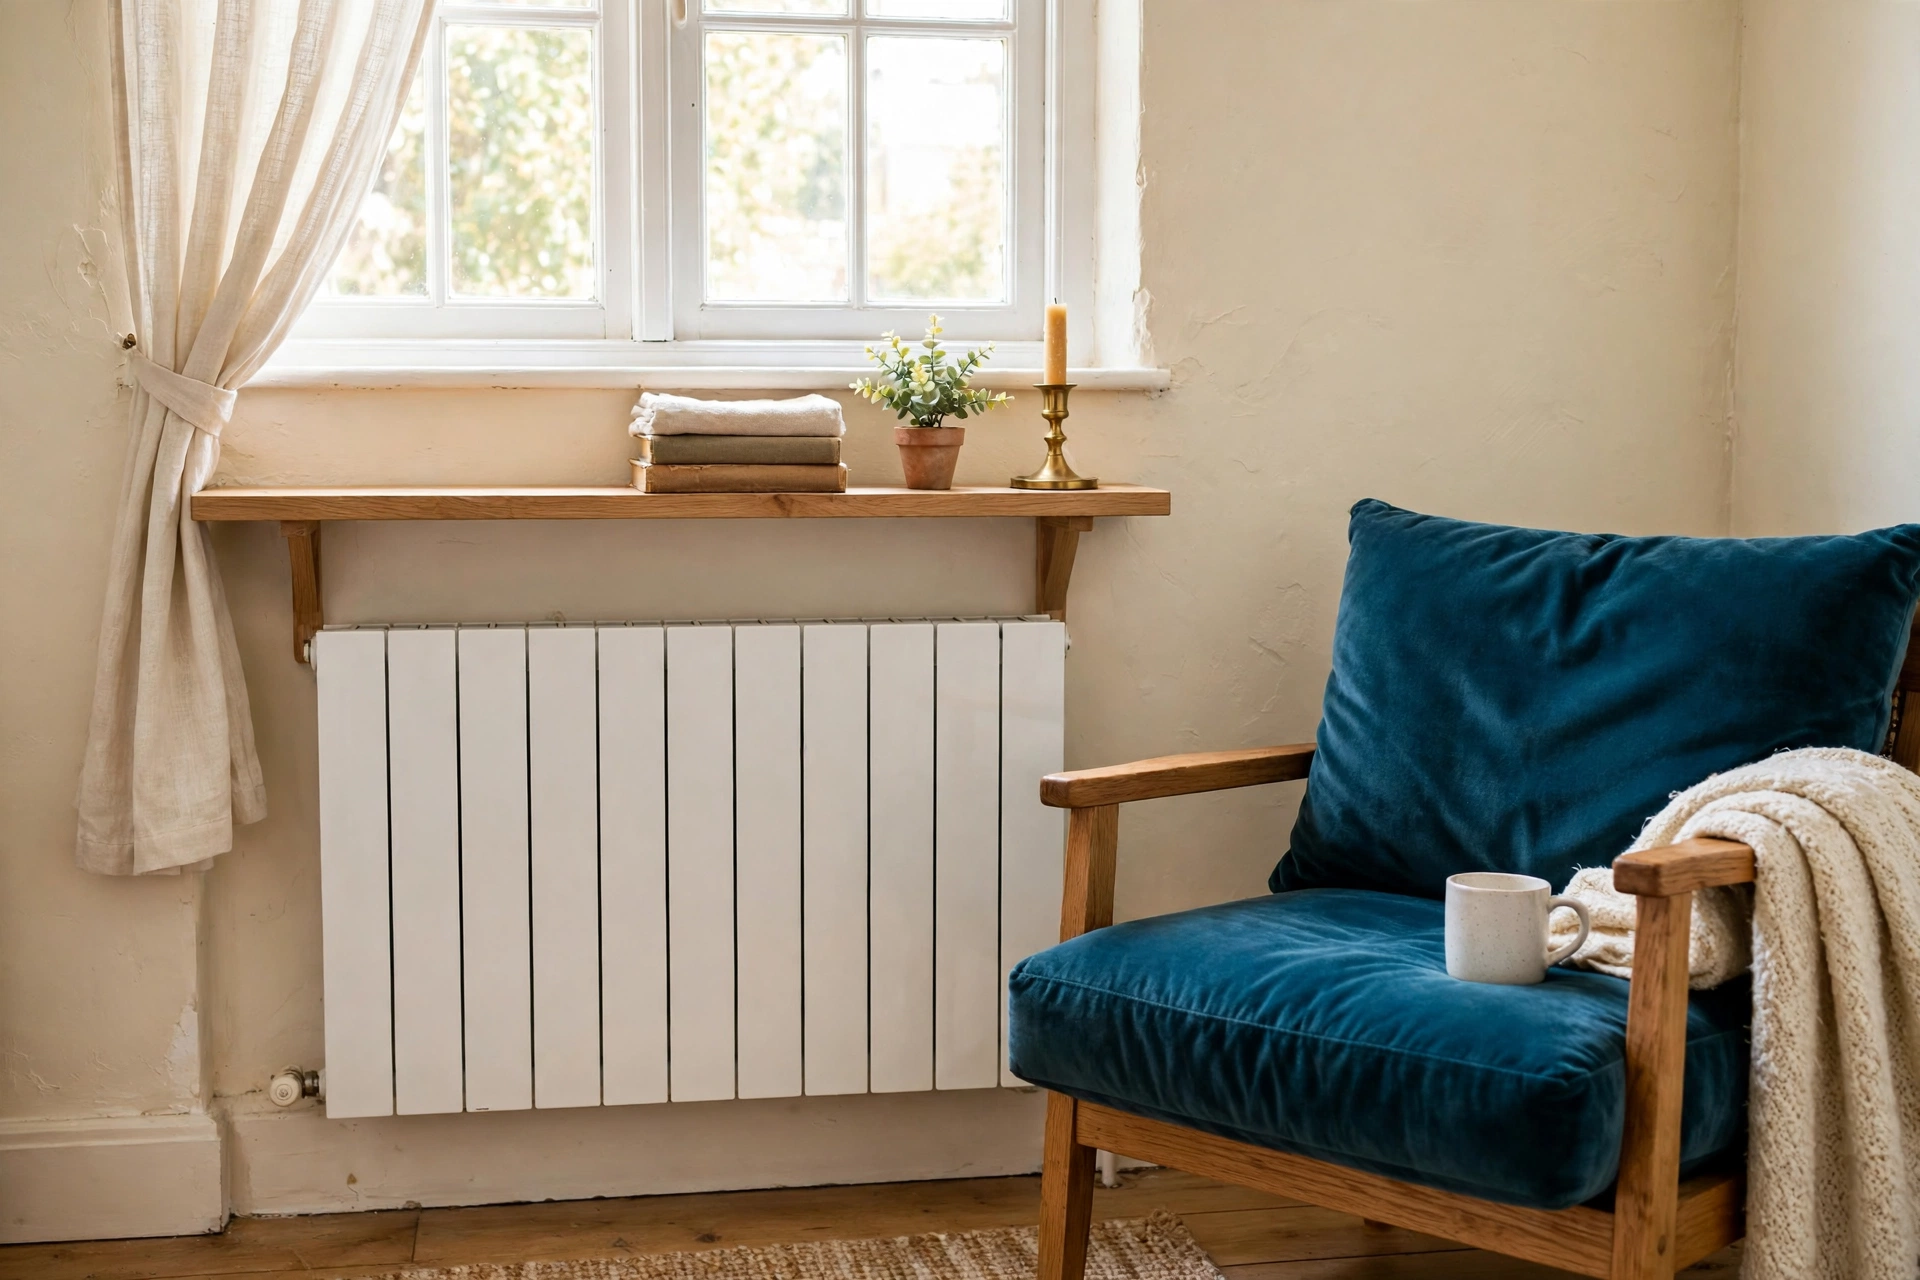
A diy radiator shelf for small rooms is the cheapest way to win back space in a room that has none to spare. The wall above the radiator is dead space right now, and a single board turns it into a shelf for books, keys, towels, or a plant. The short answer: yes, it is safe, as long as you leave a gap above the radiator and use slots or hardwood so heat can escape. The original work in this post is a clearance table by radiator type that reconciles the conflicting rules online, from 2 inches to 18 inches, with each rule cited to its source, plus a dated cost table with live-checked November 2026 prices.
Most guides give you one number and move on. One blog says 2 inches is fine, another says 6 inches, and a big brand cites 18 inches. They cannot all be right, because they are talking about different radiators. This post sorts that out first, then builds the shelf.
How high should a diy radiator shelf for small rooms sit?
A diy radiator shelf for small rooms should sit 6 inches (15 cm) above most radiators, and that single rule covers nearly every home. The table below shows where every number online comes from, so you can see why the advice disagrees and pick the right row for your radiator.
| Radiator type | Gap above the radiator | Source of the rule |
|---|---|---|
| Modern panel radiator, low output | 2 to 4 in (5 to 10 cm) | Our Aesthetic Abode, 2 to 4 in gap rule for its own build |
| Modern panel radiator, minimum | 5 cm (2 in) | BestHeating, at least a 5 cm gap |
| Modern panel radiator, cautious | 6 in (15 cm) | HeaterGuides, 6 in clearance rule |
| Cast iron radiator | 6 in (15 cm) | Homes and Gardens, expert advice for cast iron |
| Towel radiator (bathroom) | 10 to 15 cm (4 to 6 in) | Ideal Home, 10 to 15 cm clearance |
| Any radiator, generous gap | 15 to 20 cm (6 to 8 in) | Exposed Magazine, 15 to 20 cm clearance |
| Whole room, NOT a shelf rule | 18 in (46 cm) | House Digest citing the IMC, a whole-room clearance rule |
Read the last row twice. The 18 inch figure comes from the International Mechanical Code, and it describes clearance around a radiator in a room, not the gap under a shelf. House Digest itself then says fire-resistant shelves can sit 18 inches above radiators, which shows how a whole-room rule gets misread as a shelf rule. Ignore it for shelf height. Your working rule is 6 inches (15 cm) for most radiators. Drop to 2 to 4 inches (5 to 10 cm) only on a low-output modern panel radiator with a slotted top. Cast iron runs hotter and holds heat longer, so it keeps the full 6 inches (15 cm) at minimum.
Two more measurements matter. First, shelf depth. A shelf should be at least as deep as the radiator plus about 1 inch (2.5 cm) of overhang at the front, so rising heat hits the shelf and deflects forward into the room instead of straight up the wall. Most panel radiators are 4 to 6 inches (10 to 15 cm) deep, so a 12 inch (30 cm) board, the size Our Aesthetic Abode used, gives you a real surface without jutting into the room. Second, shelf length. Cut the board to the radiator length plus 3 inches (8 cm) of overhang on each side:
| Radiator length | Shelf length (radiator + 3 in per side) |
|---|---|
| 24 in (61 cm) | 30 in (76 cm) |
| 36 in (91 cm) | 42 in (107 cm) |
| 48 in (122 cm) | 54 in (137 cm) |
| 60 in (152 cm) | 66 in (168 cm) |
Measure your own radiator before you buy anything. Radiator sizes vary by room and by country, and a board cut to the wrong length is the most common waste of money in this project.
What does a radiator shelf cost?
A diy radiator shelf for small rooms costs about $43.15 for the classic bracket build, $15.58 for the no-drill board-only route, and $84.99 for a ready-made slotted shelf. Prices below were live-checked in November 2026, and the sums were verified by hand. Prices vary by store and region, so treat these as a budget guide and confirm the shelf price on the day you buy.
| Item | Price (as of November 2026) | Source |
|---|---|---|
| 2x12x8 ft no. 2 pine board | $15.58 | Intercity Lumber retail listing, via The Pricer, September 2026 update |
| 8 in L-brackets, pair | $13.59 | Amazon, YooGen 2-pack heavy duty brackets |
| Screws and anchors, TOGGLER SnapSkru 25-count | $7.99 | Tractor Supply |
| Sandpaper multi-pack | $5.99 | FindTheDeal, November 2026 listing |
| Classic bracket build total | $43.15 | $15.58 + $13.59 + $7.99 + $5.99 |
| No-drill board-only route | $15.58 | Board only, it sits on top of the radiator |
| Ready-made slotted shelf unit (BRYSJ radiator cover with top shelf) | $84.99 | Amazon.com |
Time estimate: the classic bracket build takes 1 to 2 hours, including measuring, cutting, sanding, and mounting. The no-drill sit-on-top route takes about 20 minutes. A flat-pack console table takes around 30 minutes to assemble. Add drying time if you stain or seal the board, and do that in a ventilated room, never over a hot radiator.
One warning about bracket load ratings. HeaterGuides gives a working load table: a floating bracket shelf holds about 20 to 30 lb (9 to 14 kg), a slotted top-cover shelf holds about 10 to 15 lb (4.5 to 7 kg), and clamp-on pipe brackets hold about 5 to 10 lb (2 to 4.5 kg). Marketplace listings claim far more, and the numbers contradict each other, with one listing saying 150 lb per pair and another saying 350 lb for a similar bracket. Treat listing numbers with suspicion and trust the HeaterGuides bands, not the marketing copy.
7 DIY radiator shelf builds for small rooms
Every build below follows the same verdict framework: Best for, Main advantage, Watch out for, Verdict, and a Deposit-Risk rating from 1 (no trace at move-out) to 5 (holes to patch and explain). If you would rather hide the whole radiator than add one shelf, our diy radiator cover ideas for small rooms walk through seven full covers, while this post owns the shelf above it.
1. Floating bracket shelf
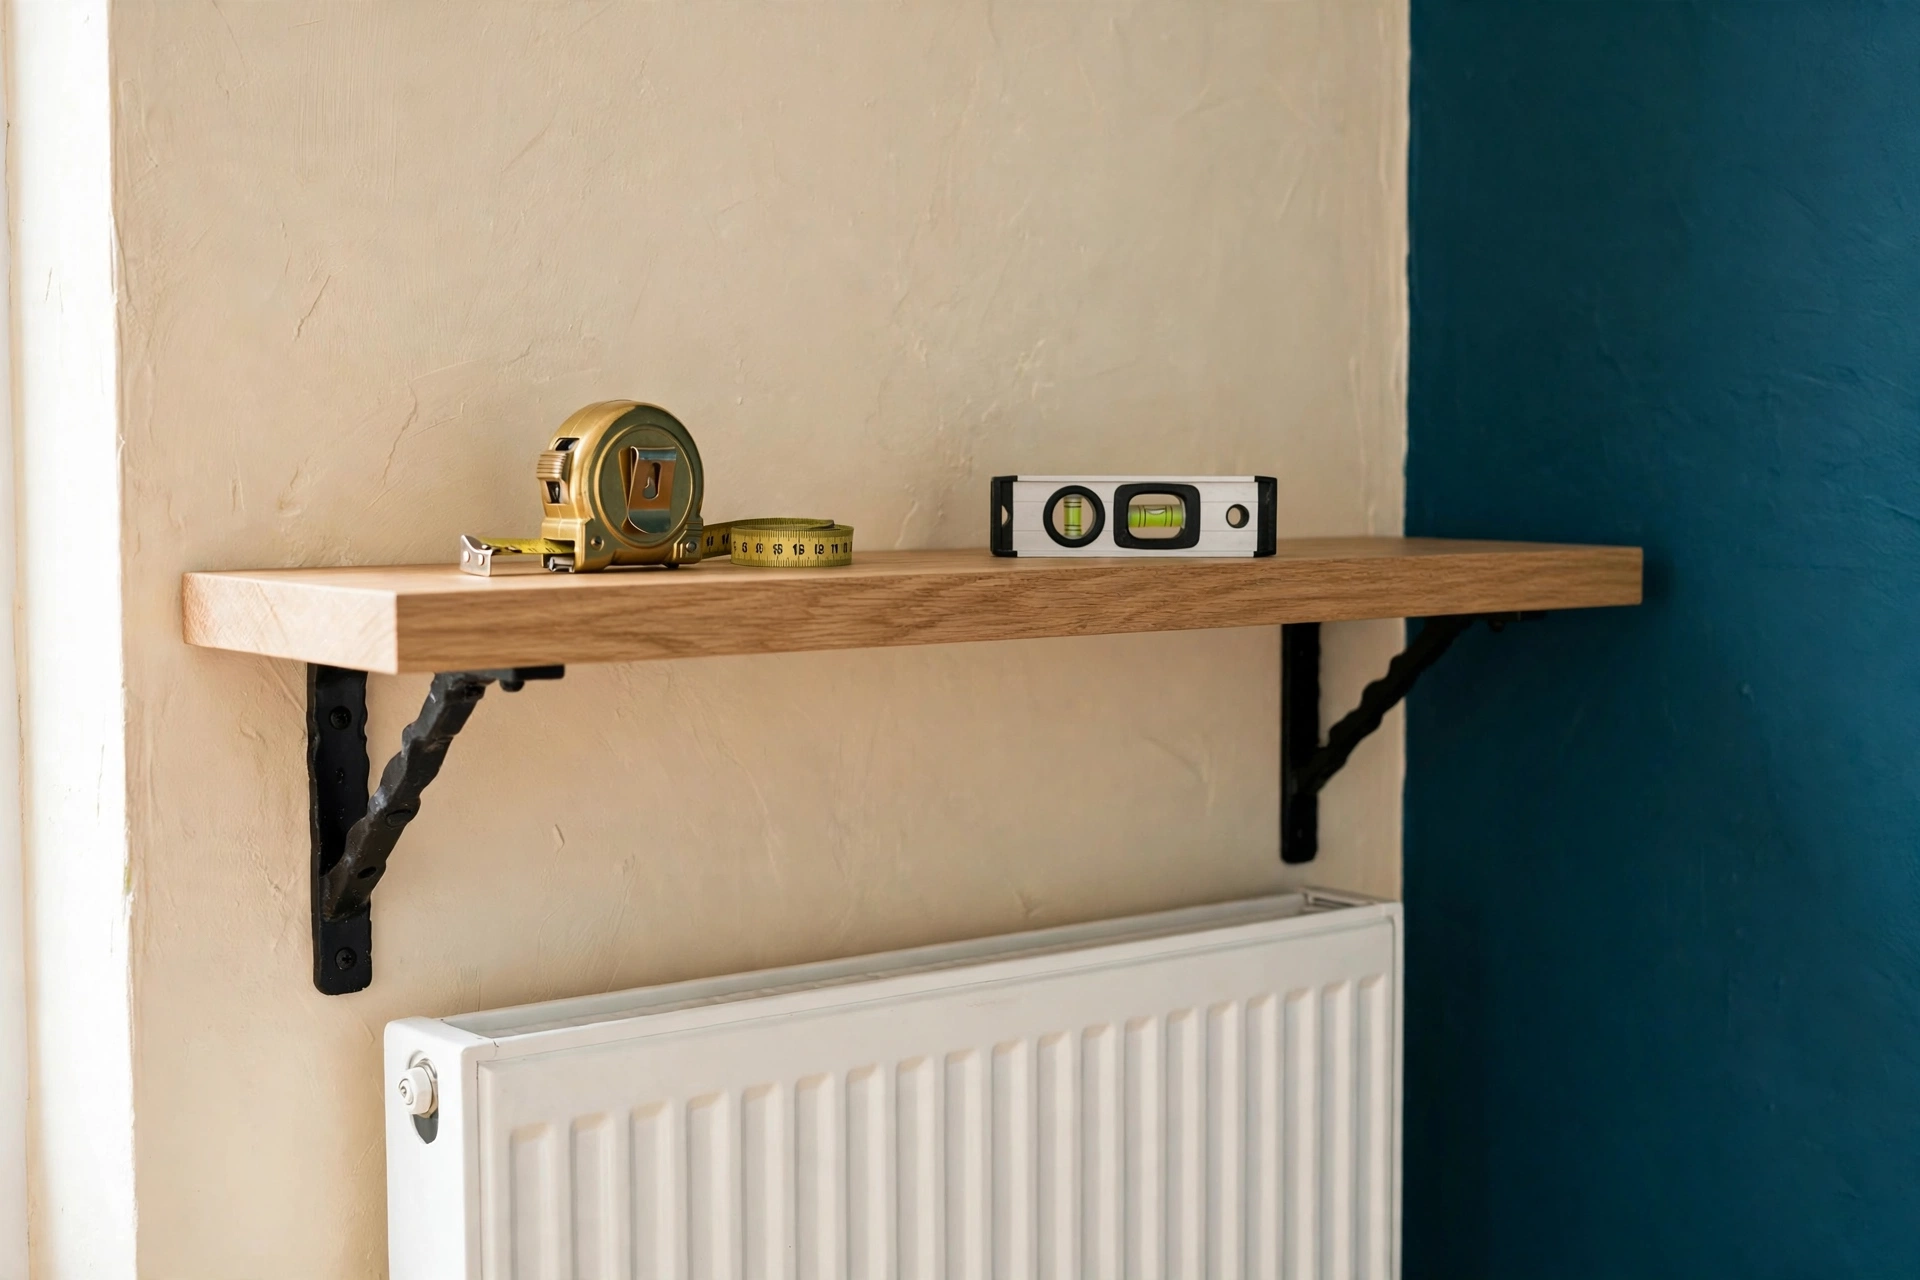
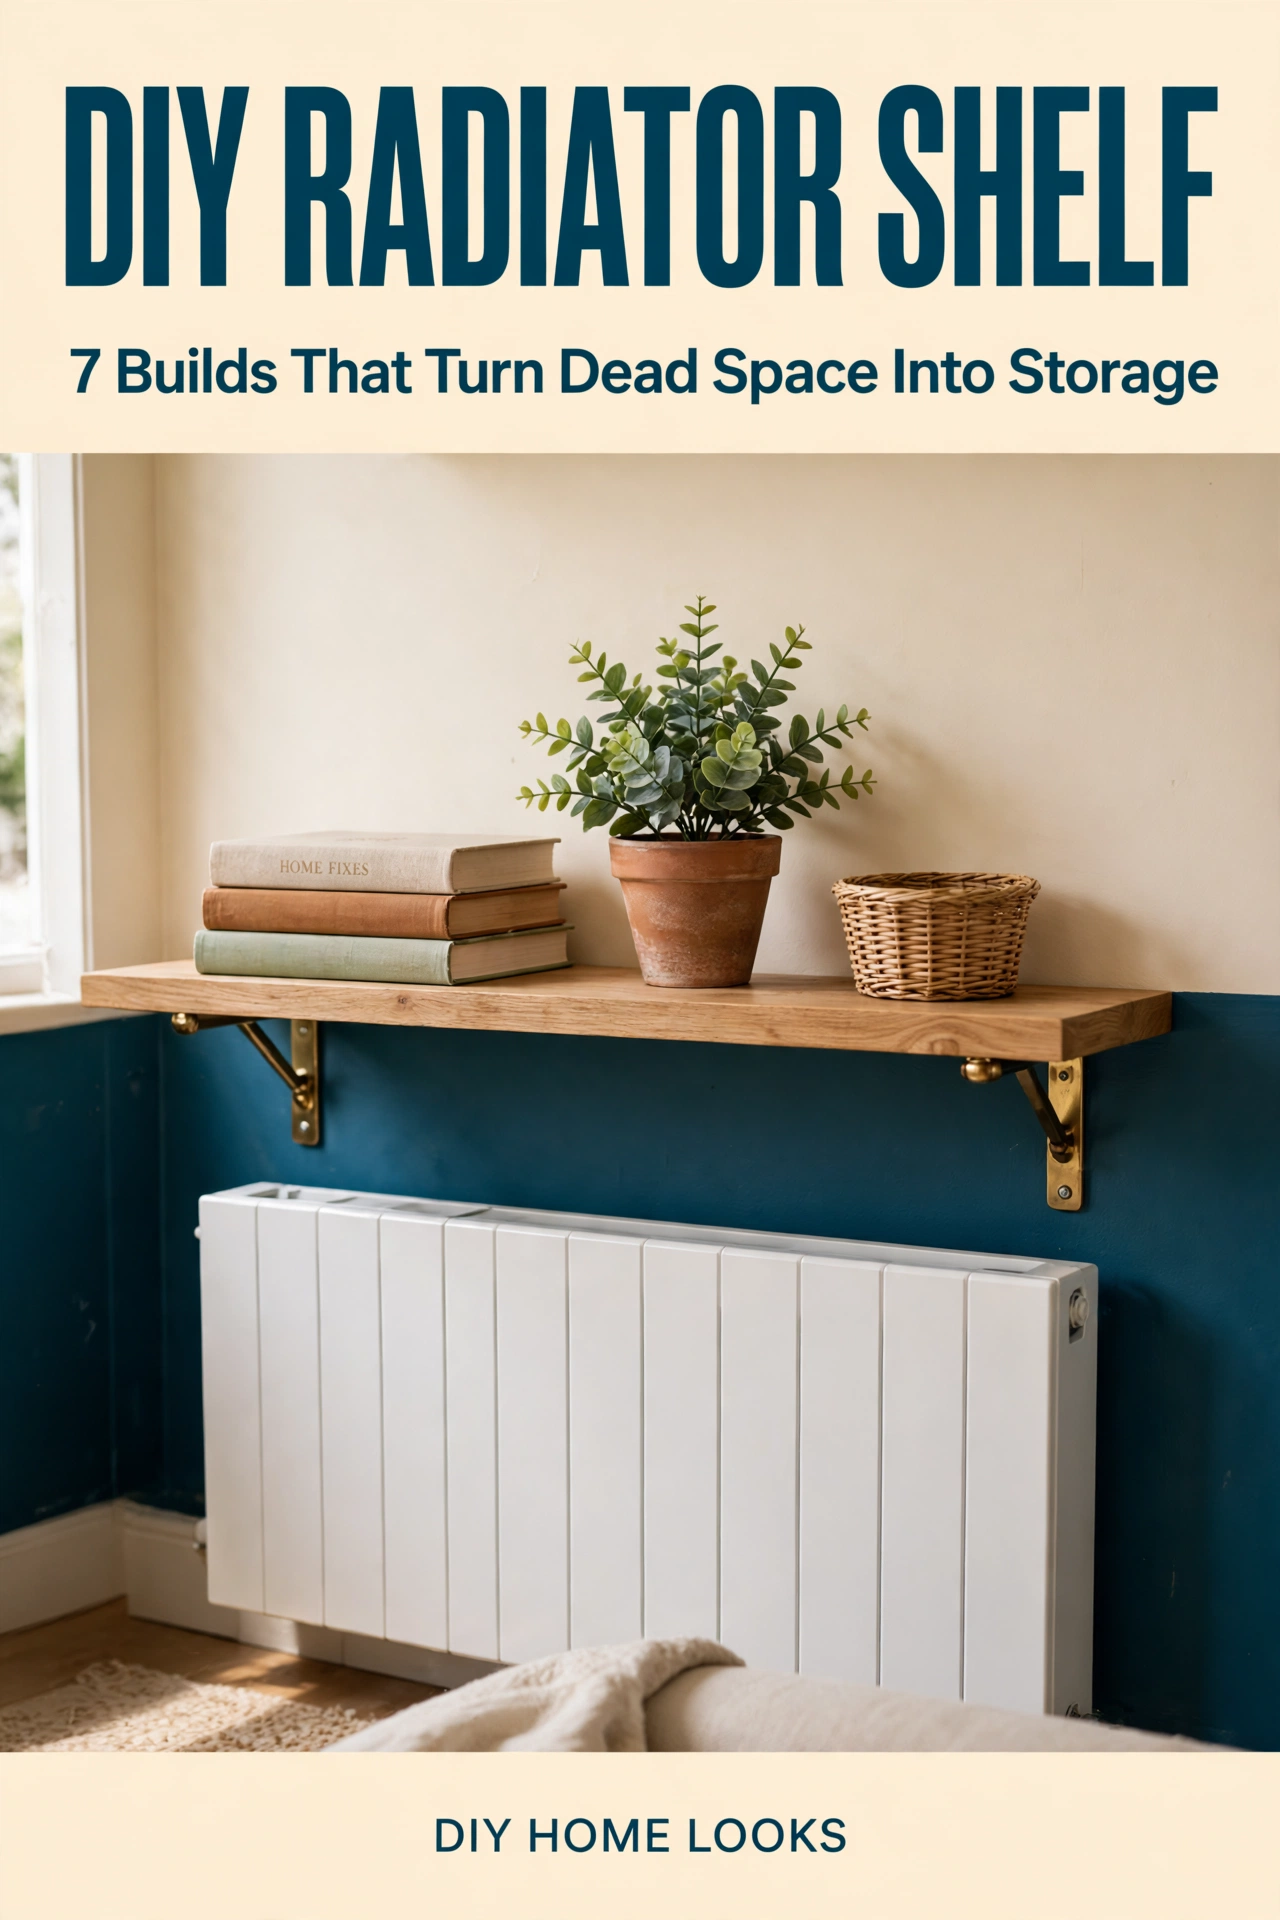
The classic build, documented step by step by Our Aesthetic Abode: a 2×12 pine board, 5 ft (152 cm) long in her example, on 8 in (20 cm) brackets, installed 6 in (15 cm) above the radiator just to be safe. Brackets should be at least two-thirds as deep as the shelf, so an 8 in bracket suits a 12 in (30 cm) board. Fix into studs where you can, and use rated wall anchors where you cannot.
Best for: living rooms and bedrooms where you want a proper shelf that holds books. Main advantage: the strongest load rating here, about 20 to 30 lb (9 to 14 kg), and the cleanest look. Watch out for: it needs drilling, and brackets must sit level or the board will show it every day. Verdict: build this one if you own the place or your lease allows small fixings. Deposit-Risk: 3/5.
2. Sit-on-top slotted shelf, no drill
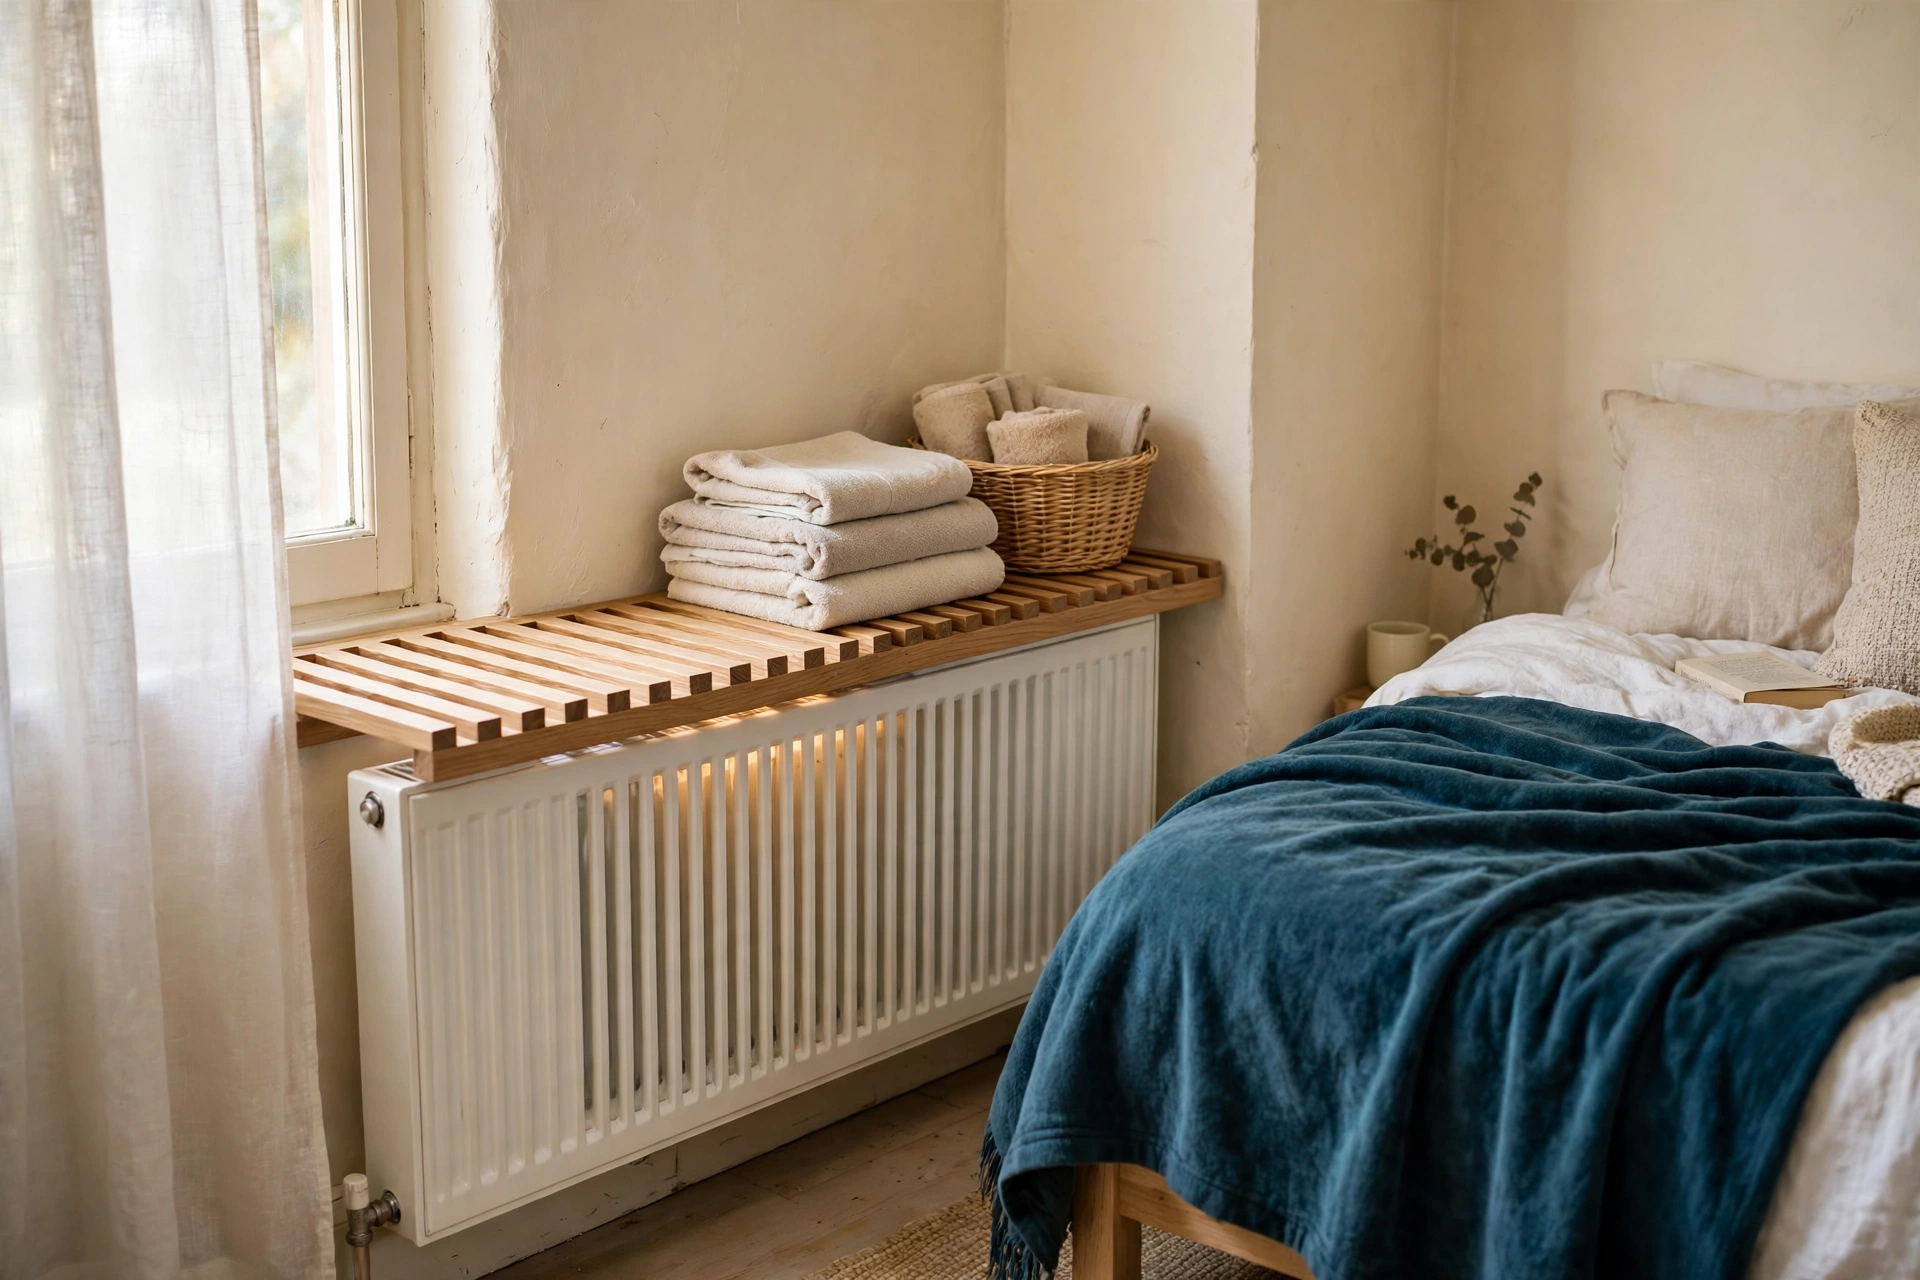
The renter hero. A board with slots cut into it sits directly on top of the radiator, no wall fixings at all. The slots are not decoration. They let rising heat escape instead of pooling under a solid board. Cut three or four slots, each about 1 in (2.5 cm) wide, or build the top from spaced slats with half-inch gaps.
Best for: renters and anyone who wants the shelf gone in ten seconds. Main advantage: zero holes, zero landlord emails, and the cheapest route at $15.58 for the board. Watch out for: the load limit is low, about 10 to 15 lb (4.5 to 7 kg), and a solid board with no slots will trap heat and cook the wood. Verdict: the best first build for most small rooms. Deposit-Risk: 1/5.
3. Clamp-on pipe brackets, no drill
Pipe brackets clamp onto the radiator pipes or the radiator body and hold a board above the heat. They suit rooms where the wall behind the radiator is tiled, crumbly, or simply not yours to drill. Fit the clamps to the pipes, rest the board on top, and press down on each end to check it stays put.
Best for: bathrooms and kitchens where drilling the wall is off the table. Main advantage: fully reversible, and the height adjusts to the pipes. Watch out for: the lowest load limit here, about 5 to 10 lb (2 to 4.5 kg), and clamp sizes vary, so measure your pipe diameter first. Verdict: great for light items like folded towels, wrong for a row of hardbacks. Deposit-Risk: 1/5.
4. Slatted IKEA bed-base shelf
The thrifty classic from the old personal-blog era: an IKEA slatted bed base, cut to size, mounted above the radiator with four tiny holes. The slats already have the gaps built in, so heat passes through by design. It suits a narrow radiator in a bedroom or hallway.
Best for: small bedrooms on a tight budget. Main advantage: the slats solve the heat problem for free, and the base is cheap secondhand. Watch out for: it needs four small wall holes, and cutting a bed base square takes patience and a steady saw. Verdict: a clever reuse, but only if you can cut straight and patch four holes later. Deposit-Risk: 2/5.
5. Slim hallway ledge
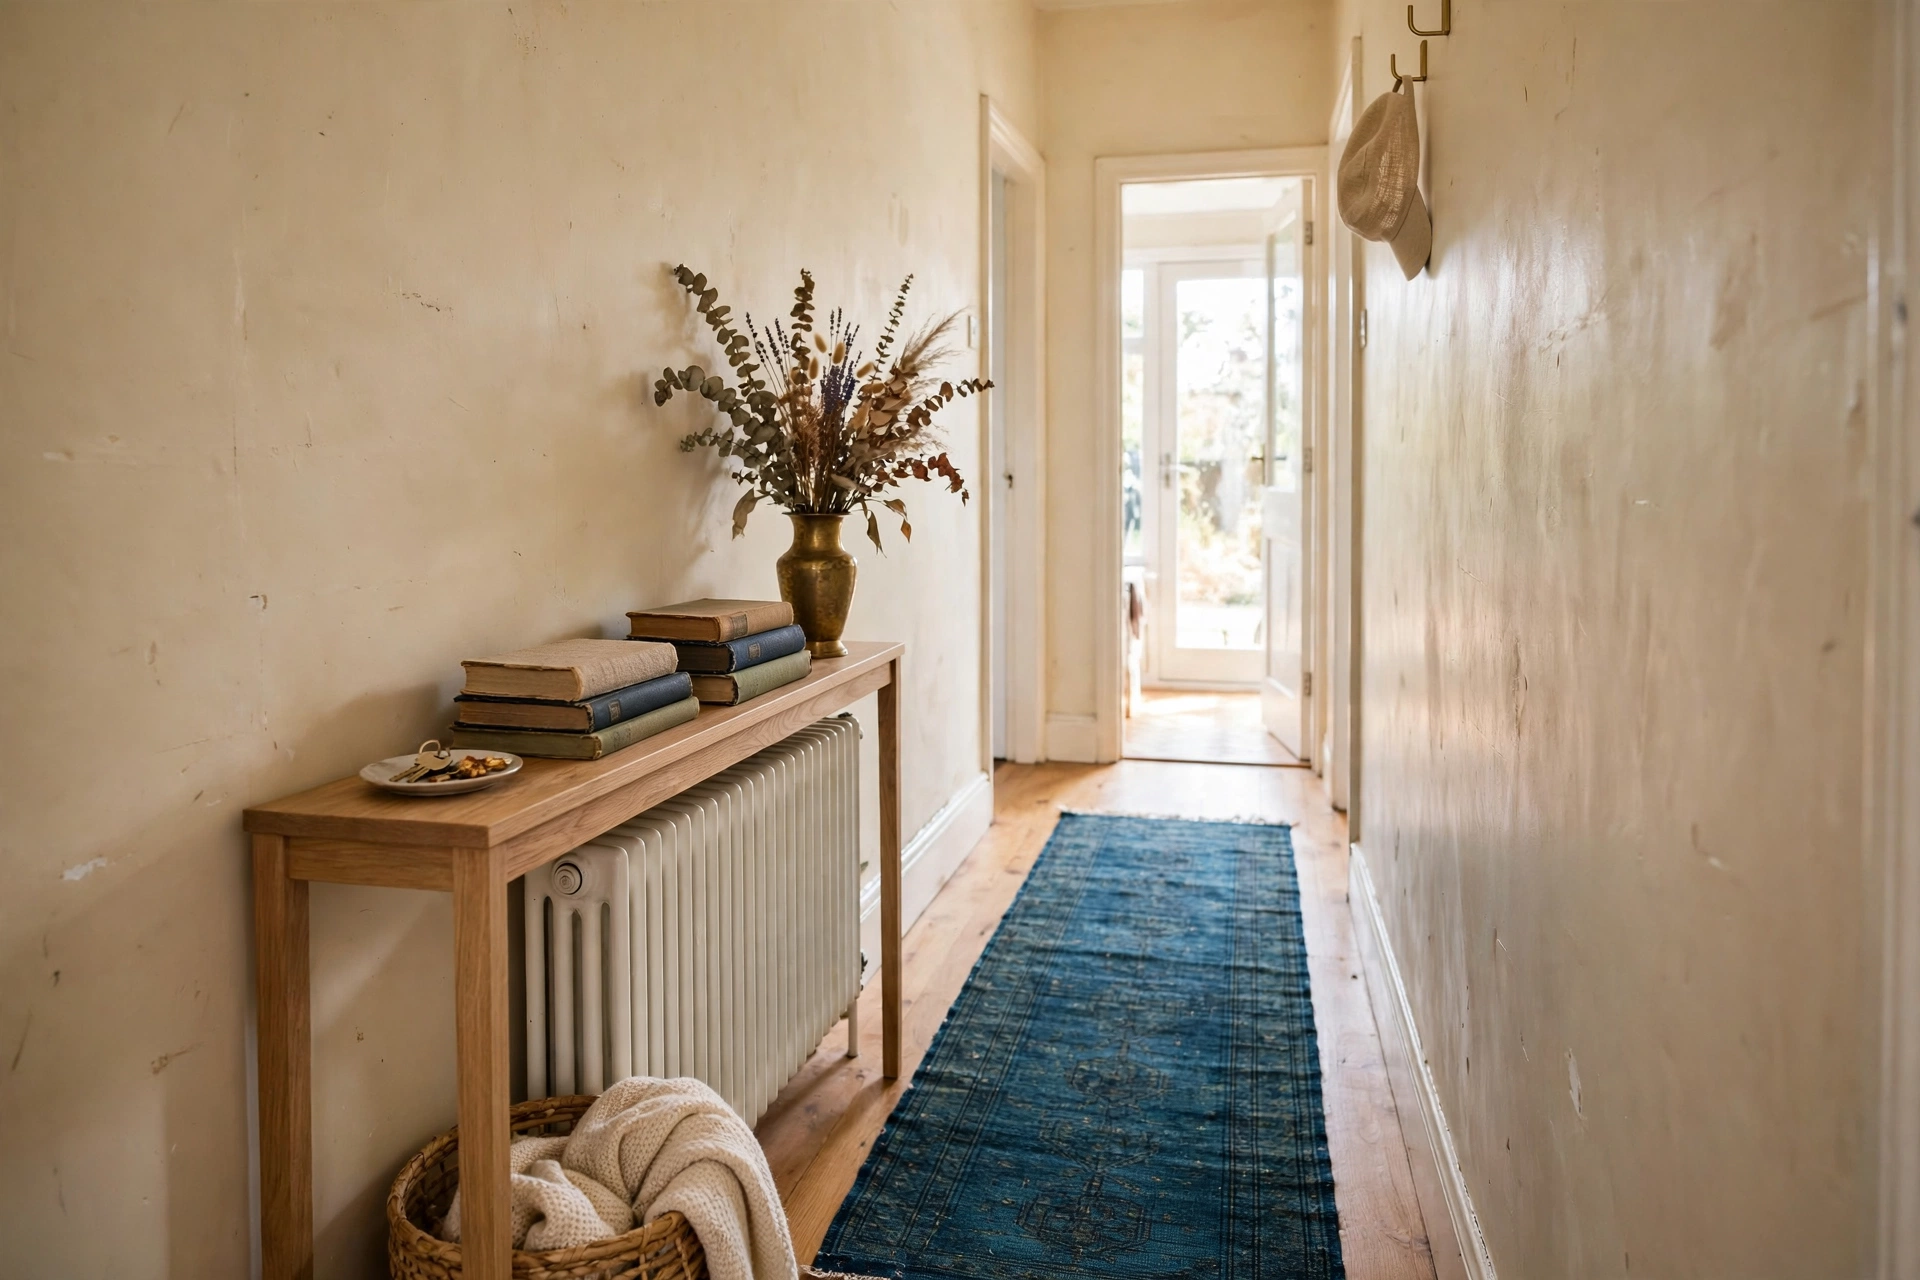
A hallway radiator is usually the only usable wall in the space, and a slim ledge turns it into a drop zone for keys, mail, and sunglasses. Keep the depth tight, about 6 to 8 in (15 to 20 cm), so it never blocks the walkway. A small lip at the front stops keys sliding off when the door slams.
Best for: narrow hallways and entryways. Main advantage: it gives the hallway a job without eating floor space. Watch out for: a deep shelf in a hallway becomes a bruised hip, so measure the walkway before you cut. Verdict: the highest-impact build per square inch in this list. Deposit-Risk: 3/5 if bracket-mounted, 1/5 if it sits on top.
6. Towel-radiator shelf
A heated towel rail in a small bathroom has the same dead space above it, and a short shelf turns it into storage for folded towels and toiletries. Use hardwood, not pine, because bathrooms are humid and pine deteriorates faster near heat and steam. Homes and Gardens experts warn that softwoods like pine deteriorate above radiators while hardwoods hold up, and that matters double in a bathroom. Keep the gap at the generous end, 10 to 15 cm (4 to 6 in).
Best for: small bathrooms with a towel radiator and no counter space. Main advantage: it puts towels exactly where you dry off. Watch out for: humidity plus heat punishes cheap wood, so spend a little more on hardwood or a sealed board. Verdict: the most useful bathroom build here, and the one where material choice matters most. Deposit-Risk: 2/5.
7. Console table over the radiator
BestHeating names the console table as the no-drill renter route, and it is the simplest idea on this list. A slim console table stands over the radiator, its top becomes the shelf, and nothing touches the wall at all. Buy one with an open back or slatted sides so heat can escape, and keep a gap between the table and the radiator body.
Best for: renters who want storage with zero DIY. Main advantage: no tools, no holes, and you take it with you when you move. Watch out for: it eats floor space, so measure the depth against your walkway, and never push it flush against hot metal. Verdict: the best option if you would rather buy than build. Deposit-Risk: 1/5.
Materials and steps: the classic bracket build
Here is the shopping list for Build 1, the floating bracket shelf, for a radiator up to 48 in (122 cm) wide. The no-drill builds skip the brackets, screws, and anchors.
Materials list: one 2x12x8 ft pine board (cut to your shelf length), two 8 in (20 cm) L-brackets, screws and wall anchors rated for at least 20 lb (9 kg) per bracket, sandpaper in 120 and 220 grit, wood stain or clear sealer (optional), felt pads for the no-drill routes, a pencil, a level, and a tape measure.
Tools: a saw (or a free cut at the lumber store), a drill, a stud finder, and a screwdriver.
Steps:
- Measure the radiator. Measure width, height from the floor to the top, and depth from the wall to the front edge. Add 3 in (8 cm) of overhang per side for the shelf length.
- Mark the shelf height. Mark the wall 6 in (15 cm) above the top of the radiator, less only for a low-output modern panel radiator with a slotted top. Draw a level line across the full shelf length.
- Cut the board. Cut the board to your shelf length and sand all edges, starting with 120 grit and finishing with 220 grit.
- Finish the wood. Stain or seal the board if you want, and let it dry fully before mounting. Hardwood is the safer choice over cast iron, since soft pine deteriorates faster near heat.
- Fix the brackets. Find studs where you can and use rated anchors elsewhere. Brackets should sit about 6 in (15 cm) in from each end of the board.
- Mount the shelf. Rest the board on the brackets, check it with a level, and screw up through the brackets into the board.
- Load it lightly, then check. Put a few light items on it, run the heating for an hour, and check the board and the wall above it. If the board feels hot to hold, raise it or add slots.
The bracket spacing and leveling steps follow the same basics as our diy floating shelves guide, which covers the general technique in more detail.
What to put on a radiator shelf (and what never to put there)
The shelf is a display surface, not a storage unit, and the load limits above decide what belongs on it. Books are fine on a bracket shelf, a few at a time, spine out, but keep the row short. A small faux plant is the safe green option, because real plants dislike radiator heat and dry out fast. A brass vase, a framed photo, and a small clock all work. Folded towels belong on the bathroom build, and keys and mail belong on the hallway ledge.
The never list is longer, and it matters more. Never put candles on a radiator shelf. Homes and Gardens experts call candles dangerous above a radiator, and BestHeating lists them under what not to put there, because wax softens and a lit candle near rising heat is a bad combination. Never put electronics, batteries, or anything with a lithium cell there, since heat shortens battery life and can damage screens. Never put aerosol cans, medicines, or chocolate on it. Never store important papers there for long, because heat and dry air warp paper. And never put a real plant that needs daily water, since it will dry out and drop leaves onto a hot radiator.
Will a shelf above a radiator block the heat?
A shelf above a radiator blocks some heat, but a well-built shelf deflects more heat than it blocks, and that is the honest answer. Ideal Home puts it plainly: a shelf above a radiator pushes heat forward into the room instead of letting it rise straight to the ceiling, and that is why a shelf can make a room feel warmer, not colder. The deciding factors are clearance and slots. A shelf with a 6 in (15 cm) gap and a slotted top lets warm air escape and deflects it outward. A solid board fitted tight over a high-output radiator traps heat against the wall, and the room feels colder at the same thermostat setting.
The cover data from our radiator cover post points the same way: an open front with a vented top loses about 5 to 10 percent of output, while a sealed box loses 20 to 30 percent. A shelf is even more open than a cover, so a good shelf should sit at the low end of that range. Keep the gap, keep the slots, and the shelf works with the radiator, not against it.
Renter rules: no-drill radiator shelf routes
Most radiator shelf advice is written for homeowners with a drill, and the renter version is the underserved half of this query. That is the opinion this post is built on. Renters have three good routes: the sit-on-top slotted shelf, the clamp-on pipe brackets, and the console table over the radiator. All three are Deposit-Risk 1/5, all three reverse in minutes, and none of them needs a landlord email chain. The same no-drill thinking behind how to hang curtains without drilling applies here: if it needs no holes, the deposit argument disappears.
Before you build anything, check your lease. Look for the alteration clause first, then the decoration clause, and read what it actually says about wall fixings. Most leases allow small picture hooks but ban drilling into tile or plaster without permission. If your lease is strict, send a short email before you start: “I am placing a freestanding shelf above the radiator, no drilling, and it lifts off when I leave.” That one sentence covers you at move-out. Keep the email and the reply, and take a photo of the wall before and after. If you do drill, even four tiny holes, photograph the wall first and budget for filler and touch-up paint at move-out.
Mistakes to avoid
Fitting a solid board tight over a high-output radiator. This is the number one mistake. A solid top with a small gap traps heat, warps the board, and makes the room colder. Use slots or slats, and keep the 6 in (15 cm) gap.
Using pine directly over cast iron. Soft pine deteriorates faster above a hot cast iron radiator, while hardwood holds up. If you love pine, give it more gap and a heat-resistant finish, or pick oak for that spot.
Overloading clamp-on brackets. Clamp-on brackets hold about 5 to 10 lb (2 to 4.5 kg). A row of hardbacks will bend them or pull them off the pipes. Keep them light.
Mounting a TV directly above the radiator with no shelf shield. BestHeating warns never to hang a TV directly above a radiator, since rising heat can permanently damage it. A shelf between the radiator and the TV deflects heat forward and protects the screen, and Ideal Home notes the same shield effect. If you want a screen above the heat, read our guide to how to hang a TV in a rental without drilling and let the shelf do the shielding.
Skipping the level. A shelf that is off by half an inch shows it forever, because books and vases lean. Check the level twice, once on the bracket line and once on the board.
Forgetting the pipes. Radiator pipes run hot too, and a bracket screwed into a pipe chase is a plumber bill. Check where the pipes run before you drill.
What to skip
A solid MDF board with no slots. MDF is heavy, it sags over a long span, and a solid top traps heat. Skip it unless you cut vent slots, and even then hardwood is better.
A shelf deeper than 12 inches (30 cm) in a small room. It juts into the walkway, collects clutter, and looks wrong over a slim radiator. Match the depth to the radiator, not to your ambitions.
Adhesive strips as the only fixing. Adhesives soften near heat and fail on textured paint, so a shelf held only by strips will fall, usually at night, usually onto something breakable. Use brackets or go no-drill.
A shelf directly on a storage heater. Storage heaters run far hotter than standard radiators, and covering them is a fire hazard. This post is for hot-water radiators only. If you have a storage heater, skip the shelf entirely.
Fake plants that look fake. A dusty plastic plant above a radiator is worse than an empty shelf. One small faux plant with realistic leaves works, a whole jungle of shiny plastic does not.
Is it safe to put a shelf above a radiator?
Yes, it is safe as long as you leave a gap above the radiator and use heat-safe materials. BestHeating says at least a 5 cm (2 in) gap lets heat circulate properly, and most experts recommend 6 in (15 cm). Use hardwood or heat-treated wood, keep candles and electronics off the shelf, and use a slotted top so heat can escape.
How high should a shelf be above a radiator?
Six inches (15 cm) above the top of the radiator is the safe working rule for most radiators, and 6 in (15 cm) is also the expert figure for cast iron radiators. You can drop to 2 to 4 in (5 to 10 cm) only on a low-output modern panel radiator with a slotted top. The 18 in (46 cm) figure you may see online is a whole-room clearance rule from the International Mechanical Code, not a shelf rule.
Does a shelf above a radiator block the heat?
A well-built shelf deflects more heat than it blocks. A shelf with a 6 in (15 cm) gap and a slotted top pushes warm air forward into the room instead of letting it rise straight to the ceiling, which can make the room feel warmer. A solid board fitted tight over a high-output radiator does block heat, so keep the gap and keep the slots.
What should you not put on a radiator shelf?
Never put candles, electronics, batteries, aerosol cans, or medicines on a radiator shelf. Heat softens candle wax, shortens battery life, and can damage screens. Real plants also struggle, since radiator heat dries them out fast, so use a faux plant instead. Keep loads light too: clamp-on brackets hold only about 5 to 10 lb (2 to 4.5 kg), and a slotted top-cover shelf holds about 10 to 15 lb (4.5 to 7 kg).
Sources
Clearance rules: Our Aesthetic Abode (2 to 4 in gap, 6 in installed height), HeaterGuides (6 in rule, load table), BestHeating (5 cm minimum gap, console table renter route), Homes and Gardens (6 in for cast iron, hardwood versus softwood, candles and electronics warning), Ideal Home (10 to 15 cm clearance, heat deflection, TV shield), Exposed Magazine (15 to 20 cm), House Digest (IMC 18 in whole-room citation). Load limits: HeaterGuides. Prices: The Pricer and Intercity Lumber (board), Amazon (brackets, ready-made shelf), Tractor Supply (anchors), FindTheDeal (sandpaper). Outbound link: BestHeating, “How to decorate above a radiator”, https://www.bestheating.com/info/how-to-decorate-above-a-radiator/
How this was made: this post was researched from live search results and manufacturer and retailer listings, and the clearance table was built by comparing the published rules side by side rather than by testing radiators.
By Wasim, DIY Home Looks. Last updated November 2026.