DIY Blanket Ladder for Small Spaces: 7 Builds That Fit Any Corner
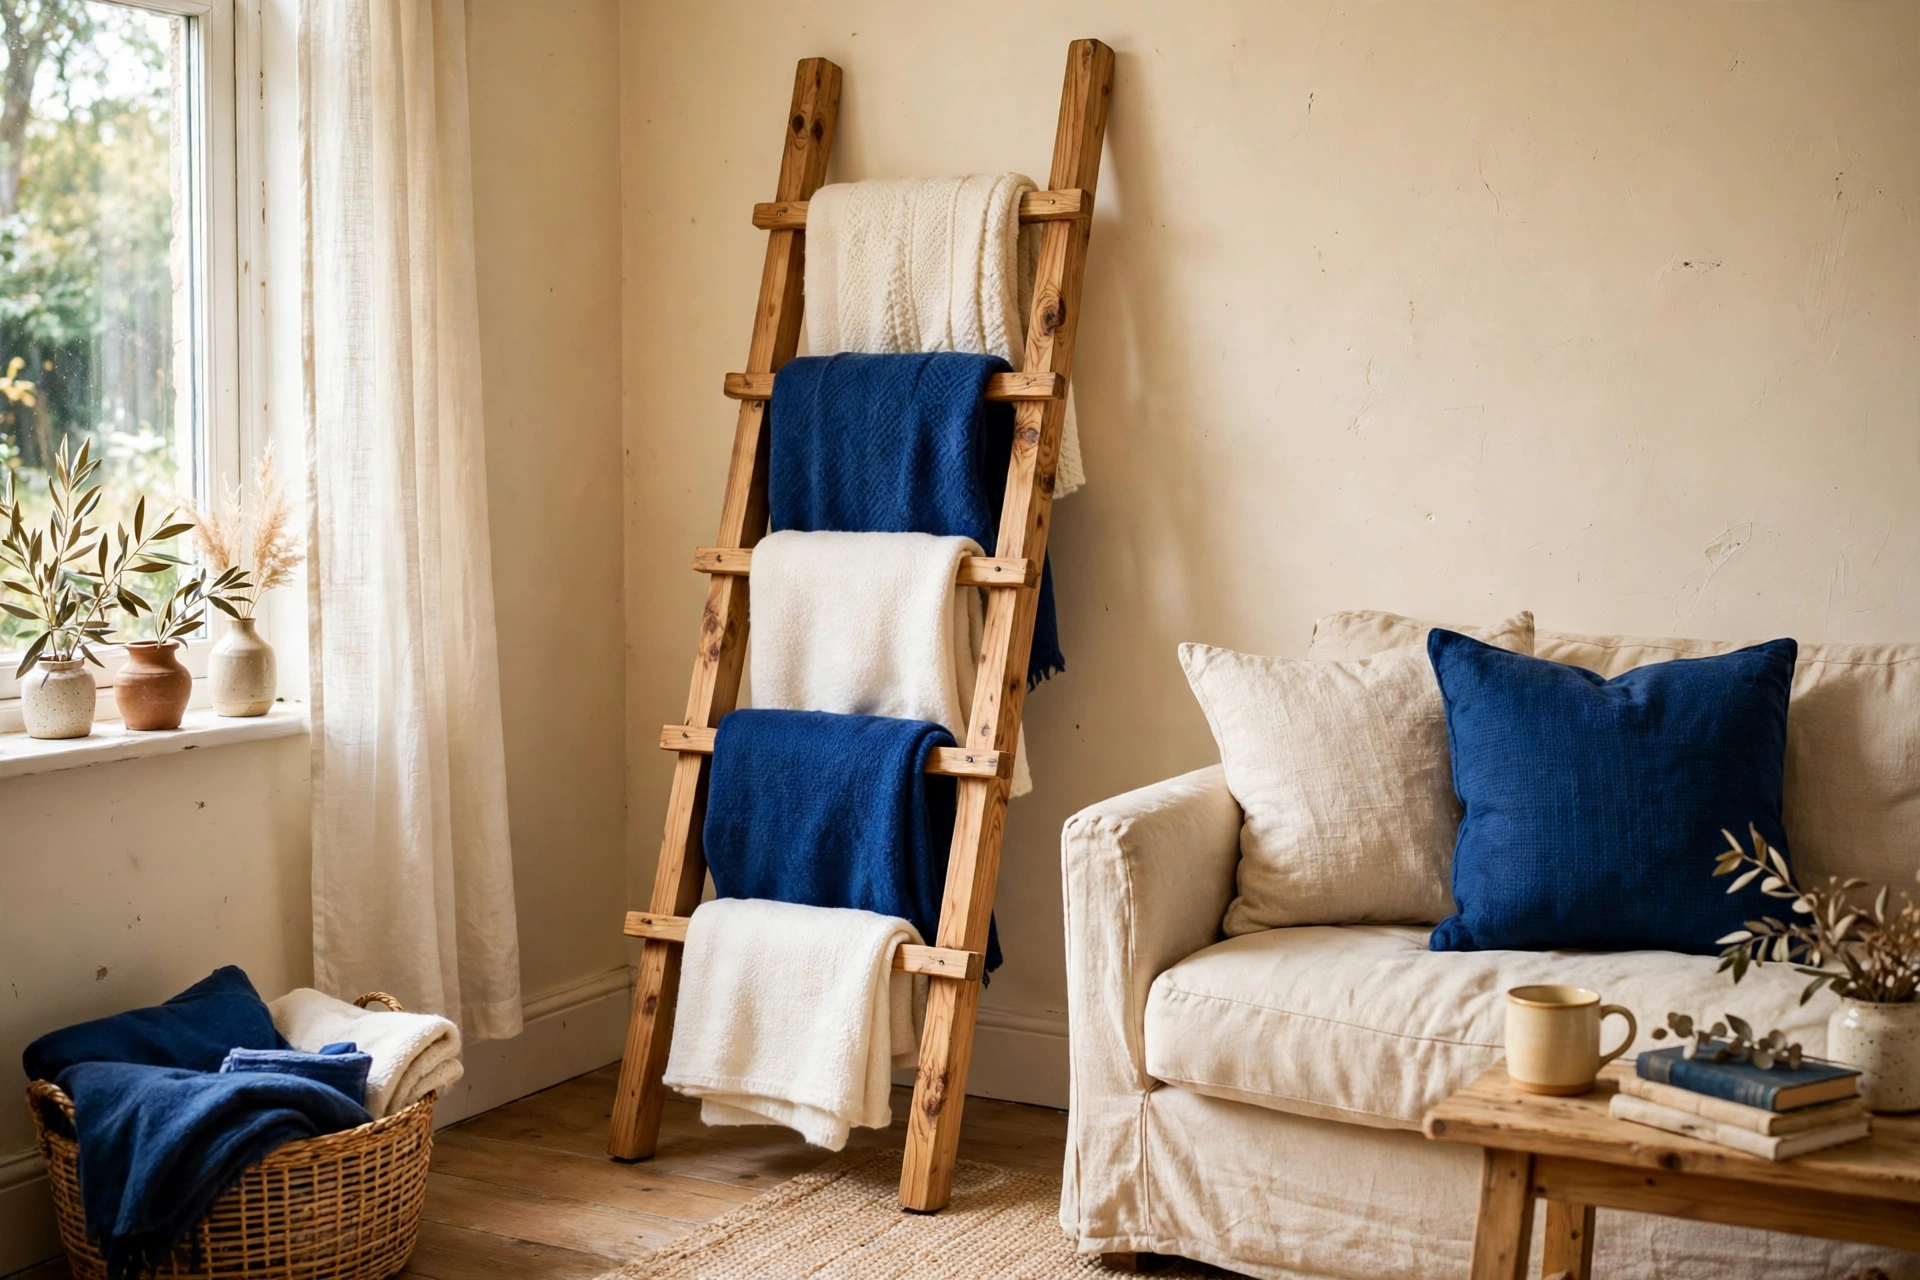
A DIY blanket ladder is the cheapest vertical storage you can build for a small home. Two boards, five rungs, and about two hours turn a dead corner into storage for five folded throws. The full build costs $37.77 with stain, or $15.80 without it, at prices checked in November 2026. It takes up about 2.3 square feet of floor, and all of it is wall-adjacent space nothing else can use. The trick is sizing it to your room before you cut, because a ladder that is six inches too tall looks wrong in a way no amount of styling fixes. This guide gives you the exact math, seven builds for seven small-space problems, and a renter-safe version that needs zero holes.
How tall should a blanket ladder be?
A blanket ladder should be 60 to 72 inches tall in a living room, 48 to 60 inches in a bedroom, and 36 to 48 inches in a bathroom. The top of the ladder should sit about 18 to 24 inches below the ceiling, so it reads as furniture, not as a ladder left behind by a painter.
| Room | Ladder height | Width | Rung spacing |
|---|---|---|---|
| Living room | 60 to 72 in (152 to 183 cm) | 18 to 24 in (46 to 61 cm) | 10 to 12 in (25 to 30 cm) |
| Bedroom | 48 to 60 in (122 to 152 cm) | 18 in (46 cm) | 10 to 12 in (25 to 30 cm) |
| Bathroom | 36 to 48 in (91 to 122 cm) | 12 in (30 cm) | 6 to 8 in (15 to 20 cm) |
| Kids’ room | 48 to 60 in (122 to 152 cm) | 18 in (46 cm) | 10 to 12 in (25 to 30 cm) |
Width follows the blanket, not the wall. A standard throw is 50 by 60 inches (127 by 152 cm). Folded in half it is 25 inches wide, so an 18 inch rung holds it with the ends tucked neatly behind the rails. A twin quilt is about 68 by 86 inches (173 by 218 cm), so go to 24 inch rungs if quilts are the main cargo. Rung spacing is about blanket thickness, not looks. Twelve inches of vertical gap clears a throw folded in quarters, which drops about 12 to 13 inches. Tighter spacing suits towels and thin throws. Wider spacing suits chunky wool blankets that need room to breathe.
What size wood is best for a DIY blanket ladder?
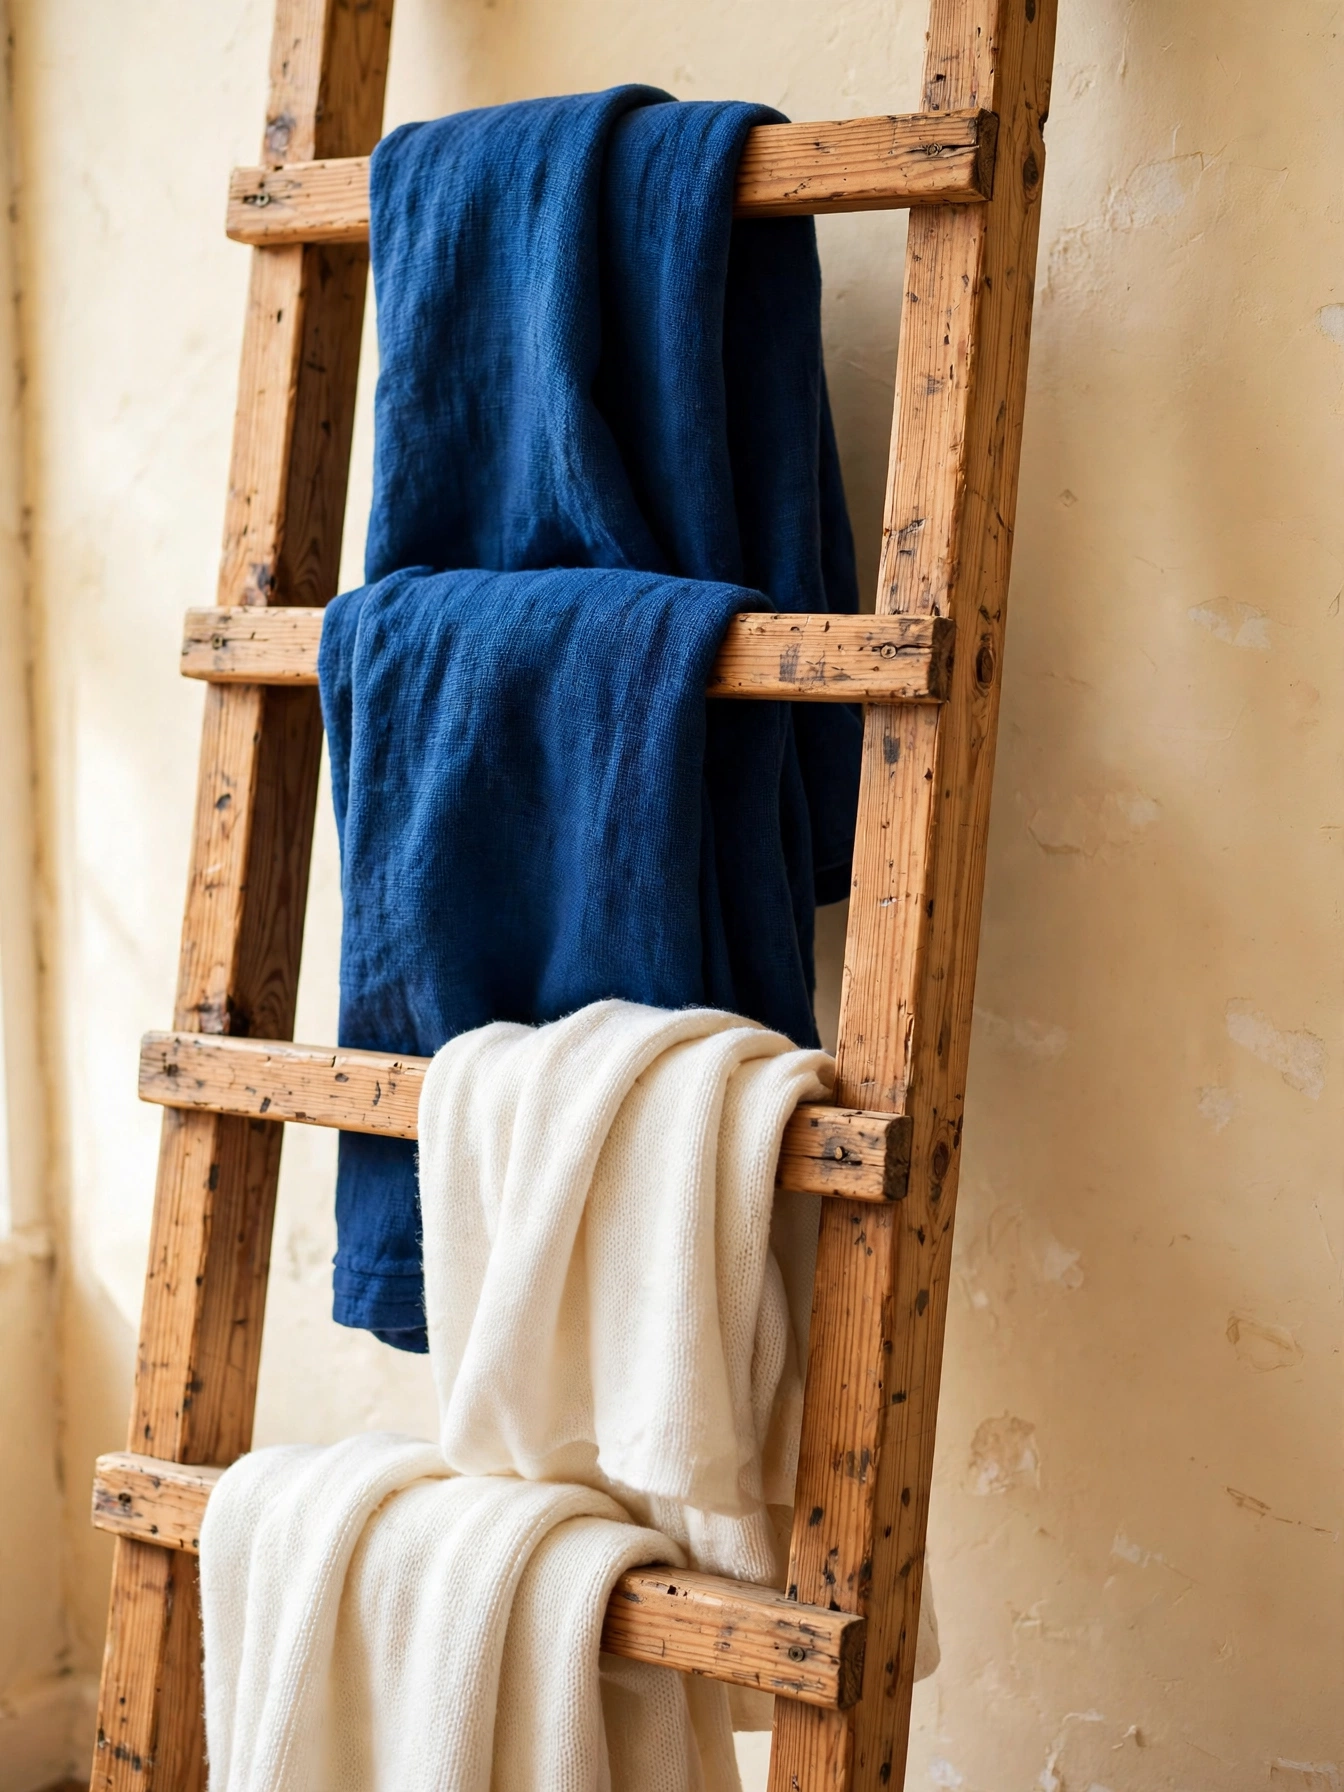
For most small-space builds, 1×3 pine rails with 1×4 rungs are the sweet spot. They are light, cheap, and strong enough for textiles, which weigh almost nothing. The common advice to use 2×4 rails is overkill. A 2×4 ladder weighs nearly twice as much and looks chunky against a small wall, and it buys you strength you will never use, because a blanket ladder is display furniture, not a climbing ladder.
- 1×3 pine rails (actual 3/4 by 2 1/2 in, 1.9 by 6.4 cm): light, easy to carry upstairs, and the slim look suits small rooms. Best for the standard build below.
- 2×4 pine rails (actual 1 1/2 by 3 1/2 in, 3.8 by 8.9 cm): heavier and sturdier looking. Pick these only if you want a chunky farmhouse look, or if the ladder will hold heavy wool quilts.
- 1 inch dowel rungs (2.5 cm diameter): round rungs look softer and let blankets slide on and off easily. They need drilled holes instead of screws, so the build is slower.
- 1×4 flat rungs (actual 3/4 by 3 1/2 in, 1.9 by 8.9 cm): the easiest option. Screw them flat to the rails from the back and you are done. A flat rung also holds a folded blanket without it sliding to one side.
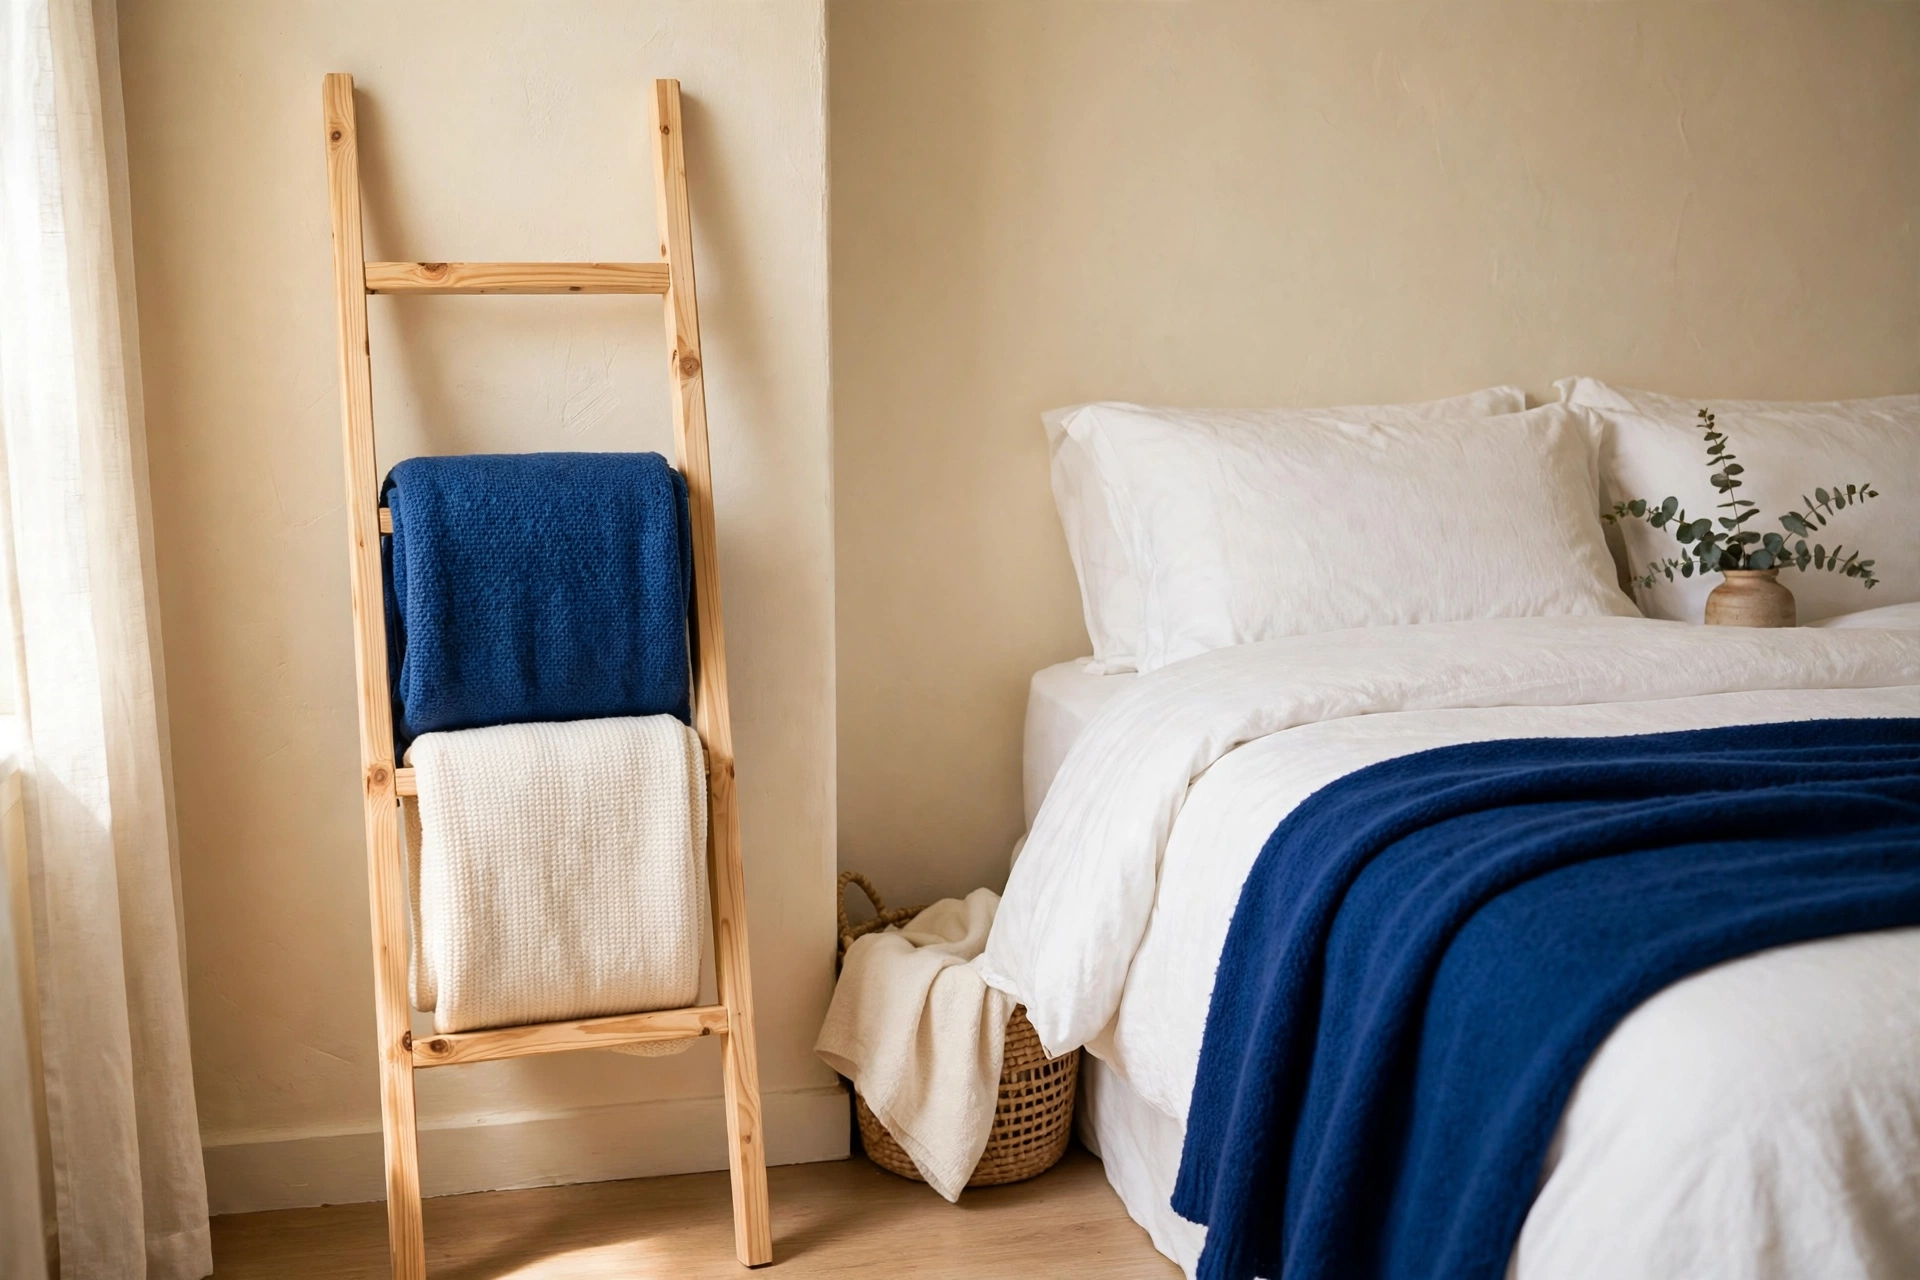
One rung holds one folded throw comfortably, or two thin ones if you fold them in quarters. A five rung ladder therefore holds five throws, or eight to ten thin ones. That is the whole blanket pile for most small homes, which is why the ladder works: it stores the exact number of blankets a small household actually owns.
How much does a blanket ladder cost to build?
Prices checked November 2026 at US retailers. Lumber prices vary by store and region, so treat these as a realistic budget, not a quote.
| Item | Details | Price |
|---|---|---|
| Pine 2×4, 8 ft (2.4 m) | 2 boards for the rails | $7.96 ($3.98 each) |
| Select pine 1×4, 8 ft (2.4 m) | 1 board, cut into five 18 in rungs | $7.84 |
| Wood screws, #8 x 1 1/4 in | 75-pack, 10 needed for the build | $8.99 |
| Wood stain, 1 quart (0.95 L) | Minwax Wood Finish, you will use only a small fraction of the can | $12.98 |
| Total with finish | $37.77 | |
| Total without stain | Lumber and screws only | $15.80 |
Sandpaper and wood glue are not in the table because most homes already have them. If you are starting from zero, a small pack of 120-grit sandpaper is the only extra buy. A shop-bought ladder in the same size runs $50 to $150, so the build saves you at least $12 and gives you the exact height and finish your room needs. Time estimate: 2 to 3 hours, including drying time for one coat of stain.
7 builds that fit a small space
1. The classic leaning ladder
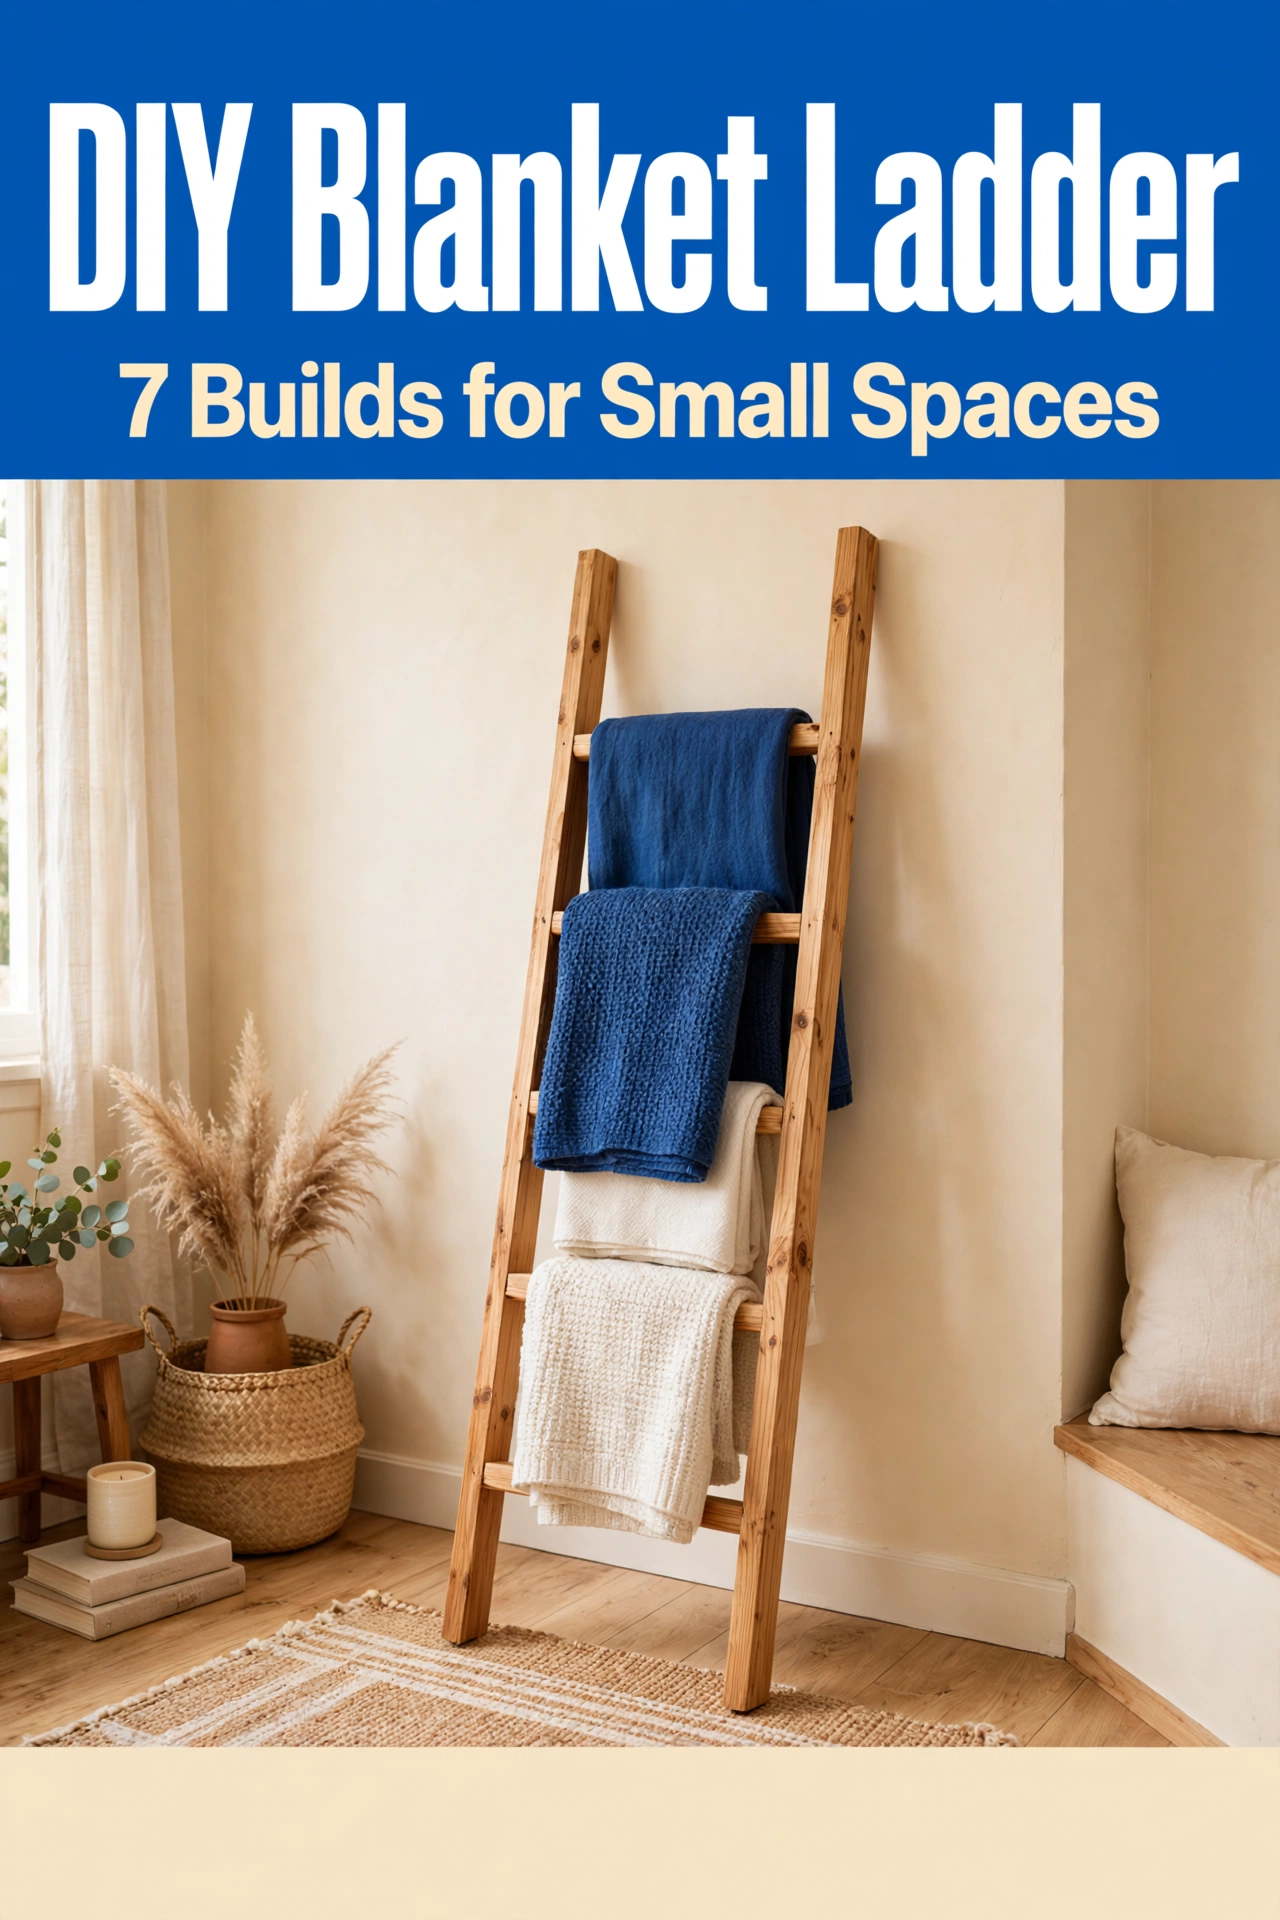
Two 1×3 rails cut to 72 inches, five 1×4 rungs at 18 inches, spaced 12 inches apart. Best for: living rooms. Main advantage: the cheapest route to five-throw storage, and the slim rails suit small walls. Watch out for: 2×4 rails make this same build look heavy, so stick to 1×3 unless you want the farmhouse look. Verdict: the build to make first.
2. The slim dowel ladder
Round 1 inch dowels for rungs instead of flat boards. Best for: bedrooms and calm, minimal rooms. Main advantage: blankets slide on and off without catching, and the round rungs look softer than flat boards. Watch out for: you need a drill and a steady hand to bore the holes at matching heights on both rails. Verdict: prettiest option, slowest build.
3. The no-drill renter ladder
Same as the classic build, but it leans only. Felt pads on the feet, a strip of rubber shelf liner under each foot, and nothing screwed into the wall. Best for: renters. Main advantage: zero holes, zero deposit risk, and it moves with you. Watch out for: it must lean at the right angle or it slides. The safety section below gives you the exact numbers. Verdict: the renter default. If your lease bans wall anchors, this is your build.
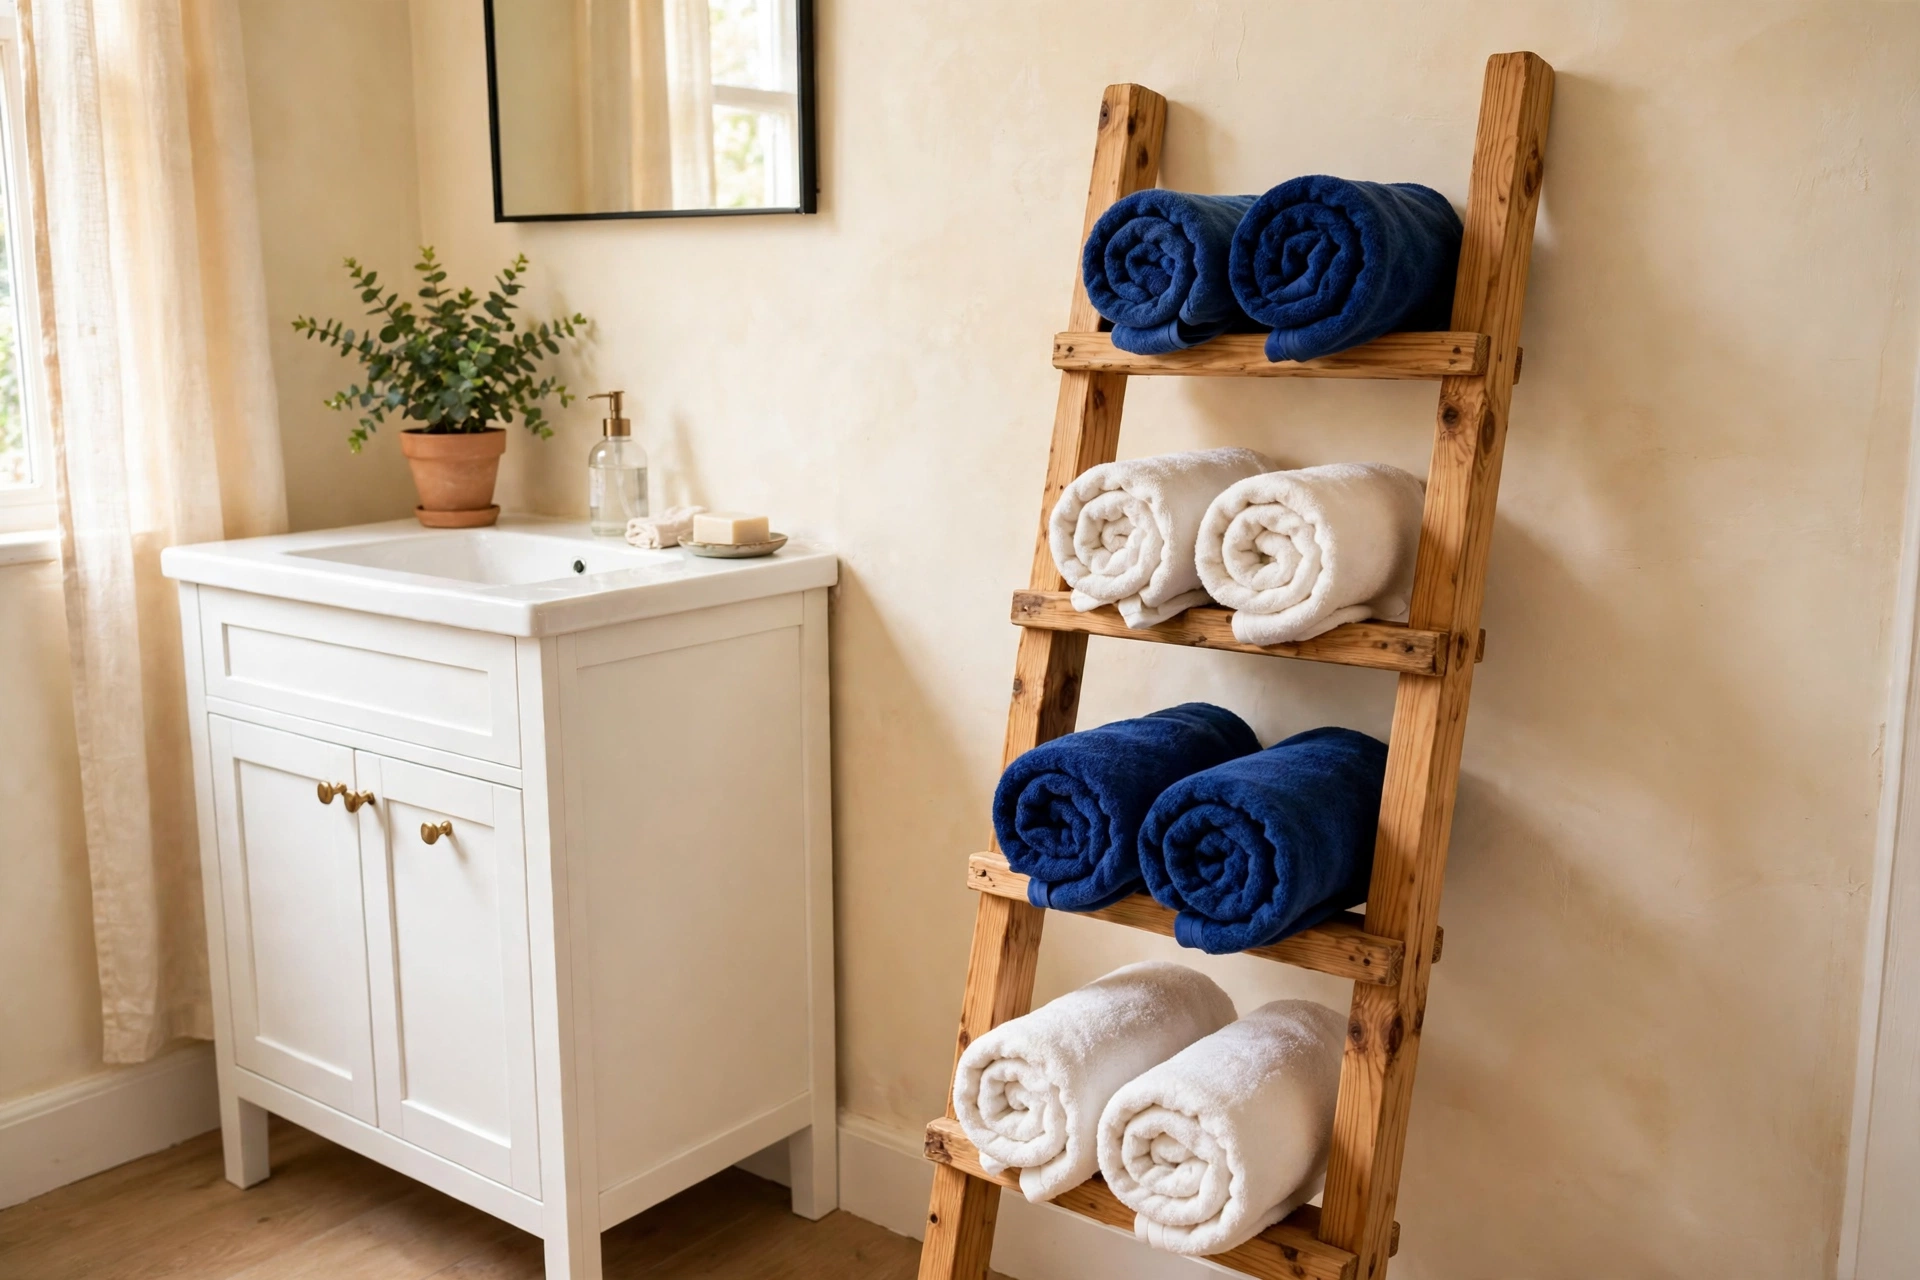
4. The short bathroom ladder
A 36 to 48 inch ladder with 12 inch rungs, spaced 6 to 8 inches apart. Best for: small bathrooms with no linen closet. Main advantage: holds rolled hand towels and washcloths in the dead space beside the vanity. Watch out for: use cedar or a sealed finish, because bathroom humidity swells raw pine over time. Verdict: the best towel storage for a bathroom that has no spare inch.
5. The kids’ room ladder
A 48 to 60 inch ladder with the bottom rung high enough that small hands cannot use it as a step, anchored to the wall with an anti-tip strap. Best for: kids’ rooms and nurseries. Main advantage: keeps blankets and dress-up clothes off the floor without a bulky dresser. Watch out for: never skip the anchor. Children climb, and a leaning ladder is light enough to come down with them. Verdict: only build this version with the anchor fitted.
6. The narrow hallway ladder
A 12 to 14 inch wide ladder in a hallway or entryway. Best for: hallways too narrow for furniture. Main advantage: stores scarves, dog leads, and one folded throw in a space no cabinet fits. Watch out for: keep it under 14 inches wide or it eats the walkway. Verdict: small job, big payoff in a hallway that currently stores nothing.
7. The scrap-wood ladder
Furring strips or leftover 1×3 offcuts, sanded and left unstained. Best for: first-time builders and tight budgets. Main advantage: the lumber can cost under $10, and mistakes are cheap. Watch out for: check every strip for warps before you buy, because cheap lumber bends. Verdict: the best way to learn the build before spending on good pine.
If wall storage that holds books too is what you need instead, DIY floating shelves cover that job, and they pair well with a ladder in the same room. A ladder also belongs in a bedroom that already follows small bedroom storage ideas, because the blankets it holds are the same pile that usually ends up on the bed or the floor.
Materials for the classic build
- 2 pine 1×3 boards, 8 ft (2.4 m) long, for the rails.
- 1 pine 1×4 board, 8 ft (2.4 m) long, for the rungs.
- 10 wood screws, #8 x 1 1/4 in (3.2 cm).
- Wood glue (optional but recommended).
- 120-grit sandpaper.
- Wood stain or paint, 1 quart (0.95 L), optional.
- Felt pads for the feet, 4 pack.
- Pencil, tape measure, saw, drill, level.
How to build a DIY blanket ladder in 7 steps
- Measure the wall. Check the ceiling height and the width of the empty wall. Pick a ladder height from the size table above, then subtract nothing. The lean angle does the rest.
- Cut the rails. Cut both 1×3 boards to your chosen height, 72 inches (183 cm) for a standard living room ladder. Cut the bottom ends at a 15 degree angle so the feet sit flat on the floor when the ladder leans.
- Cut the rungs. Cut five 18 inch (46 cm) rungs from the 1×4 board. Five rungs at 18 inches use 90 inches of an 8 foot board, so one board is enough.
- Mark the rung positions. Lay the rails flat, 18 inches apart. Mark the first rung 12 inches (30 cm) up from the bottom, then one every 12 inches. Five marks, five rungs.
- Assemble. Glue each rung, then drive two screws through the back of each rail into each rung end. Ten screws total. Check with a level that the rungs sit square before the glue sets.
- Sand and finish. Sand every edge with 120-grit paper until it feels smooth to a bare hand. One coat of stain or paint, then let it dry fully. A second coat is for looks, not strength.
- Lean and test. Set the ladder against the wall with the feet roughly 18 inches (46 cm) out from the skirting board for a 72 inch ladder. Give it a gentle tug from the side. If it slides, add felt pads and a strip of rubber liner under the feet.
That is the whole build. If you are furnishing one room at a time, this is also the kind of project that suits small living room organization ideas, because it adds storage without adding furniture. In a studio apartment layout, a ladder beside the sofa doubles as a soft room divider that never blocks light.
How to keep a leaning ladder from slipping or tipping
A leaning ladder is a triangle, and the angle decides everything. At a 15 degree lean, a 72 inch ladder stands 69.5 inches (177 cm) tall against the wall with its feet 18.6 inches (47 cm) out. A 60 inch ladder stands 58 inches tall with its feet 15.5 inches out, and a 48 inch ladder stands 46.4 inches tall with its feet 12.4 inches out. Steeper than 15 degrees and the ladder slides forward. Shallower and it crowds the room for no reason. Measure the base distance once and mark the floor with a small piece of tape, so the ladder goes back to the same safe spot after cleaning.
Three rules keep it safe. First, felt pads plus rubber liner under the feet stop sliding on hard floors. Second, keep heavy items low. The bottom two rungs carry the weight, the top rung carries the lightest throw. Third, anchor it in a kids’ room. The US Consumer Product Safety Commission’s Anchor It! guidance says to secure furniture and TVs that children can climb, and a light leaning ladder is exactly the kind of piece a toddler will test. The guidance and the right hardware are on the CPSC’s Anchor It page. If you rent, check your lease before drilling for an anchor. Most leases allow small anchor holes with permission, and an anchor hole is far cheaper than a deposit deduction for a damaged wall or an injured child. A leaning ladder with no anchor is a fine choice for an adult bedroom, and the wrong choice for a room a child plays in alone.
Mistakes to avoid
- Building it too tall. A 72 inch ladder under an 8 foot ceiling is right. The same ladder in a room with a 7 foot ceiling looks cramped and tips the visual balance of the whole wall.
- Spacing the rungs too far apart. Fourteen inches looks airy in photos and wastes a rung. Twelve inches is the spacing that holds the most blankets.
- Skipping the sanding. Raw pine splinters, and a blanket snagged on a rough edge pulls threads. Two minutes per edge with 120-grit paper is the difference between handmade and homemade.
- Using wet or warped boards. Sight down every board before you buy. A warped rail twists the whole ladder and no amount of screwing pulls it straight.
- Forgetting the lean angle. A ladder stood straight up against the wall slides forward the first time someone pulls a blanket off it. Feet out, 15 degrees, every time.
What to skip
- Thick 2×4 rails for a display ladder. They double the weight and the cost for strength you do not need. Save 2x4s for furniture people sit or climb on.
- Pre-made ladder kits over $60. The whole point of this build is that it costs $37.77 finished. A kit that costs more than the lumber, screws, and stain combined is paying for a box.
- Decorative rungs you cannot use. Rope rungs and leather straps look good in photos and sag under a folded quilt. A ladder that cannot hold blankets is wall art with extra steps.
- A ladder for every room. One ladder per blanket pile is enough. Three ladders in a small home is clutter wearing a DIY costume.
How tall should a blanket ladder be?
A blanket ladder should be 60 to 72 inches (152 to 183 cm) tall in a living room, 48 to 60 inches (122 to 152 cm) in a bedroom, and 36 to 48 inches (91 to 122 cm) in a bathroom. Keep the top about 18 to 24 inches (46 to 61 cm) below the ceiling.
How wide should a blanket ladder be?
Most blanket ladders are 18 to 24 inches (46 to 61 cm) wide. Eighteen inches fits a standard throw folded in half, and 24 inches fits a folded twin quilt. Narrow hallway versions can be 12 to 14 inches (30 to 36 cm) wide.
What size wood is best for a blanket ladder?
1×3 pine rails with 1×4 rungs suit most builds, because they are light and cheap and strong enough for textiles. Use 2×4 rails only for a chunky farmhouse look. Round 1 inch dowels work as rungs if you prefer a softer look and do not mind drilling holes instead of screwing.
Does a blanket ladder need to be attached to the wall?
No, in an adult room a leaning ladder is safe if it sits at a 15 degree lean with felt pads and rubber liner under the feet. In a kids’ room, yes, anchor it with an anti-tip strap into a wall stud, following the CPSC Anchor It! guidance, because children climb and a light ladder can tip.