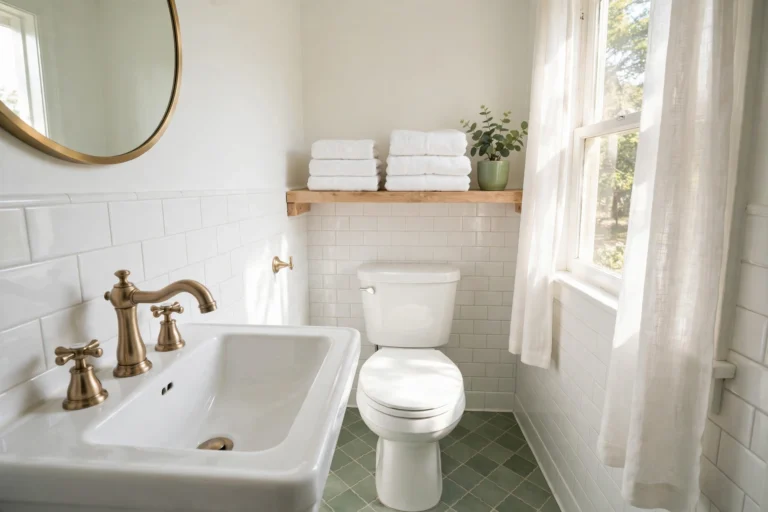

How to Hang Curtains Without Drilling: 6 Renter-Safe Methods That Actually Hold
Yes, you can learn how to hang curtains without drilling and still end up with windows that look designed, not temporary. The trick is matching the method to your window surface and your curtain weight before you buy anything. This guide gives you six renter-safe methods, a worked placement calculation, and a weight budget, so a rod never lands on the floor at 2 a.m.
Here is the original check this post is built on. Take a standard 36 in (91 cm) window. Hang the rod 8 in (20 cm) past the trim on each side and you need a 52 in (132 cm) rod span, not a 36 in rod. Then weigh the curtains. A light pair of sheers at about 4 lb total sits comfortably under a 10 lb rated adhesive hook pair. A lined blackout pair at 12 to 15 lb breaks that same pair, so it needs a different method. That two-step check, span first and weight second, is the whole game.
Which method fits your window?
| Method | Best for | Holds about | Deposit risk (1 to 5, 5 is riskiest) |
|---|---|---|---|
| Tension rod | Inside a window recess, sheers and cafe curtains | Light panels, a few pounds | 1 |
| Adhesive hooks and brackets | Smooth painted walls, light to medium panels | Up to 10 lb per rated pair | 2 |
| Tap-in trim brackets | Wooden window trim, heavier panels | Up to 20 lb per bracket, per the maker | 2 |
| Magnetic rods | Steel doors and metal frames | Light to medium panels | 1 |
| Clip-on brackets | Windows that already have blinds | Light to medium panels | 1 |
| Existing hardware | Any rental with a rod or blind brackets already fitted | Whatever that hardware already holds | 1 |
Whichever route you pick, learning how to hang curtains without drilling comes down to surface plus weight, not to the prettiest bracket. If your wall is textured, read our textured walls guide first, because adhesive ratings fall fast on bumpy paint. The same caution applies in reverse: a method that works on smooth drywall can fail on tile, so check the surface before you trust the rating.
Method 1: Tension rod inside the frame
Best for: sheers, cafe curtains, and privacy layers inside a recess at least 1 in (2.5 cm) deep.
Main advantage: no marks at all, and it takes about five minutes.
Watch out for: wide spans and heavy fabric. A rod stretched near its maximum length has already used most of its spring, so it slips sooner. Pick a rod whose middle range covers your window, not one that just barely reaches.
Verdict: the best first try for any recessed window, and the best inner layer when you plan to layer curtains.
A tension rod also solves the small-window problem. In a bathroom or a narrow kitchen window, a short rod and a cafe curtain give privacy without blocking the whole wall, and you can take it down in seconds when you move out.

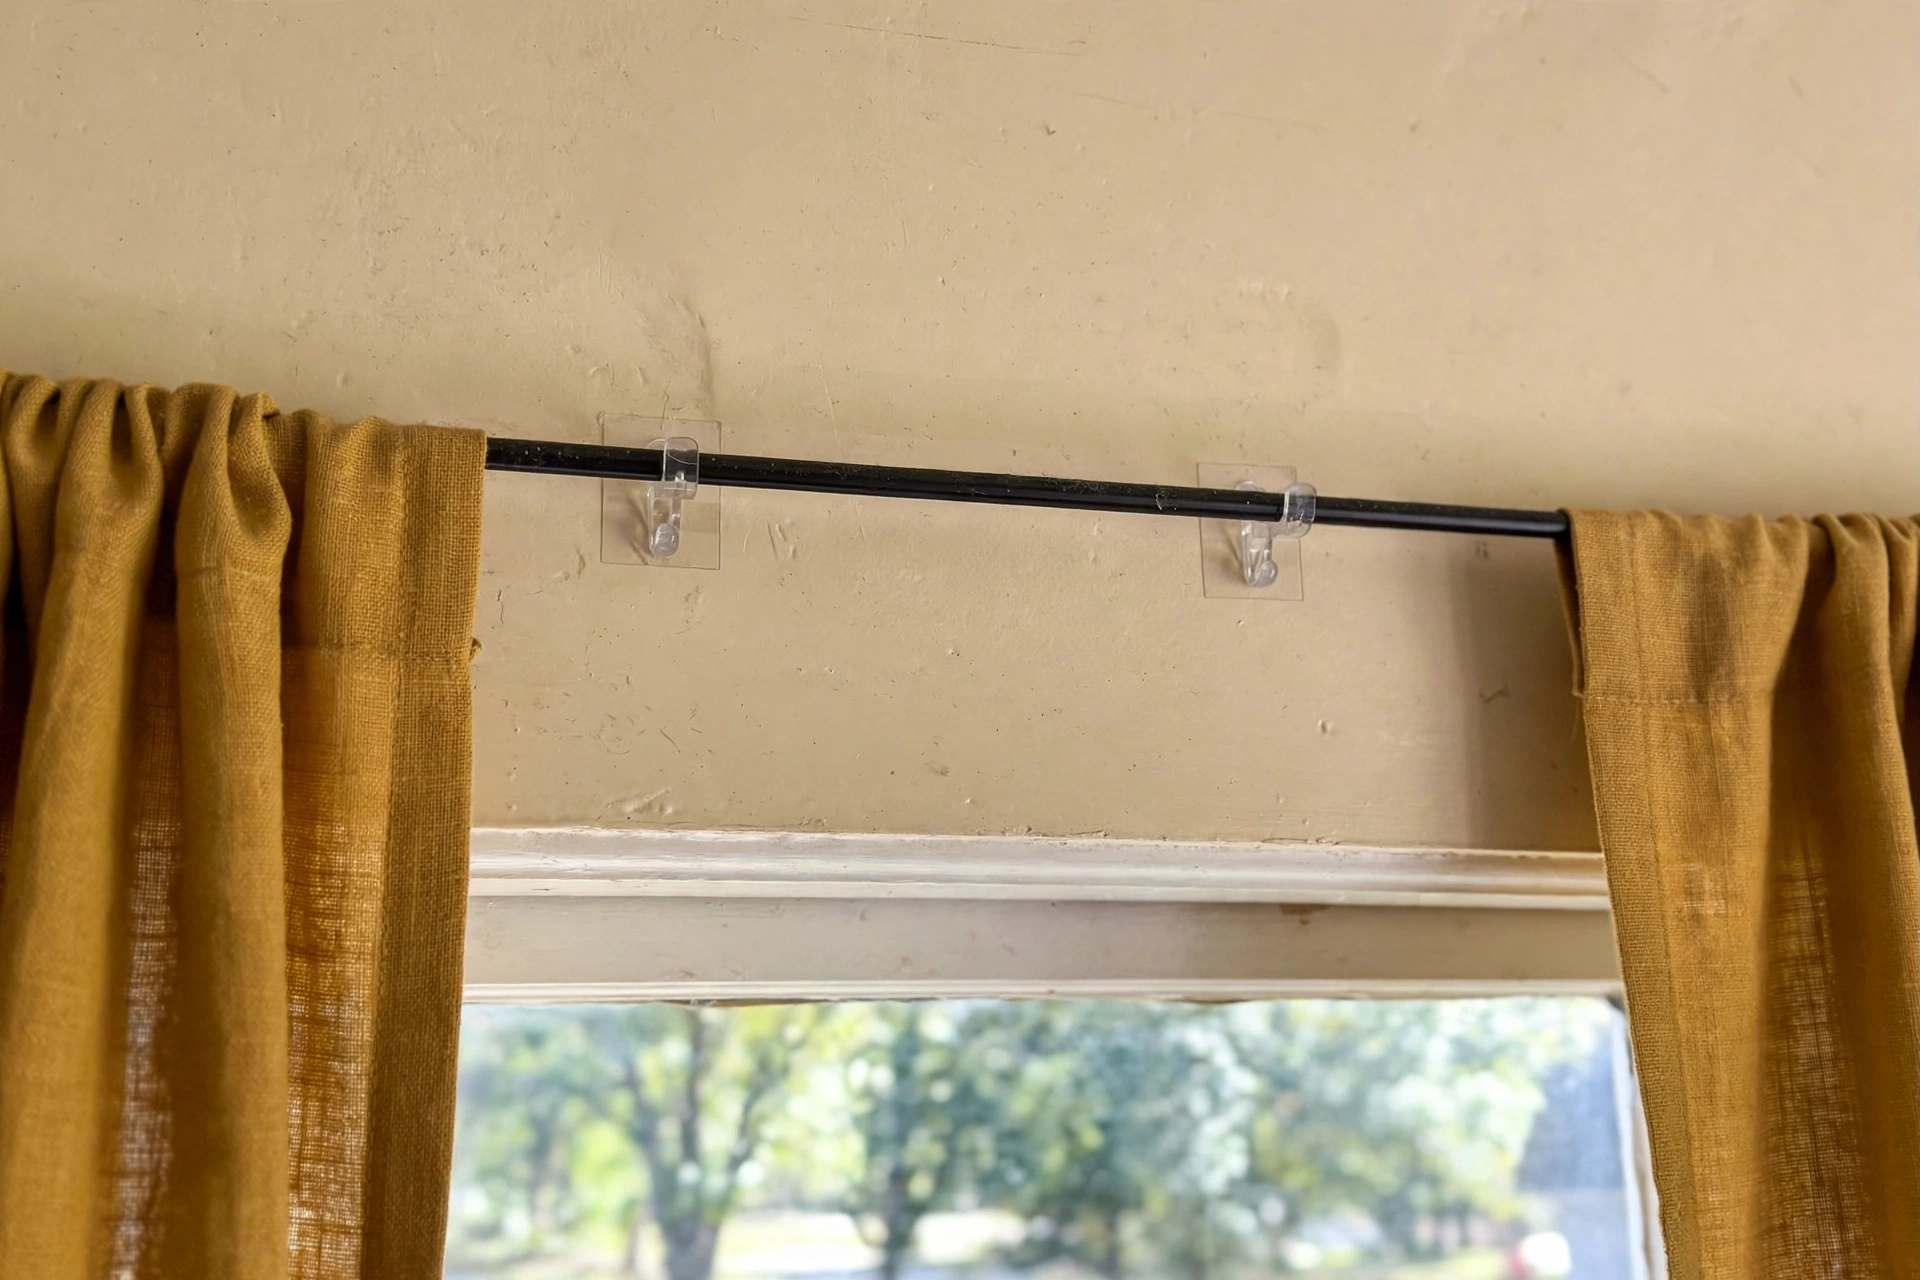
Method 2: Adhesive hooks and brackets
Best for: smooth painted drywall, glass, tile, and finished wood, with light to medium panels.
Main advantage: you get the high, wide, outside-the-frame look without holes.
Watch out for: weight and cure time. A rated pair of curtain rod hooks holds up to 10 lb in total, and that rating assumes a clean, smooth surface and a full cure, usually about one hour before you load it. Fresh paint needs longer, about seven days, before adhesive goes on it.
Verdict: great for sheers and unlined cotton or linen. Skip it for lined blackout velvet, and never hang a rod longer than 48 in (122 cm) on one adhesive pair alone.
This is also the method where our guide to taking adhesive hooks down cleanly matters most. Pull the tab straight down slowly at move-out, never yank it sideways, or you trade a hole-free wall for a peeled paint patch.
Method 3: Tap-in trim brackets
Best for: windows with solid wooden trim, and renters who want heavier curtains without drilling the wall.
Main advantage: the pins tap into the top of the trim, not the wall, and each bracket is rated to 20 lb by its maker. That is enough for most blackout panels.
Watch out for: trim condition. Soft, split, or painted-over composite trim may not grip the pins well. Test one bracket and load it gently before you hang the full pair.
Verdict: my pick for a bedroom blackout setup in a rental with real wood trim. It looks like a normal rod bracket once the curtain is up, which is the point.
If your trim is thin or missing, do not force this method. Switch to a tension rod inside the frame, or to adhesive brackets on the wall beside the trim.
Method 4: Magnetic rods
Best for: steel entry doors, metal window frames, and metal sidelights.
Main advantage: they snap on in seconds and leave zero trace.
Watch out for: magnet strength varies a lot by model, and a rod that holds a sheer may slide under a lined panel. A top and bottom rod pair stops a door curtain from swinging every time the door moves.
Verdict: perfect for door windows and small metal-framed windows. Not a living room solution for heavy drapes.
Method 5: Clip-on brackets over existing blinds
Best for: rentals where blinds are already fitted and must stay.
Main advantage: the bracket hooks over the blind headrail or the window frame, so you add a curtain rod without touching the wall at all.
Watch out for: headrail shapes differ, so check that the clip fits your blind type before you order. A loose clip rattles and drops.
Verdict: underrated. It is the fastest way to soften a room full of builder blinds, and landlords rarely object because nothing changes permanently.
Method 6: Use the hardware that is already there
Best for: any rental with a fitted rod, a picture rail, or a ceiling track left by a previous tenant.
Main advantage: zero cost, zero risk, and zero negotiation with a landlord.
Watch out for: old rods sag. Check the span and the supports before you hang heavy fabric on them, and tighten any loose finial by hand.
Verdict: boring, and the smartest first check. If a rod is already there, use it, and spend your budget on better curtains instead. Our budget curtains we picked for small rooms pair well with this approach, since the savings go into fabric, not hardware.
How to hang curtains without drilling in 7 steps
Materials: tape measure, bathroom scale or luggage scale, rubbing alcohol and a cloth, the rod and brackets for your chosen method, a pencil, and a level app on your phone.
- Measure the inside width of the recess and the outside width of the trim. Write both numbers down.
- Weigh your curtain pair on a scale. If you cannot weigh them, assume lined blackout is heavy and sheers are light, and choose accordingly.
- Pick the method from the table above using surface first, then weight. Never pick by price alone.
- Mark the rod height, 4 to 6 in (10 to 15 cm) above the trim for a standard look, or closer to the ceiling for a taller look. Mark the width, 8 to 12 in (20 to 30 cm) past the trim on each side where wall space allows.
- Clean the surface with rubbing alcohol and let it dry fully. For adhesive, press firmly for 30 seconds and wait the full cure time before hanging anything.
- Hang the rod, then the curtains, then step back and check the hem. It should kiss the floor or stop within 0.5 in (1.3 cm) of it. Curtains that hover 3 in above the floor read as too short, even when the fabric is good.
- Test it like a renter. Open and close the curtains five times, then check that nothing has slipped, tilted, or peeled. Fix it now, not after a rod falls at night.
What does it cost? Prices checked in November 2026
| Item | Checked price, as of November 2026 |
|---|---|
| Tension rod, 28 to 48 in (71 to 122 cm), Room Essentials at Target | $10.00 |
| Adhesive curtain rod hooks, 2-pack rated 10 lb, at Target | $16.99 |
| Tap-in trim brackets, single set, from the maker | $12.99 |
| Standard telescoping curtain rod, Target range | $10.00 to $15.00 |
| One window, tension method (rod only) | $10.00 |
| One window, adhesive method (hooks plus rod) | $26.99 to $31.99 |
| One window, trim bracket method (brackets plus rod) | $22.99 to $27.99 |
The sums check out: $16.99 plus $10.00 equals $26.99, and $16.99 plus $15.00 equals $31.99. For trim brackets, $12.99 plus $10.00 equals $22.99, and $12.99 plus $15.00 equals $27.99. These are checked market prices, not personal receipts, and prices may vary by store and region.
Placement rules that make no-drill curtains look intentional
Height, width, and length matter more than the bracket brand. When you work out how to hang curtains without drilling for a real window, hang the rod high, extend it wide, and let the hem reach the floor. A rod hung right on the trim makes a window look smaller, while the same curtains hung 6 in higher and 8 in wider on each side make the whole wall look taller.
Layering helps too. Put a sheer on a tension rod inside the frame for daytime privacy, then hang your decorative panel outside the frame on adhesive or trim brackets. You get privacy without living in a cave, and each layer stays under its own weight limit.
Color matters as well. Curtain and wall color pairings change how heavy a no-drill setup feels in a small room, so pick a curtain color close to your wall color when the room is tight, and save bold contrast for a room with space to spare.

Mistakes to avoid
Skipping the weigh-in. Guessing curtain weight is how rods fall. Weigh the pair, then compare it to the rating, not the other way around.
Loading adhesive too soon. Hanging curtains during the cure hour is the most common adhesive failure, and it is fully avoidable.
Stretching a tension rod to its limit. Size up to the next rod range so your window sits in the middle of its range.
Ignoring the lease. Some leases ban adhesive on fresh paint or brackets on trim. Check first, in writing, and keep the answer with your move-in photos.
Hanging short curtains high. A high rod plus a standard 84 in (213 cm) panel can leave a gap at the floor. Measure from your planned rod height to the floor before you buy panels, and go to 95 or 96 in (241 or 244 cm) panels for 8 ft (244 cm) ceilings when needed.
What to skip
Skip double-sided tape for anything heavier than a valance, skip suction cups on painted walls, and skip a single center adhesive hook for a wide rod. Skip heavy velvet on any adhesive-only setup, and skip drilling just two small holes in a rental without written permission, since two holes are still two holes at move-out inspection.
Renter caveat: check the lease first
Before you hang anything, check three lease points: whether adhesive, pins, or clips are restricted, what counts as damage versus normal wear, and how removal must be handled at move-out. Photograph the wall and trim before you start, keep the product packaging with its weight rating, and remove everything in reverse order at move-out: curtains off, rod off, brackets off, then adhesive tabs pulled slowly down. If a lease is silent on no-drill hardware, a short written note to your landlord still protects you, because the approval is then on record.

Frequently asked questions
The short version of how to hang curtains without drilling is this: measure the span, weigh the pair, pick by surface, and respect the rating. Do those four things and the curtains stay up.
Can you hang curtains without drilling in a rental?
Yes. Tension rods, adhesive hooks and brackets, tap-in trim brackets, magnetic rods, and clip-on brackets all hang curtains with no drilled holes. Pick by surface first, then by curtain weight, and check your lease before you start.
Will Command hooks hold curtain rods?
A rated pair of curtain rod hooks holds up to 10 lb in total on a clean, smooth surface after the full cure time. Light sheers and unlined panels fit that rating. Lined blackout pairs at 12 to 15 lb exceed it, so use trim brackets or a tension rod layer instead.
How much weight can a tension rod hold?
It depends on the rod and the span, not just the brand. Short rods inside a solid recess hold light to medium panels well, while a long rod near its maximum extension slips sooner. Keep your window in the middle of the rod range, and keep heavy lined panels off tension rods.
How high and wide should no-drill curtains hang?
Hang the rod 4 to 6 in (10 to 15 cm) above the trim, or closer to the ceiling for a taller look, and extend it 8 to 12 in (20 to 30 cm) past the trim on each side where space allows. Let the hem kiss the floor or stop within 0.5 in (1.3 cm) of it.
How this was made: this guide was researched from live retailer listings and maker specifications in November 2026, with placement and weight figures computed from the measurements stated in the article. No product was presented as personally tested.