Move In Documentation Checklist for Renters: Photograph It Before You Unpack
Direct answer
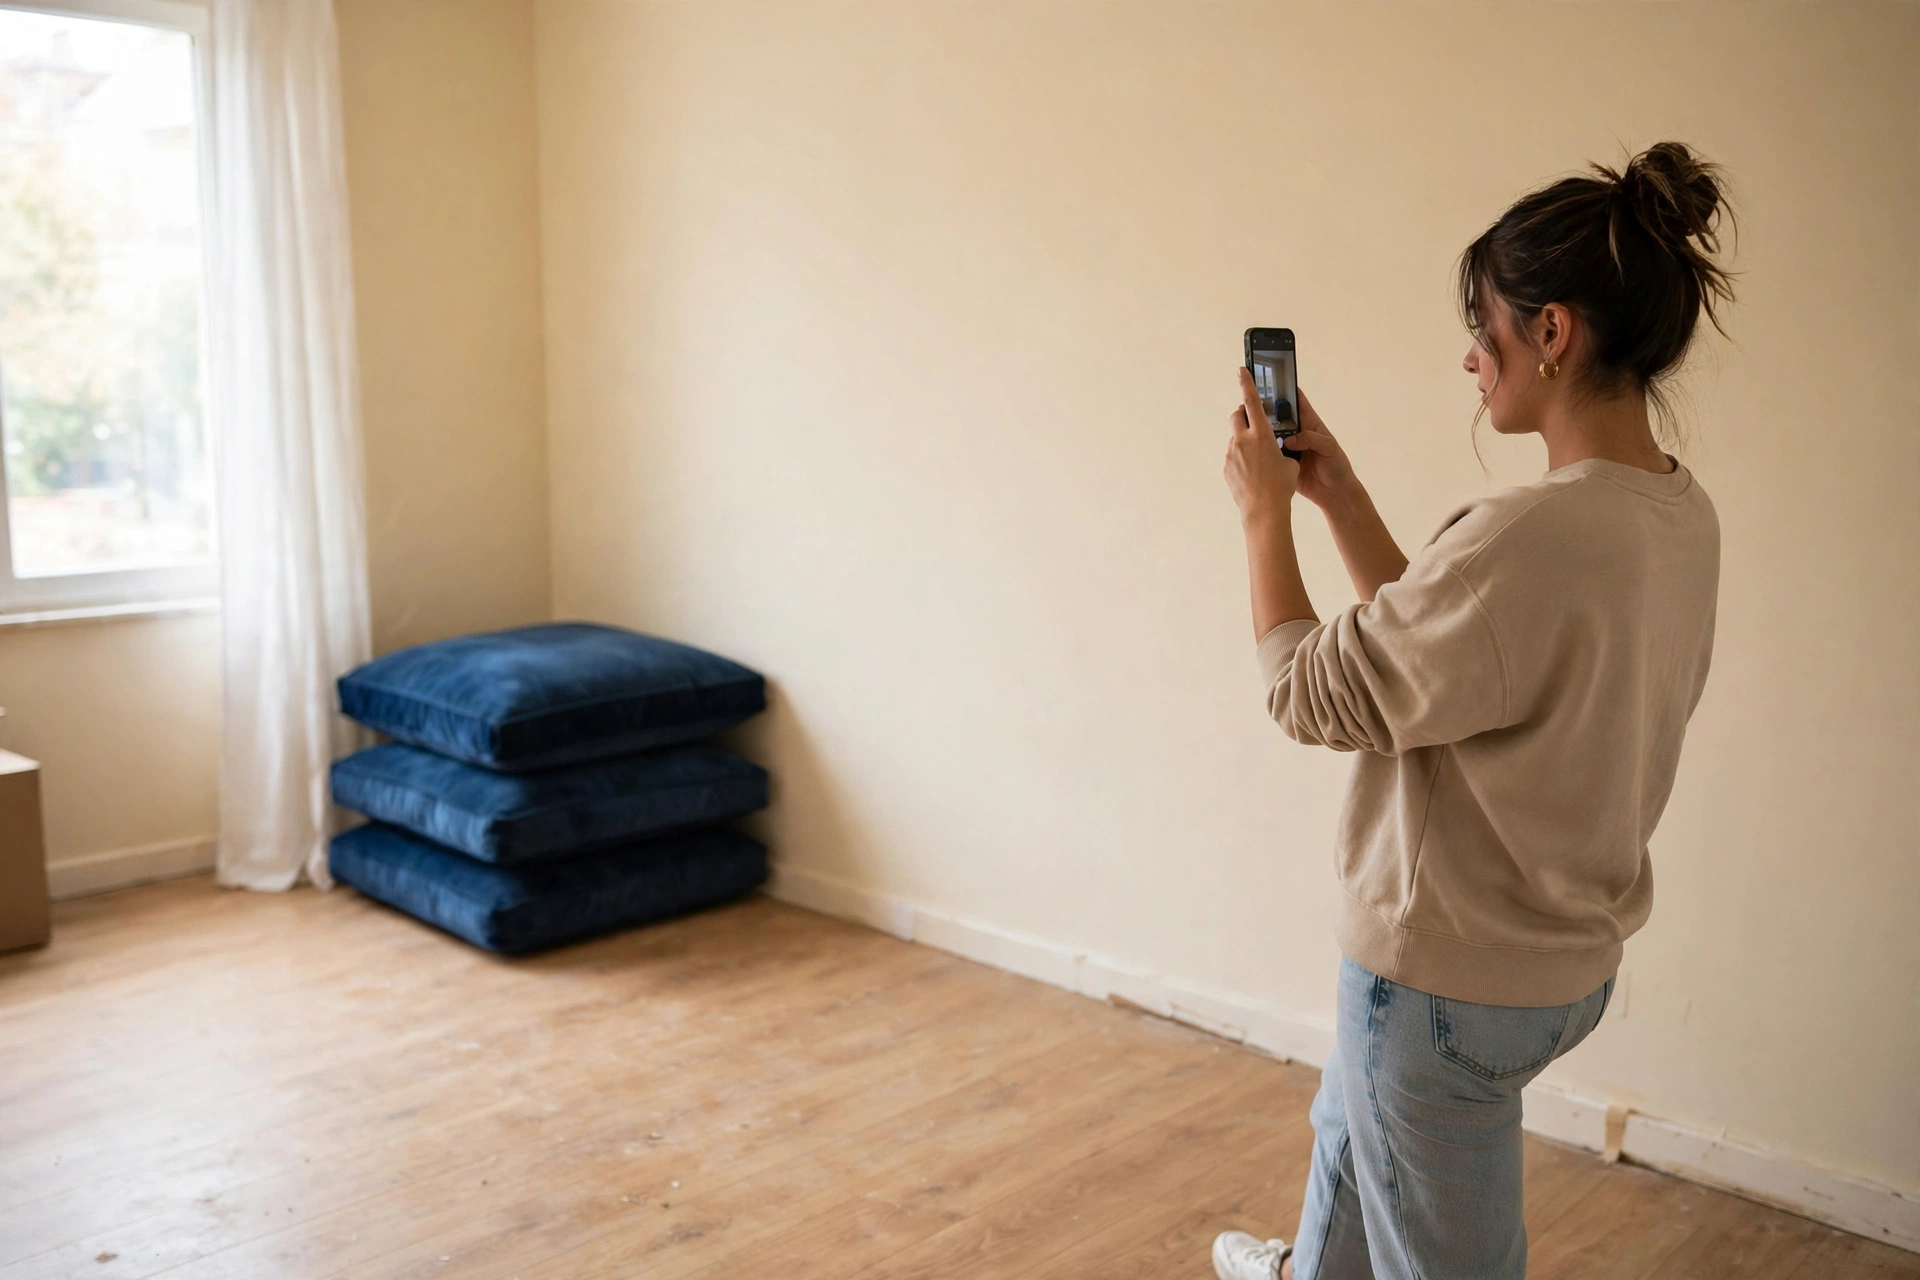
Direct answer: This move in documentation checklist for renters takes about 75 minutes in an empty apartment, and it protects your deposit better than a hundred casual photos taken after the boxes arrive. Walk every room before you unpack, take one wide shot plus a close-up of every defect, add a scale object to close-ups, and email the dated set to your landlord the same day. That email is the proof. Photos on your phone alone are not.
Most renters photograph the obvious damage and skip the rest. That is the mistake. The oven that looks fine, the carpet edge that looks fine, the window seal that looks fine: those are exactly the items landlords charge for later, because nobody can prove what “fine” meant on day one. I have found that the renters who get deposits back in full are rarely the tidiest tenants. They are the ones with dated evidence.
This post gives you the timed route, the room by room checklist, the naming system, and the send template. It is the practical companion to our lease and deposit guide for renters, which covers the full tenancy timeline from signing to move-out.
How this move in documentation checklist for renters works in 75 minutes
Direct answer: Start at the front door, work room by room in one direction, and finish with meters, keys, and alarms. Never double back. A one-bedroom apartment takes about 75 minutes; add 15 minutes per extra bedroom.
Set a timer. The point of a timed route is not speed for its own sake. It is that an untimed walkthrough drifts, and a drifting walkthrough misses the bathroom grout, the inside of the oven, and the second bedroom closet. Here is the budget that keeps you honest.
| Stop | Time | Shots |
|---|---|---|
| Entry, doors, and locks | 5 minutes | Wide plus close-ups of any damage |
| Living room | 15 minutes | 1 wide per wall, close-ups of defects |
| Kitchen | 20 minutes | Wide, appliances inside and out, under sinks |
| Bathroom | 15 minutes | Wide, grout, sealant, under-sink plumbing |
| Bedroom or bedrooms | 15 minutes | Wide, closets, windows, floors |
| Meters, keys, and alarms | 5 minutes | Meter faces, key set, alarm tests |
Best for: Anyone moving into an unfurnished or partly furnished place, where empty walls and floors are still visible.
Watch out for: Do not start with the kitchen just because it is the most interesting room. The route works because it is fixed. Skip around and you will forget a room.
Verdict: Follow the order even when it feels slow. The order is the system.
Materials: the documentation kit
Direct answer: You need a phone with a charged battery, a tape measure, a small flashlight, and a notebook. That is the whole kit.
Materials:
- Phone, fully charged, with enough free storage for 100 photos and a few short videos
- Tape measure, 25 ft (7.6 m), for measuring defect sizes and room clearances
- Small LED flashlight, for under sinks, inside closets, and behind appliances
- Notebook and pen, for the written condition notes that go with the photos
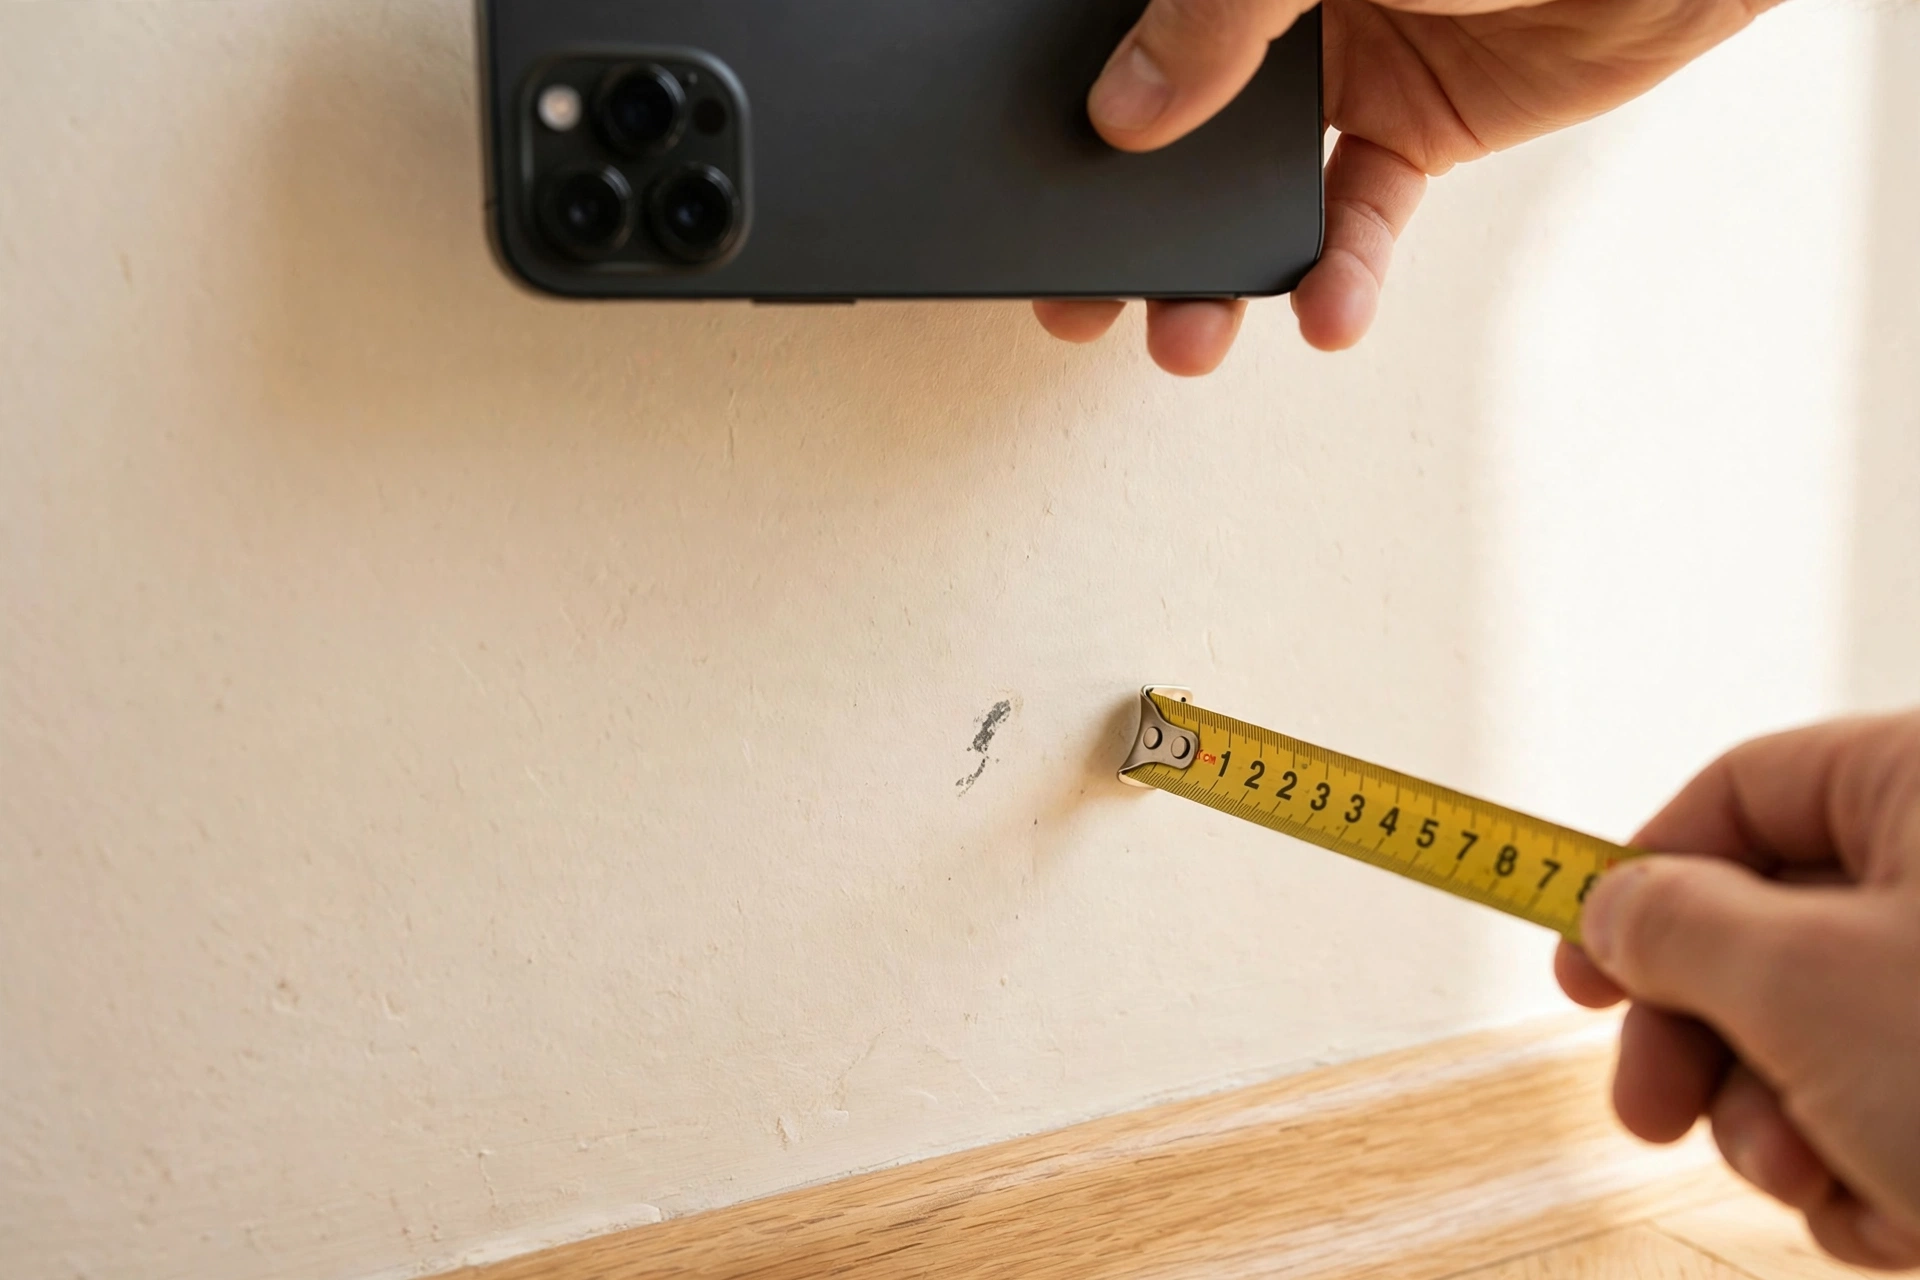
- A coin, for scale in close-up photos of scratches and chips
No special app is required. Your phone camera, your email, and one cloud folder are enough. If you already own the tape measure and flashlight, the kit costs nothing extra. If you buy both new, the cost table below shows the damage.
Room by room: what to photograph
Direct answer: This move in documentation checklist for renters treats every room the same way: photograph it empty, then photograph every defect twice, once wide for location and once close for detail, with a coin or tape measure for scale.
Entry, doors, and locks
Photograph the front door inside and out, the frame, the locks, and the peephole. Note scratches, chipped paint, loose hinges, and gaps around the frame. Count every key, fob, mailbox key, and remote, and photograph the set laid out together. A missing key at move-out is a small charge that is easy to prevent with one photo.
Living room
Take one wide shot from each doorway, then close-ups of wall scuffs near light switches and door handles, floor damage in front of heavy furniture spots, and window glass, frames, screens, and blinds. Open every closet and photograph rods, doors, and closet floors. Test every light switch and outlet, and note anything that does not work in the notebook, not just in your head.
Kitchen
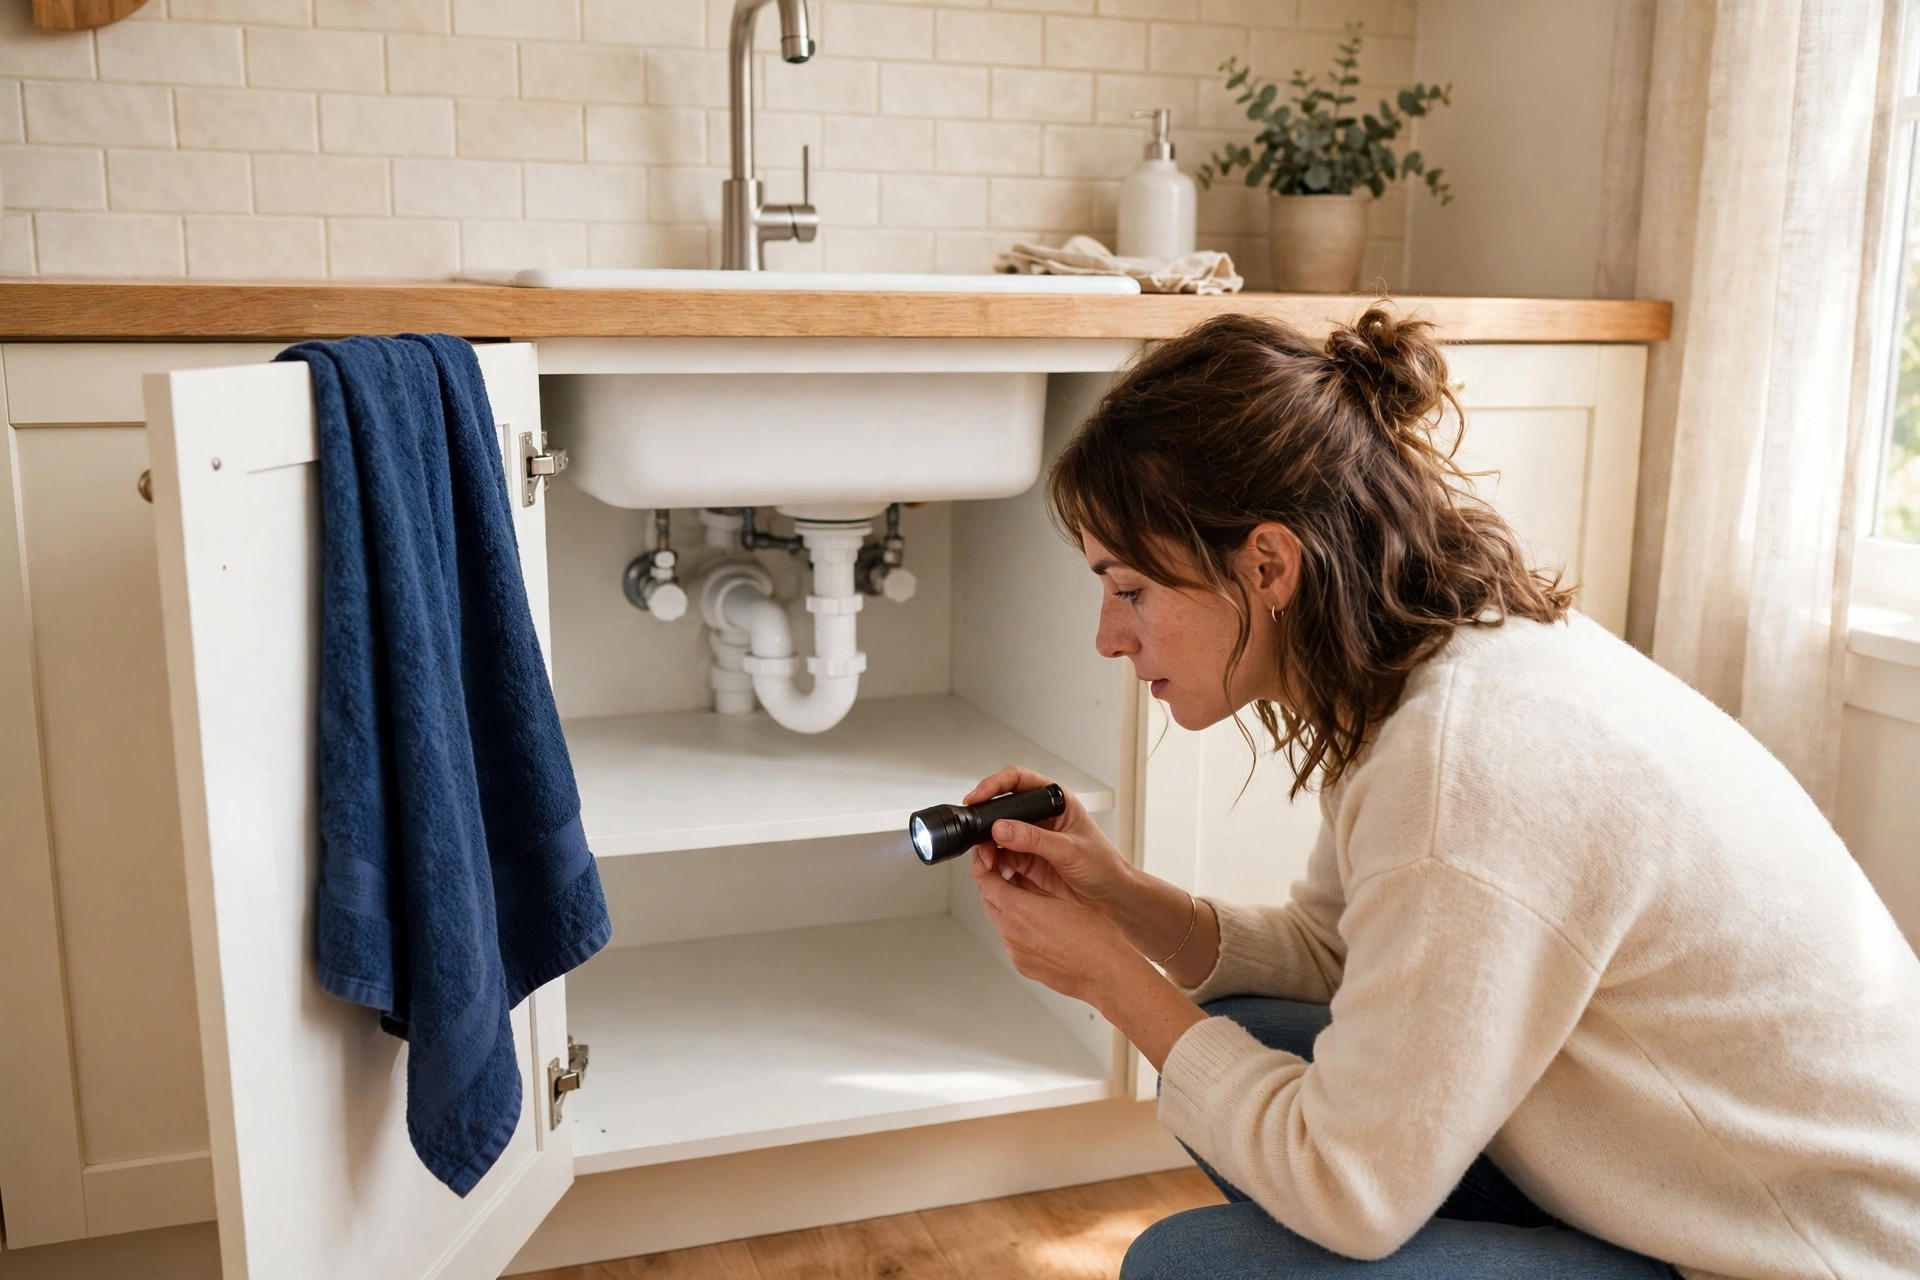
This is the room that costs renters the most, so give it the full 20 minutes. Photograph countertops, cabinet fronts and interiors, the sink and taps, and the floor in front of the stove and sink. Open the oven and photograph inside it. The oven is the single most disputed appliance, so a clean or dirty oven on day one is worth a photo either way. Check the fridge seals, the dishwasher racks and door seal, and the plumbing under the sink with the flashlight. Look for water stains, not just active drips. A stain under a sink is a leak that already happened, and it should be on record before it becomes your leak.
Bathroom
Photograph tile, grout, sealant around the bath or shower, the toilet base, the vanity, and the mirror. Run the taps and flush the toilet, and photograph under the sink. Bathroom sealant and grout are deposit-risk items because they wear visibly and landlords notice them. If the grout is already stained or the sealant is already cracked, that is a day-one fact, not a move-out argument.
Bedrooms
Photograph walls, floors, ceilings, windows, and closets in each bedroom. Ceilings matter more than most renters think. Stains, cracks, and peeling paint on a ceiling are often the first sign of an old roof or an old leak, and they are easy to miss if you never look up. Photograph the ceiling in every room, even when it looks fine. “Fine” on day one is evidence too.
Meters, keys, and alarms
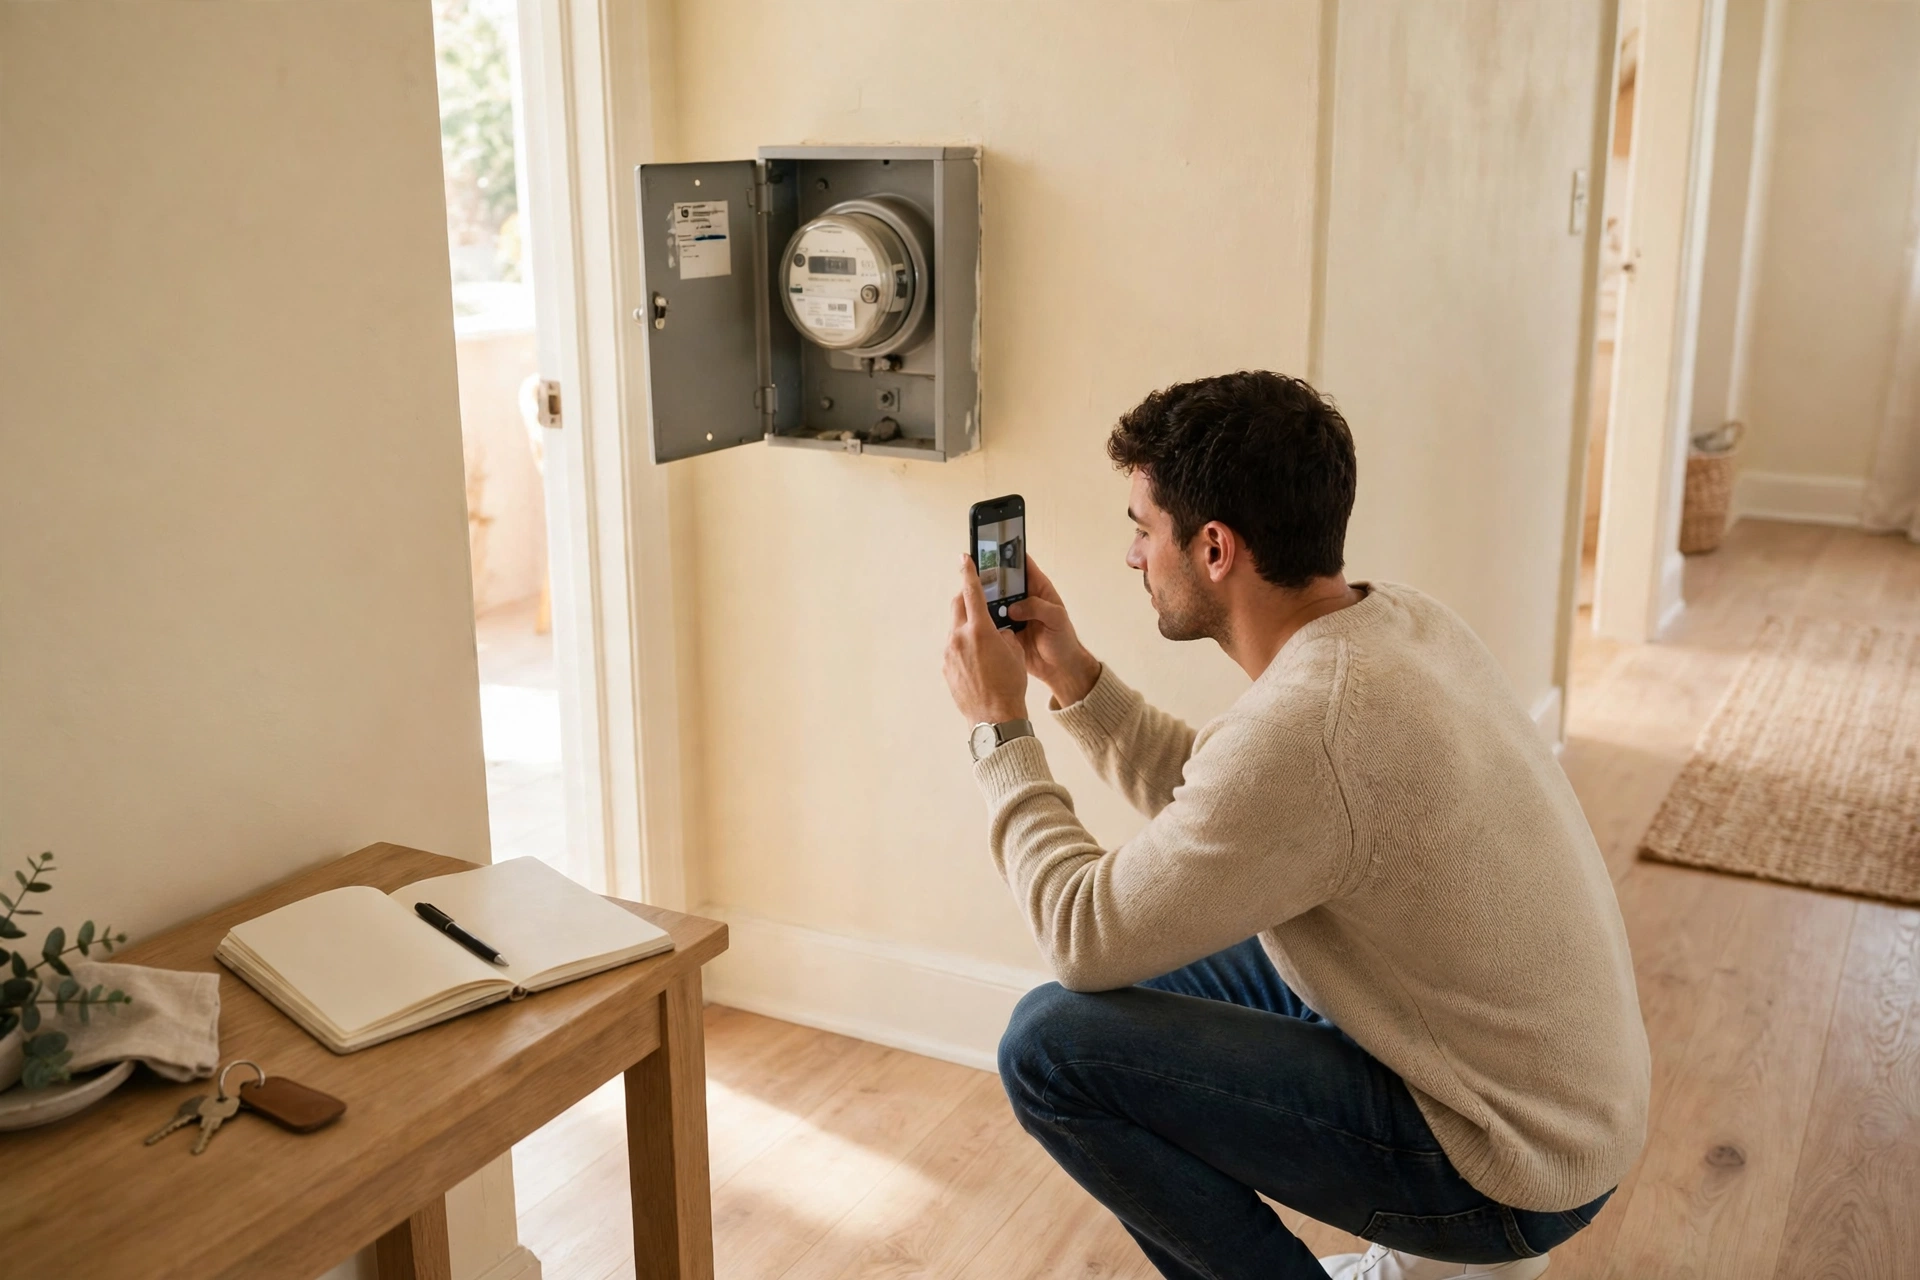
Photograph each meter face with its serial number visible, if the meters are safely accessible. Test every smoke alarm and carbon monoxide alarm where fitted, and note the result. This stop takes five minutes and it closes the loop: you now have a dated record of the whole property, not just the pretty rooms.
Deposit-risk ratings by zone
Direct answer: Kitchens and bathrooms carry the highest deposit risk, because appliances, grout, and sealant are expensive to fix and easy to dispute. Rate each zone as you go, so you know where to spend your close-up shots.
| Zone | Deposit risk (1 to 5) | Why |
|---|---|---|
| Kitchen appliances and oven | 5 | Cleaning and repair charges are common and costly |
| Bathroom grout and sealant | 5 | Wear shows clearly and landlords check it first |
| Floors and carpets | 4 | Stains and scratches are hard to argue without photos |
| Walls and paint | 4 | Nail holes and scuffs add up across a whole apartment |
| Windows and blinds | 3 | Cracked glass and broken blinds are charged per item |
| Ceilings | 2 | Rarely disputed, but stains must be on record |
| Keys, meters, and alarms | 2 | Small charges, but trivially easy to document |
Best for: Renters who want to aim their limited time at the rooms that actually cost money.
Watch out for: A low rating does not mean skip it. It means one wide shot is enough, while a 5-rated zone gets close-ups.
Verdict: Spend your close-ups where the money is: kitchen, bathroom, floors, walls.
Name it, back it up, send it
Direct answer: Name every file by room and issue, back up the originals, and email the set to your landlord the same day. A move in documentation checklist for renters only turns into proof when the photos leave your phone and reach your landlord with a date on them. A photo with no date, no location, and no recipient is a weak record.
Name files like this: kitchen-sink-stain, bedroom-wall-scratch, bathroom-grout-crack. If your phone does not rename files easily, keep the written notebook in the same order as the photos, so each note matches a photo by room and time. Never edit a photo to remove context. A close-up without its wide shot proves a scratch exists, but not where it exists.
Back up the originals, not just copies pasted into a document. Original files carry their metadata, including the date. Copies stripped of metadata are easier to doubt. Upload the originals to one cloud folder the same day, and keep that folder untouched until after move-out.
Then send the set to your landlord in writing. Email beats a text message because email is independently dated and easy to search later. Use a subject line like “Move-in condition photos, [address], [date]”. In the body, list the defects briefly, attach or link the photos, and ask the landlord to confirm receipt. If your landlord gave you a printed move-in checklist, fill it in fully, write “good condition” where things work, add your photos by reference, and get a signature and date if you can. If the landlord will not sign, the dated email still stands on its own. Do not let a missing signature stop you from sending.
This is also where a no drill living room layout and a no drill bedroom layout earn their keep. Damage-free decorating means fewer new marks to explain at move-out, and your day-one photos prove which marks were already there before a single frame went up.
Cost table: the documentation kit (as of November 2026)
Direct answer: The kit costs $18 to $24 if you buy the tape measure and flashlight new, and $0 if you already own them. Your phone and email are the real tools, and both are already in your pocket.
| Item | Checked price (November 2026) | Notes |
|---|---|---|
| Tape measure, 25 ft (7.6 m) | $8 to $10 | Stanley 25 ft listed at $8.99, Komelon 25 ft at $7.99 |
| Small LED flashlight | $10 to $14 | Walmart mini flashlights about $13 for a 10-pack, Juyafio handheld $14 |
| Phone and cloud backup | $0 | Already owned; originals keep their dates |
| Notebook and pen | $0 | Already owned in most homes; any paper works |
| Kit total | $18 to $24 | $8 plus $10 equals $18 at the low end; $10 plus $14 equals $24 at the high end |
Time estimate: 75 minutes for a one-bedroom apartment, plus 15 minutes per extra bedroom, plus 10 minutes to write and send the email. Call it 90 minutes door to sent email. That is a small price for a deposit that is often $1,000 or more, and the damage-free upgrades in our renter-friendly home upgrades guide keep that deposit safer at move-out too.
Renter caveat: check the lease first
Direct answer: Before you document anything, check what your lease says about move-in inspections, repair reporting deadlines, and deposit deductions. Rules differ by state and by city, and your lease plus your local tenant guide control the details.
Some leases give you only a few days to report existing damage in writing. Miss that window and a pre-existing defect can look like your defect. Read the move-in and inspection clauses before key day, note the deadline in your phone, and send your photos inside it. If anything in the lease is unclear, ask the landlord to explain it in writing. A short email asking “Can you confirm the deadline for reporting move-in damage?” is worth more than a long argument later. This caveat sits alongside the deposit-risk ratings above: the ratings tell you where to look, the lease tells you how fast to report what you find.
Mistakes to avoid
Direct answer: The biggest mistake is photographing only damage and skipping everything that looks good. Photograph the good condition too.
- Photographing after unpacking. Boxes and furniture hide the floors, walls, and outlets you need to prove.
- Taking close-ups with no wide shot. A scratch with no location is an argument waiting to happen.
- Trusting memory instead of notes. Write the defect, the room, and the size down. A 3 in (7.6 cm) scratch is a fact. “A scratch” is a debate.
- Sending photos with no written list. The email body should name the defects, so the landlord cannot later say the photos were just a tour.
- Deleting originals after posting them somewhere. Keep the originals with metadata until the deposit is back.
- Waiting a week to send. Same-day sending makes the date hard to dispute.
What to skip
Direct answer: Skip the fancy tools and the 200-photo album. A longer album is not stronger evidence.
Skip buying a dedicated camera, a tripod, or a paid inspection app for a standard apartment. Your phone is enough. Skip photographing every single wall outlet in perfect condition; one wide shot per room plus close-ups of defects covers it. Skip video-only documentation. Short videos help for sticking doors or running water, but still photos with notes are easier to search, print, and attach to an email. And skip arguing about a defect on move-in day. Record it, report it in writing, and move on. The photos do the arguing for you, months later, calmly.
Should I photograph things that are in good condition?
Yes. A photo showing a clean oven, an unstained carpet edge, or an uncracked window on day one is as useful as a photo of damage. It proves the starting point. Without it, a landlord can claim the damage happened during your tenancy, and you have no starting photo to answer with.
What if my landlord will not sign the move-in checklist?
Send the dated email anyway, with the photos and a written list of defects. Ask for confirmation of receipt in the same email. A signature helps, but a dated email to the landlord, kept in your sent folder and backed up, is strong evidence on its own. Keep trying for the signature, but never delay sending while you wait for it.
How long should I keep my move-in photos?
Keep them until your deposit is returned and the move-out accounting is settled, and keep them a little longer if any dispute is still open. Originals with metadata, plus the sent email, plus your move-out photos taken the same way, form a complete before-and-after set. Delete nothing until the money is back.
Are videos better than photos for a move-in record?
Videos help for things that move or run, like a sticking door, a dripping tap, or a noisy appliance. For everything else, still photos with written notes are better, because they are easier to name, search, print, and attach. Use both where each fits: video for function, photos for condition.
How this was made
This guide was written from published move-in checklists including the RentCafe move-in photo guide and the Marks Out of Tenancy documentation guide, rewritten in original words, with a timed route, a shot budget, a naming system, and a cost table built from live-checked November 2026 prices. No landlord statistics were invented, no personal move story was claimed, and no product was tested. State and local rules vary, so check your lease and your local tenant guide for the deadlines that apply to your address.
By Wasim. Last updated November 2026.