DIY Pegboard Kitchen Organizer: 7 Steps to Free Your Counters in a Small Kitchen
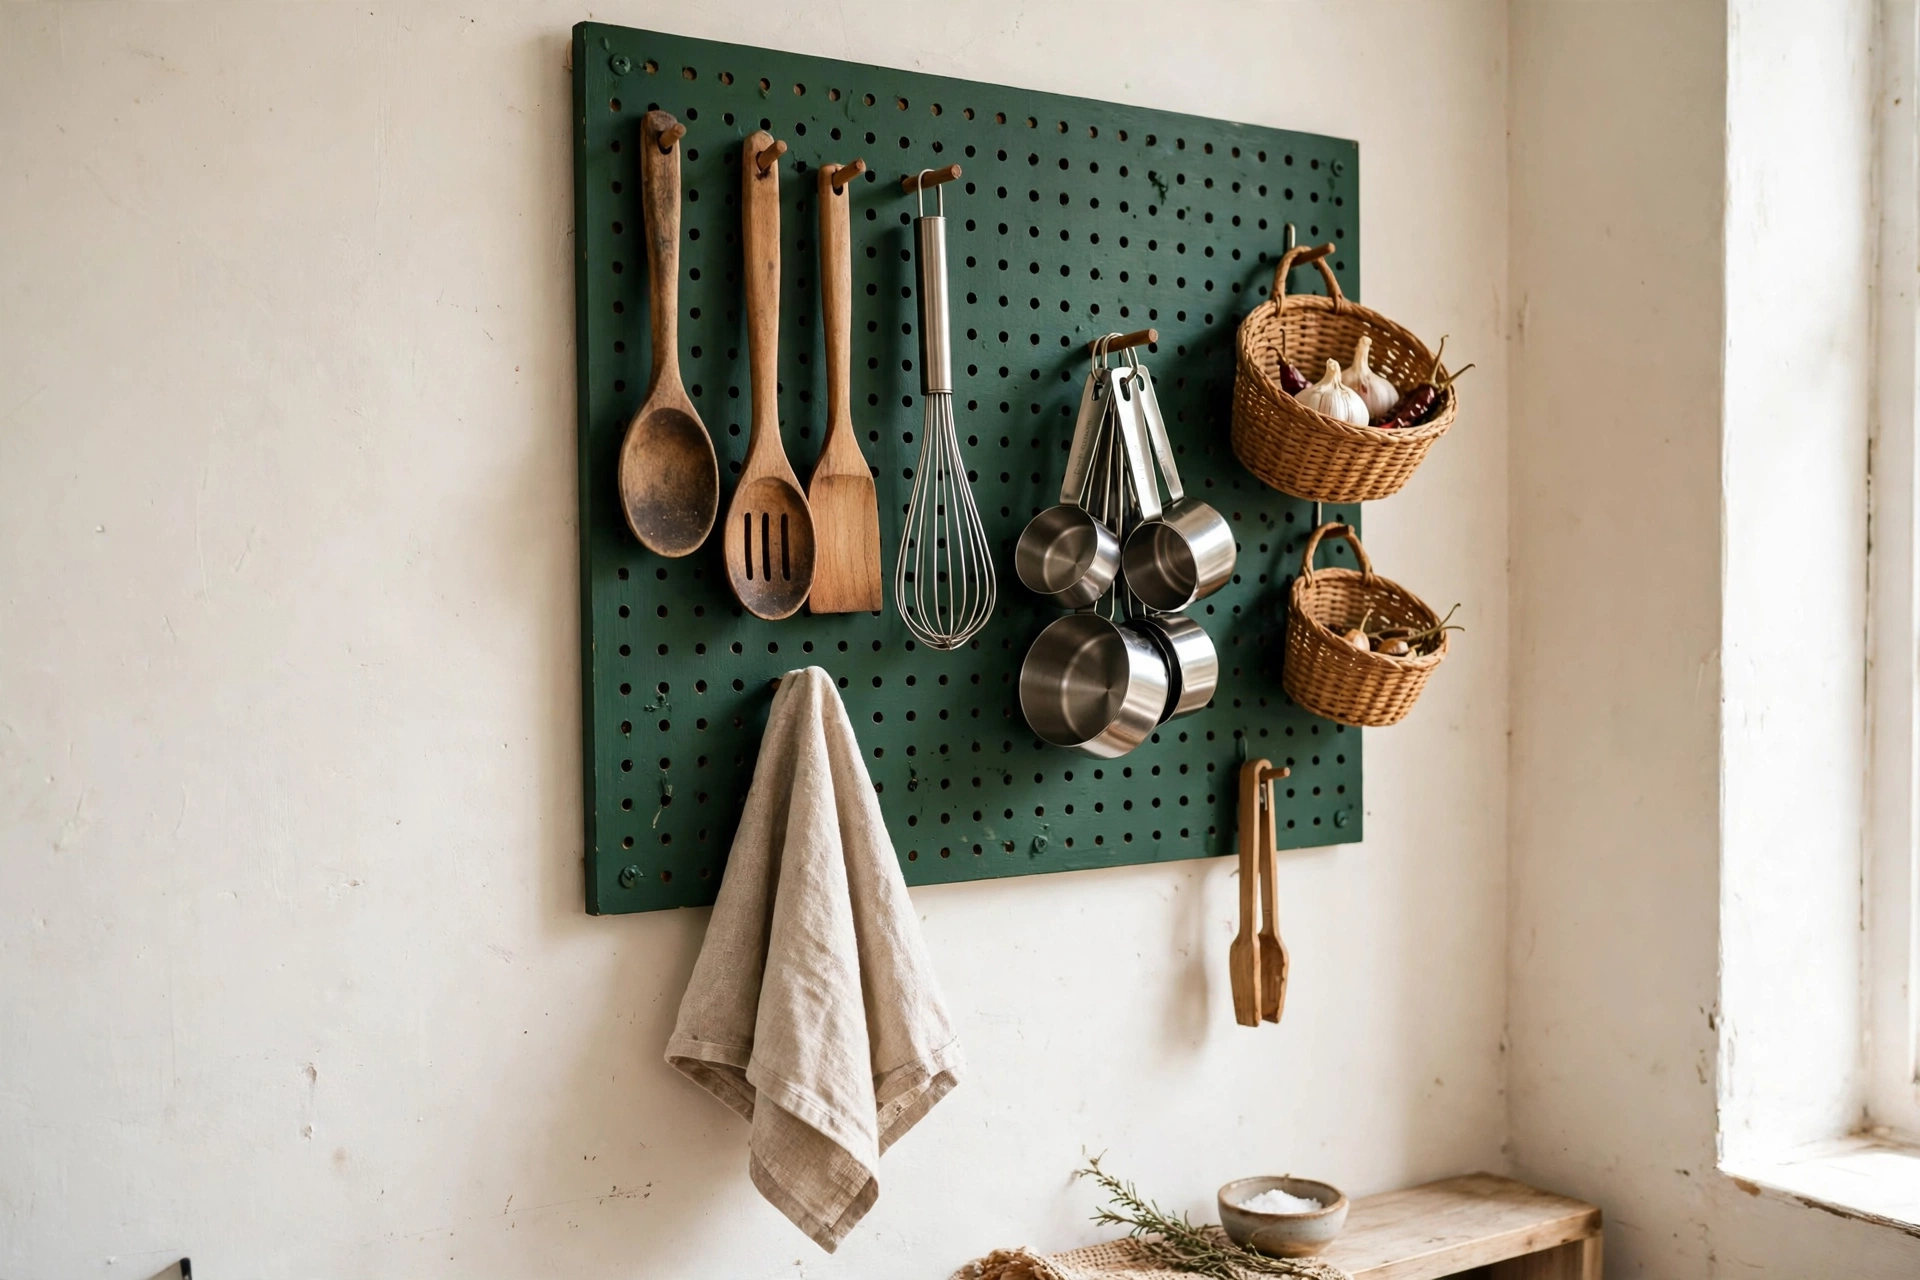
A diy pegboard kitchen organizer is a perforated board hung on a blank kitchen wall, fitted with hooks, baskets, and small shelves so your everyday tools live at eye level instead of in a drawer. For a small kitchen, the standard build is a 2 by 4 ft (61 by 122 cm) board, and it costs about $30 to $37 with screws or about $46 to $53 with a no-drill renter mount. The whole job takes one afternoon, about 2 to 3 hours plus paint drying time. This guide gives you the two things no other guide publishes: a weight budget for every mounting method, so you know exactly what your board can hold, and a cost table built from prices checked in November 2026.
How much does a DIY pegboard kitchen organizer cost?
A drilled build costs about $30 to $37, and a no-drill renter build costs about $46 to $53. The board itself is the cheapest part. The hooks cost more than the board, which surprises most people, so buy the hook kit after you measure, not before. Prices below were checked in November 2026.
| Item | What to buy | Price (as of November 2026) |
|---|---|---|
| Pegboard panel | 1/4 in (6 mm) hardboard, 2 by 4 ft (61 by 122 cm) | $12 to $15 |
| Furring strips | Two 1 by 2 in (2.5 by 5 cm) strips, 4 ft (122 cm) each | $2 to $5 |
| Hook assortment | 114-piece metal hook, basket, and peg-lock kit | $15.19 (list $16.99) |
| Command strips (no-drill route only) | 32-pair picture hanging strips, large pairs hold 15 lb (6.8 kg) each | $16.45 (list $25.99) |
| Screws and anchors (drilled route only) | Small box of wood screws plus drywall anchors | About $5 |
| Paint | Sample pot or leftover wall paint | $0 to $8 |
| Total, drilled route | $29.19 to $36.99 | |
| Total, no-drill route | $45.64 to $53.44 |
Time estimate: 2 to 3 hours of work, plus 1 to 2 hours of paint drying if you paint the board. Measure twice and the build itself is under an hour. If you already own a drill, a level, and paint, the drilled route drops to about $30, which matches the $30 total Apartment Therapy reported for the same 2 by 4 ft build in 2022.
What size pegboard does a small kitchen need?
Measure your wall gap first, then buy the board. A 2 by 4 ft board fits the blank stretch most small kitchens actually have: beside the fridge, above a narrow counter run, or on the side of a tall cabinet. It covers 8 sq ft (0.74 sq m) and, with holes on 1 in (2.5 cm) centers, gives you 24 by 48, or 1,152, hook positions. That sounds like a lot. In practice, utensils need about 4 in (10 cm) of elbow room, so plan for roughly 20 to 25 everyday tools on a board this size: 6 to 8 hanging utensils, 4 to 6 mugs or measuring cups, 2 to 3 small baskets, and one narrow shelf.
Three fit rules decide the size. First, leave 18 in (46 cm) of clear counter below the board’s bottom edge, so tall items like a blender or a stockpot can still sit underneath. Second, keep the board at least 12 in (30 cm) from the cooktop, because steam and cooking oil coat the board and everything on it. Third, check the swing of nearby cabinet doors and the fridge door before you mark anything. A board that blocks a door is a board you will hate within a week.
If your only free wall is smaller, cut the panel down or buy a 2 by 2 ft (61 by 61 cm) board instead. A small board that holds your 10 most-used tools beats a big board squeezed into the wrong spot. If you organize a small kitchen with no pantry, a pegboard is often the single biggest win, because it moves tools out of the one drawer and the one cabinet you actually have.
Which pegboard material holds the most weight?
The board material sets the ceiling, and the mount sets the real limit. Fiberboard is the classic cheap panel, metal is the strong one, and plastic sits in between. Pick by what you plan to hang, not by what looks nicest in the store.
| Material | Load per sq ft | Best for | Watch out for |
|---|---|---|---|
| Hard fiberboard, 1/4 in (6 mm) | 15 to 25 lb (7 to 11 kg) | Utensils, mugs, light baskets | Swells near steam and sinks; 1/8 in (3 mm) boards are too thin for pans |
| Powder-coated steel | 50 to 100 lb (23 to 45 kg) | Pans, heavy baskets, full loads | Costs more; chips rust if the coating is scratched near water |
| Aluminum | 30 to 60 lb (14 to 27 kg) | Damp spots near the sink | Weakest metal option; check hook fit, as some hooks are steel-only |
| Stainless steel | 60 to 110 lb (27 to 50 kg) | Long-term, wettest walls | Heaviest and priciest; overkill for utensils alone |
Per-hook limits matter more than per-board limits. A commercial pegboard spec sheet rates each hook at 15 lb (6.8 kg) maximum, and a full unit at 150 lb (68 kg). A cast-iron skillet weighs 8 lb (3.6 kg) or more on its own, and a full set of stainless cookware easily passes 30 lb (14 kg). So the honest rule is simple: utensils, cups, and light tools can live on any board, but pans belong on steel, on studs, and on the bottom rows. A standard 3/16 in (5 mm) fiberboard panel is rated to about 100 lb (45 kg) in total, and thicker boards to about 150 lb (68 kg), but only when the mount behind it is just as strong.
Verdict: for most small kitchens, 1/4 in fiberboard on studs or good anchors is the right buy. Go steel only if pans are the point of the board. Skip 1/8 in boards entirely for kitchen use. They flex, their holes chip, and they sag under a single heavy pan.
How do you hang a pegboard in a kitchen without drilling?
You have three mounting methods, and they are not equal. The method you choose decides the weight budget, the deposit risk, and whether a renter can do this at all.
Into wall studs. Best for: the heaviest loads, including pans. Main advantage: a stud-mounted board holds 50 to 100 lb (23 to 45 kg), the highest honest limit in this guide. Watch out for: you need a stud finder, and the studs may not sit where you want the board. Deposit risk: 3 out of 5, because you leave screw holes to fill at move-out.
Drywall anchors. Best for: medium loads on walls with no stud in the right place. Main advantage: no stud hunting, and good toggle bolts hold well. Watch out for: a pegboard on drywall anchors alone is honestly a 10 to 25 lb (4.5 to 11 kg) board, so keep pans off it. Deposit risk: 3 out of 5, same as studs, since anchors leave holes too.
Command strips, no drilling. Best for: renters and light loads. Main advantage: zero holes, and removal is clean if you follow the pull-tab instructions. Watch out for: this is the weakest method, and the math shows why. Large Command strips hold 15 lb (6.8 kg) per pair, and a no-drill board uses about 6 pairs, but heat, steam, and humidity all weaken adhesive over time, so treat 20 to 25 lb (9 to 11 kg) as the real ceiling and hang utensils only, never pans. Deposit risk: 1 out of 5, the safest option here. Note that adhesive fails fastest on textured walls and in steamy spots, so keep a no-drill board away from the stove and the kettle.
Renter caveat: check the lease first. Before you drill or stick anything, read the lease’s decoration and damage clauses and, if drilling is restricted, ask the landlord in writing. Keep the permission email. At move-out, fill screw holes, touch up paint, and pull Command strips with the tab, not by yanking the board off the wall. A board you can reverse in 15 minutes is a board that protects your deposit. If your kitchen already has a small pantry, put the board near the prep zone instead of duplicating storage, and let the pantry hold the bulk goods.
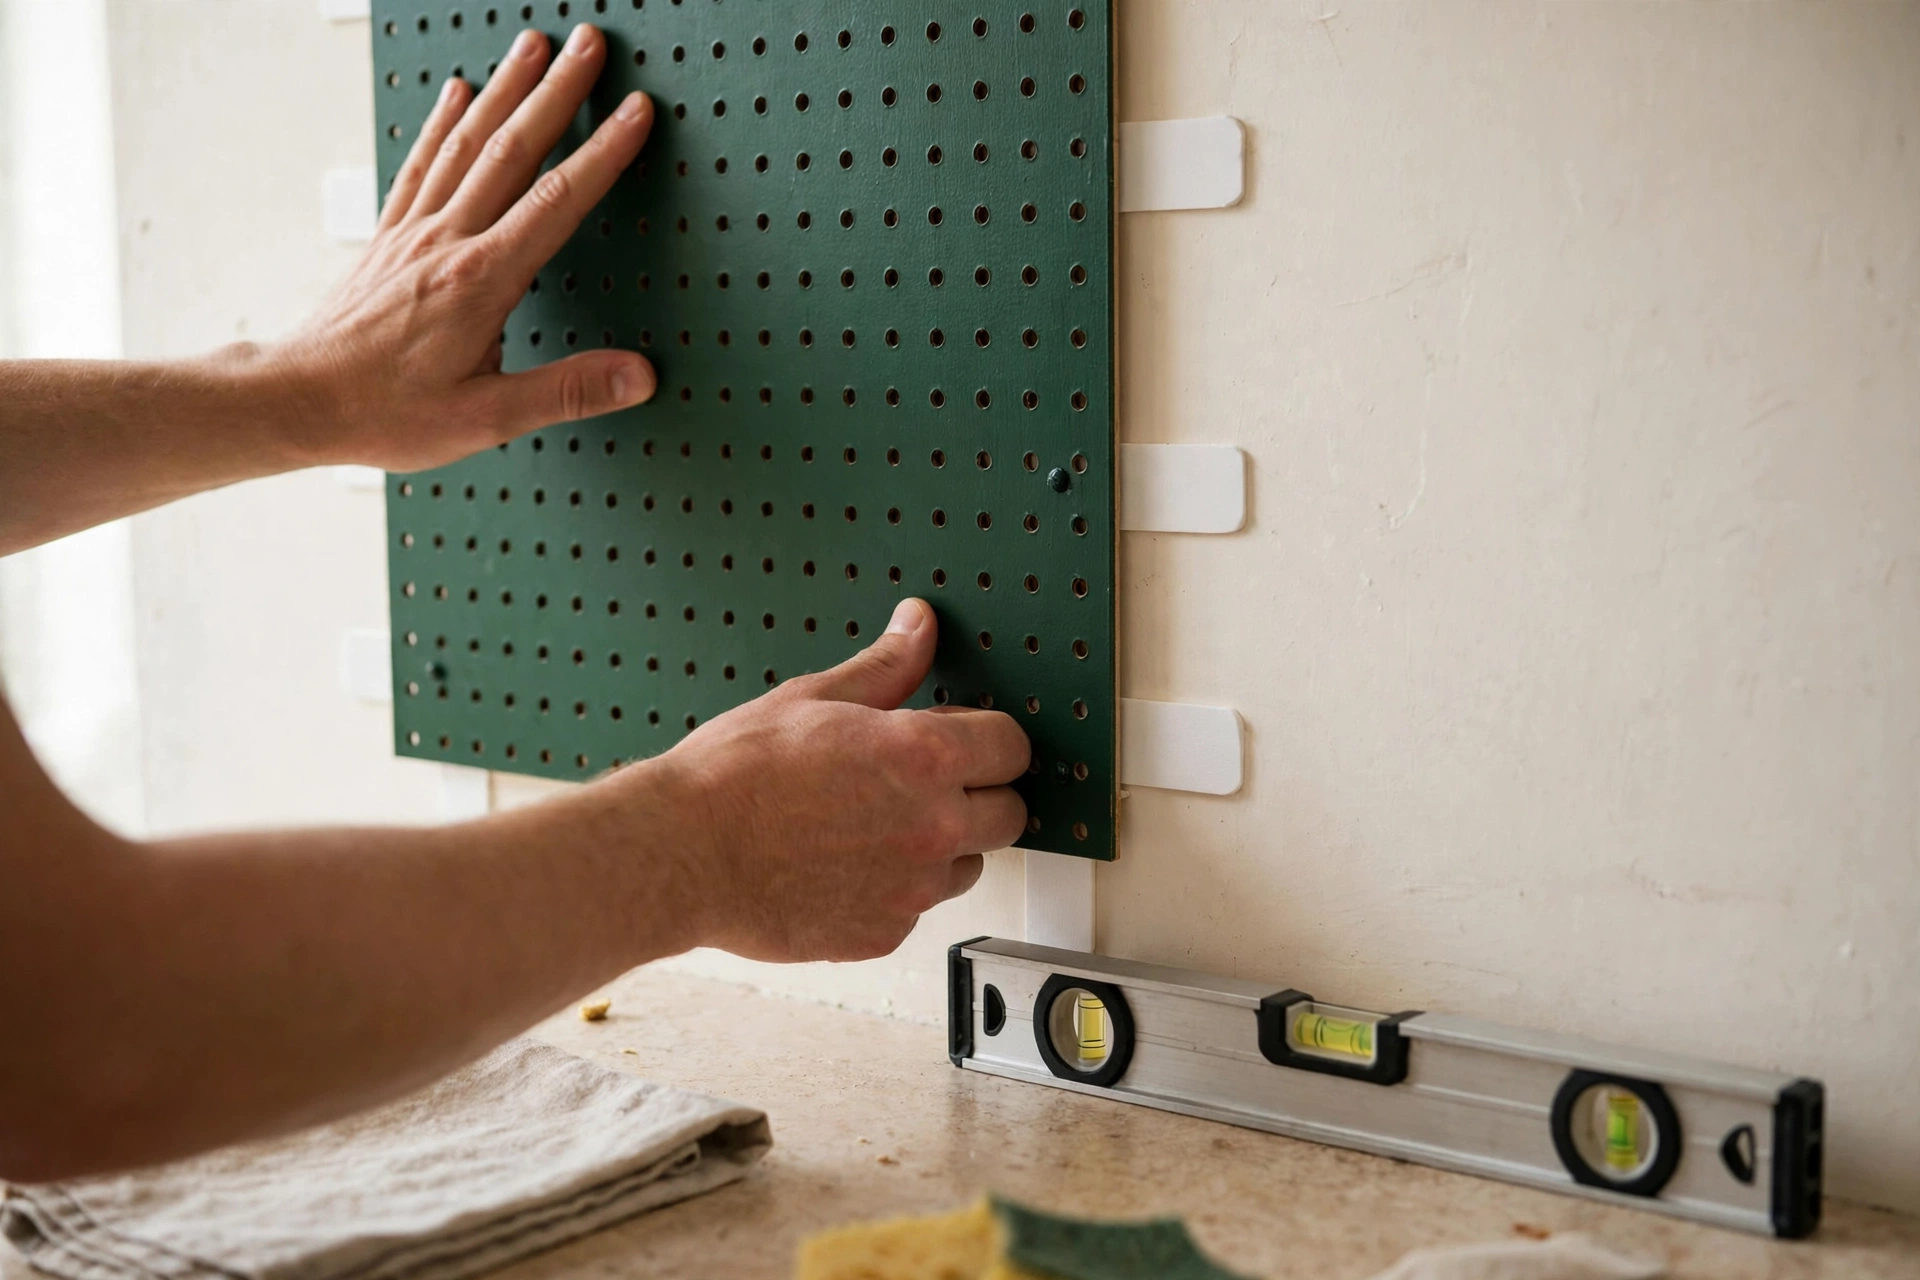
How to build your DIY pegboard kitchen organizer in 7 steps
Before you build your diy pegboard kitchen organizer, gather the materials and measure the wall. The steps below work for the drilled route and the no-drill route. Only step 5 changes.
Materials list: 1/4 in pegboard panel, 2 by 4 ft; two 1 by 2 in furring strips, 4 ft each; hook assortment kit; wood screws and drywall anchors (drilled route) or 32-pair Command strips (no-drill route); paint and a small roller; level; tape measure; pencil; stud finder; drill; saw or a store cut.
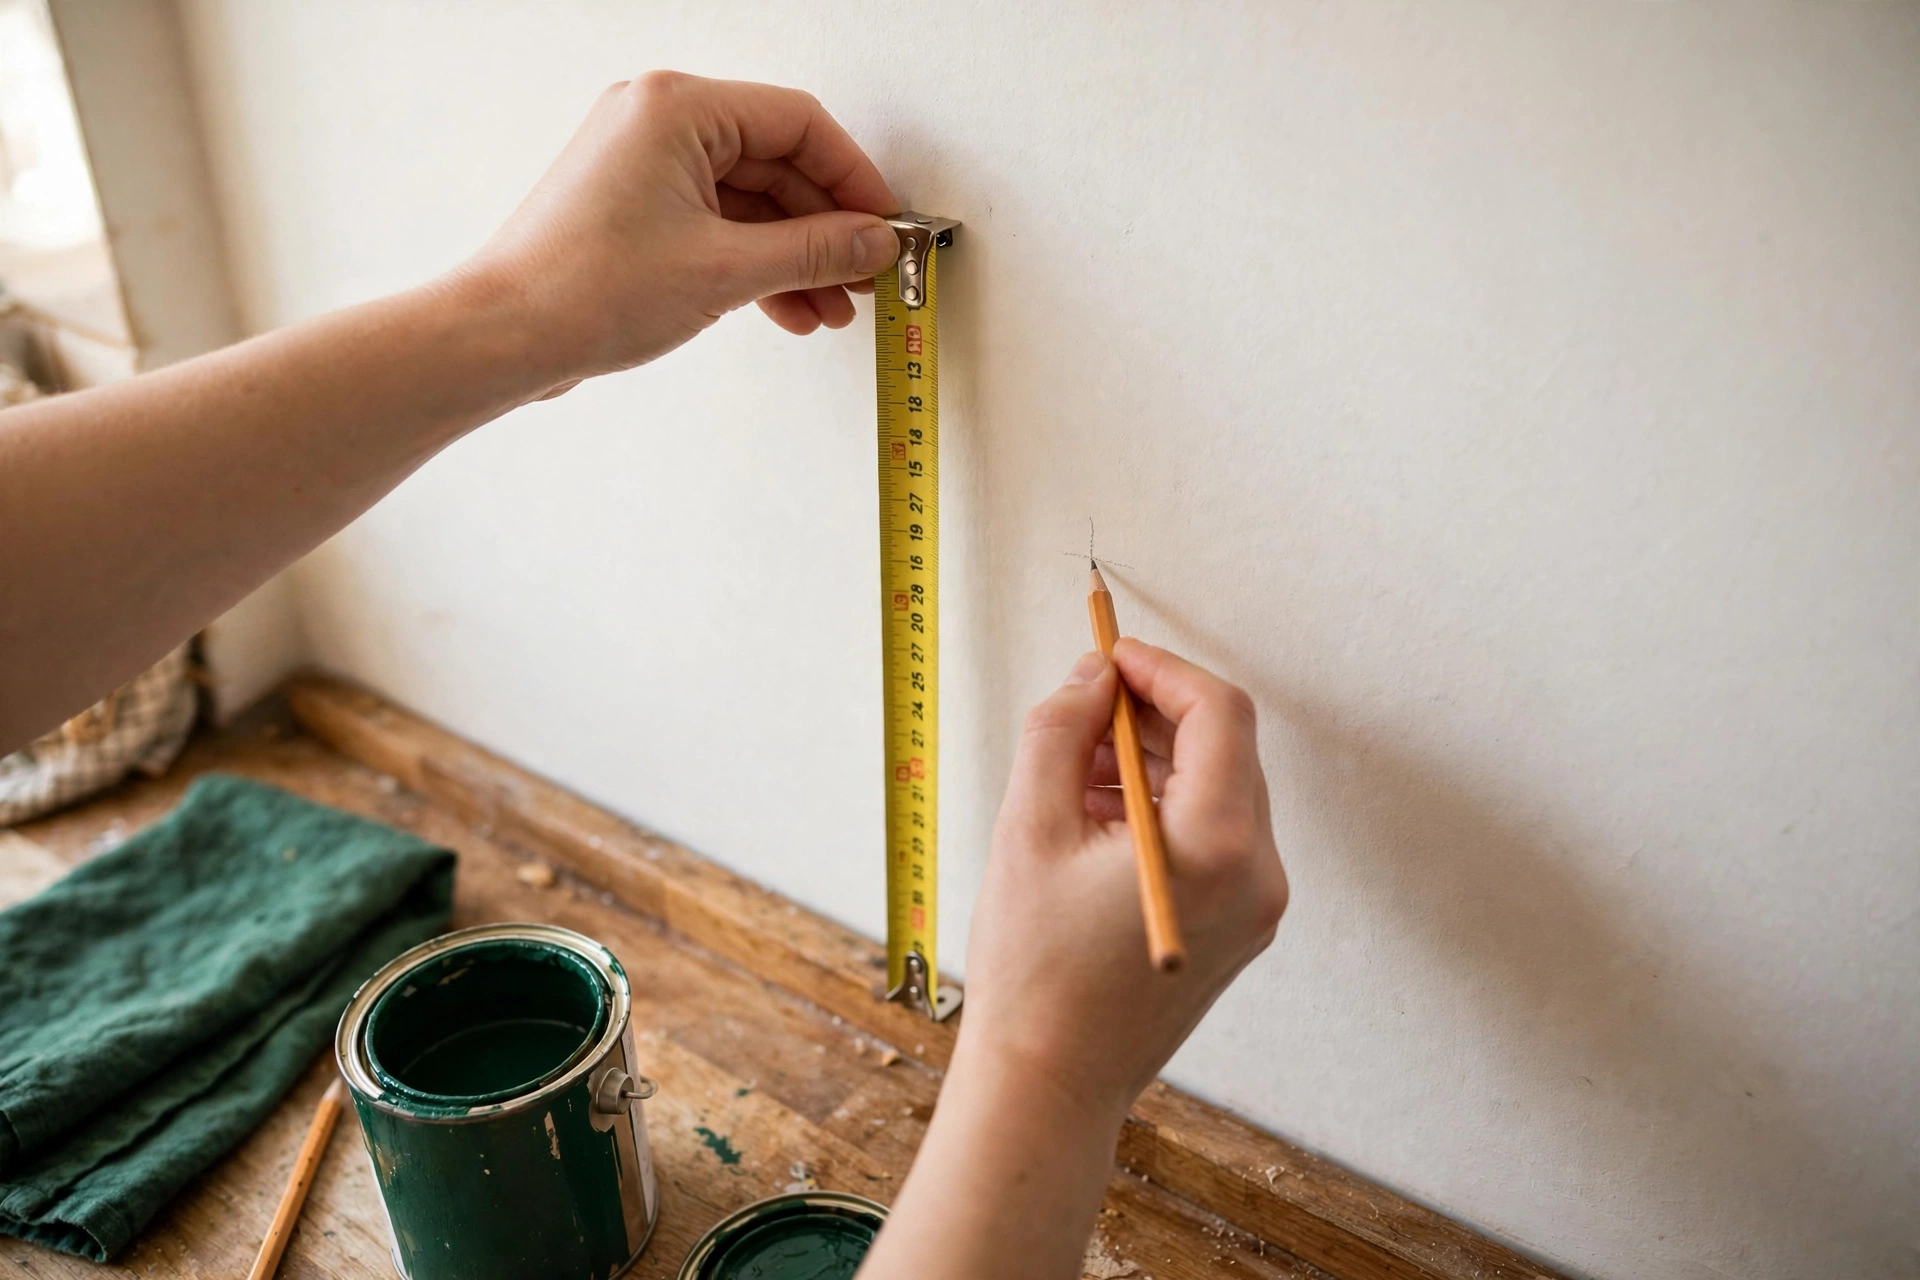
- Measure the wall. Mark the board’s outline on the wall with a pencil and a level. Check the 18 in (46 cm) clear counter rule, the 12 in (30 cm) cooktop gap, and every door swing.
- Cut the board and strips. Cut the pegboard to your marks, or have the store cut it. Cut the two furring strips to the board’s width.
- Paint the board. Roll on one or two thin coats and let it dry fully, 1 to 2 hours. Paint before mounting, never after, because paint in the holes blocks the hooks.
- Screw the furring strips to the board. Fix one strip near the top and one near the bottom, on the back of the board. These strips create the 3/4 in (19 mm) gap behind the board that hooks need to slot in. Without them, no hook will fit.
- Mount the board. Drilled route: drive screws through the strips into studs, or into drywall anchors where there is no stud. No-drill route: press 6 pairs of Command strips onto the back of the top strip and the bottom spacers, press the board to the wall for 30 seconds per strip, then wait 1 hour before loading it.
- Hang the hooks. Start with the heavy items low and the light, daily tools at eye level. Push each hook fully into its hole and tug it once. If a hook wobbles, it is in the wrong hole size, so swap it for the next size up.
- Load it by zone, then live with it for a week. Hang only what you use every day. After a week, move anything you never reached and remove anything that just looks nice. A board that holds 20 tools you use beats a board that displays 40 you do not.
How to arrange a kitchen pegboard so it stays useful
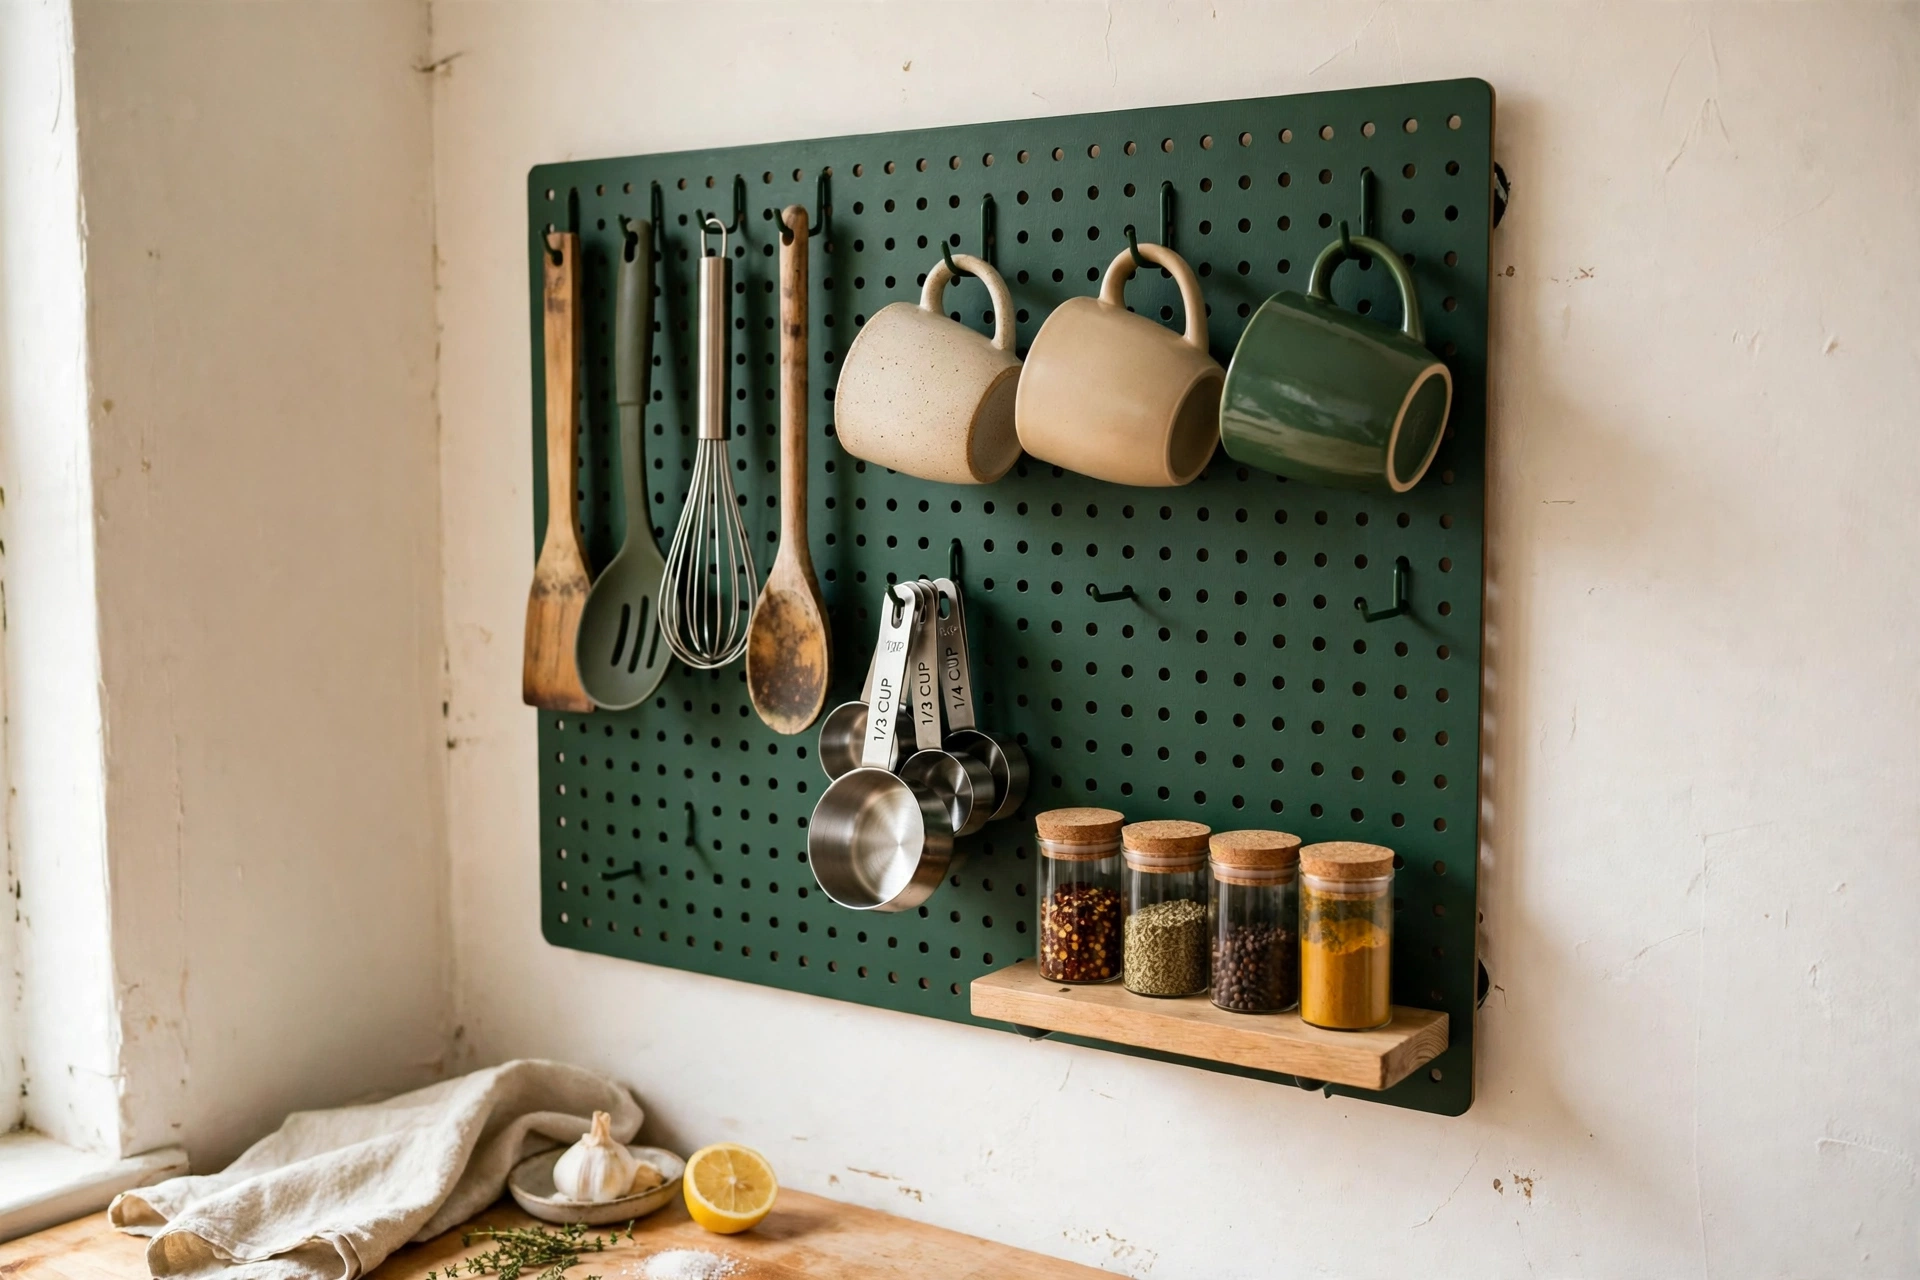
Arrange by cooking task, not by color. Three zones cover almost every small kitchen.
Cooking zone, nearest the stove. Best for: spatulas, tongs, ladles, and the pan you reach for daily. Main advantage: everything is one step from the burner. Watch out for: keep this zone 12 in (30 cm) from the cooktop, or grease will coat it weekly.
Prep zone, above the main counter. Best for: measuring cups, scissors, peelers, and a small basket for garlic and onions. Main advantage: tools land where the chopping happens. Watch out for: do not hang knives here unless they sit in a proper sheath or a knife holder accessory.
Coffee and tea zone, near the kettle. Best for: mugs, scoops, and a narrow shelf for jars. Main advantage: the morning routine stops opening cabinets. Watch out for: mugs are heavier than they look, so use double-arm hooks and keep the count low.
A shelf accessory adds the most value per dollar on the whole board. One 12 in (30 cm) shelf holds spice jars, oils, or a small plant, and it uses hooks you already own. If your spices already live in a system that works, do not rebuild it on the board. Link the board to the rest of the kitchen instead: under-sink storage owns the cleaning supplies below, and the board owns the tools above.
Mistakes to avoid
Skipping the furring strips. A pegboard screwed flat to the wall is unusable. Hooks need the gap behind the board, and no amount of force fixes a board with no gap.
Buying 1/8 in board for pans. Thin boards flex and their holes chip. If pans are the plan, buy 1/4 in fiberboard or steel and mount into studs.
Hanging pans on a no-drill board. Adhesive holds utensils, not cast iron. One pan falling at 2 a.m. is the fastest way to lose a deposit and a skillet.
Mounting over the stove. Steam, grease, and heat age the board and coat the tools. The 12 in (30 cm) gap is not decoration.
Overloading the top row. Heavy items belong low, where the mount is strongest. A top-heavy board pulls away from the wall over time, especially on adhesive.
Forgetting the door swing. Measure every door before you drill. A board that blocks the fridge is a board you will remove within a month.
What to skip
Pre-made decorative pegboard kits with tiny boards. A 14 by 22 in (36 by 56 cm) designer board costs $18 to $30 and holds about 8 tools. A $12 to $15 standard panel holds 20 to 25. Buy the standard panel and paint it yourself.
Specialty pegboard hooks at premium prices. The 114-piece assortment at about $15 covers every hook shape a kitchen needs. Single-shape boutique packs cost more per hook and run out faster.
A pegboard inside a cabinet door. It sounds clever, but the door’s weight limit and the shallow depth make it a poor home for anything heavier than a measuring spoon. Use the wall instead.
Magnetic strips as a pegboard replacement. A knife strip is great for knives and useless for everything else. It is a companion to a pegboard, not a substitute. Craft pegboards belong in the craft corner too: keep kitchen tools and craft supplies on separate boards, or both systems get messy.
FAQ
Can you hang a pegboard in a kitchen without drilling?
Yes. A diy pegboard kitchen organizer can hang on Command strips with no holes at all: screw a bar and spacers to the back of the board, stick 6 pairs of large strips to them, press the board to a clean, smooth wall, and wait 1 hour before loading it. Keep the load under 20 to 25 lb (9 to 11 kg), hang utensils only, and avoid textured walls and steamy spots near the stove, where adhesive fails first.
How much weight can a pegboard hold?
A standard 3/16 in fiberboard panel holds up to about 100 lb (45 kg) in total, and thicker boards up to about 150 lb (68 kg), but the mount decides the real number. Stud-mounted boards hold 50 to 100 lb (23 to 45 kg), drywall anchors hold 10 to 25 lb (4.5 to 11 kg), and a no-drill Command strip board should stay under 20 to 25 lb (9 to 11 kg). Each hook is rated to about 15 lb (6.8 kg) at most, so pans need studs and steel, not adhesive.
Is a pegboard organizer suitable for small kitchens?
Yes, it is one of the best fits for a small kitchen, because it turns a blank wall into storage without taking a single inch of counter or floor. A 2 by 4 ft (61 by 122 cm) board holds about 20 to 25 everyday tools, which is often the entire daily cooking kit. It works best when the board sits near the prep counter, at least 12 in (30 cm) from the cooktop, and when only daily tools live on it.
What size pegboard do I need for a small kitchen?
A 2 by 4 ft (61 by 122 cm) board suits most small kitchens. Measure the free wall first, leave 18 in (46 cm) of clear counter below the board and 12 in (30 cm) from the cooktop, and check door swings. If the free wall is smaller, a 2 by 2 ft (61 by 61 cm) board still holds the 10 most-used tools. Buy the 1/4 in (6 mm) thickness, not the 1/8 in (3 mm) one, because the thicker board holds pans and heavier baskets without flexing.
Sources
Prices and weight limits in this post were checked in November 2026 from manufacturer and retailer listings: standard 1/4 in pegboard panels at $12 to $15 and IKEA SKADIS boards at $18 to $30 (justhangingpegboards.com); a 114-piece hook assortment at $15.19 (Amazon price history via camelcamelcamel.com); Command 32-pair strips at $16.45 with large pairs rated to 15 lb; fiberboard load ratings of 15 to 25 lb per sq ft (customs-hardware.com) and panel totals up to 100 to 150 lb; and a commercial spec sheet rating each pegboard hook at 15 lb maximum (Camshelving). The $30 build total from Apartment Therapy’s 2022 pegboard project is included for comparison. For the full picture of the wall and the weight behind it, see how to choose and install a wall-mounted pot rack at agratefulkitchen.com, which rates pegboard and rail systems at 10 to 25 lb on drywall anchors.