DIY Floating Shelves: 7 Small-Space Builds That Look Expensive
DIY floating shelves are wall-mounted boards on hidden brackets that give you real storage without taking any floor space — you can build a strong pair in a weekend for about $20–$50 per shelf using a 1.5–2 in (38–50 mm) pine or plywood board, concealed rod brackets screwed into wall studs, and basic tools (drill, level, stud finder, saw).
Here’s the thing nobody tells you about floating shelves: they are the highest-storage-per-square-inch upgrade a small room can get. A bookcase steals 12 in (30 cm) of floor depth and visually walls off a room. Two floating shelves steal zero floor and draw the eye upward, which is why tiny rooms feel bigger after you hang them. The builds below are ranked by skill level, each with honest costs — and everything is designed for one rule: the shelf must hold real weight and look like it was always part of the wall.
Build 1: The Solid Slab on Hidden Rods (Easiest, Strongest)
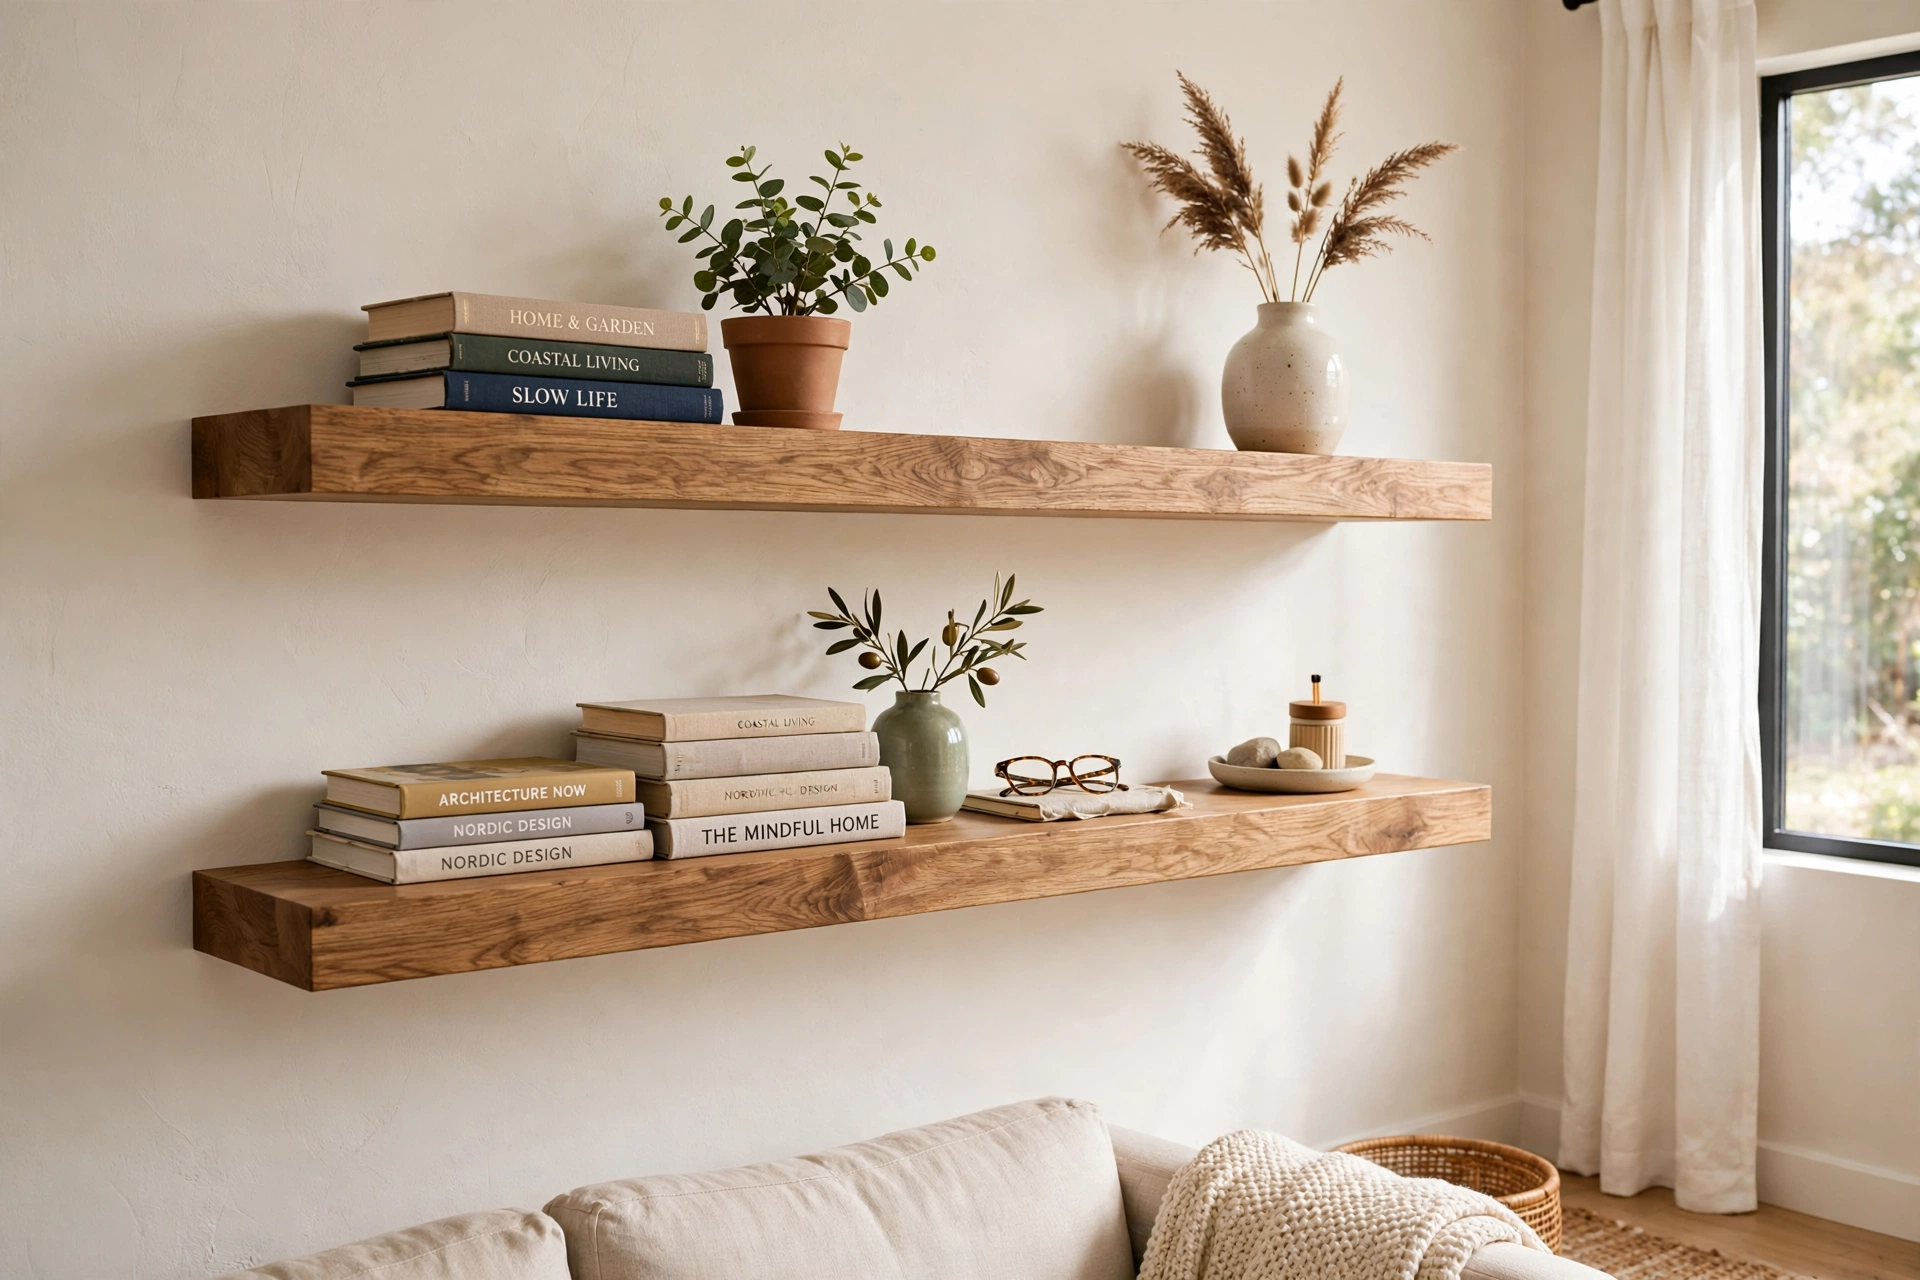
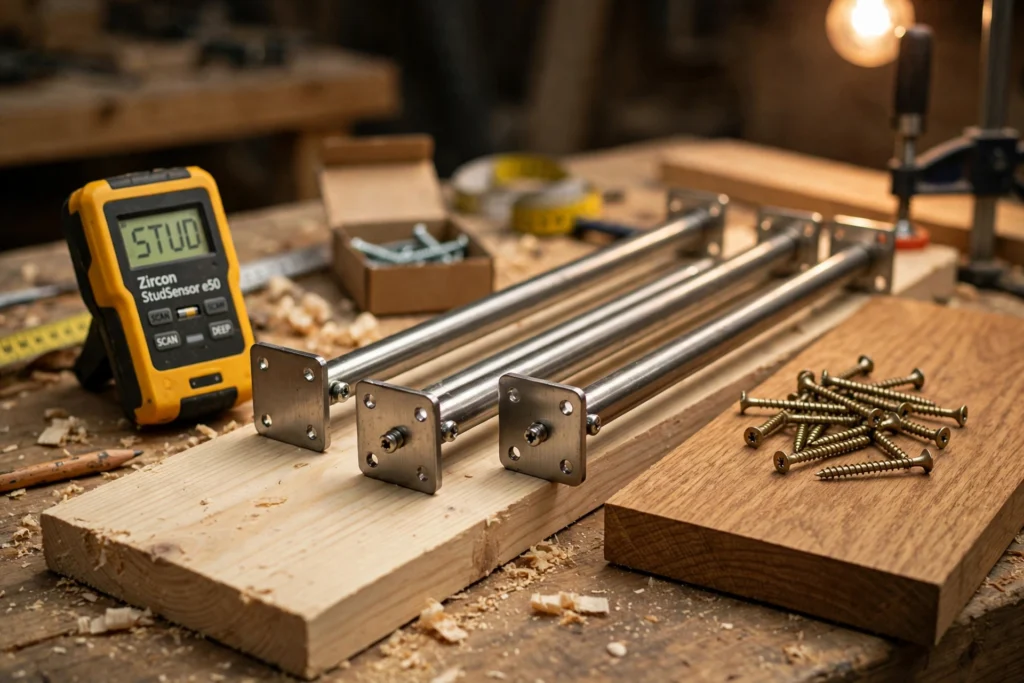
This is the classic for a reason. Buy a solid board — pine, oak, or even a thick butcher-block offcut — 1.5 to 2 in (38–50 mm) thick and 8–10 in (20–25 cm) deep. Mark your wall studs with a stud finder, drill pilot holes, and screw concealed rod brackets (the L-shaped steel rods that vanish into the shelf) directly into the studs. Slide the board onto the rods, shim if needed, and you’re done.
Cost: $30–$50 per shelf, brackets included. Load rating: each stud-mounted rod bracket carries roughly 45–50 lbs, so a 36-in (91-cm) shelf anchored into two studs holds books, not just candle holders. Tools needed: drill, level, stud finder, and a saw if you cut your own board. If you only build one shelf in your life, build this one.
Build 2: The Hollow Box Over a French Cleat (Sleekest Look)
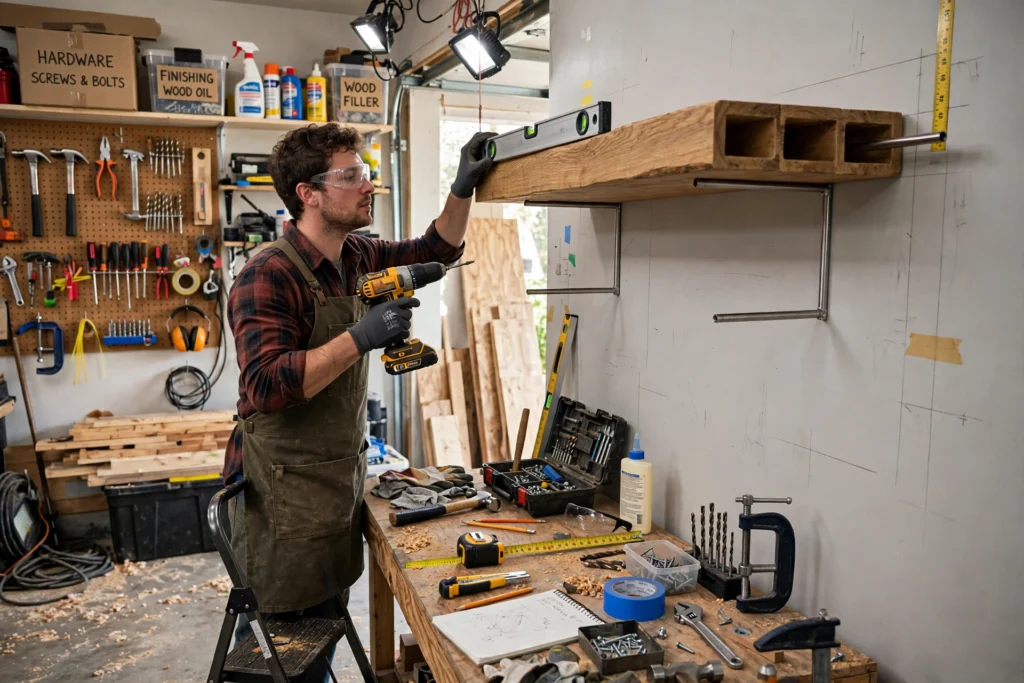
Want the chunky, furniture-grade look without paying for a solid 2-in walnut slab? Build a hollow box: rip two sheets of 3/4-in (19-mm) plywood for the top and bottom, miter or butt-joint the edges, wrap the visible front edge with iron-on edge banding, and screw a French cleat (a beveled strip of wood) to the wall. The box slides over the cleat and locks in place — no visible hardware at all.
This build takes more measuring but costs less: about $20–$35 per shelf, and you can paint it to match the wall so it reads as architecture, not furniture. Because the box is hollow, it’s lighter than a slab, which means it leans less on your wall anchors. Sand everything to 220 grit before finishing — plywood edges only look premium if you treat them that way.
Build 3: The $20 2×4 Shelf (Cheapest, Rustic)
Tight budget? Three 2×4 boards, glued and screwed edge-to-edge, sanded hard, and mounted on simple metal L-brackets make a 3.5-in (89-mm) thick shelf that costs under $20. The brackets are visible, so paint them the wall color or lean into the industrial look with black steel. It won’t float as invisibly as Builds 1 and 2, but in a laundry room, garage, or workshop corner it does the same storage job for the price of a pizza.
Fair warning: a 2×4 shelf is heavy before it holds anything. This build gets studs, period — no drywall anchors, ever. Keep the span under 30 in (76 cm) between supports so it doesn’t bow in the middle.
Build 4: Pick the Wood (and the Thickness) So It Never Sags
Sagging is the difference between “designer shelf” and “sad diving board,” and it’s decided at the lumber aisle. Pine is the budget pick — cheap and easy to cut, but soft, so it dents and it sags on long spans. Oak costs more and laughs at books. Walnut is the splurge: gorgeous, but overkill unless the shelf is the centerpiece. Plywood with edge banding lands in the middle — stable, cheap, and looks fine under paint.
Thickness is the real anti-sag lever. Anything under 1.25 in (32 mm) will sag under books over time; 1.5–2 in (38–50 mm) is the sweet spot the pros use. And keep your spans honest: a 1.5-in pine shelf can run 36 in (91 cm) between supports under a book load, but push it to 48 in (122 cm) and you’ll see a dip by winter. Oak handles longer spans. When in doubt, add a third bracket in the middle — invisible insurance.
One more non-negotiable: finish the shelf before you mount it. Stain, oil, or paint needs to wrap the back and underside too, because moisture and humidity move through unfinished backs first — and that’s what warps a shelf off the wall.
Build 5: Studs, Brackets, and the Honest Weight Rules
Every failed floating shelf on the internet failed at the same step: it wasn’t anchored into studs. Run a stud finder across the wall — studs sit 16 in (40 cm) apart in most homes — and mark them with painter’s tape. Check for wires and pipes before you drill (a basic stud finder with AC detection costs about $25 and saves you a very bad day).
The numbers that matter: stud-mounted rod or plate brackets carry about 45–50 lbs per stud connection. A 36-in (91-cm) shelf hitting two studs comfortably holds 80–100 lbs of books. Drywall anchors alone — the toggle-bolt kind — are a 15–30 lb ceiling: fine for a couple of plants and picture frames, never for dishes or a book collection. If your studs don’t line up with where the shelf needs to go, shift the shelf. Moving the shelf 8 in (20 cm) to hit a stud beats patching a collapsed shelf every time.
And the honest renter caveat: floating shelves need drilling, full stop. If your lease says no holes, don’t drill — our roundup of renter-friendly wall ideas shows what you can hang without touching the wall, and you can revisit shelves when you own.
Build 6: Hang Them at the Right Height, the Right Distance Apart
The #1 way people ruin floating shelves is hanging them at eye level like picture frames. Use the consensus heights the pros hang by: on an open wall, center the shelf at 57–60 in (145–152 cm); 18 in (46 cm) above a kitchen counter; 10–12 in (25–30 cm) above the back of a sofa; 15–20 in (38–51 cm) above a desk. Stacked shelves sit 12–16 in (30–40 cm) apart — enough for tall books, tight enough to read as one unit.
Level-every-time trick: outline the shelf’s position on the wall with painter’s tape before you drill a single hole. Step back, live with the tape for an hour, then commit. When you drill, put a small level on the drill itself for the pilot holes, and set the bracket with the shelf’s weight slightly pre-loaded — a hair high at the front is better than a shelf that visibly droops.
Build 7: Put Them Where Floor Space Comes Back
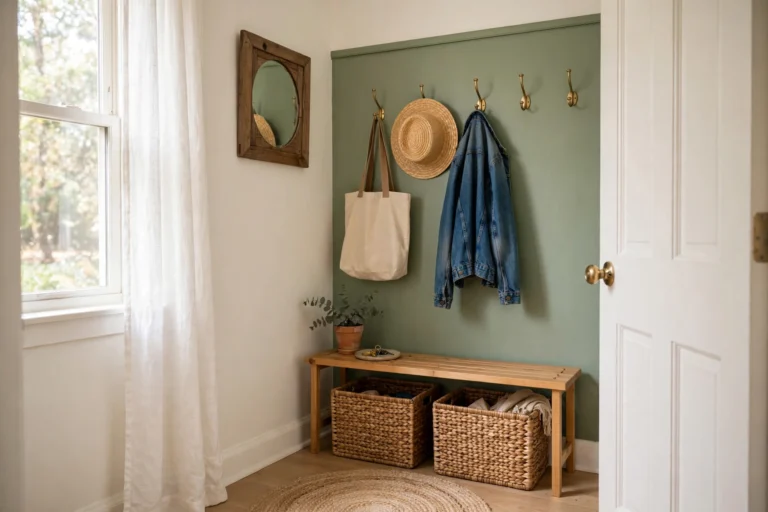
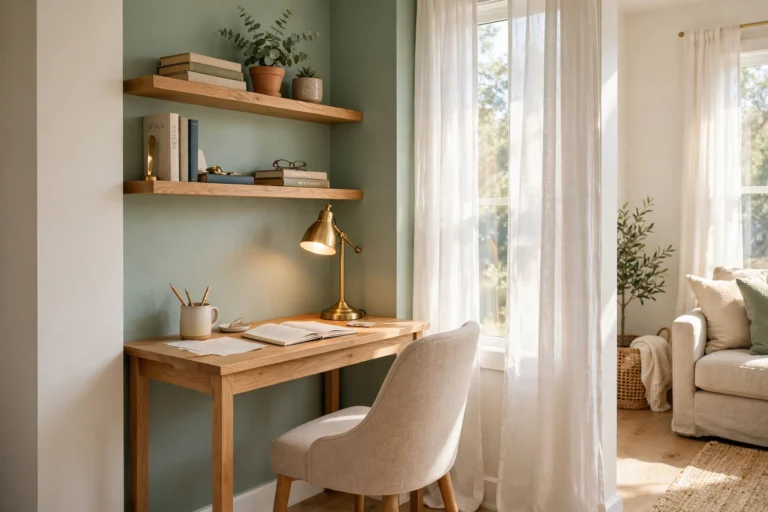
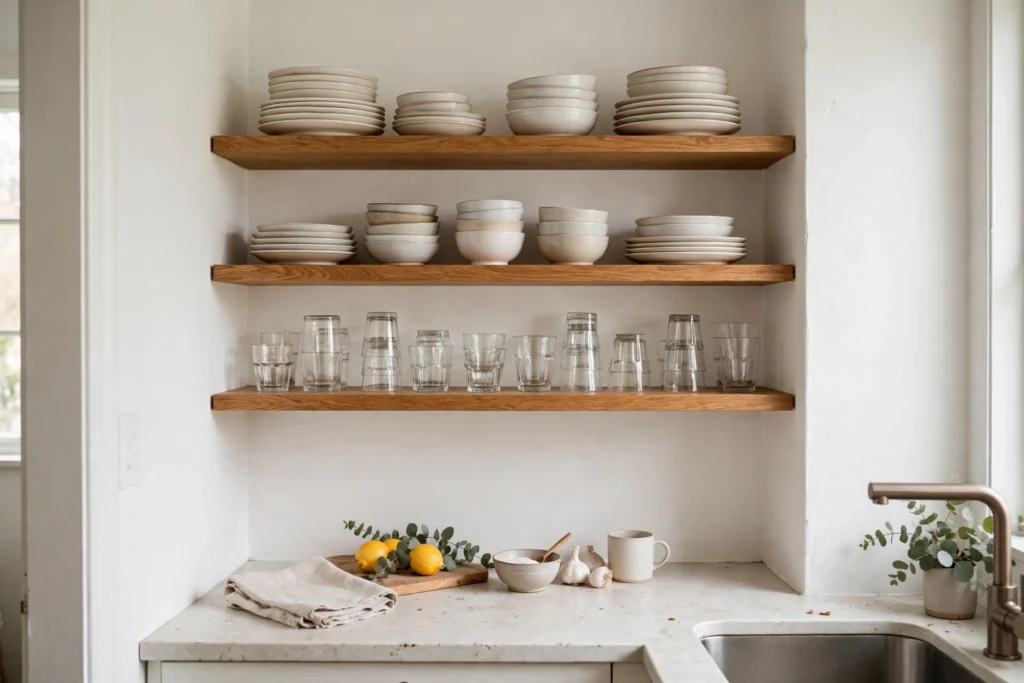
In a small space, every shelf must earn its wall. The placements that pay off most: floating shelves above a compact desk turn dead wall into a workstation — the desk stays clear while chargers, notebooks, and a lamp live overhead. A single 24-in (61-cm) shelf by the door becomes a key-and-mail drop zone in a tiny entryway that no console table could fit. In the kitchen, two open shelves replace one upper wall cabinet — same storage, but the room reads twice as deep.
Over a sofa, a shelf with art and one plant is one of the simplest small living room layout tricks there is, pulling the eye up instead of out.
Two styling rules keep shelves from looking cluttered: first, every shelf needs one large anchor piece (a big frame, a leaning cutting board), medium pieces around it, and — this is the part people skip — real negative space. Second, add an under-shelf LED strip (about $12–$18 for a 6.5-ft / 2-m USB strip) in kitchens and hallways; the wash of light makes the shelf read as a lit feature, not a storage afterthought. And that dead wall above a door frame? A single shelf up there swallows the rarely-used stuff — spare linens, board games — that currently eats a closet.
How much weight can DIY floating shelves hold?
It depends entirely on the mounting. Rod or plate brackets screwed into wall studs carry about 45–50 lbs per stud connection, so a 36-in (91-cm) shelf on two studs holds 80–100 lbs. The same shelf on drywall toggle anchors alone is a 15–30 lb shelf — decor and plants only, never books or dishes.
Can I install floating shelves on drywall without hitting studs?
For light loads only — picture frames, small plants, a few paperbacks. Use high-quality toggle bolts, not the plastic push-in kind, and keep the total load under 30 lbs. Anything heavier needs studs; if the studs don’t line up with your shelf, move the shelf to the studs.
What is the best wood for floating shelves — is pine strong enough?
Pine is strong enough if you respect its limits: keep it 1.5–2 in (38–50 mm) thick and spans under 36 in (91 cm) for book loads. Oak is stronger and better for long spans; plywood with edge banding is the best budget-stable choice under paint. Walnut is premium and purely a style decision.
How far apart should floating shelves be, and how high should I hang them?
Stacked shelves sit 12–16 in (30–40 cm) apart. Heights: 57–60 in (145–152 cm) center on an open wall, 18 in (46 cm) above kitchen counters, 10–12 in (25–30 cm) above a sofa back, and 15–20 in (38–51 cm) above a desk.