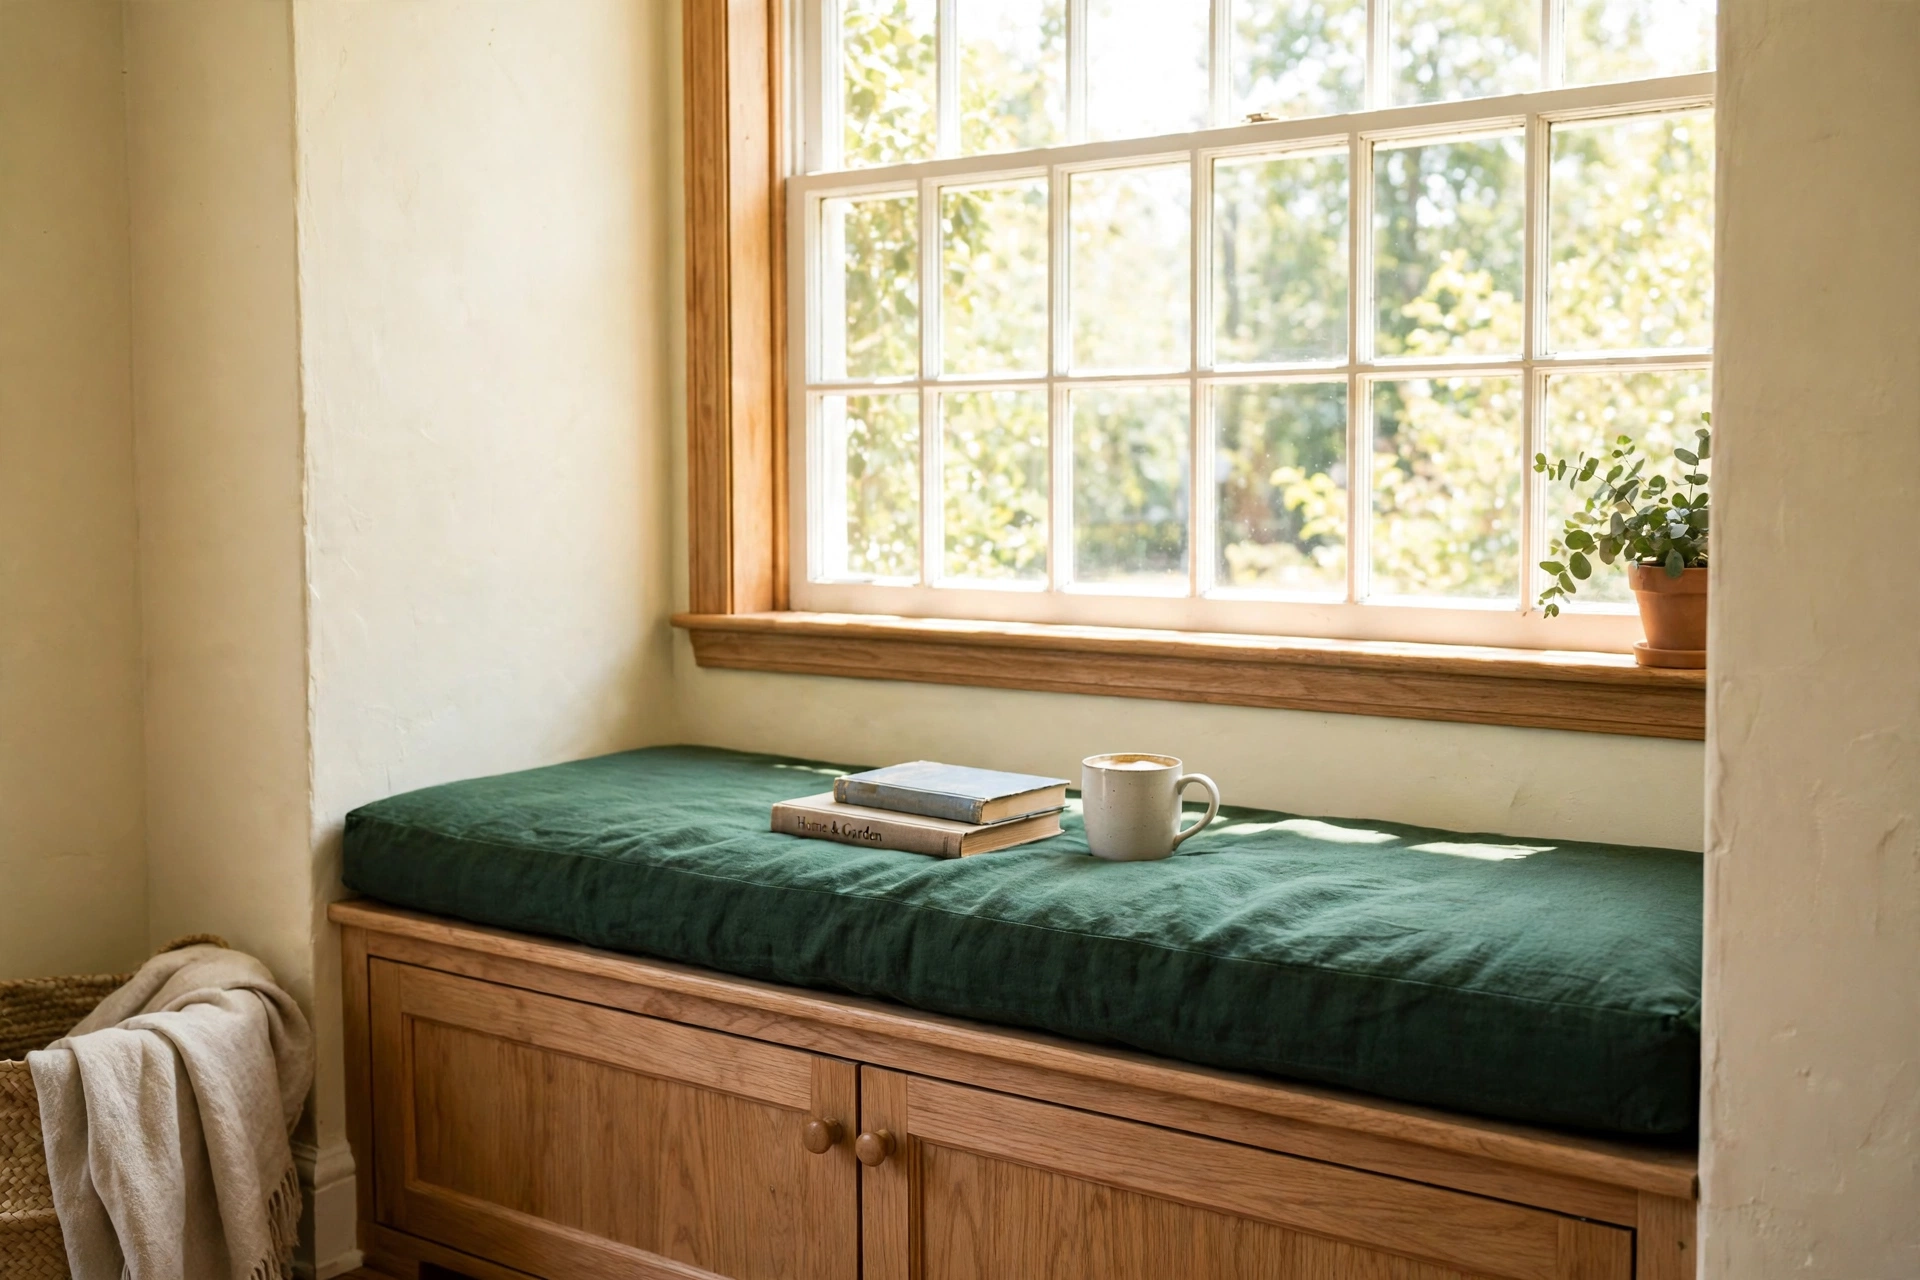
DIY Window Seat With Storage: 7 Builds for Small Spaces That Actually Hold Something
A diy window seat with storage turns the dead space under a window into a seat, a reading nook and a hiding place for blankets, board games and out-of-season clothes. It is one of the best value builds for a small home, because it replaces two pieces of furniture at once. A 6 ft seat holds about 9.5 cubic feet of storage, which is roughly 15 folded throws or 30 board games, and the scratch-built version costs about $145 to $160 in materials as of November 2026. This guide gives you the size rules, the storage math, three build routes, a real cost table and 7 numbered steps.
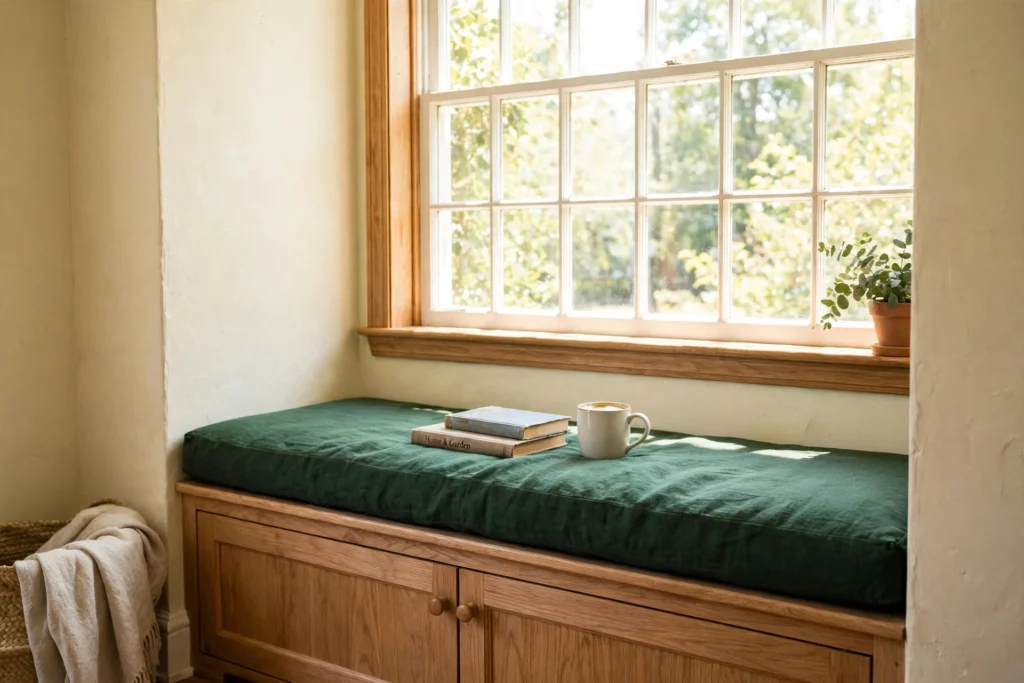
What size should a diy window seat with storage be?
A diy window seat with storage should finish 18 to 19 inches high including the cushion, 17 to 22 inches deep, and at least 32 inches wide per person sitting facing forward. Those three numbers decide everything else, so settle them before you buy lumber.
Height first. Chair height is 18 inches (46 cm), so the finished seat plus cushion should land at 18 to 19 inches (46 to 48 cm). If your cushion is 3 inches thick, the wooden box is 15 to 16 inches tall. If you plan a 4 inch cushion, build the box 14 to 15 inches tall. A seat that finishes at 21 inches feels like a bar stool. One that finishes at 15 inches feels like sitting on the floor.
Depth next. A seat 17 to 18 inches deep (43 to 46 cm) works for sitting forward with a book. Go 20 to 22 inches (51 to 56 cm) if you want to curl up sideways. Go 24 inches (61 cm) only if you want to nap on it, and only if the room can spare the floor space. In a narrow room, every extra inch of depth is an inch stolen from the walkway.
Width last. Allow 32 inches (81 cm) per person facing forward, 48 inches (122 cm) to sit sideways with knees up, and 60 inches (152 cm) or more for two people side by side. Measure the alcove in three places, top, middle and bottom, because old walls are rarely square. Measure off the wall, not the trim, and pull the baseboard first so your numbers are honest.
How much does a diy window seat with storage actually hold?
More than you think, and the math is simple enough to check before you cut anything. The inside of the box is what counts, so take the outside size and subtract the wood. A 6 ft seat with a 20 inch deep box and 13 inches of usable height inside holds about 9.5 cubic feet, which is about 269 litres.
| Seat length | Inside size (approx.) | Storage volume | What that fits (about) |
|---|---|---|---|
| 4 ft (122 cm) | 46 x 18 x 13 in | 6.2 cu ft (176 L) | 10 throws, or 20 board games |
| 6 ft (183 cm) | 70 x 18 x 13 in | 9.5 cu ft (269 L) | 15 throws, or 30 board games |
| 8 ft bay (244 cm) | 94 x 18 x 13 in | 12.7 cu ft (360 L) | 20 throws, or 40 board games |
Those “what fits” numbers are computed from the volume, not tested in a real house. A folded throw blanket takes about 0.5 cubic feet, a board game box about 0.25. Pack loosely and you will fit a little less. Pack flat and you will fit a little more. The point is that even the small 4 ft seat swallows a whole shelf of games or a winter’s worth of throws.
Here is my honest opinion, and it shapes the whole build. The lift-up lid is the right default. Drawers look tidier in photos, but the drawer box and slides eat space a lid leaves open, and drawers need clear floor in front to pull out. A lid opens the whole cavity at once. You lose the thing at the bottom sometimes, but you gain the most storage per dollar, and that is what a small home needs.
Three ways to build it: scratch, IKEA hack, freestanding
There are three honest routes, and the right one depends on your tools, your landlord and your weekend.
Route 1: scratch-built box. You build a 2×4 frame, skin it with plywood, hinge the lid and paint it like furniture. It fits any alcove, even a crooked bay, and it holds the most. It needs a saw, a drill and a free weekend.
Route 2: IKEA cabinet hack. You stand two IKEA BESTA drawer units in the nook, fill the gaps with trim, add a cushion on top and paint everything one colour. One blogger reported her BESTA window seat cost about $550 all in, cushions included. It is faster than scratch building and the drawers are genuinely useful, but it only fits nooks close to the units’ sizes, and you pay more for less storage.
Route 3: freestanding bench. You buy or build a storage bench that stands on its own feet and push it under the window. No screws into the wall, no holes to fill later. It is the only route a renter should pick if the lease forbids fixing anything to the walls. It holds less than a fitted box and it will never look quite as built in, but it moves with you.
| Route | Cost (as of November 2026) | Time | Skill needed | Renter friendly? | Storage |
|---|---|---|---|---|---|
| Scratch-built box | About $145 to $160 | One weekend | Basic carpentry | No, it screws into studs | Biggest, full cavity |
| IKEA cabinet hack | About $550 reported | One day | Flat-pack assembly | Yes, units stand free | Drawers, less than a lid |
| Freestanding bench | Depends on the bench | An afternoon | None | Yes, nothing fixed | Smallest of the three |
If you own your home and you have a saw, build the box. If you rent, buy the bench or hack the cabinets. If you want drawers and a fast result, the IKEA route is the sweet spot.
What a diy window seat with storage costs (as of November 2026)
Here is the scratch build priced line by line for a 6 ft seat, from prices checked in November 2026. The total lands at about $145 to $160, which is less than a single ready-made storage bench of the same length in most shops.
| Item | Qty | Price (as of November 2026) |
|---|---|---|
| 3/4 in sanded plywood, 4×8 ft sheet | 1 | $45 |
| 2x4x8 ft studs | 6 | $24 (6 x $4.00) |
| High-density foam, 3 in thick, 24×72 in | 1 | $32.99 |
| Paint, 1 quart | 1 | $18 |
| Hardware allowance (piano hinge, screws, trim, fabric) | 1 | $25 to $40 |
| Total | $144.99 to $159.99 |
Price notes, so you can check them yourself. Home Depot lists 3/4 in sanded plywood at $32 to $52 a sheet. A 2x4x8 ft stud lists at $3.85 at Lowe’s and $4.15 at Home Depot. The foam price is Amazon’s one-time price for a 3 inch, 24 by 72 inch high-density sheet. Paint quarts run $12 to $25. Prices move by store and by week, so confirm the shelf price on the day you buy.
Time estimate: about 8 hours of hands-on work, spread over a weekend, plus drying time for filler, primer and paint. Do the cutting and framing on Saturday and the painting and cushion on Sunday.
Build it in 7 steps
You need: 6 two-by-fours, 1 sheet of 3/4 in plywood, beadboard or MDF for the front, a piano hinge, 2 lid supports, 3 inch foam, fabric, 3.5 inch screws, 1.25 inch screws, wood filler, caulk, primer and paint. Tools: tape measure, level, stud finder, circular or mitre saw, drill, sander.
Step 1. Measure the alcove. Record the width at the top, middle and bottom, the depth from wall to where the front will sit, and the wall angles if it is a bay. Check two things before anything else. The window must still open as a fire escape, with the sill no higher than 44 inches (112 cm) above the floor. And there must be no heating or cooling register where the box will sit. A solid box over a live register traps damp air and grows mould.
Step 2. Mark the studs and the level line. Find every stud along the back wall with a stud finder and mark them. Draw a level line at your box height, remembering to subtract the plywood top thickness. For a 3 inch cushion, the line sits at 15 inches (38 cm) off the floor.
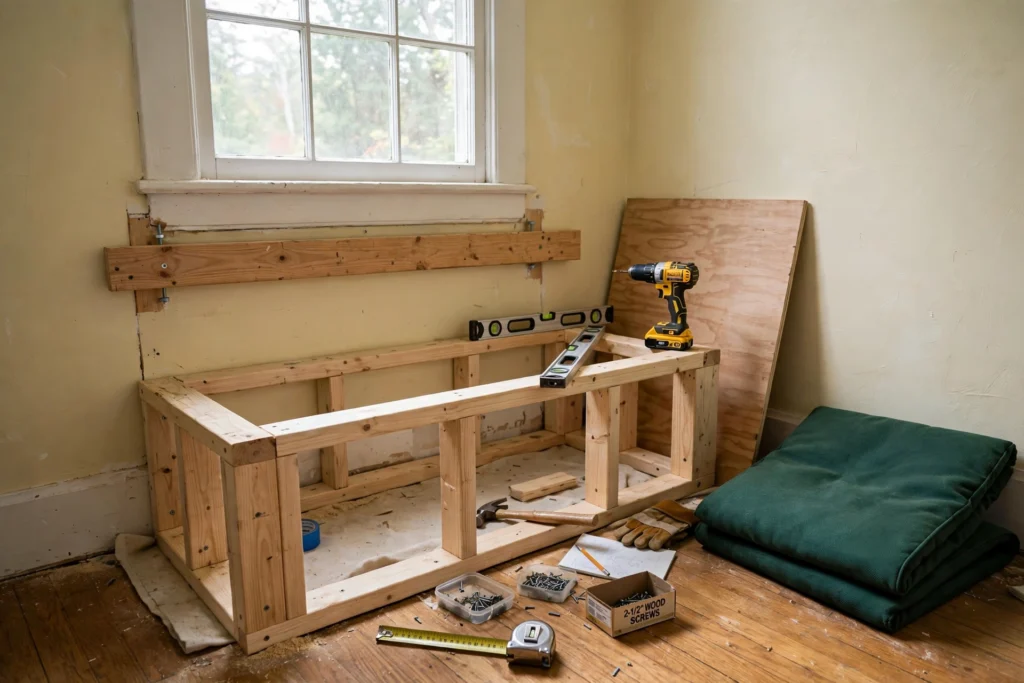
Step 3. Fix the ledger board. Cut a 2×4 to span the back wall and screw it into the studs with 3.5 inch screws, level, along your line. This board carries the back weight of the seat and everyone sitting on it, so it has to be rock solid. Drywall anchors alone will not do this job.
Step 4. Build the front frame. Cut a matching 2×4 frame for the front, with uprights every 12 to 16 inches (30 to 41 cm). Angle the ends at 45 degrees where it meets angled bay walls. Fix it to the floor and the side walls, and check it is parallel to the back wall.
Step 5. Join front to back. Run 2×4 joists between the ledger and the front frame at the same 12 to 16 inch spacing. Add a low base frame, about 4 inches high and set back slightly from the front, so the seat reads like furniture and not like a crate on the floor.
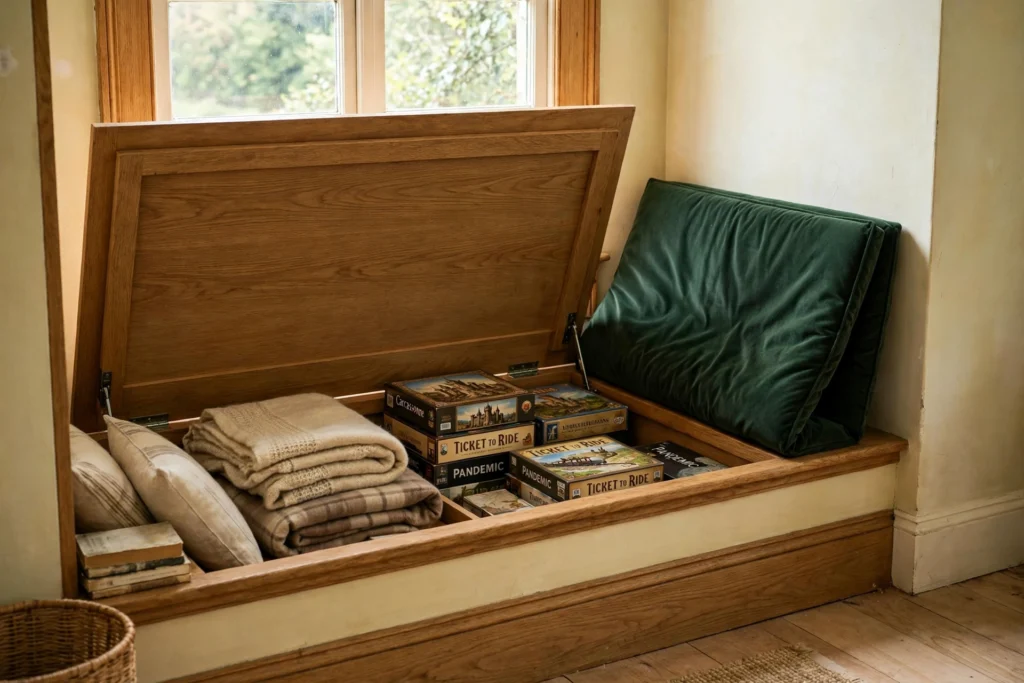
Step 6. Skin it, then cut the lid. Cover the front with beadboard or MDF and add a face frame of 1×4 strips. For the top, cut a narrow fixed strip, 3 to 5 inches wide, along the back wall first. Screw it down. Then cut the lid piece and hinge it to that strip with a piano hinge. The fixed strip is the trick that stops the lid smashing into the window sill when it opens. Add two lid supports so the lid stays open and never slams on fingers.
Step 7. Trim, fill, paint, cushion. Fill every screw hole and joint, sand it smooth, caulk the edges where the box meets the wall, then prime and paint. Let the paint cure fully before you put the cushion on, or the cushion will stick to soft paint. Drop the foam in, cover it, and you are done.
The cushion: foam, fabric and the lid that stays open
The cushion decides whether the seat gets used or just looked at. Upholstery guidance puts seat foam at roughly 2.5 to 3.0 pounds per cubic foot and at least 3 inches thick, so a long bench does not sag in the middle. Cheap soft foam feels fine for a week and then bottoms out. Spend the $32.99 on real high-density foam and skip the bargain roll.
Cut the foam a fraction smaller than the lid so the cover is not stretched tight at the corners. A washable cover is worth it, because window seats collect dust, pet hair and the odd coffee ring. If you sew, box the corners. If you do not, a fitted cushion cover with a zip is the easy route.
Two small hardware choices matter more than they look. A continuous piano hinge spreads the load along the whole lid and never sags the way two small hinges do. And lid supports, the little arms that hold the lid open, are not optional with kids in the house. A plywood lid with a cushion on it is heavy enough to hurt a small hand.
Where a diy window seat with storage earns its floor space
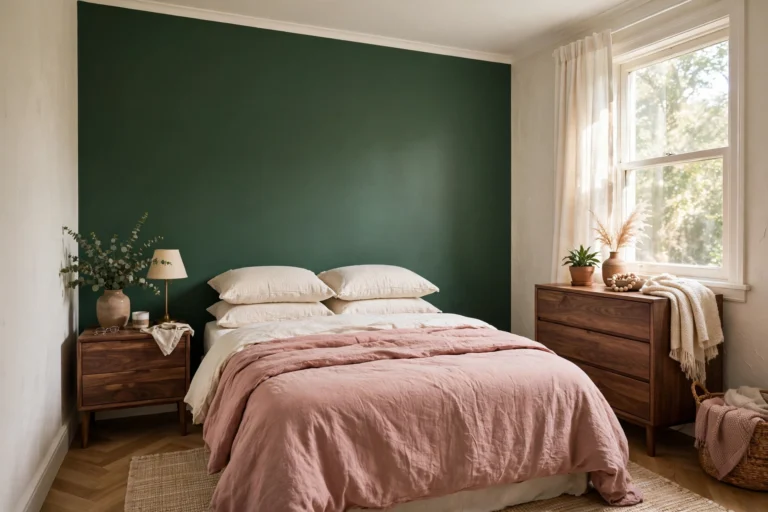
In a bedroom, it takes the place of a reading chair and a blanket box, and the small bedroom organization ideas that already work in that room get one less thing to fight for floor space. Put it under the brightest window and keep the bedside table where it is.
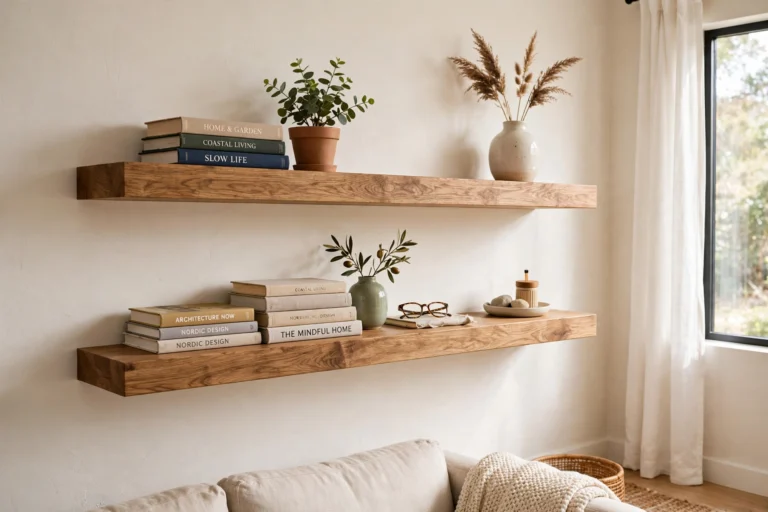
In a living room, it replaces an accent chair and a toy box, and it anchors the seating plan, with floating shelves above the seat for the books. Check it against your small living room layouts before you build, because a 22 inch deep seat in a 10 ft room eats the walkway. In a bay window it is almost free, since the bay floor is awkward for anything else.
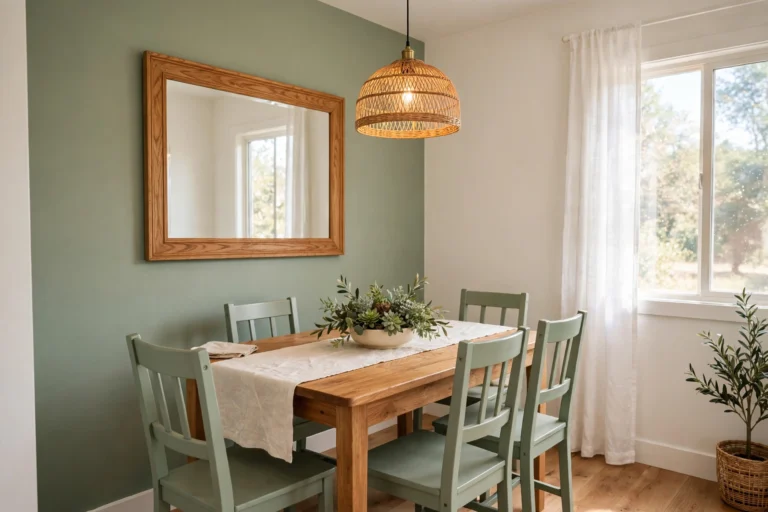
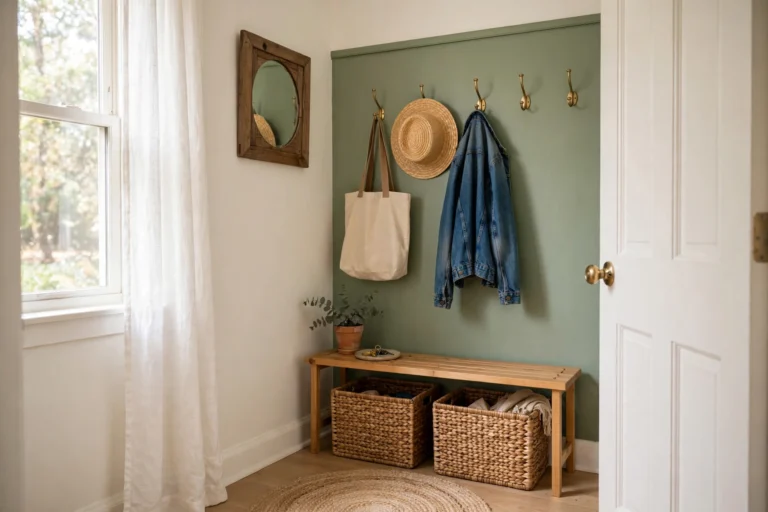
In an entryway, a short seat by the door becomes the place shoes go on and the bags go under. In a kids’ room it is a reading spot and a toy chest in one box, and the lid supports from the cushion section are not optional there. In a dining room or kitchen nook, the same box with a thinner cushion becomes a banquette, and it seats two people where two chairs never fit.
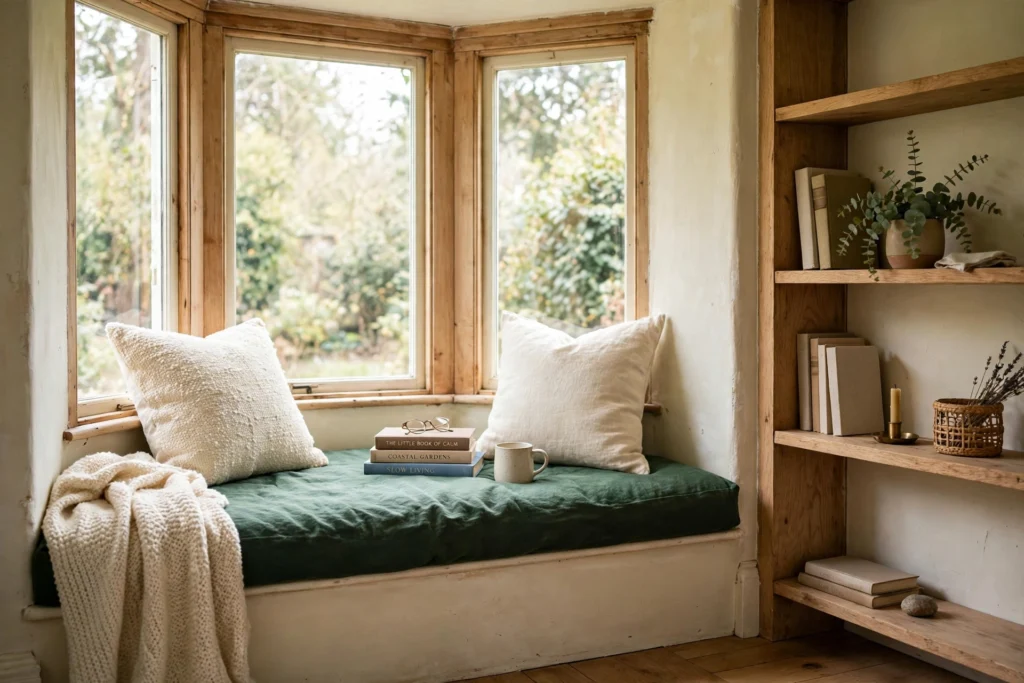
Mistakes to avoid
Building over a register. Never build a solid box over an active heating or cooling vent. The trapped air goes damp, and damp plus dark plus warm is mould. Move the seat, or cut a vent grille into the front and keep the airflow path open.
Blocking the escape window. A window seat must never block an egress window. If the sill is low and the window is the room’s fire escape, the seat cannot sit in front of it. Check the 44 inch sill rule and your local code before you cut a single board.
Skipping the fixed back strip. If you hinge the lid straight to the wall, it will hit the sill or the casing every time it opens. The 3 to 5 inch fixed strip along the back is a small detail that saves the whole build.
Foam too thin or too soft. Two inch craft foam on a 6 ft bench sags in the middle within a month. Use 3 inch foam at 2.5 to 3.0 pounds per cubic foot, or accept that the seat becomes decoration.
Measuring off the trim. Trim lies. Walls lean. Measure off the bare wall after the baseboard comes off, and measure the width in three places. A box built to one measurement will gap at the other end.
Painting before the filler dries. Filler shrinks as it dries. Paint over wet filler and the screw holes print through within a week. Fill, wait, sand, then paint.
What to skip
Drawers on a first build. Drawers need exact slides, exact boxes and clear floor in front. They hold less than a lid and cost more. Build the lid version first. Add drawers to your second seat, if you ever build one.
A solid wood top. A hardwood slab looks lovely and costs three times the plywood, and it weighs enough to make the lid a two-hand job. Painted plywood with a cushion on top is the right call for a first build.
Built-in lighting on the first build. Strip lights under the lid sound clever until you are wiring a box that opens and closes. A plug-in lamp beside the seat does the same job for a tenth of the effort.
A 24 inch deep seat in a narrow room. Napping depth is a luxury. In a room under 10 ft wide, 17 to 18 inches of depth keeps the walkway, and the seat still works for reading.
Renter note. If you rent, build the freestanding route, not the screwed-in box. A bench that stands on its own feet needs no permission and leaves no holes, and the damage-free wall ideas for renters that already work in your home cover everything you hang near the seat. Check your lease for the fixing clause first, photograph the wall and floor before the bench goes in, and keep the receipt so move-out is simple.
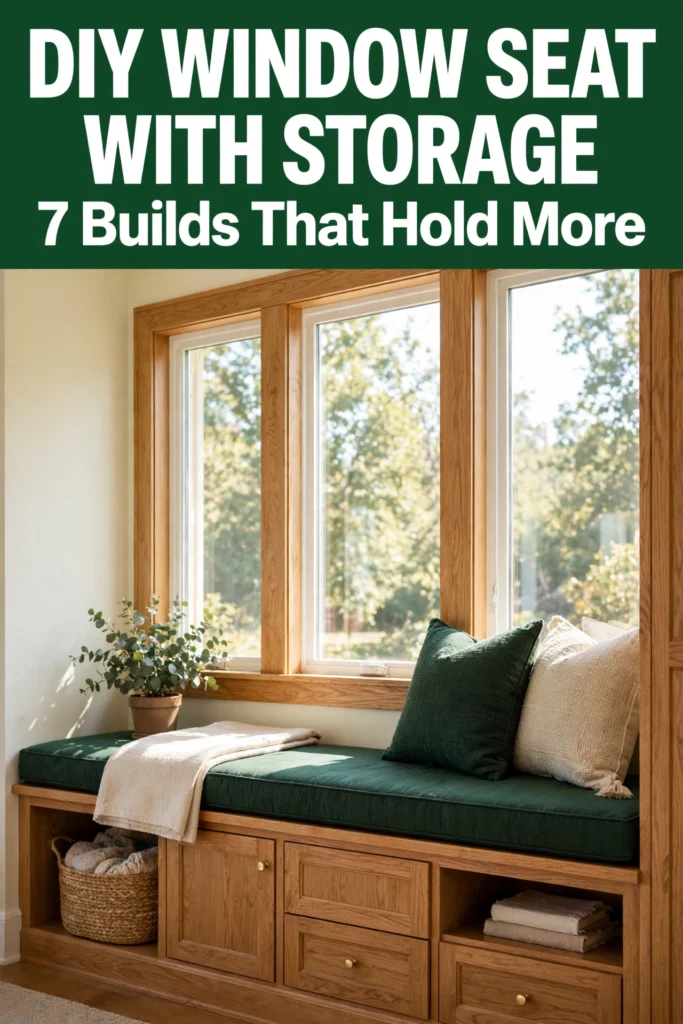
FAQ
How do I build a window seat with storage?
Build it in four stages. Measure the alcove and check the egress window and any heating register. Fix a ledger board into the wall studs at box height. Frame and skin the box, then hinge the lid to a fixed back strip so it clears the sill. Trim, paint and add a 3 inch foam cushion.
How much does a window seat cost?
A scratch-built 6 ft seat costs about $145 to $160 in materials as of November 2026, with plywood, studs, foam and paint as the big lines. An IKEA cabinet hack was reported at about $550 all in. A custom carpenter-built seat with storage runs about $500 for a small 3 ft seat and $3,000 to $8,000 for larger built-ins.
How deep should a window seat be?
A window seat should be 17 to 22 inches deep. Use 17 to 18 inches for sitting forward in a small room, 20 to 22 inches to curl up sideways, and 24 inches only if you want to nap on it and the room can spare the floor space.
What is the best height for a window seat?
The best height is 18 to 19 inches from the floor to the top of the cushion. Build the wooden box 14 to 16 inches tall and let a 3 to 4 inch cushion bring it up to chair height.
Sources
- Checkatrade, “How to Build a Window Seat”: https://www.checkatrade.com/blog/how-to/build-window-seat/
- SensibleDigs, “How to Build a Window Seat: Steps & Storage”: http://sensibledigs.com/how-to-build-a-window-seat/
How this was made: the size rules, foam spec and cost ranges come from the build guides linked above, the storage volumes are computed from the box dimensions in the article, and prices were checked in November 2026. No build was photographed as a personal project.