DIY Under Sink Organizer: 7 Builds That Fit Around Pipes
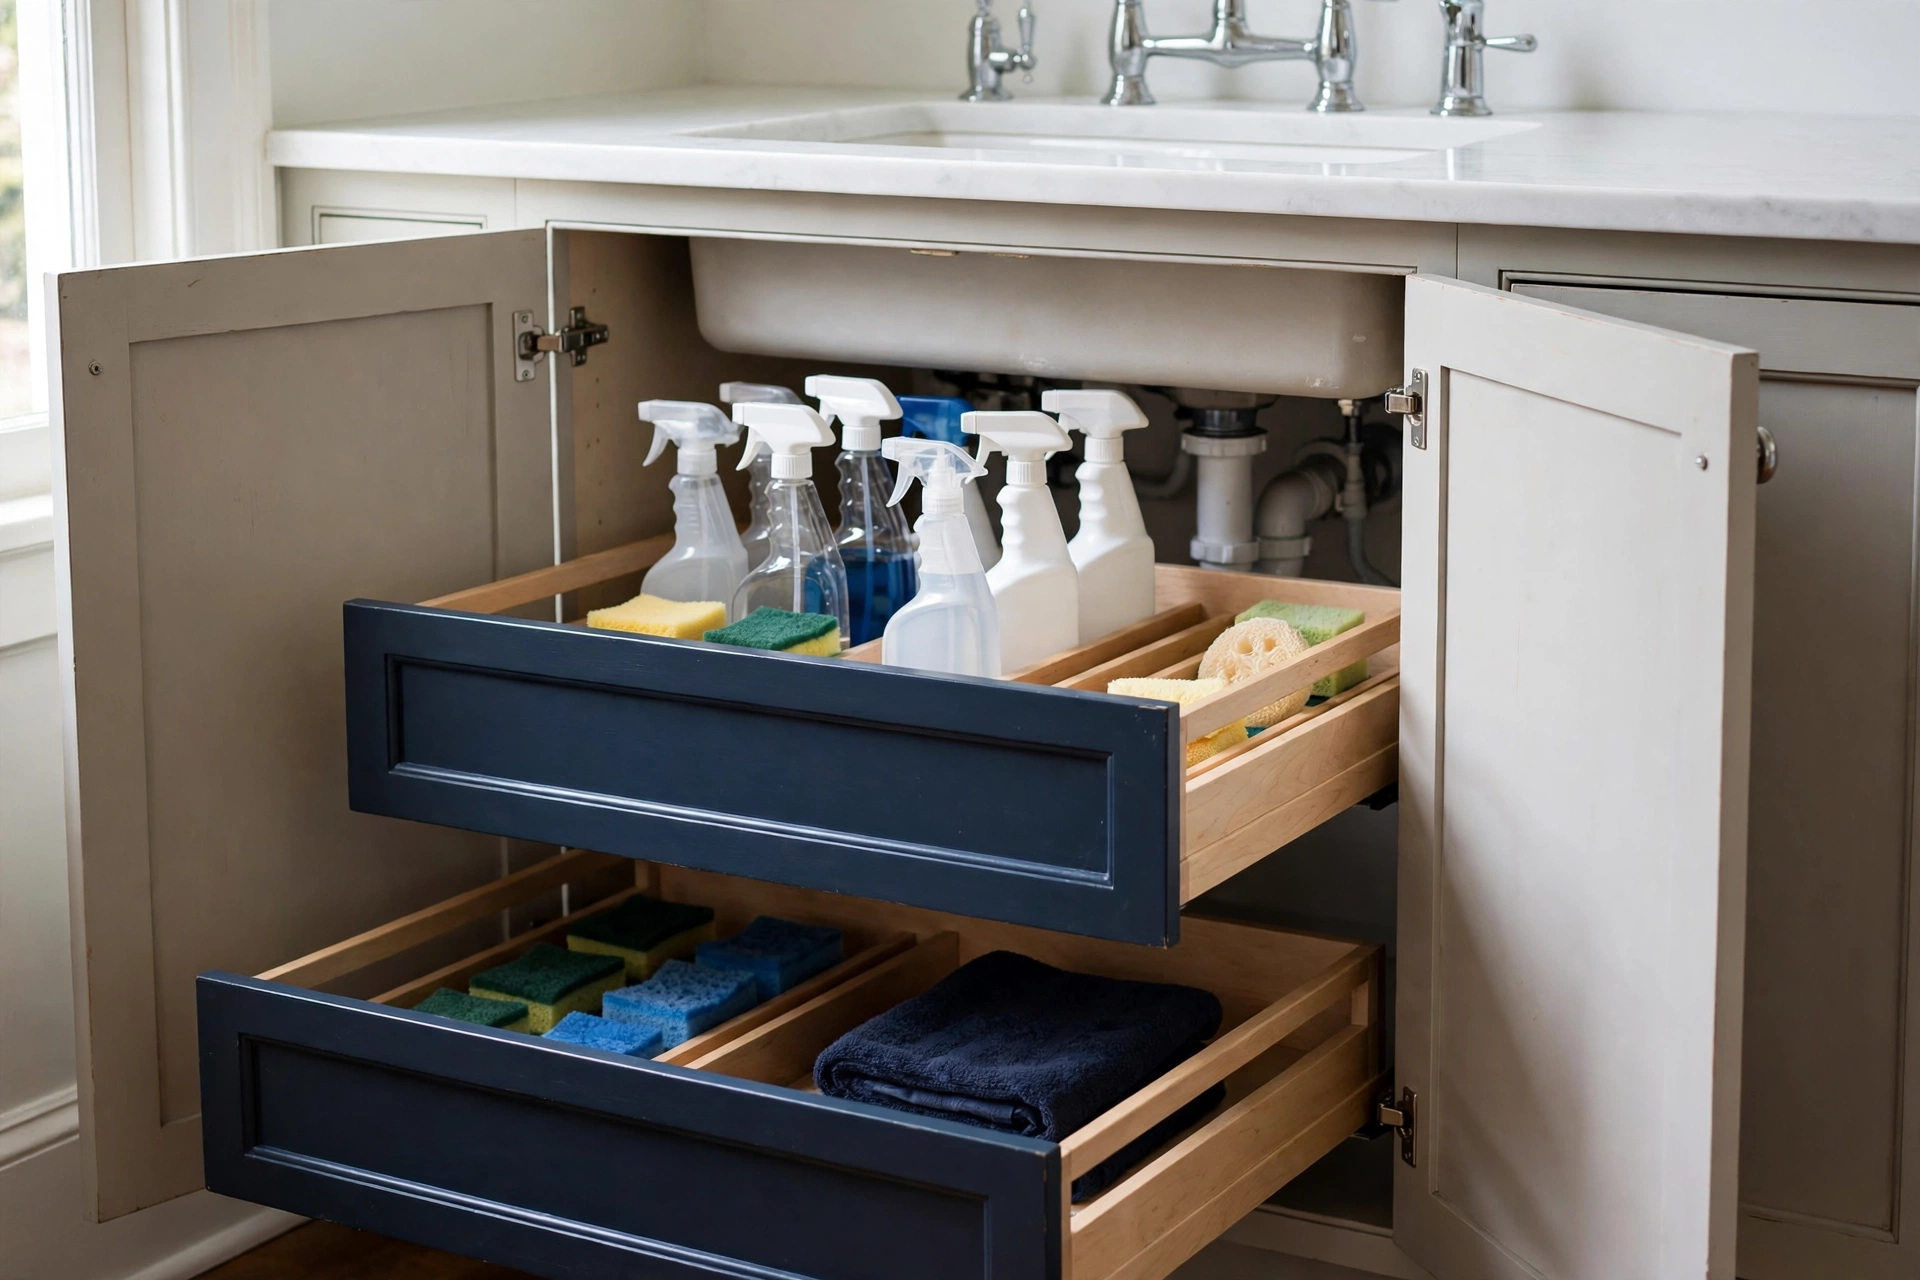
A diy under sink organizer is a set of pull-out trays and shelves you build from plywood to fit around your pipes, instead of fighting them. The best version for most kitchens is two pull-out trays on 20 inch full-extension slides, sized from the fit table below, with a fixed shelf on the shallow disposal side. It costs $58 to $98 in materials as of November 2026, takes about 3 to 4 hours of active work across a weekend, and turns the darkest cabinet in the house into the one you actually use.
Nothing here is a guess. The fit table is computed from the 1 inch glide-clearance rule that Family Handyman and Popular Woodworking both state. The disposal rule comes from a real build where the disposal side had only about 10 inches of usable depth. And the slide load is checked against the manufacturer’s own 100 lb rating, not a round number from a product listing. That is the original work in this post, and it is the part no top-ranking guide owns.
The 7 builds at a glance
| Build | Route | Best for | Renter-Friendliness | Deposit-Risk |
|---|---|---|---|---|
| 1. Two pull-out trays | Route 1, $98.44 | Most kitchens, daily reach | 2/5, screws into the cabinet | 3/5 |
| 2. Horseshoe shelf around the P-trap | Route 2, $58.44 | The disposal side | 2/5, screws into the cabinet | 3/5 |
| 3. Skinny slide-out beside the pipes | Route 1, $98.44 | The narrow gap beside a disposal | 2/5, screws into the cabinet | 3/5 |
| 4. Freestanding two-tier riser | Route 3, $65.44 | Renters, no-drill homes | 5/5, lifts out clean | 1/5 |
| 5. Tension-rod spray-bottle loft | Route 3, $65.44 | Renters, spray bottles | 5/5, wedges in place | 1/5 |
| 6. Cabinet-door rack | Route 3, $65.44 | Sponges, gloves, brushes | 4/5, adhesive or over-door | 1/5 |
| 7. Bathroom vanity pull-out | Route 1, $98.44 | Vanities, no disposal | 2/5, screws into the cabinet | 3/5 |
Routes 1 to 3 are priced in the cost table below. Pick one build, or combine them: most kitchens end up with build 1 on the clear side and build 2 on the disposal side.
How Do You Measure for a DIY Under Sink Organizer?
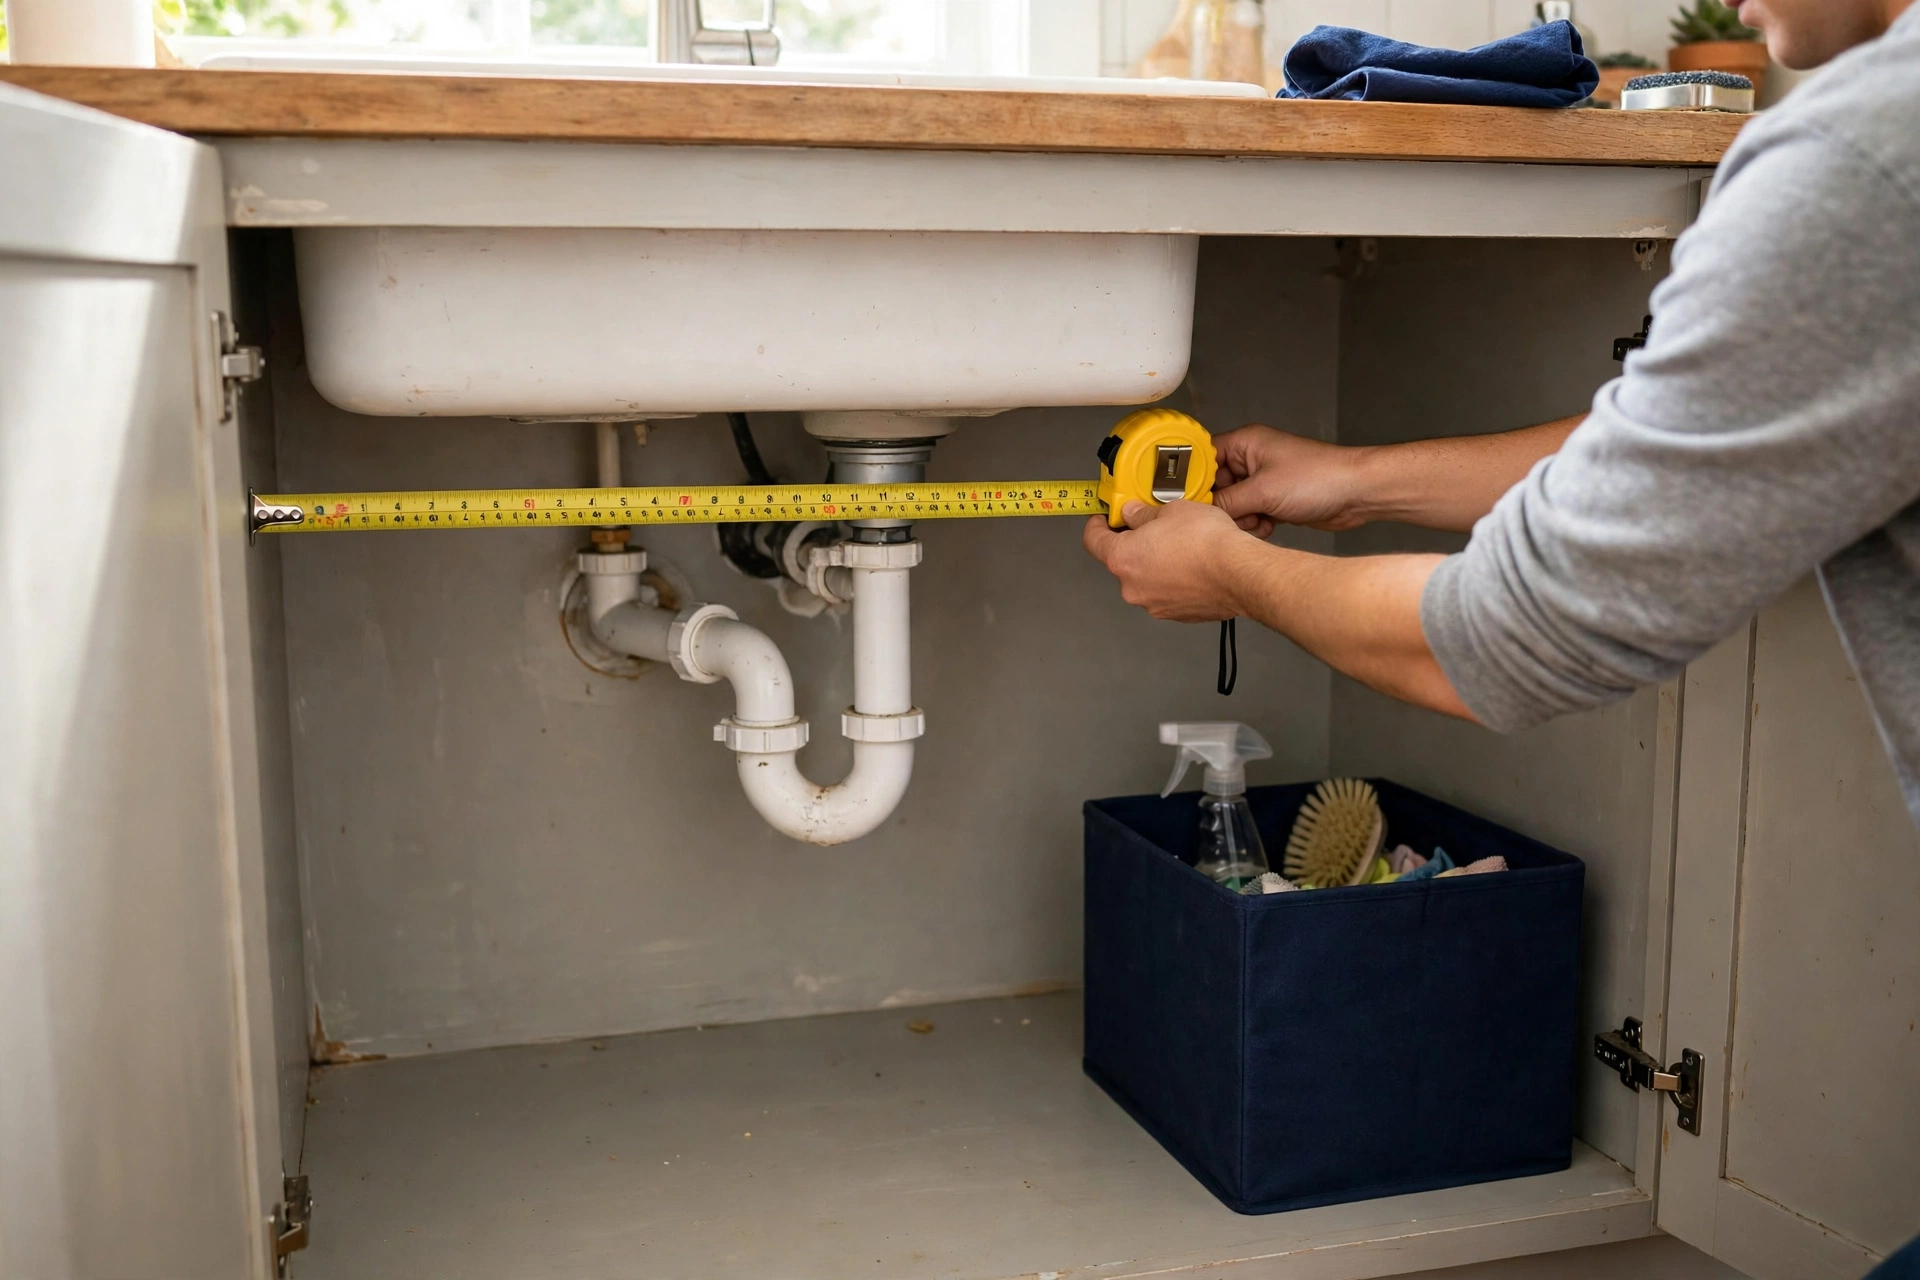
Measure the opening width between the face-frame stiles, the interior depth on each side of the disposal and P-trap, and the clear height from the cabinet floor to the lowest pipe. Those three numbers decide everything. A tape measure and 15 minutes now save a tray that does not fit later.
Five measurements matter, and the pipes matter more than the cabinet. First, the opening width: measure between the inside faces of the face-frame stiles, not the outside of the cabinet. Second, the usable depth on the left of the disposal, from the front edge to the first pipe or the disposal body. Third, the same depth on the right. Fourth, the clear height from the cabinet floor to the lowest pipe, because a tall bottle will not fit under a low trap. Fifth, the door opening: if the gap between the open doors is narrower than the opening between the frame sides, use the shorter number, because the tray has to pass through the doors. Family Handyman gives that last rule, and it is the one most builders skip.
Check for a center stile too. Cabinets 30 inches and wider often have a vertical stile between the two doors, and it splits the opening in half. If yours has one, build two narrower trays, one per side, instead of one wide tray that will never pass through. The measure-first habit is the same one that makes organizing a kitchen with no pantry work, and under the sink it matters more, because the pipes do not move.
What Size Pull-Out Tray Fits Your Cabinet?
Take your opening width, subtract 1 inch for the two drawer slides, and that is your tray width. A 36 inch cabinet usually gives a 33 inch opening and a 32 inch tray. The table below does the math for the four standard sink-base widths.
| Cabinet width | Typical opening | Tray width | Glide length |
|---|---|---|---|
| 24 in (61 cm) | 21 in (53 cm) | 20 in (51 cm) | 18 in (46 cm) |
| 30 in (76 cm) | 27 in (69 cm) | 26 in (66 cm) | 20 in (51 cm) |
| 33 in (84 cm) | 30 in (76 cm) | 29 in (74 cm) | 20 in (51 cm) |
| 36 in (91 cm) | 33 in (84 cm) | 32 in (81 cm) | 20 in (51 cm) |
The table uses two rules. The opening is the cabinet width minus 3 inches, for two 1.5 inch face-frame stiles. The tray is the opening minus 1 inch, which leaves 0.5 inch per side for side-mount slides. That is the rule Family Handyman states for its roll-out trays, and Popular Woodworking uses the same 1 inch. Sink-base widths of 30, 33 and 36 inches are the stock sizes, confirmed by Family Handyman’s cabinet dimensions guide, and 24 inches is the common narrow base. Measure your own opening before you cut, because stile widths vary by cabinet line, and the table is a planning starting point, not a cut list.
Glide length follows cabinet depth. A standard base is 24 inches deep, with about 22 inches of interior depth, so 20 inch slides fit with room to spare. Use 18 inch slides for a 24 inch cabinet or a shallow vanity, and never order slides longer than your usable depth minus 1 inch.
The slide load check
Knape and Vogt rates its 8400 full-extension ball-bearing slide at 100 lb per pair, with a maximum recommended drawer width of 24 inches. That rating comes from the manufacturer’s own spec sheet. A full tray of cleaners weighs far less than that. A gallon of detergent is about 8.5 lb, a gallon of bleach about 8.5 lb, a dish soap bottle about 2 lb, an all-purpose cleaner about 2 lb, and sponges and trash bags about 3 lb. That adds up to about 24 lb, which is roughly a quarter of the 100 lb rating. Those weights are planning estimates from standard product sizes, not a weighed test, and your bottles will differ a little. The margin is wide enough that the exact ounces do not change the verdict.
The 24 inch width limit matters more than the weight. The 32 inch tray in a 36 inch cabinet is wider than the 8400’s maximum recommended drawer width. For that size, either build two narrower trays, one per door, or step up to the Knape and Vogt 8600 series, rated 150 lb per pair at $62.08 per set from Wurth Baer Supply as of November 2026. A wide tray on light slides will sag in the middle over time, and the fix costs more than the upgrade.
How Much Does a DIY Under Sink Organizer Cost?
Between $58 and $98, depending on the route. The pull-out tray build is the priciest at $98.44 because of the slides. The fixed-shelf build is $58.44, and the no-drill build is $65.44. All prices were checked in November 2026, and the table below shows every item.
| Item | Price, as of November 2026 | Source |
|---|---|---|
| 3/4 in x 2 ft x 4 ft plywood project panel | $35.68 | pennyrecon.com, Home Depot retail price last confirmed Nov 5, 2026 |
| 2 pairs 20 in Everbilt full-extension ball-bearing slides | $40.00 ($20 per pair) | crystelmontenegrohome.com, Nov 2026 build cost breakdown |
| Kreg 1-1/4 in coarse pocket-hole screws, 100 ct | $6.79 | woodworkingadvisor.com, Amazon price pull Aug 2, 2026 |
| Minwax Fast-Drying Polyurethane, 1 quart | $15.97 | findthedeal.org, Nov 2026 offers; woodworkingadvisor.com, Oct 7, 2026 |
| Spring tension rod, 28 to 43 in | $7.00 | usacabinetstore.com, Nov 2026 typical price |
Check the sums. Route 1, two pull-out trays: 35.68 + 40.00 + 6.79 + 15.97 = $98.44. Route 2, horseshoe shelf plus fixed shelf: 35.68 + 6.79 + 15.97 = $58.44. Route 3, no-drill freestanding riser plus tension rod: 35.68 + 7.00 + 6.79 + 15.97 = $65.44. The screws and the polyurethane are one-time buys. They cover all three routes and leave leftovers for the next project, so do not add them twice if you build two routes at once. Prices vary by store and by size variant, so re-check before you buy. For comparison, Family Handyman prices its own pull-out tray build at $51 to $100, and a made-to-fit wood pull-out shelf from a home center runs about $65 to $95 each, so the DIY build saves money from the second tray onward.
Time estimate: measuring takes about 30 minutes, cutting about 1 hour, assembly 1 to 2 hours, and the polyurethane needs 2 coats with a 4 to 6 hour recoat and 24 hours before light use. Active work is about 3 to 4 hours across a weekend. The drying time is the long part, not the building.
How Do You Build Under Sink Pull Out Trays?
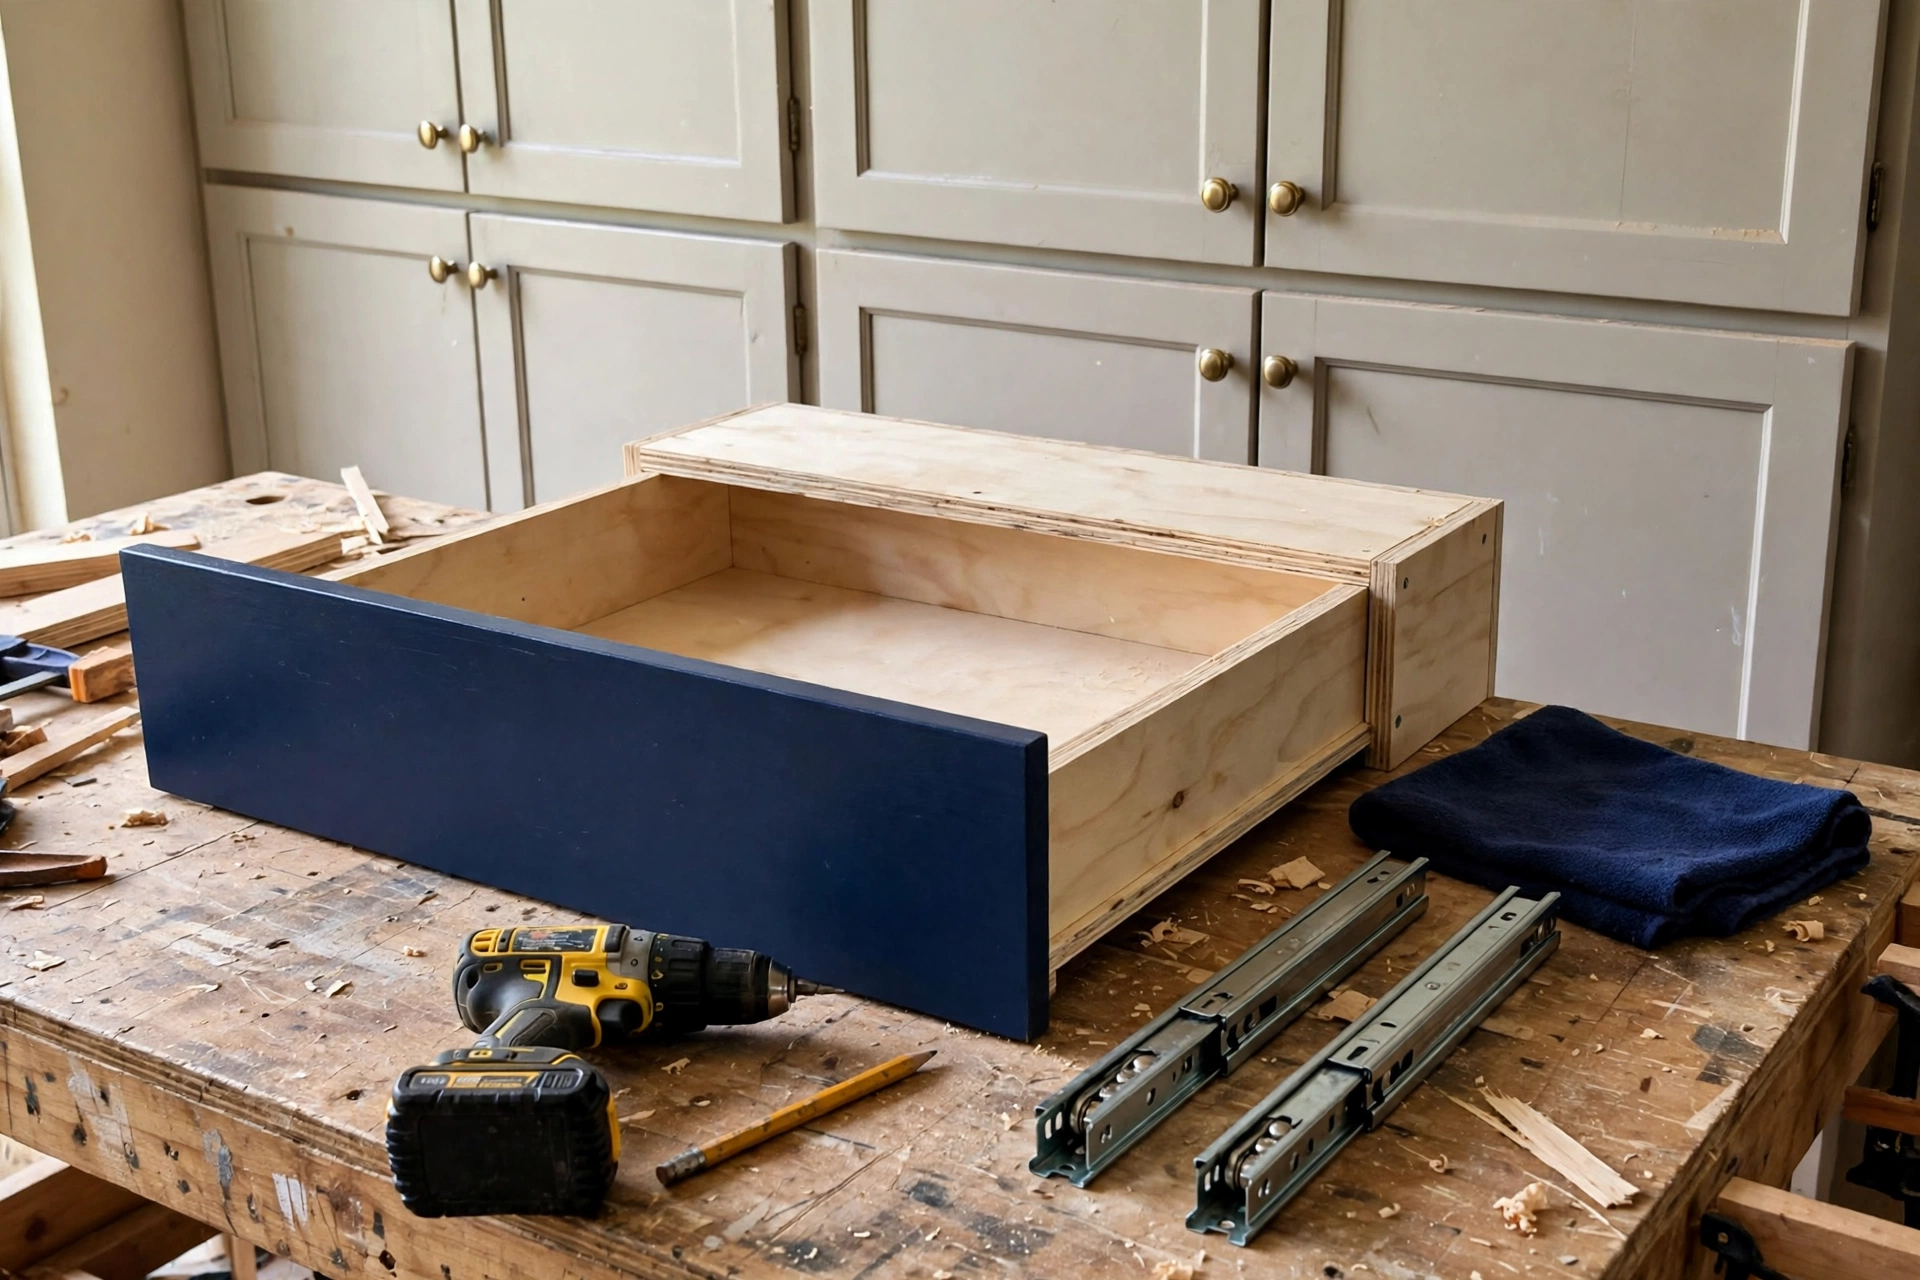
Cut a plywood base and four low sides, join them with pocket holes, seal every edge with two coats of polyurethane, then mount the slides to the cabinet floor on a simple mounting insert and set the tray on top. Seven steps, one afternoon of work, and the tray glides out into the light.
Materials: one 3/4 in x 2 ft x 4 ft plywood project panel, 2 pairs of 20 in full-extension ball-bearing side-mount slides, 1-1/4 in pocket-hole screws, wood glue, polyurethane, 120 and 220 grit sandpaper, and a 1/4 in plywood offcut for the tray bottoms if you want them lighter. Tools: tape measure, circular saw or table saw, drill, pocket-hole jig, and a square.
Steps:
- Measure the opening and the usable depth on each side of the disposal, then mark the pipe and disposal positions on the cabinet floor with painter’s tape, so every cut respects them.
- Cut the tray base 1 inch narrower than the opening, then cut the sides 4 inches tall, with the front side cut down to 2 inches tall for easy reach, the same trick Fix This Build That uses on its small tray.
- Drill pocket holes and assemble the tray boxes with wood glue and screws, checking each box for square before the glue sets.
- Sand every face with 120 grit, then 220, and seal all faces and edges with 2 coats of polyurethane, letting the first coat dry 4 to 6 hours before the second.
- Build the mounting insert: two side pieces joined by spacers, sized to fit the opening, so the slides screw to the cabinet floor instead of the cabinet sides.
- Mount the slides to the insert, set the tray in, and check that it glides fully out without hitting a pipe, the disposal, or the door.
- Load the tray with the heaviest bottles at the back, run it in and out ten times, and adjust the slide screws until it glides smooth and stays shut on its own.
Best for: most kitchens, and anyone who is tired of kneeling to reach the back of the cabinet. Main advantage: everything comes out into the light on one pull, and the fit table above sizes it for your exact cabinet. Watch out for: the tray must clear the pipes at full extension, so check step 6 before you load it. Verdict: the best build in this post. It costs the most and it earns it back every single day. Renter-Friendliness: 2/5. Deposit-Risk: 3/5. It screws into the cabinet, so it needs written permission in a rental.
If you would rather buy than build, our under-sink storage ideas roundup covers seven ready-made organizers, including the U-shaped pull-out shelf, with prices. The build in this post is the cheaper route when you want two or more trays.
What If a Garbage Disposal Eats Half the Cabinet?
Split the cabinet in two. Measure the usable depth on each side of the disposal, give the shallow side fixed shelves and the deep side the pull-outs, and cut a horseshoe shelf around the P-trap. The disposal side is not wasted space, it is shelf space.
Fix This Build That ran into exactly this. Their left side had only about 10 usable inches of depth before hitting the disposal, so that side got stationary shelves while the clear side got the pull-out trays. That 10 inch measurement is the rule this section is built on. Measure your own two depths first, then apply the rule: under 12 inches of usable depth, build fixed shelves only, because no useful slide fits. From 16 inches up, a pull-out works on shorter 16 inch slides. At 20 inches or more, use the full 20 inch slides from the fit table.
The horseshoe shelf is the second build. Cut a U-shaped notch in a plywood shelf so it wraps around the P-trap instead of stopping short of it. The notch takes ten minutes with a jigsaw, and it recovers about a third of the shelf you would otherwise lose. The third build is the skinny slide-out: a narrow tray, 5 to 6 inches wide, that slides into the gap beside the disposal on a single pair of short slides, and holds dish soap, sponges, and trash bags in a column.
Best for (horseshoe shelf): any cabinet with a disposal or a fat P-trap. Main advantage: it uses the space the pipes already stole. Watch out for: cut the notch 1 inch wider than the trap on each side, so the shelf never touches the pipe. Verdict: the most underrated build in this post. Best for (skinny slide-out): the dead gap beside a disposal. Main advantage: it turns a 6 inch gap into real storage. Watch out for: keep it narrow, or it binds on the disposal. Verdict: build it only if the gap is at least 5 inches wide, otherwise use the shelf. Renter-Friendliness: 2/5. Deposit-Risk: 3/5 for both, since they screw in.
Here is the sharp opinion this post is built on. The most overrated under-sink buy is the matched bin set. Bins look tidy in photos and slide around the minute you open the door, and they cost more than the plywood shelf that actually stays put. The most underrated build is the horseshoe shelf, because it is the only one that treats the pipes as part of the design instead of an obstacle to work around.
Can You Build an Under Sink Organizer Without Drilling?
Yes. Build a freestanding two-tier riser from the same plywood panel, add a tension rod for spray bottles, and hang a door rack on adhesive hooks. Nothing screws into the cabinet, so the whole thing lifts out on move-out day.
The fourth build is the freestanding riser: two plywood sides and two shelves, joined with pocket holes, sized to sit on the cabinet floor clear of the trap. Best for: renters and anyone who will not drill. Main advantage: it goes in and comes out in minutes, and it holds the same bottles as a screwed-in shelf. Watch out for: keep it 1 inch clear of every pipe, and do not load the top shelf with gallon jugs. Verdict: the best renter build here. Renter-Friendliness: 5/5. Deposit-Risk: 1/5.
The fifth build is the tension-rod loft: a spring rod across the cabinet at about two-thirds height, with spray bottles hung by their trigger handles. Best for: spray bottles, which waste floor space standing up. Main advantage: about $7, no tools, and it frees the whole floor below it. Watch out for: heavy bottles slide the rod down over time, so keep it to sprays under 2 lb each. Verdict: the cheapest win in this post. Renter-Friendliness: 5/5. Deposit-Risk: 1/5.
The sixth build is the cabinet-door rack: a wire rack or fabric pouch that hooks over the door or mounts with adhesive pads, holding sponges, gloves, and brushes. Best for: the small stuff that never fits anywhere. Main advantage: it uses the door, which is free real estate. Watch out for: measure the door thickness first, and check the door still closes before you load it. Verdict: a good add-on, not a standalone system. Renter-Friendliness: 4/5. Deposit-Risk: 1/5.
Check the lease first, even for the no-drill builds. Most leases say nothing about freestanding organizers, which is why this route carries a Deposit-Risk of 1 out of 5, but two things still need a check. First, if you screw anything into the cabinet, even a small slide mount, get written permission, because that is a modification and your landlord can charge for it. Second, photograph the cabinet floor and walls before you build, so a water stain from before you moved in does not become your deposit deduction. The no-drill builds reverse in minutes: lift the riser out, unhook the rod, peel the hooks off. If your lease bans drilling outright, stick to this section and skip the pull-out trays.
Does a DIY Under Sink Organizer Work in a Bathroom?
Yes, and it is simpler, because a bathroom vanity has no garbage disposal and a smaller trap. The same pull-out tray works, just shallower: 16 to 18 inch slides instead of 20, and a tray about 4 inches shorter front to back.
Vanity cabinets run 18 to 21 inches deep, against 24 inches in a kitchen, so measure the usable depth the same way and pick the slide length from it. The trap is smaller and sits higher, which leaves more clear height for bottles. The humidity is higher, though, so the polyurethane seal matters more here than in the kitchen, and a drip tray under the trap is worth adding. A pedestal sink has no cabinet at all, so the vanity version does not apply there. Use the freestanding riser beside the pedestal instead, or a tension rod inside the vanity if you have one. The bathroom version follows the same rules as our 12 small bathroom organization ideas, which double a small bathroom’s storage without a remodel.
Best for: vanities with a real cabinet and a P-trap. Main advantage: same pull-out convenience, shorter slides, lower cost. Watch out for: pedestal sinks have no cabinet to build in, so do not force this build there. Verdict: the easiest version of this project, and a good first build if you have never used drawer slides. Renter-Friendliness: 2/5. Deposit-Risk: 3/5.
How Do You Protect an Under Sink Organizer From Leaks?
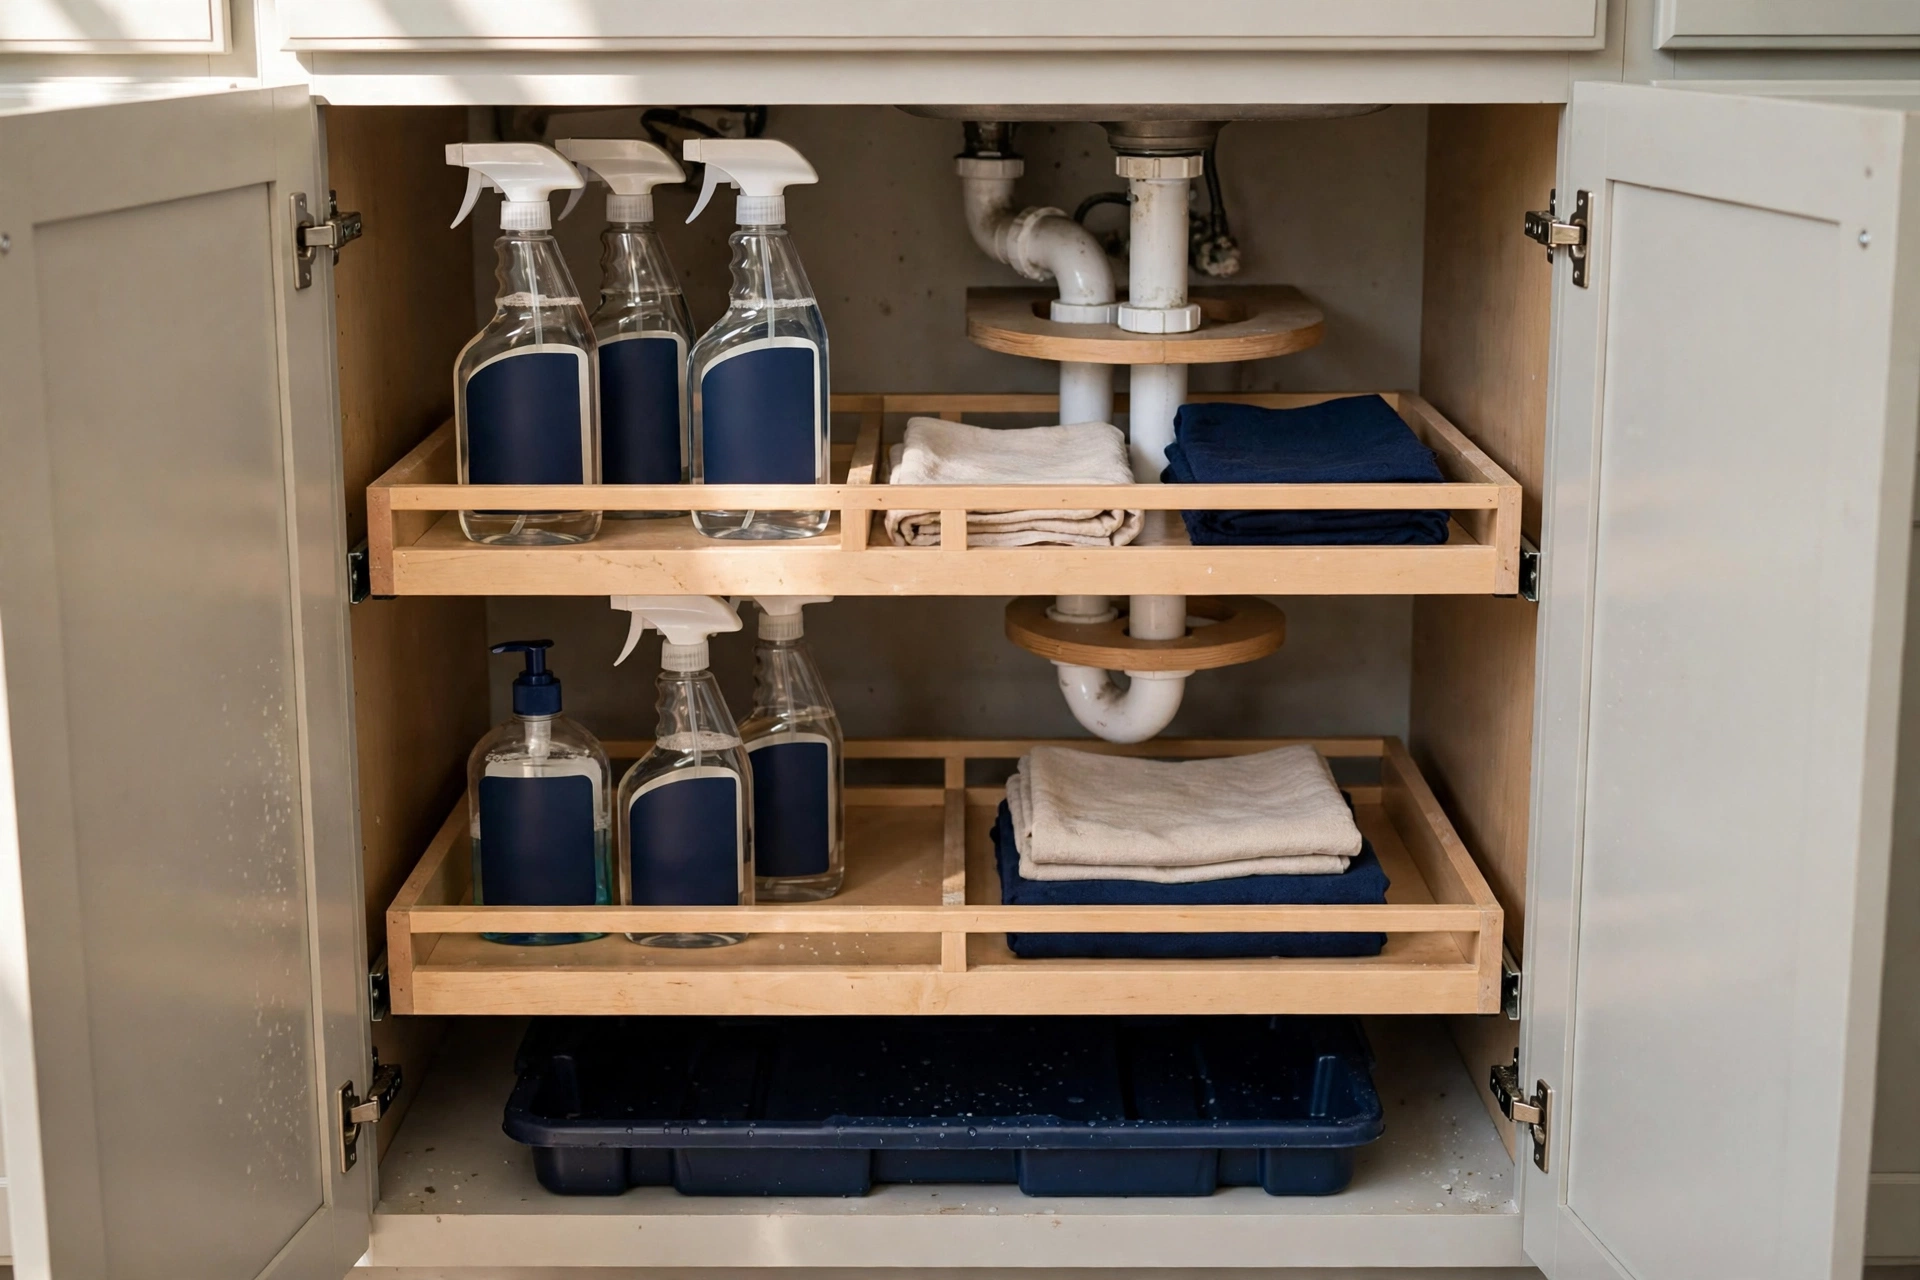
Seal the plywood with two coats of polyurethane, set a drip tray under the trap, and check the P-trap connections every few months. The poly buys you time. The tray catches the slow drip before it becomes a warped cabinet floor.
Polyurethane is not optional under a sink. One quart covers about 125 sq ft, so a single can seals this project several times over, and the edges matter most, because raw plywood edges drink water first. Coat every cut edge twice, and let the second coat cure a full 24 hours before light use. A shallow drip tray, roughly 16 by 20 inches (41 by 51 cm), goes under the trap and under the tray, so a slow leak pools where you can see it instead of soaking into the cabinet floor. Check the trap connections when you change the seasons: hand-tighten, wipe the joints dry, and look again the next day.
Safety first with what you store. The CPSC advises keeping household cleaners locked up and out of reach of children, and using safety latches on cabinets that hold them. The EPA advises keeping hazardous household products in their original containers and never storing them in food containers. That means no decanting bleach into a pretty bottle, and no mystery spray bottle with no label. Keep the original labels on, add a latch if kids visit, and keep the Poison Help number, 1-800-222-1222, where you can find it. Read the full guidance at the CPSC medication and cleaner storage page and the EPA household hazardous waste page.
Mistakes to Avoid
Measuring the cabinet instead of the opening. The outside width is not the opening width. Measure between the stiles, or the tray will not pass through the doors.
Building the tray before checking the disposal depth. A 20 inch tray in a cabinet with 10 inches of clear depth is firewood. Measure both sides first, then pick the build.
Skipping the polyurethane seal. Raw plywood under a sink warps in months. Two coats on every edge is the cheapest insurance in this project.
Ordering slides longer than the cabinet. Slides must be shorter than the usable depth minus 1 inch. A 22 inch slide in a 21 inch cabinet does not fit, and it cannot be cut down.
Loading all the weight at the front. Heavy bottles at the back keep the tray balanced and the slides smooth. Front-heavy trays sag and drift open.
Forgetting the center stile. A wide tray cannot pass a center stile. Build two narrow trays instead, one per door.
Decanting cleaners into unmarked bottles. Keep every product in its original labeled container, per the EPA guidance above. A mystery bottle under the sink is a safety problem, not an organization win.
What to Skip
A matched bin set bought before measuring. Bins sized for someone else’s cabinet slide around in yours. Measure first, then buy bins that fit the tray, not the other way round.
A $90 U-shaped pull-out when the $58 shelf does the same job. The bought pull-out is convenient, but the horseshoe shelf holds the same bottles for $40 less. Spend the difference on the slides for the second tray.
Adhesive shelves on greasy cabinet walls. They peel off in weeks. Wipe the wall with rubbing alcohol, let the adhesive cure overnight, or skip the adhesive shelf entirely.
Glass jars under the sink. Humidity fogs them, and a dropped jar on a hard cabinet floor is a mess of glass and cleaner. Use plastic or the original containers.
Drilling into the cabinet floor without checking below. Some cabinets have plumbing coming up through the floor. A screw through a supply line turns a $98 project into a plumber’s bill.
A third tray you cannot reach. Two trays fill a standard cabinet. A third one sits behind the trap where no hand fits, so it holds nothing but dust.
Sources
- Family Handyman, “Kitchen Cabinet Storage Solutions: DIY Pull Out Shelves”: 14-step build, 20 inch glides, tray 1 inch narrower than the opening, center stile handling, cost $51 to $100. https://www.familyhandyman.com/project/how-to-build-kitchen-sink-storage-trays/
- Family Handyman, “A Guide To Standard Kitchen Cabinet Dimensions”: base cabinets 12 to 36 inches wide, sink bases usually 30, 33 and 36 inches, 24 inches deep. https://www.familyhandyman.com/article/kitchen-cabinet-dimensions/
- Fix This Build That, “DIY Under Sink Storage”: stationary shelves plus pull-out trays, mounting insert, about 10 inches usable depth on the disposal side. https://fixthisbuildthat.com/diy-under-sink-storage/
- Houseful of Handmade, “DIY Under Sink Drawer and Shelf Organizers”: two-tier drawer and paper-towel shelf from scrap plywood, 16 inch slides. https://www.housefulofhandmade.com/diy-under-sink-drawer-and-shelf-organizers/
- Popular Woodworking, “3 Kitchen Storage Projects”: pull-outs on 20 inch full-extension slides, half sheet of 3/4 inch hardwood plywood. https://www.popularwoodworking.com/projects/3-kitchen-storage-projects/
- Knape and Vogt 8400 spec sheet: full-extension ball-bearing slide, 100 lb load class, 1/2 inch side clearance, max drawer width 24 inches. https://cdn.menardc.com/main/items/media/KNAPE001/Prod_Tech_Spec/8400.pdf
- Wurth Baer Supply, KV 8600 20 inch slide: 150 lb per pair, $62.08 per set in a 5-pair box, Nov 2026. https://wurthbaersupply.com/product/690800/20-HEAVY-DUTY-FULL-EXTENSION-SLIDE-8600B-20
- CabinetFacts, Sande vs birch plywood: Home Depot Fairfax VA listings Nov 9, 2026, Sandeply 3/4 inch $70.55, PureBond birch $75.73. https://www.cabinetfacts.com/blog/sande-plywood-vs-birch
- Crystal Montenegro Home, “How to Build a Drawer with Slides”: 20 inch Everbilt slides about $20 a pair, about $55 a drawer. https://crystelmontenegrohome.com/how-to-build-sliding-drawers/
- Woodworking Advisor, best woodworking screws: Kreg coarse pocket-hole screws $6.79 per 100, Amazon price pull Aug 2, 2026; Minwax Fast-Drying Polyurethane $15.97 per quart, Oct 7, 2026. https://woodworkingadvisor.com/best-woodworking-screws/
- Penny Recon, 3/4 in x 2 ft x 4 ft Radiata Pine project panel: $35.68 retail, last confirmed Nov 5, 2026. https://www.pennyrecon.com/item/1005447639/
- Find The Deal, wood stains offers Nov 2026: Minwax Fast-Drying Polyurethane 1 quart $15.97. https://us.findthedeal.org/wood-stain/
- USA Cabinet Store, rental-friendly bath vanities: tension-rod under-sink hack, about $7, Nov 2026. https://www.usacabinetstore.com/rental-friendly-bath-vanities/
- CPSC, Medication and Cleaner Storage Safety: lock cleaners up and out of reach of children. https://www.cpsc.gov/node/66134
- EPA, Household Hazardous Waste: keep hazardous products in original containers, never in food containers. https://www.epa.gov/hw/household-hazardous-waste-hhw
How do you measure an under-sink cabinet before building an organizer?
Measure the opening width between the face-frame stiles, the usable depth on each side of the disposal and P-trap, and the clear height from the cabinet floor to the lowest pipe. If the gap between the open doors is narrower than the frame opening, use the shorter number. A center stile splits the opening, so measure each side separately and build two narrower trays.
Can you build under-sink storage if you have a garbage disposal?
Yes. Measure the usable depth on each side of the disposal first. Give the shallow side fixed shelves and the deep side the pull-outs. Under 12 inches of usable depth, build shelves only. At 16 inches or more, a pull-out works on shorter slides, and at 20 inches or more you can use full 20 inch slides. A horseshoe shelf cut around the P-trap recovers the space the pipes take.
Does a DIY under sink organizer work in a bathroom too?
Yes, and it is simpler, because a vanity has no garbage disposal and a smaller trap. Use 16 to 18 inch slides instead of 20, and build the tray about 4 inches shorter front to back. Seal it well, because bathroom humidity is higher. A pedestal sink has no cabinet, so use the freestanding riser beside it instead.
How do you keep an under-sink organizer from getting damaged by leaks?
Seal every face and edge of the plywood with two coats of polyurethane, and set a shallow drip tray under the P-trap. Check the trap connections every few months, hand-tighten them, and wipe the joints dry. The poly buys you time, and the tray catches a slow drip before it warps the cabinet floor.
How this was made: I researched the top-ranking under-sink build guides, verified every price and slide rating against the sources listed above on the dates noted, computed the fit table from the 1 inch glide-clearance rule and the slide load check from the manufacturer’s 100 lb rating, and flagged every spec I could not verify as TBC. No organizer was bought or tested for this post, and no hands-on test is claimed.
By Wasim